Thursday, November 30, 2006

Finished Installing Front Logics

Tonight I was able to finish up the work I started last night.

I fitted the PVC legs to the PVC front logic box in the dome, and glued it all together.


Next, I made five sticks from short pieces of PVC, and glued them in place to force the front logic boards, bezels and surrounds forward in the dome. (One of the sticks is obscured in the photo by the cable.)


The logics look pretty good from outside. I might do a micro-tweak to bring the bottom surround out a bit more, but otherwise it's good to go.

Wednesday, November 29, 2006

Worked on Fitting Front Logics

Tonight I started working on getting the front logics to fit properly into the dome. They will be held in from behind by a box made out of PVC.

The first step was to get the aluminum surrounds properly spaced apart. I cut a small piece of styrene, and super-glued it to the edge of one of the two surrounds.


Once the glue had dried, I retested the fitting that I had done prior to gluing the styrene. The surrounds seem to be spaced apart just right. I loosely placed the bezels and logic boards behind them. Until they are secured, they don't line up perfectly.


On a view from inside the dome, the PVC box will be attached via flat PVC "legs" to another flat piece of PVC that will be screwed down on the dome ring. Right now the PVC legs are just taped in place.

There will be little sticks of PVC glued to the inside of the box, to force the logic boards into position. The only way to remove the assembly will be to unscrew it from the dome ring, and remove everything out of the front side (which is fine with me).

By the way, I found the 5-pin connectors for the front logics at a local Fry's Electronics. They were for connecting USB ports to a PC motherboard. One end had standard USB connectors, the other had these five pin connectors.

Tuesday, November 28, 2006

Redid PSI Diffusion

Once again I didn't get a whole lot done, but this needed doing.

The original plastic I was using for the inner part of my PSIs was showing LED hot spots, so I went to Home Depot a couple of weeks ago and purchased a new plastic sheet that is bumpy on one side and flat on the other. There is a second piece of plastic over the hole in the dome to help further redirect the offending photons.

The new plastic does seem to work somewhat better. It's not perfect, but nothing I do ever is.

Monday, November 27, 2006

Added Rear Logic Wiring

Whoops, not so fast. Um, I kind of neglected to include the rear logics in yesterday's wiring. Since I'm not 100% done with the rear logics, it was a case of out-of-sight-out-of-mind. So I fixed that tonight.

Sunday, November 26, 2006

Finished Dome Rewiring

I spent some time tonight completing the dome rewiring.

Seven miles, er, feet, of wire had been held together by twisting and using electrical tape, with predictable (i.e. unreliable) results. I had done that as a rush-job for R2LA IV. So one by one, I undid the old connection, soldered a new one, and used shrink tubing to hold each connection together. There were about 20 reworked points of contact in all.


Once I was done, I had to test at least part of the circuit. Both Front Logic displays worked perfectly, so that's a good sign. I could even jiggle the wires pretty hard with no loss of power. I'll get this all back into the dome soon, hopefully much more neatly this time.


By the way, good news with my shoulder hub magnets from yesterday. The glue is holding, and the magnets are doing their job.

Saturday, November 25, 2006

Glued Together Center Foot Shell, Drilled Shoulder Hubs for Magnets

I finally got around to gluing up the PVC center foot shell. I glued each side one at a time.


The four sides and the top are now glued together, but there is still a lot left to do.

For starters, I still need to cut the PVC foot strips that go on the bottom to size, and then glue them on. I also need to do some finishing work on the shells to smooth out the rough edges, and sand down the top edges a bit so that the top is perfectly flat. I also need to do a bit of filling of gaps in the top. These are all to be expected, and I'll get to them over time.


I'm using rare earth magnets (which are very strong) to keep the shoulder hubs in place. The magnets will be attracted to nuts and screws in the shoulder itself. I installed extra dummy screws and nuts into the shoulder disc the other day, so that the magnets would have something to grab onto.


I marked the location on the shoulder hubs where the magnets should go, and drilled the holes for them.


Finally, I glued the magnets in place. My only worry is that the magnets will be stronger than the glue, and when I pull the shoulder hub out, the magnets will stay in the body! Let's hope not...

Friday, November 24, 2006

Started Rewiring Front Logics, Unmasked and Installed Coin Slots

Not much is getting done so far this holiday weekend.

Last night I spent a few minutes resoldering and rewiring the front logics. These new connections are much more reliable, no more random loss of power.

Today I simply removed the masking tape from the coin slots, and reinstalled them in the body.

Wednesday, November 22, 2006

Painted Coin Slots, Sanded Center Foot Doors, Rewired PSIs

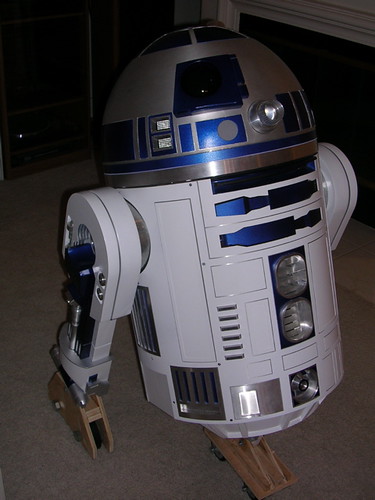
Thanks to a day of vacation, I was able to get a few things done.

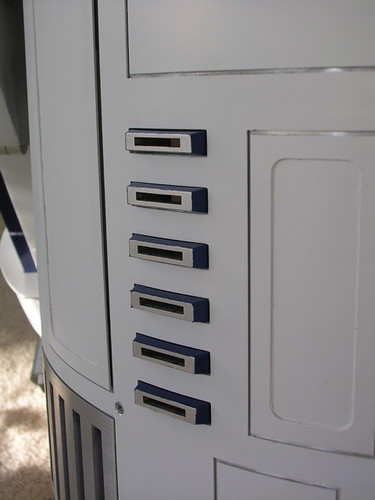
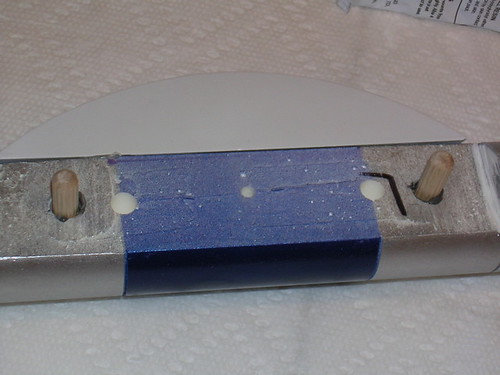
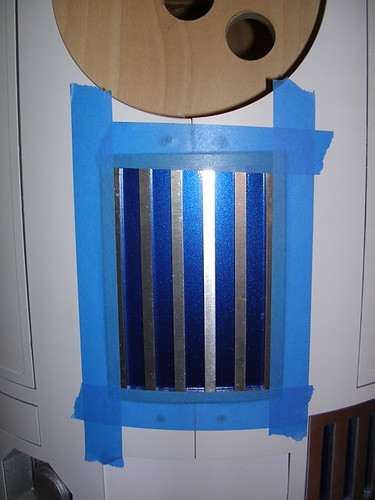
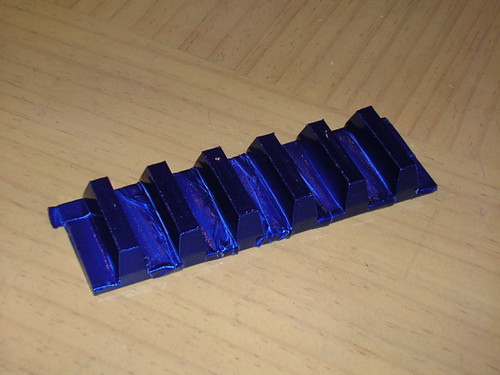
I started off by painting the coin slots with the usual Krider formula. I carefully masked the front face of each slot, along with most of the base.


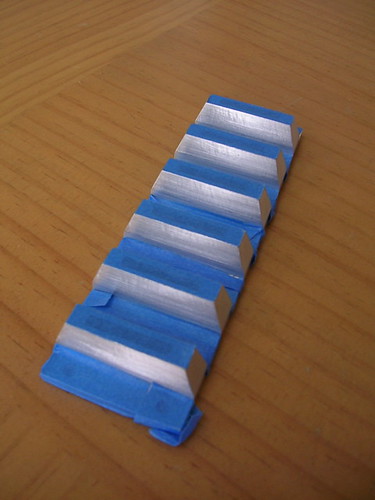
I'll let this dry for at least 24 hours before removing the tape. I certainly don't want to peel off any of the paint, so I'll have to go slowly and carefully.


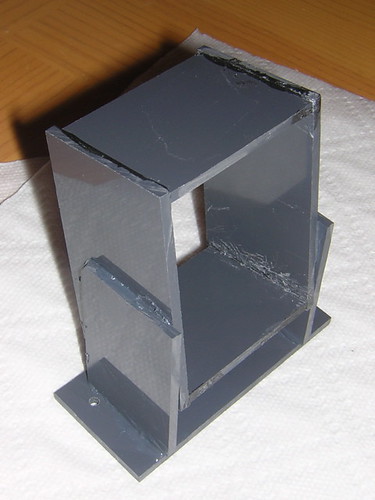
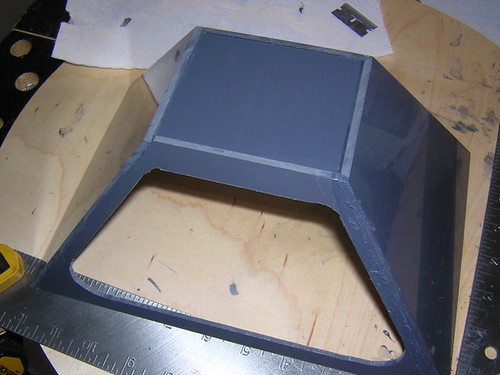
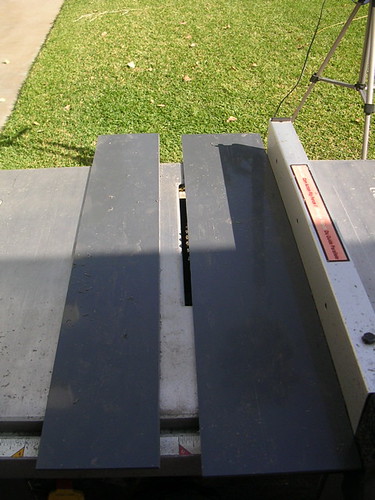
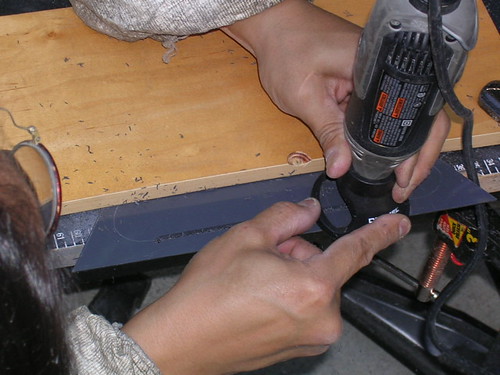
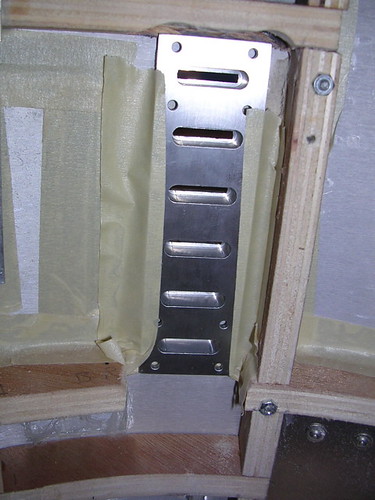
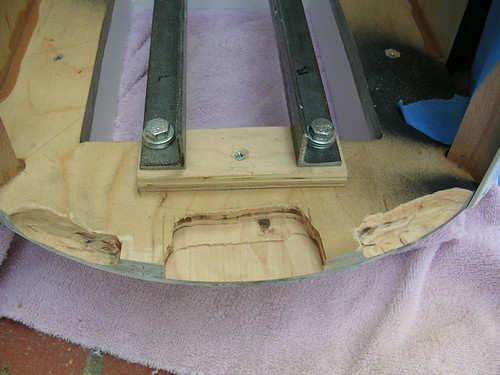
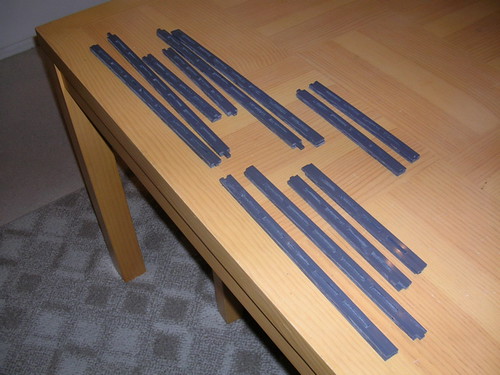
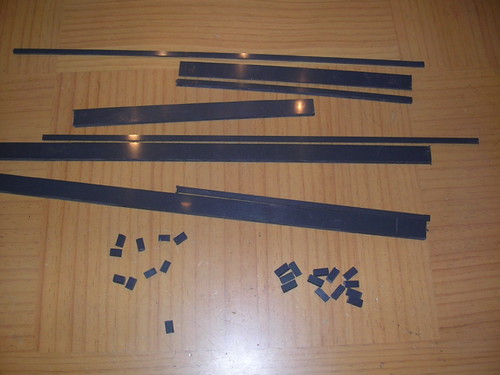
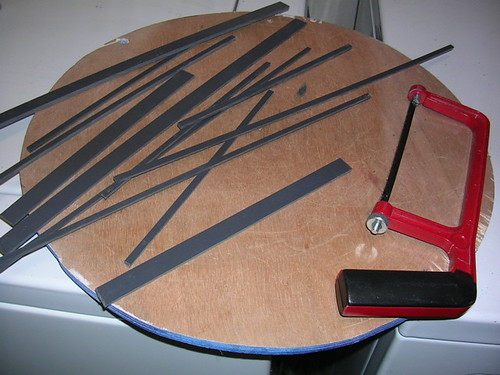
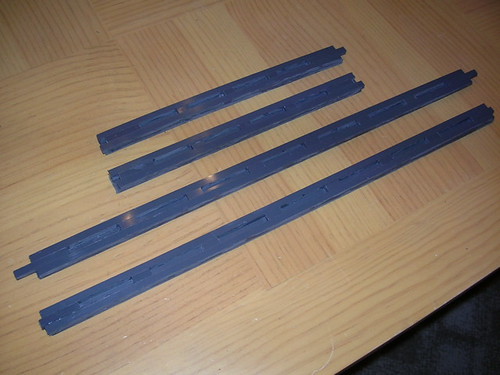
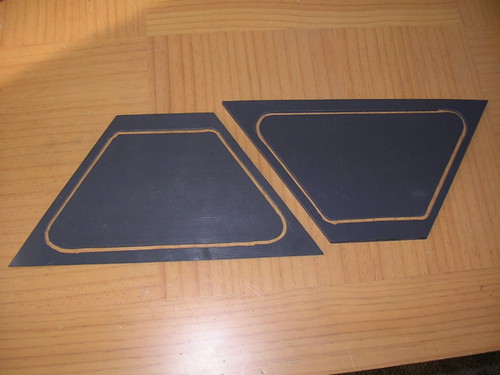
Next, I sanded the PVC crumbs from the doors of the center foot. There is some slight unevenness in the groove, but that should be fixable, if necessary.

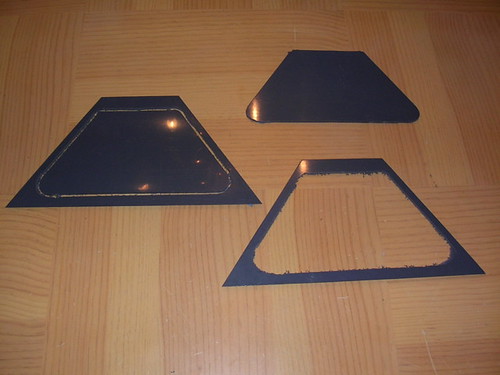
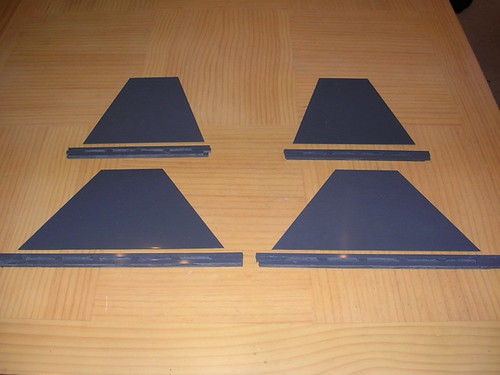
The center foot shell is ready for gluing. I just need to psych myself up for it. It really shouldn't be that big of a deal.


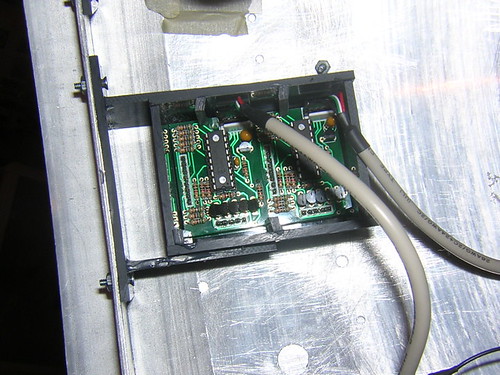
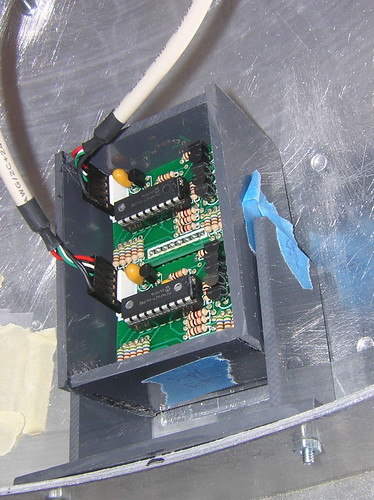
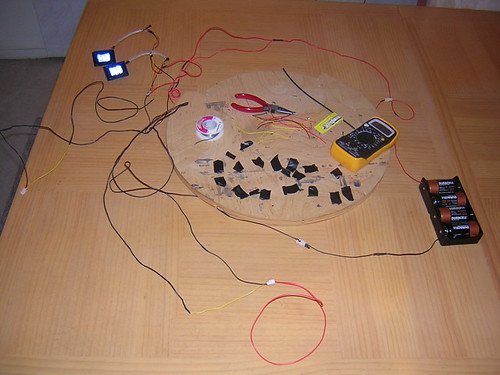
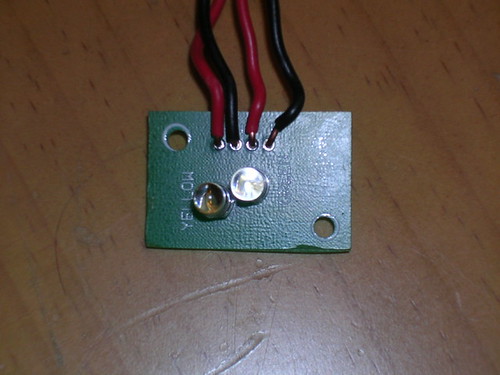
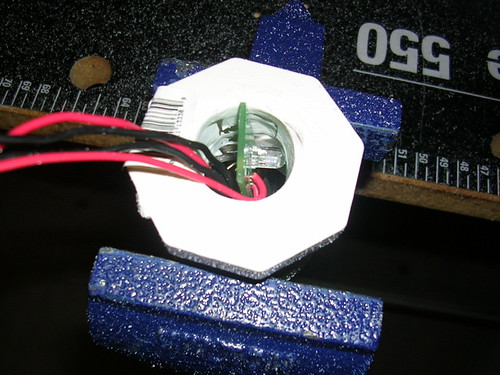
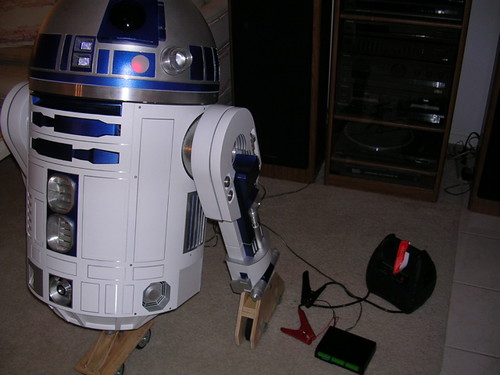
Finally, I redid the wiring for the PSIs. The first thing I did was swap out the yellow LED that I burned out yesterday. Then I undid all the wiring, and resoldered and used shrink tubing to get better connections.


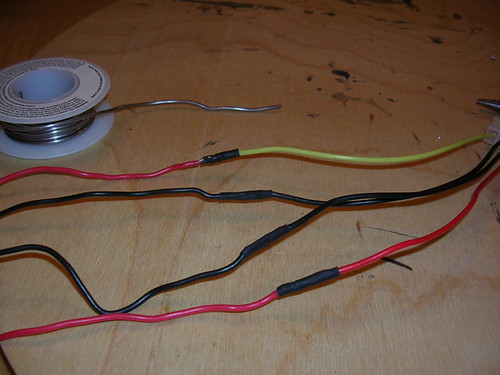
The PSIs seem a little brighter to me, which is good. I suspect I had a voltage drop due to poor connections earlier.


Next up, rewiring the front logics.

Tuesday, November 21, 2006

Fried Yellow PSI LED

Dang. Whatever the opposite of R2-building is, that's what I did tonight.

I was planning to redo my dome wiring this evening. Somehow, some way, I managed to burn up my yellow PSI LED. I really have no idea what went wrong. I was testing the wiring, and I heard a bad sizzle noise as the LED got really bright (and then went permanently dark), culminating with the smell of a burnt electrical component. Quite a sensory experience.

Luckily I have an extra PSI board with extra LEDs. Still, I need to get a replacement sooner or later. Bottom line: If the LED has a yellow tint when there is no power to it, that's a bad sign.

Monday, November 20, 2006

Bay Area Road Trip

Well, this was about as spur-of-the-moment as you can get. One minute I'm cutting PVC in Mike's backyard, the next we're packing his R2 into the van and climbing in for a 438 mile/7 hour-15 minute road trip each way, all in about 24 hours.

We were hoping to join fellow R2 Builders Saturday evening in time for dinner with Don Bies, but alas, we were just a bit late. Still, there was time to clown around near midnight in the parking lot at the local Chevy's, in Novato, north of San Francisco.


Sunday we visited the new Lucasfilm headquarters at the Presidio in San Francisco. My brother Jonathan, who lives in nearby Berkeley, was able to join in the merriment. Michael McMaster's son Kory was our C-3PO, while Mike Senna's R2 completed the pose.


Mike and I headed back to Southern California in the late afternoon. By nightfall, very heavy fog set in, so I didn't get home until after 12:30am Monday morning (and then I stayed up and typed this!).

Just another crazy adventure in droid building (that has little to do with actual droid building).

Saturday, November 18, 2006

Started Cutting Side Pieces for Outer Foot Shells

I went back to Mike's today to continue working on foot shells. I actually did all the cutting this time(!).

The outboard sides of the foot shells will be about 5.1" tall, with an 18 degree beveled edge at the top and bottom. So I tilted the saw blade 18 degrees and cut some PVC to be about 5.1" tall.


The building day was cut short for reasons that should be divulged by Monday. In the meantime, we are in for a lot of driving in the next 24 hours or so...

Friday, November 17, 2006

Back on Three Legs Again

I didn't get much done tonight other than put R2 back together.

I had been working on a number of minor adjustments during the week, including cylinder placement, aluminum coin slot and front power coupler installation, Dremeling of the frame, and other fun stuff. Additionally, I finally removed the blue tape from the side vents, and they seem to be holding securely.

It's kind of depressing to see R2 in many pieces, scattered about. I was glad to get him back together.

Thursday, November 16, 2006

Dremeled PSI Holders, Drilled Screws for Shoulder Hubs

I'm planning to (at least) partially rewire my dome, since there's a tangled mess of wires in there. Before I start to solder, I wanted to make sure I could get the small PSI LED boards through the holes in the PVC into which they mount. I had to widen the holes a bit with the Dremel drum sander. Now the small boards fit through the holes.


I'm also trying to take care of as many outstanding issues with the legs as possible, while they are still off the droid.

The shoulder hubs are going to be held in place with rare earth magnets, which will be attracted to nuts behind the shoulder hubs. The right leg already has nuts and bolts in the correct location for this to work, but the left leg has the nuts and bolts spaced too far apart for the back of the shoulder hub to hit it. This is because the gas pipe holder on the left leg is larger than that of the right, since the right leg's 3/4" gas pipe fits into the left leg's 1" gas pipe.

The gist of all this is that I needed to drill four new holes in the left leg's backing plate, and screw down four nuts that will meet up with the left shoulder hub's magnet.

First I took the assembly apart. The gas pipe is JB Welded into the gas pipe holder, but everything else can come off.


Next, I marked and drilled the backing plate.


Then I put everything back together, with four new nuts in place. Soon I will install the magnets in the back of the shoulder hubs.

Wednesday, November 15, 2006

Reglued Left Cylinder Wedge, Secured Coin Slots & Front Power Coupler

This morning I used silicone to reglue the cylinder wedge on the left leg to the newly reseated cylinder.

In the evening I worked on securing the coin slots in place. Not having enough wood left for screws to dig into, I decided to bend some metal bar into an 'S' shape.


Then I screwed the bar onto the frame, thus pressing the coin slots in place.


That worked pretty well, so I applied the same idea to the front power coupler, which until now had been held in from behind by the high-tech solution of wadded newspaper.

Tuesday, November 14, 2006

Reseated Ankle Cylinder on Left Leg

Tonight I fixed the left ankle cylinder that had been sitting improperly on the leg, not allowing the cylinder wedge to rest against both the cylinder and the leg.

First I widened the previously drilled holes. Original holes were 1/4" in diameter, I widened them to 5/16". Note that there were already two pairs of holes in the cylinder from my first go-around. I can't even remember why now, but it was probably an error.


Next I globbed some JB Weld onto the 1" long, 1/4" diameter wooden dowels, and shoved them back into the widened holes. This gives them some room to wiggle when I attach this to the matching 1/4" diameter holes in the leg. The JB Weld will dry overnight, locking the dowels into the proper position in the widened hole. That's the theory, at least.


Now the cylinder wedge is rests on the leg and cylinder just like it should. I may need to detach and reglue the cylinder holder to the bottom of the cylinder, since the cylinder moved a bit and now there's a small gap between the cylinder holder and the leg.

Monday, November 13, 2006

Adjusted Center Ankle Cylinder

Back on September 1 and September 2 I installed the ankle cylinders. One of the cylinders on the center leg and the cylinder on the left leg never sat quite right. With the legs off now, I was able to fix the center leg tonight, I'll try for the left leg tomorrow night.

What about the feet? Mike said to hold off on those, he's checking the width of the groove that was cut yesterday.

I also played around with the sound system a bit more tonight.

Sunday, November 12, 2006

Center Foot Doors Cut Out

Time to cut the doors out of the center foot's sides. The doors will be removable on all three feet to allow access inside the shells without having to take the feet entirely off the droid.

It was all Mike today. Mike removed the door from his first R2's center foot, and he used it as a template to mark lines on the PVC to guide the cutout on the sides of the center foot.

Mike then used the Dremel tile cutting attachment to route out the doors. A straight edge from a wooden board guided the straight cuts. The curved corners were done freehand.


I'll sand the PVC crumbs off, and then the center foot will be ready for glue-up!


This took pretty much the whole afternoon. Once again I am very indebted to Mike.

Saturday, November 11, 2006

Hacked on Frame, Glued Down Side Vents

Time to break out the Dremel again.

There were a few things I wanted to get done today, and though removing the legs is getting to be a bit of a pain, doing so made the job easier.

Today I cut down a couple of the horizontal ribs, in order to accommodate the new aluminum coin returns. There's just enough material left to screw the coin slots down (I think), but for now they are taped in.


I also had to widen some cuts to the frame's base plate, to make room for the rear coin returns. Back on May 4 of this year I had cut the frame for the same purpose, but I didn't realize that I had reversed the left and right returns. Now that I've fixed that, I had to gouge out some more material.


Finally, I used silicone to glue down the side vents. I'll let this set for a few days and then remove the tape. With the side vents in place, it will be a real pain to ever remove the skins again (even more so), since they go across the seams.

Friday, November 10, 2006

Finished Gluing PVC Strips for Feet

In a replay of Wednesday night, thirty-eight more pieces of PVC were glued together for the second outer foot.


Hooray! I'm done gluing the strips for all three feet. I think I'm loopy from all the PVC glue.

Thursday, November 09, 2006

Yet More PVC Cutting, Artoo's First Words

Recalling that I am counting-challenged, I realized yesterday I still wasn't done cutting out all the strips of PVC for the bottom of the outer feet. Tonight I finished the cutting of these strips and small pieces (for real). Tomorrow I hope to glue them up.


I decided to do something a bit more fun afterward, and worked on programming sounds for the CFSound III system. (I did this from my Mac Dual G5, btw.) It took a couple of tries to get the .wav file into the format required by the system, but eventually R2 said his first words. The stereo speakers in the background of most of my pictures finally were put to good use!

Wednesday, November 08, 2006

Coin Slots Arrive, Started Gluing Outer Foot PVC Strips

Another quality part from Michael McMaster arrived. Today it was the coin slots. I'll need to hack on the frame a bit to get these to fit, but it will be well worth it.


I sawed more PVC strips to size for the outer feet on my workbench/washer/dryer.


Thirty-eight more pieces of PVC were glued together to form the bottom part of one of the outer foot shells. I didn't really realize just how many individual pieces of PVC will make up these foot shells. It will be a lot, like 135, not counting internal structure and reinforcements.

Unlike the center foot, I have not yet cut the main side pieces for the outer feet yet, so I had nothing to match these up against.

Tuesday, November 07, 2006

Glued Side Vent Back Plates, Finished Gluing Center Foot PVC Strips

I glued down the back plates of the side vents with silicone. Will they hold? Only time will tell.


I also finished gluing the strips of PVC for the center foot. Next I need to work on the strips for the outer feet.