Monday, January 31, 2011

Glued Lens Into Eye

Time to finish up work on the eye. All that remains is to glue the opaque lens in place.

I am using GE Silicone II to glue in the lens. I did the same for droid #1, and the lens has withstood three and-a-half years of poking and prodding without coming loose.


On goes the silicone.


I smeared the silicone around the edge, and I'll let it dry for a good 24 hours or so.

Sunday, January 30, 2011

Drilled Legs for Ankle Details, Applied Foil Tape to Eye

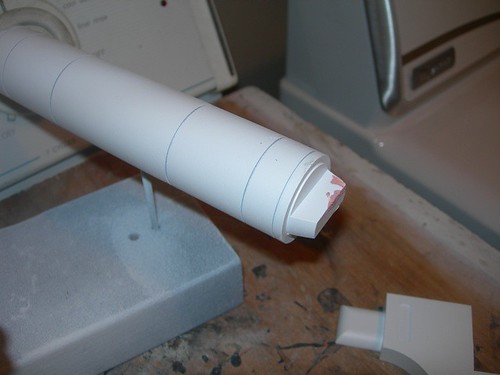
I got a little work done on the legs and eye today.

Earlier I 
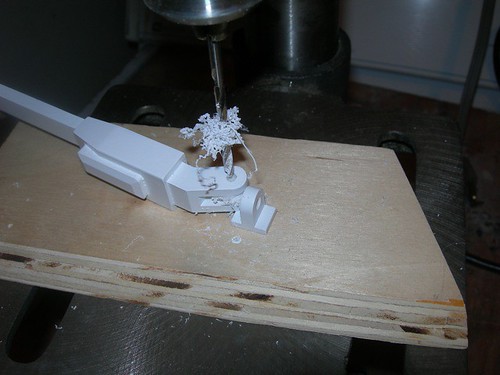
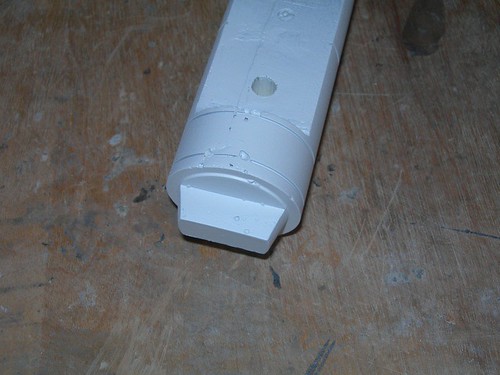
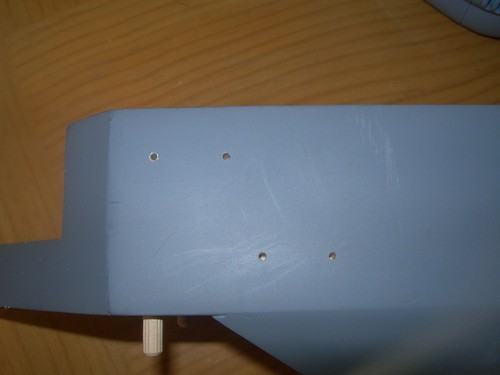
had written that I would wait to drill the holes in the legs for the ankle details until after I had painted the legs white, but I changed my mind and decided to drill them today, mainly because I don't know when the weather will cooperate enough to paint them. (It rained here today.)

I used the same template that I used to drill the holes in the back of the resin ankle details.


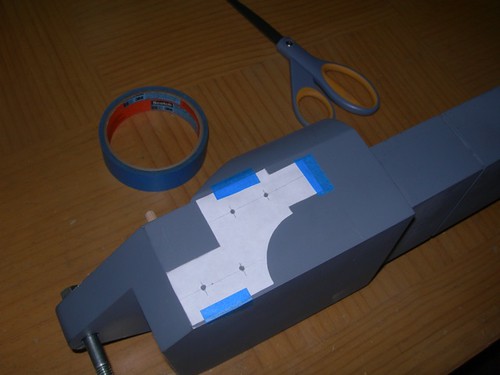
Here's how a professional sets this up. It takes years to collect just the right phone books.


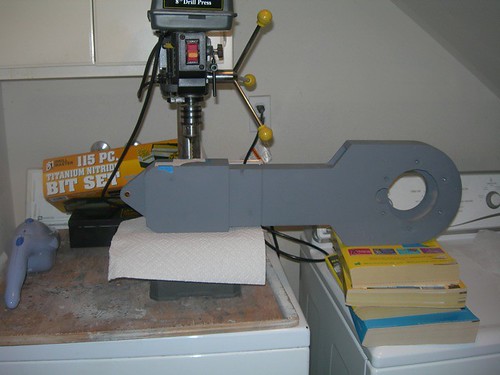
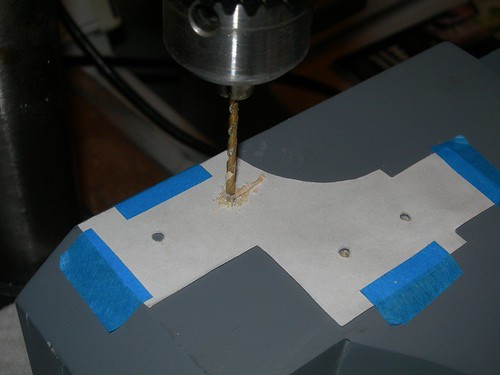
I centered the #43 drill bit, and drilled about 3/8" deep. This is 1/8" deeper than I drilled the ankle details, I want to ensure that the holes will accommodate toothpicks that are 1/2" long, give or take a little.


Once I drilled one side on each leg, I flipped the template over and drilled the other side.


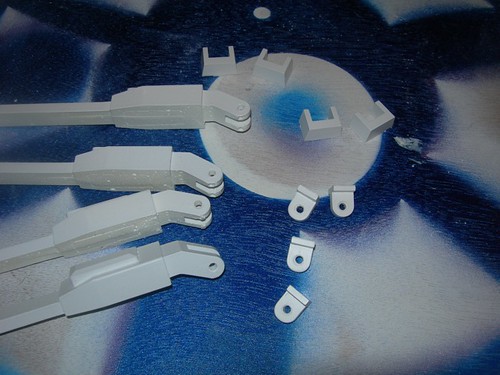
I sincerely hope these holes match those on the backs of the ankle details. They should, this worked with droid #1. I did not actually try fitting the ankle details onto the leg, because they can be difficult to remove, and I'd rather wait until I'm ready to mount them in place for good, which will come after final painting of the legs.


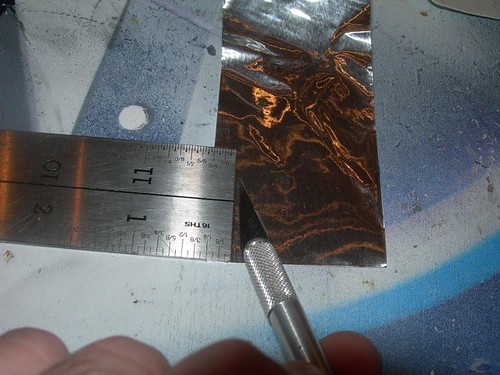
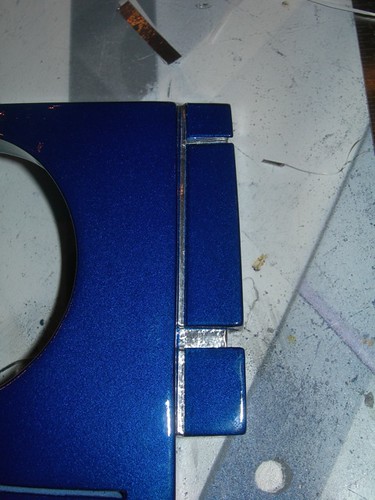
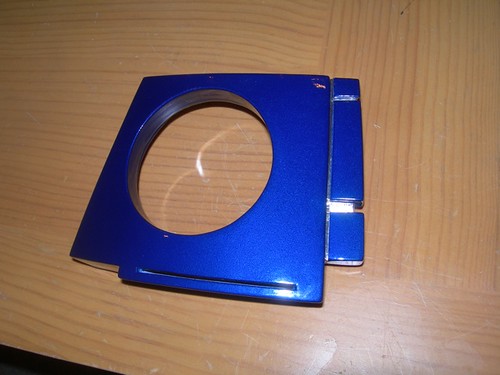
In the evening, it was time to apply the foil tape to the grooves on the right side of the eye. There are various approaches to adding this color, such as painting, using a metallic-colored pen, auto pin striping, etc., but I opted to use the foil tape, once again.


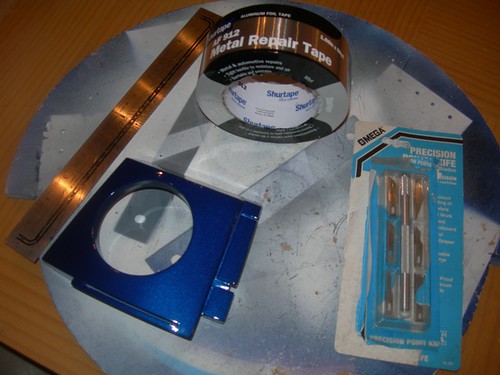
I will admit that it's a trial-and-error process for me, getting the strips to the right width, and not crinkling the foil tape. But with 50 yards of tape, there is some room for error.


The first piece is in.
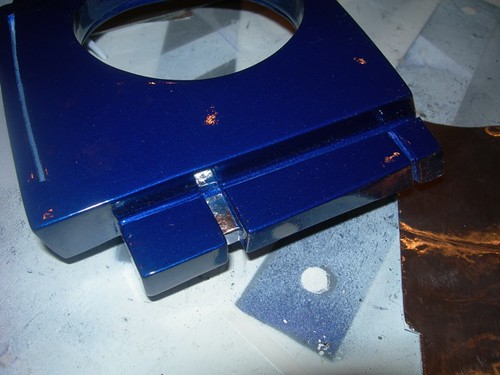


As is the second.


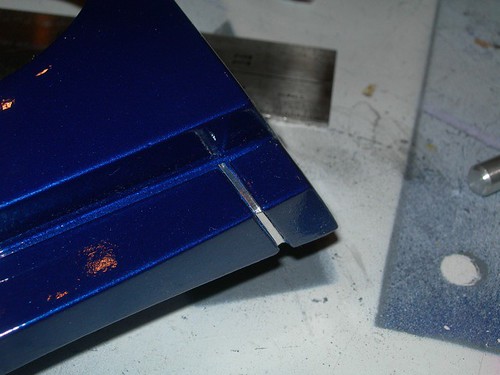
And finally, the long third piece.


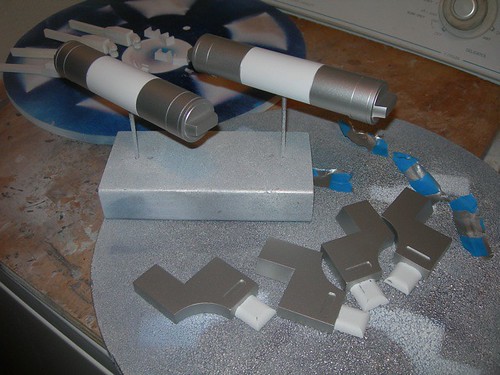
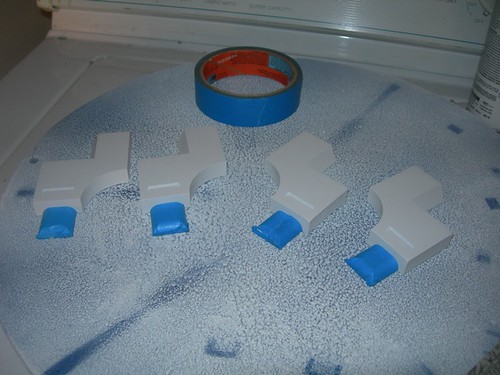
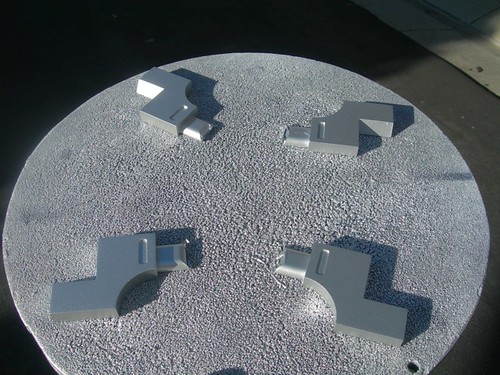
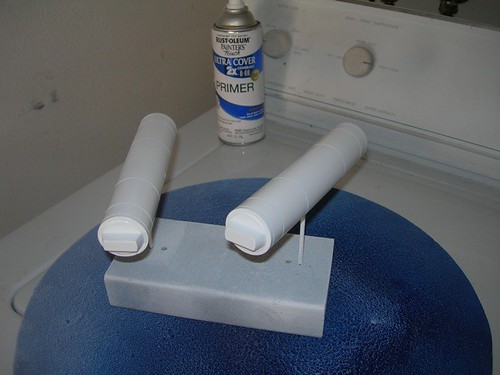
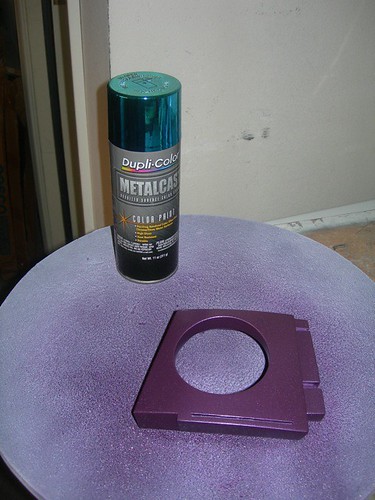
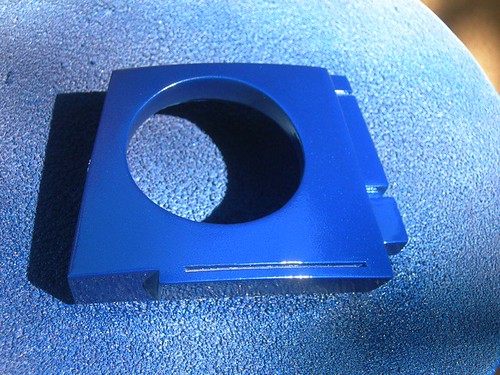
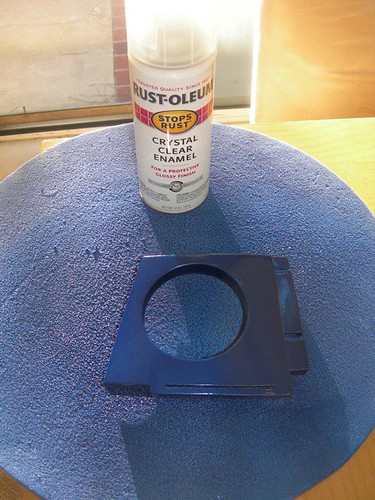
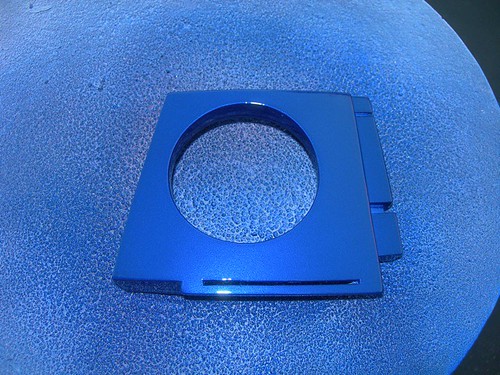
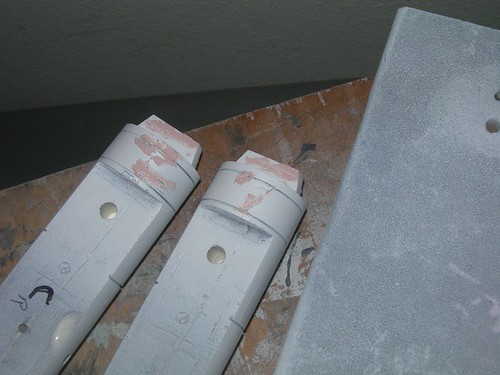
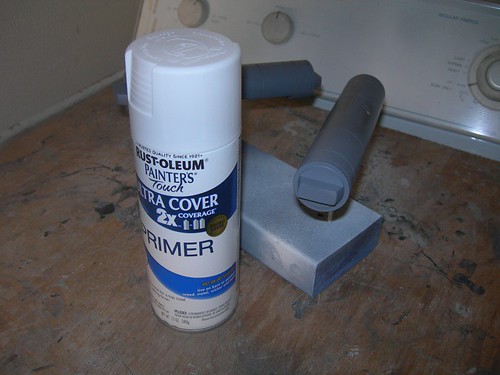
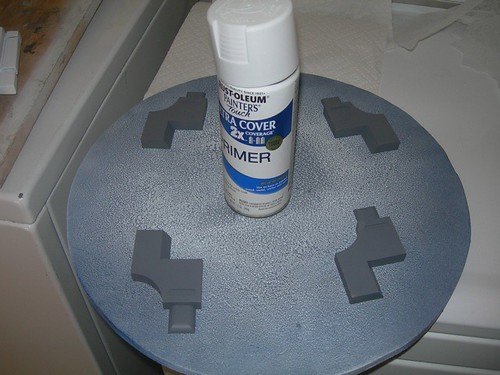
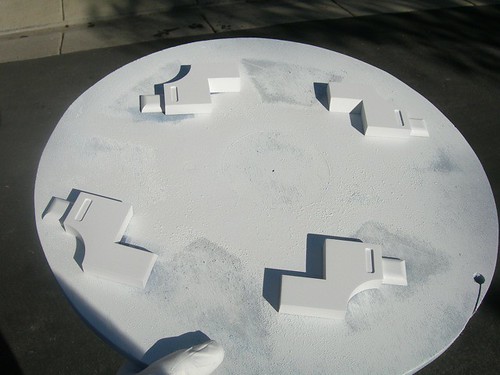
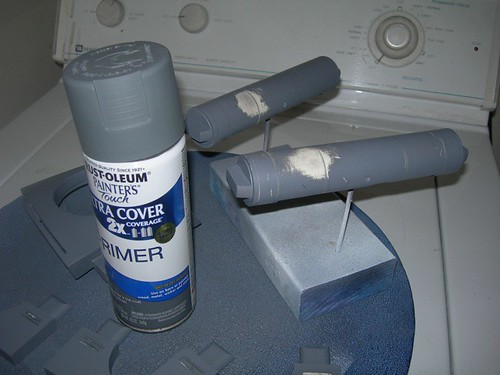
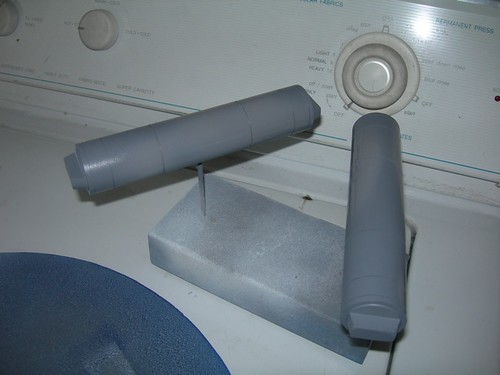
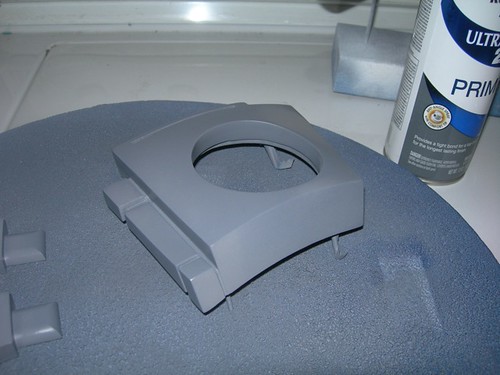
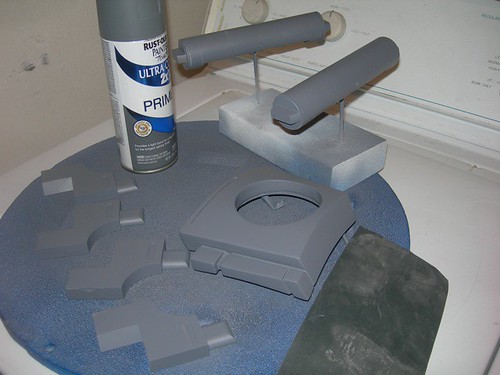
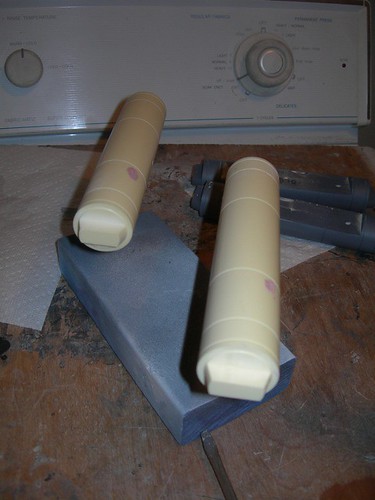
I also unmasked yesterday's painting job on the ankle cylinders and ankle details. The dark areas on the ankle details aren't due to leaked paint, they are the areas I sanded with black 600 grit sand paper. I'll probably give them a mist coat of primer before painting those areas blue.

Saturday, January 29, 2011

Started Painting Ankle Details, Center Ankle Cylinders, Drilled Battery Box Harnesses

Today I had some time to do some aluminum-colored painting. I had debated on whether to go with the very reflective Valspar Brilliant Metal paint, or stick with what I used on droid #1, the Krylon Chrome Aluminum. In the end, I decided to go with the less reflective Krylon, because the aluminum parts on my droid are not very shiny, and I'd rather have the parts that are painted to look like aluminum match the real thing.

I am painting the aluminum-colored areas first, and then I'll paint the blue areas later, since it's easier to fix the the aluminum areas if blue should accidentally leak onto the areas that should be aluminum-colored. Thus, I first masked the areas on the ankle details that will get painted blue later.


A couple of coats of the Krylon Chrome Aluminum sufficiently covers the parts.


Next, I masked the area that will be painted blue on the ankle cylinders for the center ankle, and prepared to paint.


Again, two coats does the job. By this time, the shadows had set in.


I wrapped up the day by drilling the holes in the battery box harnesses that will accommodate a 1/8" pin. The blueprints call for a 5/32" (0.15625") hole, but as with droid #1, I went about 0.03" smaller and drilled a 1/8" (0.125") hole, since I already have some 1/8" rod handy.

For the main body pieces of the battery box harnesses, I used one of the small top pieces to help support the part during drilling, taking care not to drill the small top piece in the process.


I then drilled the small top pieces.


All the holes are done. I still need to cut short segments of rod.

Friday, January 28, 2011

Primer for Ankle Cylinders and Battery Box Harnesses

I had a little time to apply some primer today, a day earlier than I thought I'd have time to work on these parts.

The ankle cylinders needed some touch-up primer. I intentionally laid down a couple of heavy coats to help fill an area on one of the end caps that got chipped when I dropped the part last week. I'll sand this smooth soon.


The battery box harnesses have been patiently awaiting their turn for primer, so today I applied the first coats. I'll also sand these smooth and check for any areas that need filling. Also, I forgot to drill out the area at the top of the parts, so I need to do that before going any further.


Finally, because I can't help myself, here's a picture of the recently painted eye in sunlight. I still need to apply foil tape to the areas that will be silver, along the right side.

Saturday, January 22, 2011

Painted Eye, Ankle Cylinder Touch-Up

Today I was hoping to finally paint the resin eye. Was I successful? Ignore the title of this post and find out.

Since this part is "eye-catching" (ahem), I decided to wet sand the primer with 600 grit sand paper, to get the surface as smooth as possible.


A minute or two with the wet sand paper, and it's nice and smooth.


After wet sanding, I gave the eye a light coat of primer, in preparation for final painting.


Okay, let's try the purple again.


So far, so good. No crinkling or spiderwebbing whatsoever.


Next up, blue.


Still looking good! I think I'm past the danger zone now.


Finally, two clear coats, fifteen minutes apart.


Yea! It looks good! I guess all that prep work paid off (or, I lucked out).


I had wanted to paint the ankle cylinders and ankle details too, but as I closely inspected the back side of the cylinders, I noticed a few small voids that I wanted to fill.


I don't know if I ignored these earlier, or simply didn't notice them, but I decided to fill them.


But I wasn't done with them. First, I had to drop one onto the cement floor and damage the end (you can skip this step), which necessitated another round of filling. That's where I wrapped it up for the day.


I won't be able to do any droid work until next weekend at the earliest, so it will be a bit quiet here for a while. In the meantime, you can bask in the glory that is the complete photoset of the eye, including extra angles and pictures without the flash. :)

The link is here.

Friday, January 21, 2011

White Primer for Eye, First Set of Ankle Cylinders and Ankle Details

Late today I had a chance to apply white primer to the resin eye, the pair of ankle cylinders for the middle leg, and the ankle details. I just might be able to paint tomorrow after all.

The gray primer on the eye is about to get a lot brighter.


I applied not one, not two, ..., not five, but six light coats of primer. Why so many? Because I was trying to keep the primer from running, so I applied relatively light coats at as long an arm's reach as I could muster. Plus, I want to be able to lightly sand this smooth tomorrow without worrying about sanding the primer completely off.


Here's a less blinding shot in the shade. Some trivia: The eye is sitting on what was once a perfectly flat piece of plywood, a scrap from my frame on droid #1. Those round things on the wood are from years of spray painting.


Next up, the ankle cylinders.


I made sure to hit the thin grooves. I saw a slight drip that will need light sanding, but I don't think it will be a problem.


Finally, the ankle details.


These are good to go too.


With any luck, tomorrow I will take another shot at the final painting of the eye. Time permitting, I will mask the cylinders and ankle details, and paint the silver portions. Blue will have to wait for another day.

Thursday, January 20, 2011

Wrapped Up Finishing Work on Eye and First Cylinders, Evercoat for Second Cylinders

Time to apply some gray primer to the ankle cylinder work to see if they are good to go.


They're good to go.


Next, let's check on the eye.


Looks good too!


I also sprayed a little primer into the shallow slots on the ankle details, after I had smoothed them out yesterday. They also look ready.


Finally, I realized that I had forgotten to perform the same filling steps on the other two ankle cylinders, so I applied Evercoat to the areas that needed it, and I'll let this dry overnight.


I'm in a bit of a race against time. If I can't get the eye and other pieces properly primed with white primer tomorrow (and that's very much in doubt), then I won't be able to paint on Saturday. If I don't paint on Saturday, I won't have another opportunity until next weekend. I have a feeling it will all have to wait.