Wednesday, May 31, 2006

Watching Paint Dry

This morning I painted blue the masked slots in the booster cover tops. Tomorrow I hope to glue the bases back on these so I can resume work.


In the evening I started sanding the portions of the utility arms that bump into the skins as they swivel open. I hope to finish that tomorrow too.

Monday, May 29, 2006

Booster Cover Slot Work, Trimmed Utility Arm Rods

Once again I didn't get a whole lot done, due to other activities during the day.

I've been going back and forth as to how I want the slots in the booster cover tops to look. Originally I was going to leave them empty, but that's not what the blueprints call for (nor is it how R2 really looks). I finally decided today to fill in the slots the way the blueprints specify, so I cut some MDF and sanded it to size. Then I hit it all with another coat of primer, in preparation for painting. I can't really do much more with these pieces until the paint is dry, and I glue the bases back onto them.


Later, I measured, marked and rough-cut the utility arm rods, and then iteratively test fitted and fine-sanded them to size.


I don't think I'll have a chance to do any building tomorrow (Tuesday).

Sunday, May 28, 2006

Booster Cover Slot Primer, Started Working on Utility Arms

Today I was somewhat busy with other stuff, so I didn't get much done.

In the morning I applied some primer to the slots in the booster cover tops, so paint will stick better after these are glued back together.


In the afternoon, I started the first modest steps on the utility arms. I drilled 1/8" holes in the utility arm pivot points, and JB Welded 1/8" metal rods into them. These will be cut down to size soon.


Saturday, May 27, 2006

Booster Cover Work, Installed HPs and Octagon Ports

Today was fairly productive.

I returned to work on the booster cover tops, where the curve still required sanding. I tilted the drill press table to the proper angle, and using the drum sander, finished sanding out the curve on top for both booster covers.


Since I couldn't wait to see the holoprojectors in the dome, I tackled that next. For now, I am using clips used for a bicycle chain to hold the HPs in place. This seems fairly sturdy, but I may go with another solution before I'm done. I was able to use the screws I placed in the dome earlier to anchor the clips. With those HPs installed, R2's dome is looking more and more real.


Finally, I painted black the outward facing sides of the paddles that hold the octagon ports in place. Once they were dry, I screwed them into the frame, completing the octagon port portion of the build.

Friday, May 26, 2006

Drilled Octagon Ports, Dado Cuts for Booster Cover Tops

After recovering from my giddiness at receiving my holoprojectors, I got back to work.

First, I drilled the backs of the octagon ports to accommodate screws for attaching a paddle that will hang from the frame on the inside. I cut off the ends of some #4-40 screws and glued them in the holes.


Next, it was time to make dado cuts into the booster cover tops. My friend Kelvin came over to help with those, since they require a change-out of the saw blades, and I don't know what I'm doing when it comes to that (and most everything else). Kelvin did the actual cutting, which was fine with me.


Lots more work to do on these booster covers, but they are coming along slowly but surely.

Aluminum Holoprojectors Arrive!!

Oh happy day! The day I thought would never come, the holoprojectors that I ordered back on June 8, 2005 arrived today. The are absolutely beautiful, I can't wait to mount them in my dome!


Thursday, May 25, 2006

U-channels Arrive, Finished Cutting Doghouses

Back from a business trip to Cleveland, I was able to resume building activities.

Darryl's U-channels arrived in today's mail, and they appear to fit my budget feet very well.


I had a chance to finish cutting the half-cut doghouse, and cut a new doghouse to replace the ruined one from the weekend. I hope to work on the top part of the booster covers this weekend.

Sunday, May 21, 2006

Booster Cover Progress & Setbacks

As the title says, today was a mixture of progress and setbacks, pretty much intermixed as the day went on.

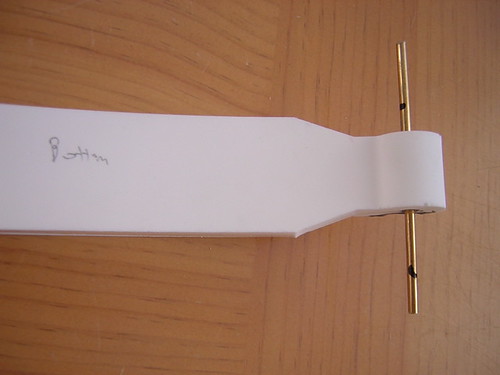
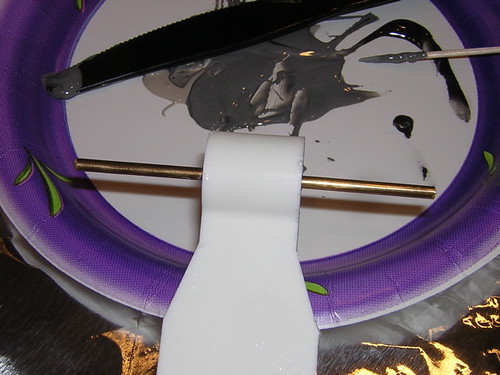
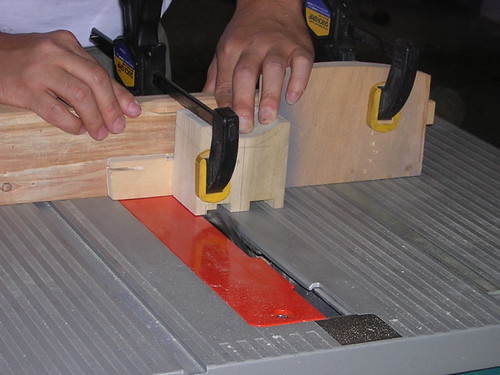
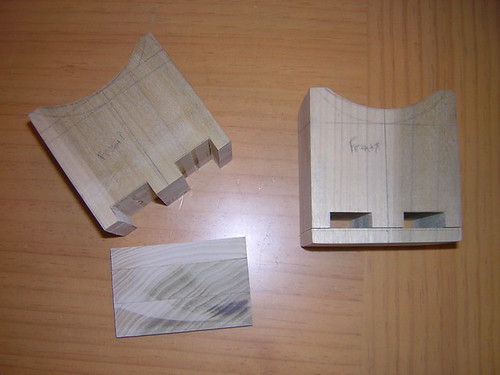
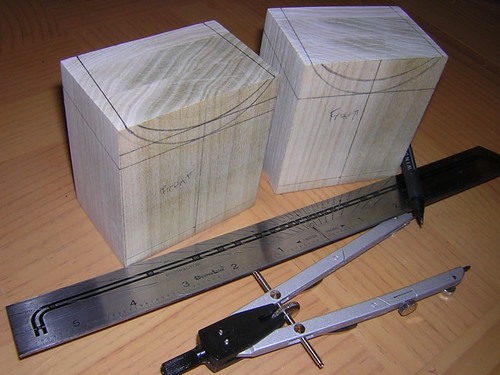
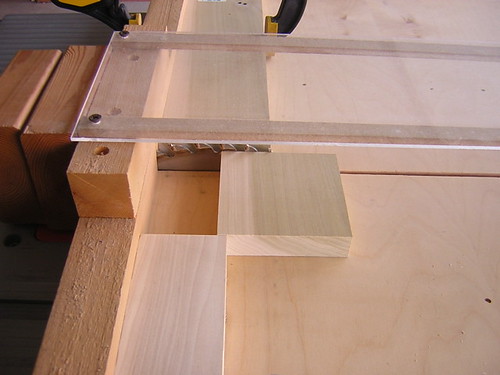
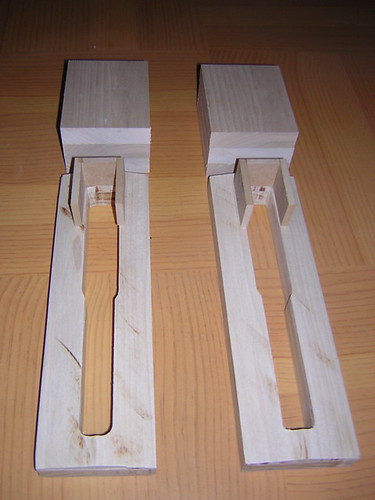
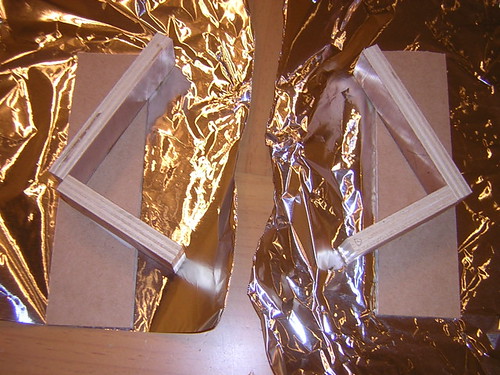
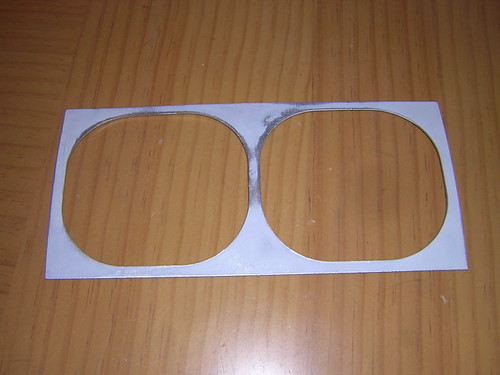
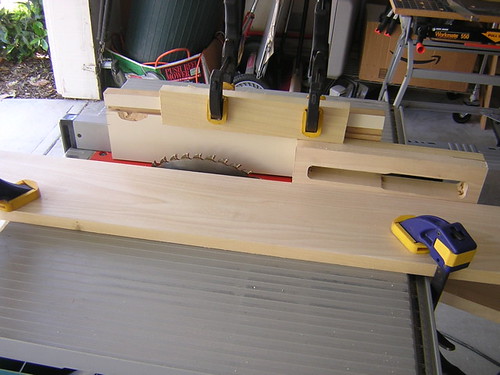
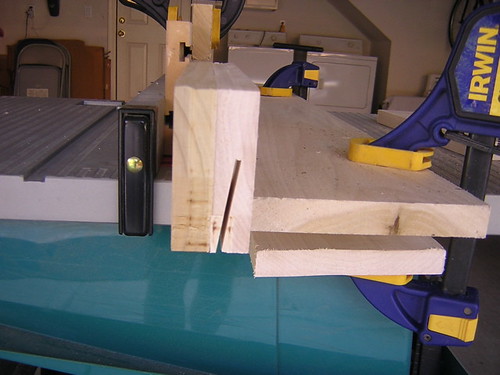
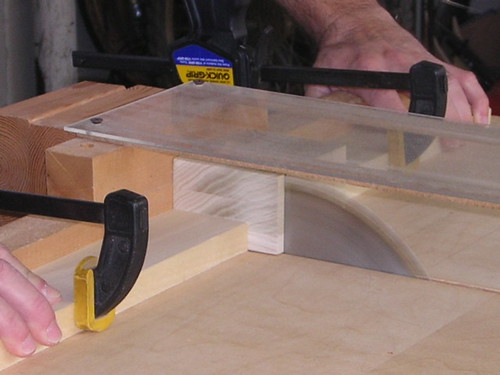
First, it was time to use my doghouse templates to do the angled cuts. I tilted the saw blade to the same nine degree angle that matches the top of the booster cover, on which the doghouse will sit. I always hate to get my fingers anywhere near the saw blade, but I survived fine.


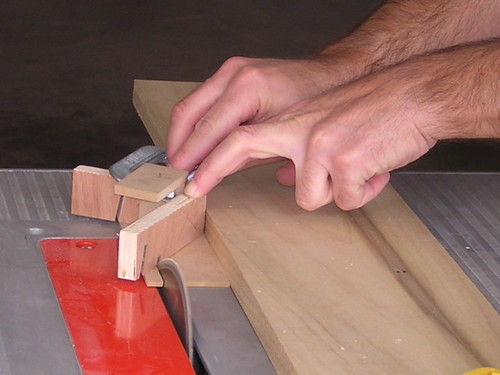
Okay, the first pass turned out okay. Time to cut the other side of the doghouse with the mirror-image jig. Uh-oh. I found out after the fact that the other jig was not a mirror image after all. Doghouse ruined :(


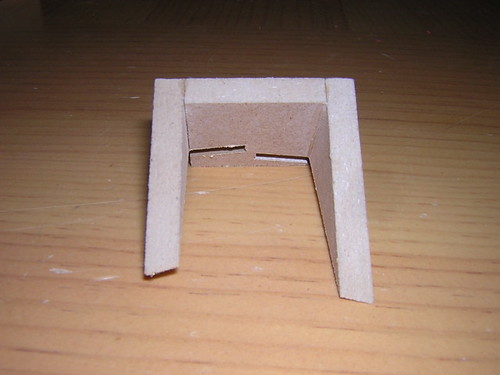
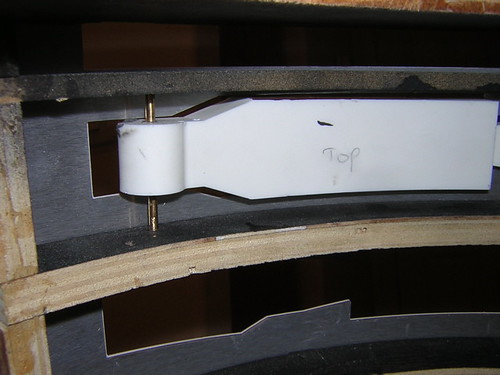
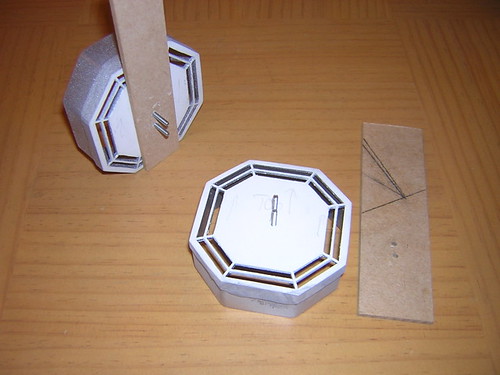
Luckily I had cut the parts for a spare doghouse last week, so I can use that to replace this one. Needless to say, I did not attempt to use the faulty template on the second doghouse, so it has only one side trimmed. I also made a new template to replace the defective one.


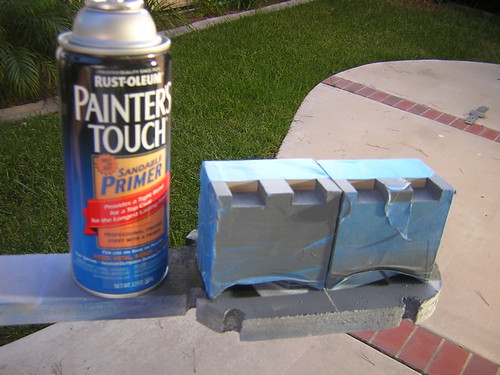
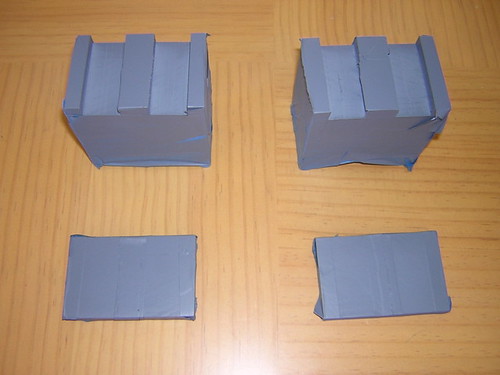
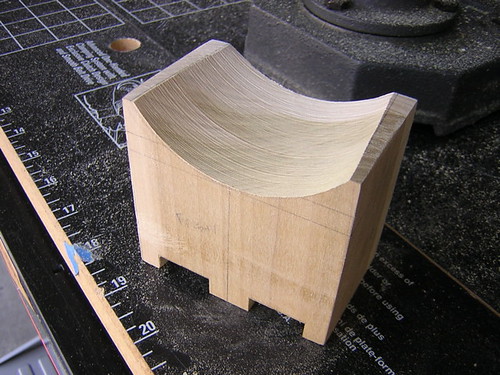
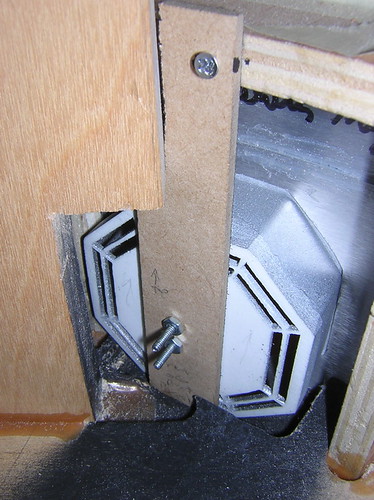
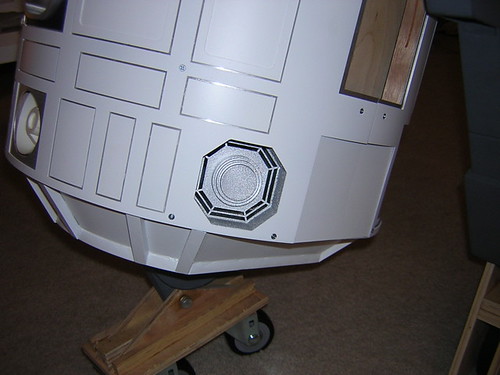
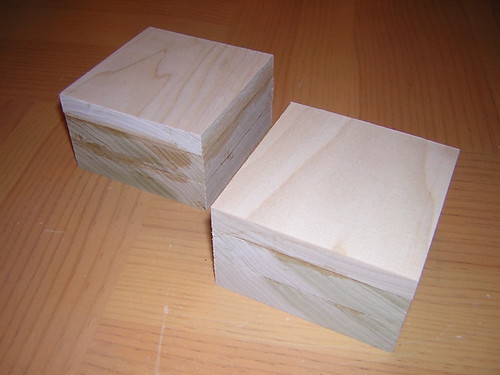
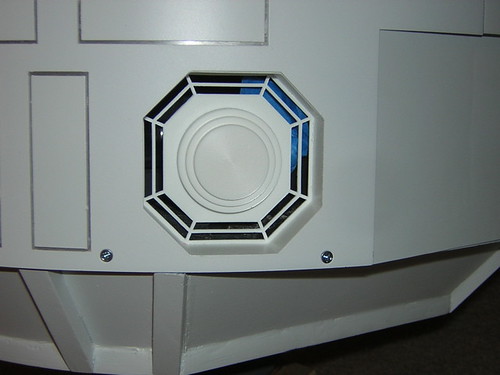
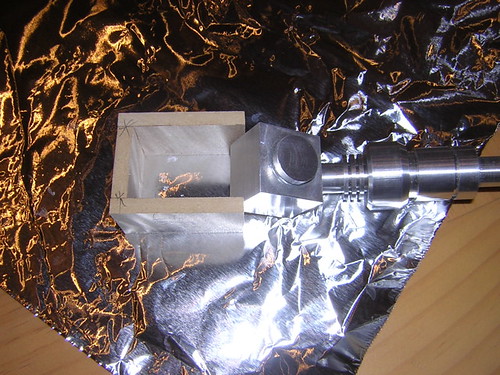
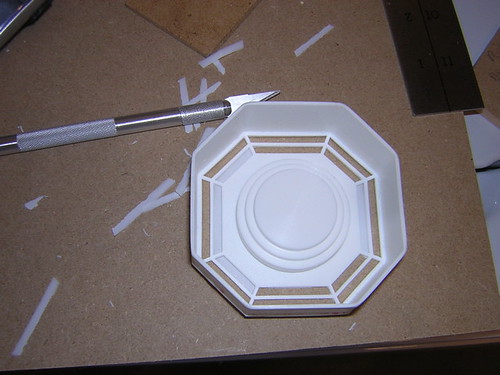
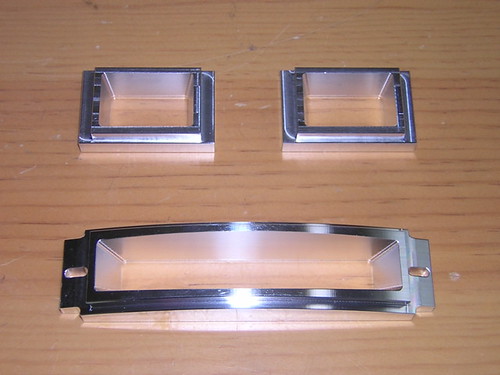
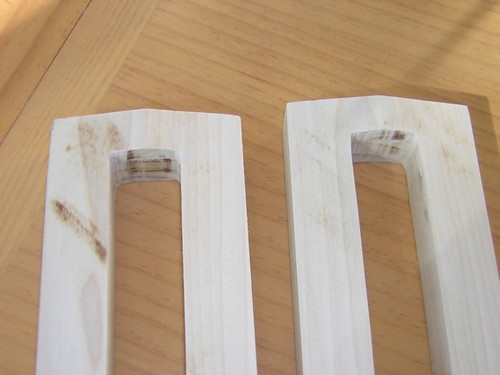
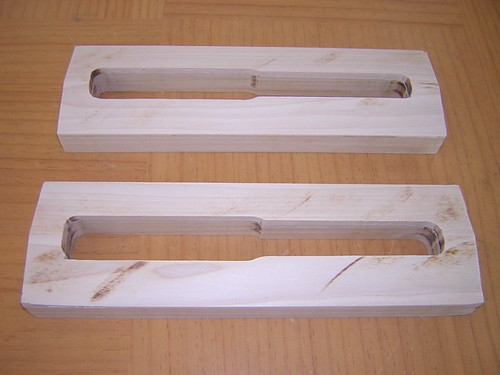
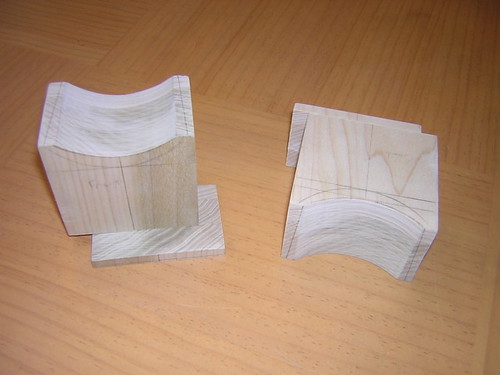
Next, it was time to move onto the top part of the booster cover. I needed to make a cut 1/4" from the bottom of the block, so that I can cut the grooves in the block where they belong. Later I can glue this end cap back on. The cut for the first booster cover top went fine. While cutting the second booster cover top, the block kind of lifted as I cut it, so I had to stop mid-cut, and finish it off with a hacksaw by hand. :(


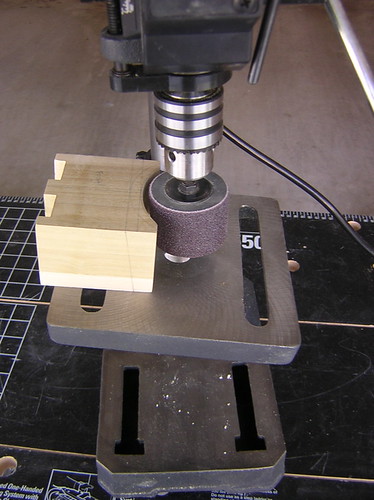
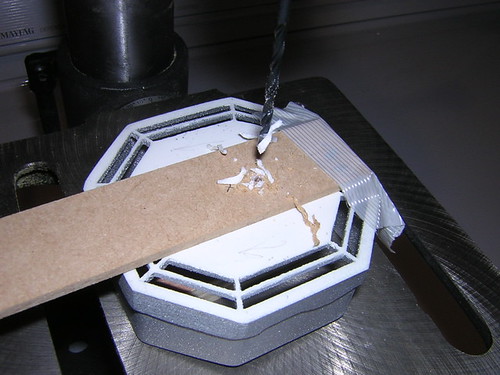
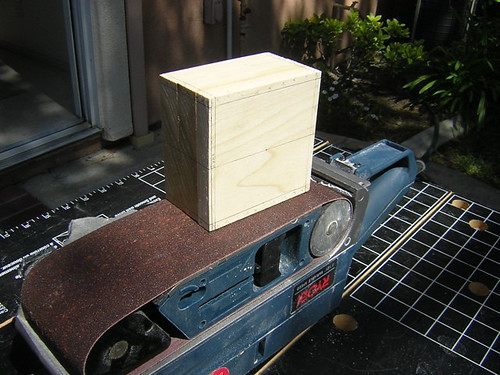
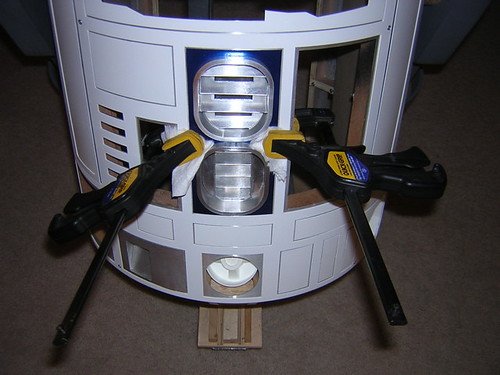
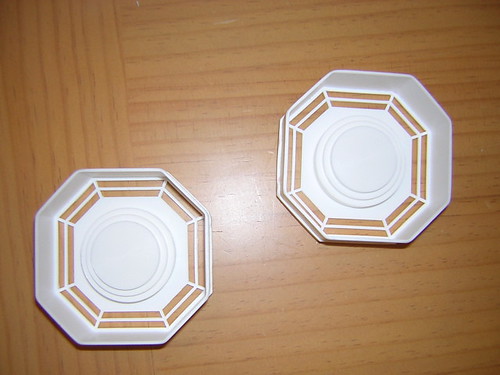
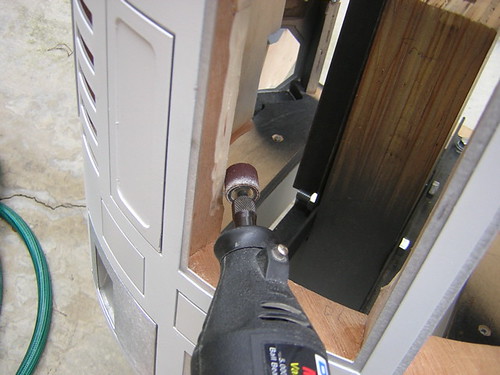
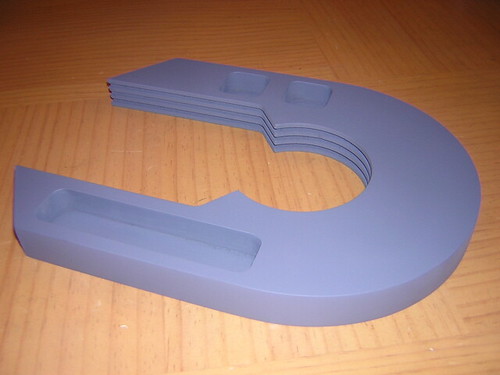
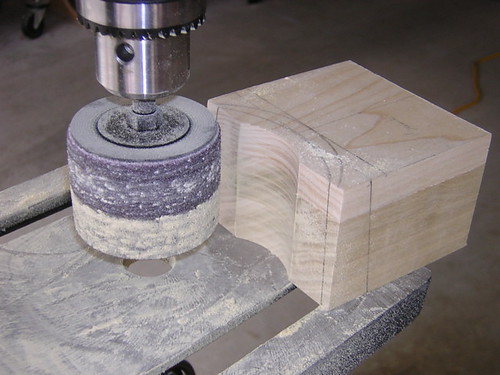
With those cuts done, I started working on the curved part of the booster cover tops. Following some guidance from Alan Wolfson, I used the drill press with the sanding drum attachment. This worked pretty well. I've only sanded out the shallowest of the two arcs. I will need to progressively sand out the larger arc later.


So it was a day of mixed results. I made some progress on the booster covers, but I'll have to redo some of the work. Oh well, that happens.


Note: I won't be able to do any building until this Thursday at the earliest, so no updates for a few days.

Saturday, May 20, 2006

Repainted Octagon Ports, Sanded & Marked Booster Cover Tops

In the morning, I repainted the octagon ports with Krylon Chrome Aluminum. Hmm... I'm still not super happy with the look, too glittery. What's a malcontent to do? We'll see, maybe I can live with it.


In the afternoon, I sanded the booster cover top rough-cuts to size using the belt sander.


After that, I marked them up in preparation for some cutting and sanding that will be required to continue to shape them. It took me a lot longer to mark these up than I would have guessed. Things always go slower when you don't know what you're doing...

Friday, May 19, 2006

Recut Booster Cover Tops

I decided it would be for the best if I recut the booster cover tops to be closer to their final dimensions, so I did so. I will belt-sand these down to size, hopefully starting this weekend.


I'm not happy with how the paint job on the octagon ports turned out. They look too dark, compared to the other aluminum details. I'm planning on repainting those this weekend with the Krylon Chrome Aluminum paint, because it is a bit lighter and seems to be a better match to what is currently on my droid.

Thursday, May 18, 2006

Painted Octagon Ports

This evening I painted the octagon ports. After a couple of paint tests with both Krylon and Rustoleum chrome paints, I decided on the Rustoleum because I found it to be a bit more reflective. You won't mistake these for actual aluminum, but they're passable.


Alan Wolfson kindly provided some advice on shaping the top part of the booster cover. I think what I will do is recut a new set of booster cover tops that are closer to the proper size, and then use Alan's advice on sanding the required shapes down.

Wednesday, May 17, 2006

Cut Top of Booster Covers

Tonight I made the first cuts for the top portion of the booster covers, using three layers of 3/4" poplar that I glued together after cutting each layer.

I didn't leave myself much margin for error side-to-side, but I made these parts deeper and wider than required, so I have some slop to play with there. The current dimensions, when facing this head-on as if they were mounted on the droid, are 3.125" wide, 4.00" tall and 2.25" deep. The height and depth need to be cut down, but the width is pretty much to spec.

How am I going to cut something this thick? Very carefully, I guess. Okay, Alan, if you are out there, start throwing out some pointers! :) Right now I only have a table saw and miter saw at my disposal. It seems a band saw would be the best option, if only I had one.

Tuesday, May 16, 2006

Primed Octagon Ports

Not much today. I just applied three coats of Rustoleum white sandable primer to the octagon ports. Hope to paint these some day soon.

Monday, May 15, 2006

Glued In Front Vent Skin

Now that the paint is nice and dry on this piece, I glued in with silicone the part of the aluminum skin that goes around the front vents.


For fun, I used blue tape to secure the front octagon port into the body from behind, to see how it looks now that the latticework has been cut. Obviously I still need to paint this part.

Sunday, May 14, 2006

Started Building Doghouse & Jig, Sanded Backs of Octagon Ports

Today I got to work on the "doghouse" that will cover the top of the leg strut. I cut a few pieces of 1/4" MDF to size, and glued them up to make two doghouses.


Next, I made a couple of jigs to trim the doghouses to size later. I needed a template for both sides of the doghouses. I will use the templates with the table saw, with the blade tilted to a nine degree angle to match the top of the booster cover. This will be clearer when I make the cuts later.


Finally, I decided to sand the backs off the octagon ports so that the latticework can show, like on the real R2 (and per the blueprints). I sanded until the resin was practically transparent, and then used an X-acto knife to finish the job.


Saturday, May 13, 2006

Front Vent Area Work, Charity Event

In the morning I shaved a little wood off the bottom of the back of the ribs that surround the front vents, so that the bottom vent would sit forward a bit more and be even with the top vent.


Then I repainted the area of the skins that goes around the front vents, to repair the paint chipping I had inflicted.


In the afternoon it was off to Rite-Aid, where Mike Senna, his R2, and some 501st members were fundraising for the Children's Miracle Network. As usual, Mike was quite the expert at keeping R2 interacting with the crowd and posing for pictures.


It was almost non-stop picture taking, but occasionally things got slow.


My friend Kelvin (who's power tools I'm borrowing) and his family dropped by, so we added to the donations and got a group picture taken with Mike's R2 and the 501st folks. My coworker Rich and his kids had paid a visit earlier, and they were duly impressed.


So I didn't get much building done today, but it was nice to remember why I'm doing this in the first place.

Friday, May 12, 2006

Reprimed Front Vent Skin, Aluminum Logic Surrounds Arrive

This morning I reprimed the area of the skin that I cleaned up yesterday that goes around the front vents. When I got home Wayne's aluminum logic surrounds were waiting for me. This looks familiar.

Thursday, May 11, 2006

Stripped Paint from Front Vent Skin

I went a little bit backwards today.

I've placed the aluminum part of the skin that surrounds the front vents on and off so many times, the paint was starting to chip and look bad. So I decided to bite the bullet and strip the paint off with acetone, and I'll repaint it this weekend. Most of the primer stayed on, which probably speaks well of the primer (Rustoleum white primer).

The bottom vent needs to move forward just slightly, and I'll need to keep testing placement of this part of the skin while adjusting the vent placement, so this way I don't have to worry about scratching more paint off, knowing I'm going to repaint it anyway.

I sanded down the metal somewhat on the inside of the ovals, so they won't rub up against the vent surrounds so much when I place this piece back on.

Tuesday, May 09, 2006

Squared Corners

Using a couple of different files, and some sandpaper, I squared off the upper corners of the keyhole area of the booster covers as best I could. These areas really won't be visible, as they are covered by the doghouse, but the leg struts need to fit up in there.

Monday, May 08, 2006

Still Polishing the Bullet

I keep mentioning the sanding and primer of the horseshoes, trying to get them just right. Pretty soon it'll be time to stop polishing this bullet, and fire it already.


I had other commitments this evening, so I didn't have a chance to work on the booster covers. Hopefully tomorrow.

Sunday, May 07, 2006

Routed and Cut Booster Covers

Time to break out the router table again.

In the morning, the glue had dried and I was able to route the top booster cover layer down to size to match the bottom layer that was glued yesterday. I was warned that the router bit would tend to grab the wood fibers, and it sure did. Fortunately, I don't think any damage was done, but it wasn't a pleasant experience.


Once that was done, it was time to cut a nine degree angle at the top of the booster cover, per the blueprints. I referenced Alan Wolfson's helpful web page, and set up the table saw for this cut. Thanks Alan for having this page!


I think everything turned out okay today. The booster covers have some scorch marks from the table saw blade, but I sanded everything smooth, so it's just cosmetic.


Lots of work still to do, like straightening out the curved areas in the keyhole area, and cutting the bottom part off the tuning fork. And yes, more primer work on the horseshoes. Getting closer. :)