Back on March 30, I posted that the tip of droid #1's center ankle had broken. I spent the next few weeks working on and off on replacing the leg. I decided to consolidate the rebuild of the center leg into one loooong blog post, rather than have it trickle throughout the duration of the build.
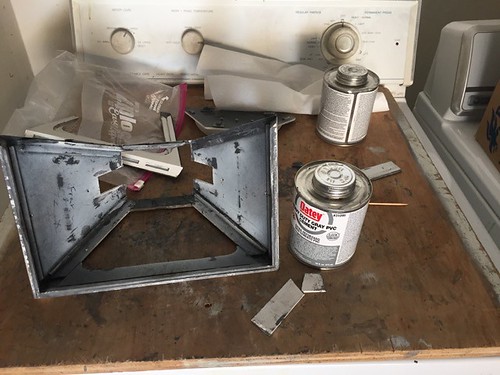
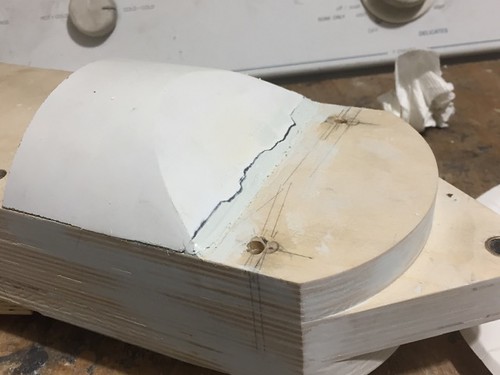
To refresh your memory, here's the carnage that R2 suffered.

Because the tip of the leg had sheared off, there was no option to repair it. I was going to have to build a whole new center leg. Before you ask, yes, I plan to build the leg the same way, even though this leg failed after nearly 10 years and 300 events. If possible, I will reinforce it with a layer of aluminum, but right now I don't have a great way to mill a thin layer of wood off of the leg and mill a layer of aluminum to the correct shape. I'm willing to take my chances with another 10 years and 300 events.
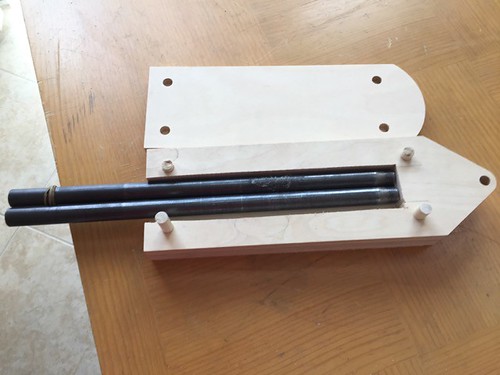
Step one was to acquire the raw materials. Since I no longer have power tools in my possession, I contacted Matthew Henricks to see if he had any center leg kits available, and fortunately, he did. Matthew uses the highest quality Baltic birch, which I love. So I went over to his place to pick up a set. Matthew kindly cut the slot in the two inner layers that I use to hold gas pipes for a manual droid lift.
Back at home, the pipes do indeed fit, but I think I'd like to widen the channel. I'll get to that shortly.
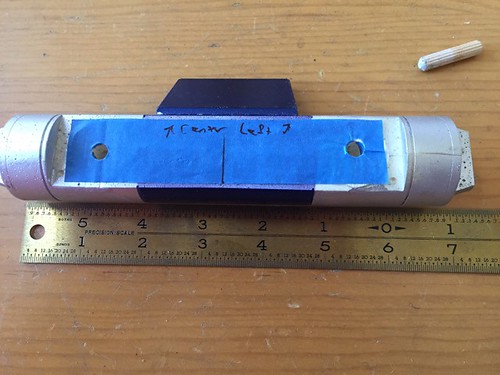
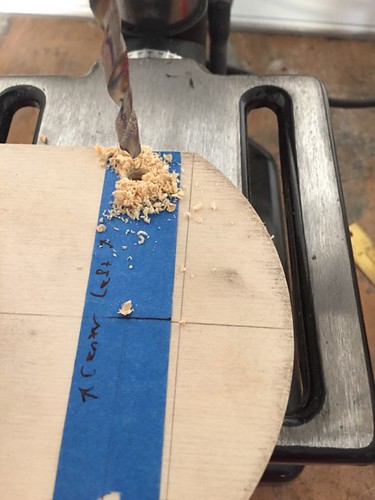
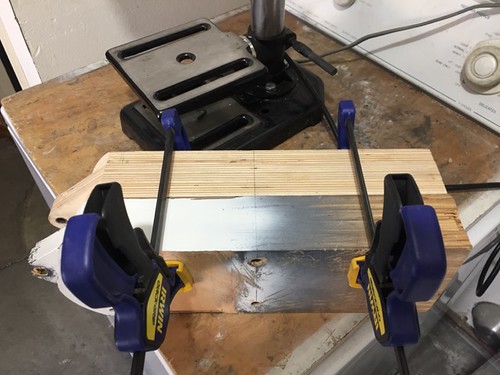
I decided to work on transplanting the ankle cylinders first. These are held onto the leg with wooden dowels. I yanked them off the old leg, and used tape to make a drilling template.
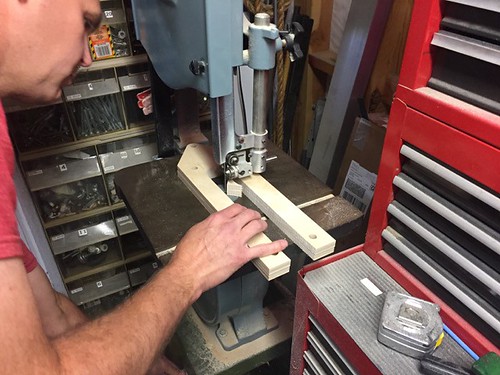
Next, I widened up that channel for the gas pipes. I had widened it a bit on Mike Senna's band saw, but I decided to go even wider. I ended up using a raw hacksaw blade to trim a little more material. I had to do this four times, as there are two sides to trim, and two middle layers. Whee.
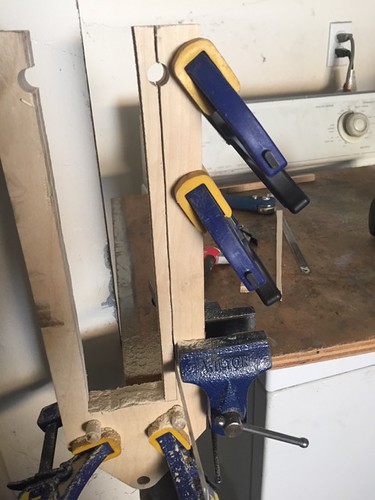
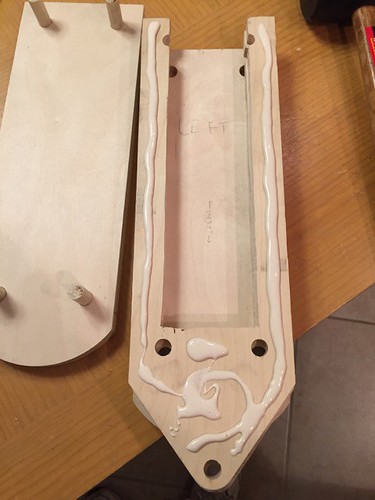
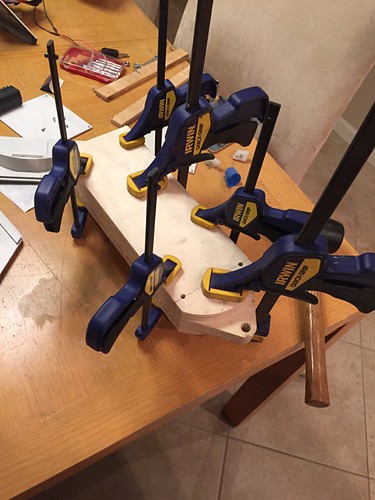
With that out of the way, it was time to glue up the four leg layers!
The next decision: What to do about the curved part of the ankle (otherwise known as "beefy ankles")? Matthew had provided me some resin pieces, but after considering them for a while, I was a bit hesitant to use them because a) they are relatively heavy, b) I didn't have a great way to mount them, and c) they were intended to be for the outer legs, and have a slot in them that the center leg doesn't have. So I decided I would transplant the Tapease wooden cylinder segments from the old leg to the new one.
Time to break out that hacksaw blade again!
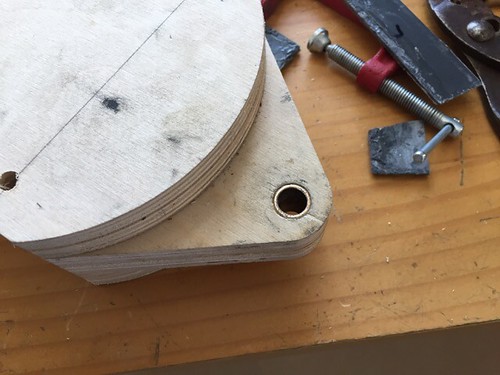
I also transplanted the bronze bushing that goes in the ankle bolt hole. This tore out along with the wood, so I didn't have to actually pull it out of the old leg, it was already out.
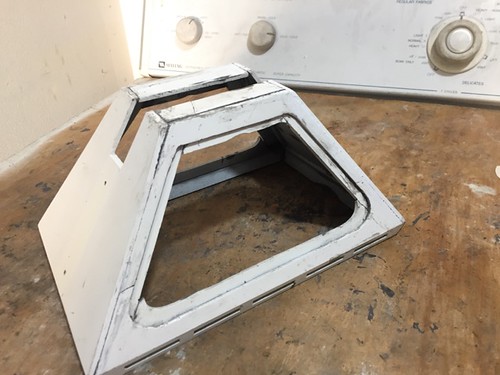
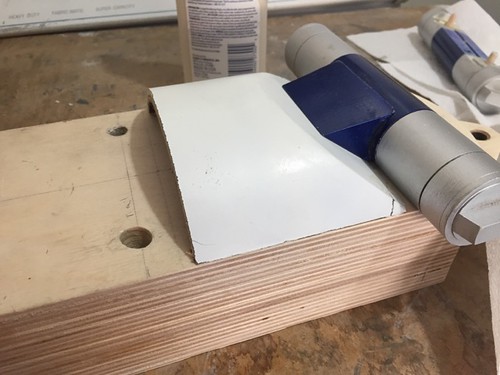
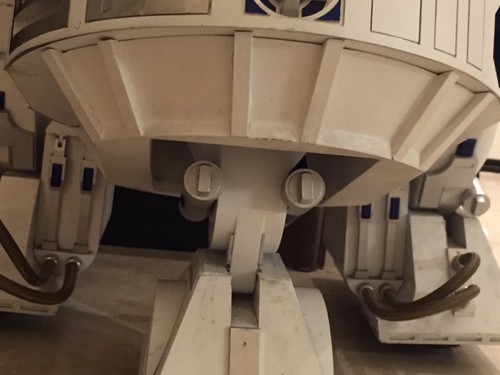
Moving right along, the center foot shell was somewhat crushed by the weight of the droid. It is made of flat sheets of PVC, and I've glued it back together many times before, so I decided to do so again. I actually have a steel one that I need to finish up, and hopefully this will be the last time I re-glue this one. It will get some touch-up paint later.
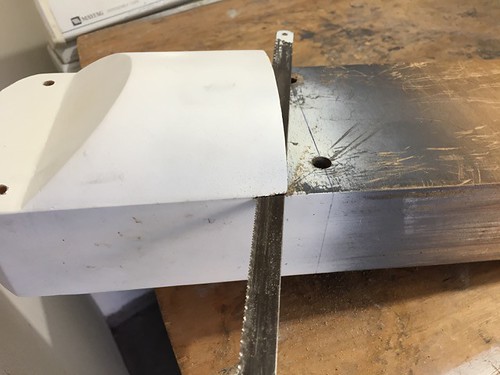
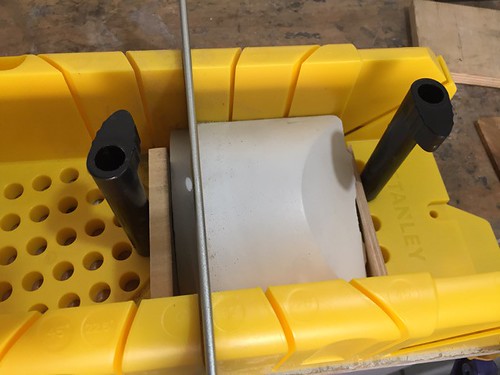
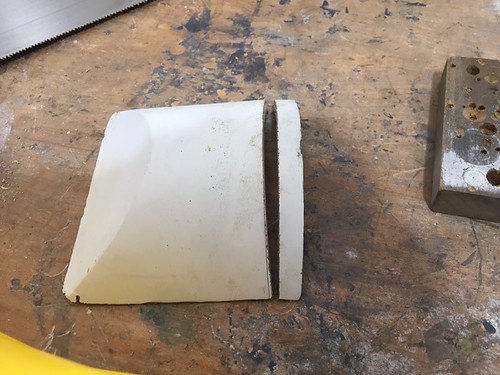
When I originally built the curved part of the ankles, I didn't know what I was doing, and I made them too long. I needed to trim a little bit of material from the top of each of them. A power miter saw would have been ideal; instead I purchased a miter box and manually chopped them.
Next up, drilling the holes in the leg for mounting to the rails in the frame. I used the original leg as a template, and drilled.
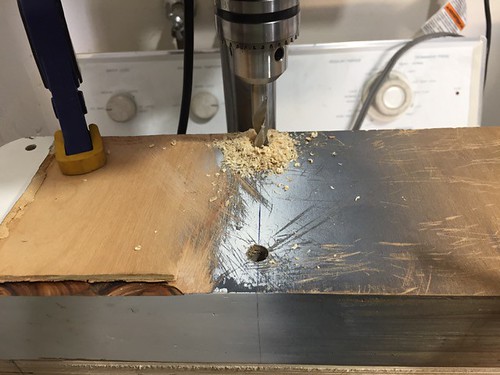
And in it goes.
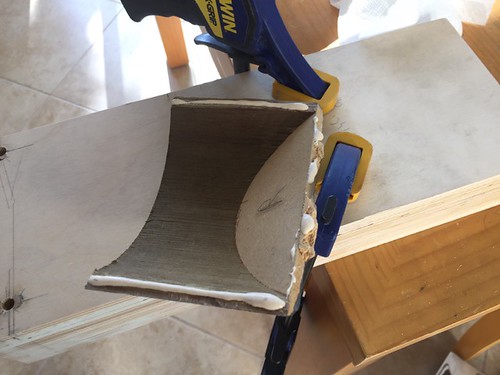
It was time to glue on the first of the two curved parts of the ankles. I loose-fitted the ankle cylinder and wedge to make sure things would go together properly.
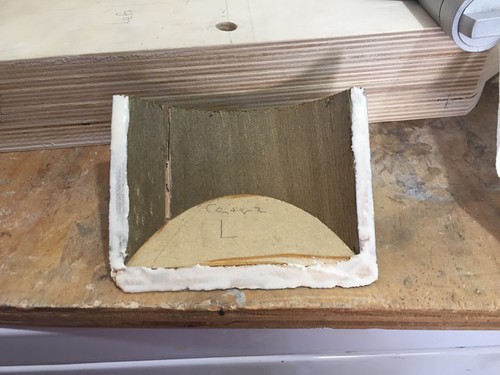
Now, the time had come for my (least) favorite part of woodworking... filling and sanding, yea! I whipped up a batch of Evercoat Polyester Glazing Putty. It's been a while.
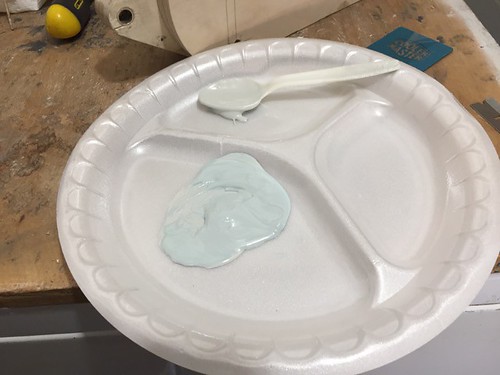
I used a razor blade to apply a thin layer. This will be a very iterative process.
Next I glued on the other curved part of the leg. This one is in worse shape at the pointy end, because I had mis-cut it originally and I had used wood filler to fix it up. Most of the filler didn't move over to the new leg.
Evercoat to the rescue.
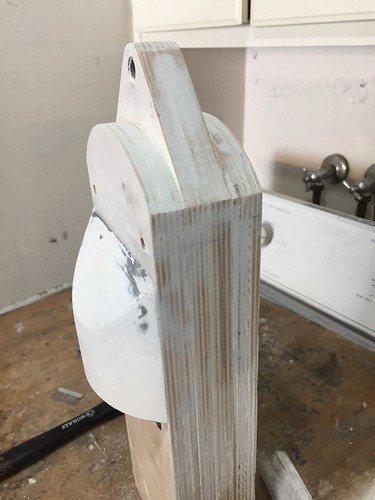
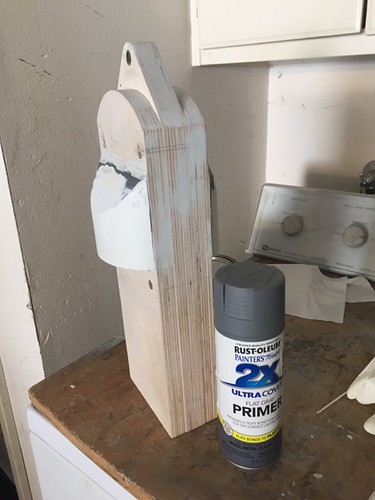
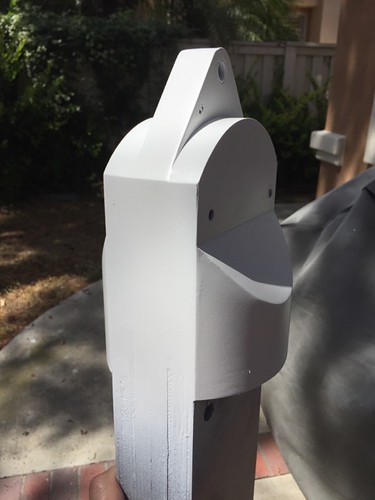
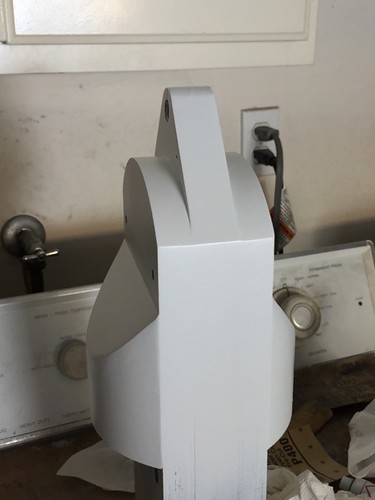
Ok, time to see how bad things look, with the first coat of primer. I use gray primer when I paint with white paint, to help distinguish the primer from the paint, and to know when I've achieved full coverage with the paint over the primer.

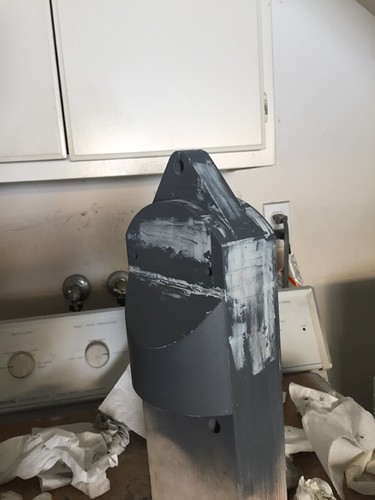
I looked it over and found plenty of flaws, as expected. On goes another thin application of Evercoat followed by a light sanding after it dried. It's ok to apply it on top of the primer.
Getting closer. I will spare you the several cycles of filling and sanding. I didn't obsess over getting every molecule glass-smooth, as most of this is hidden in the droid, and much of it is covered by the cylinders and wedges. In the end, not much of the center leg is actually visible.
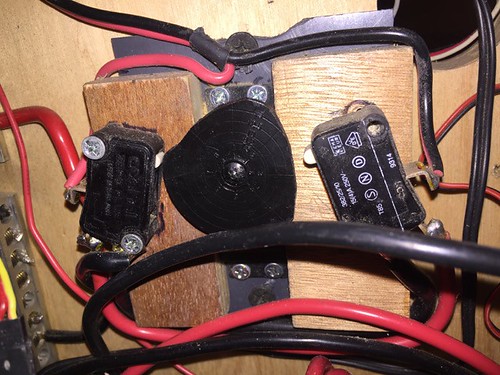
In between the filling/sanding/primer cycles, I decided to see what else needed attention on the droid, as long as I had it partially apart. One thing that had been bothering me for a while was the dome drive controller. Occasionally the right snap switch would stick, and the dome would want to rotate continuously. I would have to jiggle the joystick back and forth until the switch would unstick. Also, I positioned the snap switches a little too far from the servo horn, so I had to move the joystick quite a bit before the switch got bumped. The dome drive assembly is very difficult to access with the center leg installed, so I decided now was the time to pull it out and replace the switches.
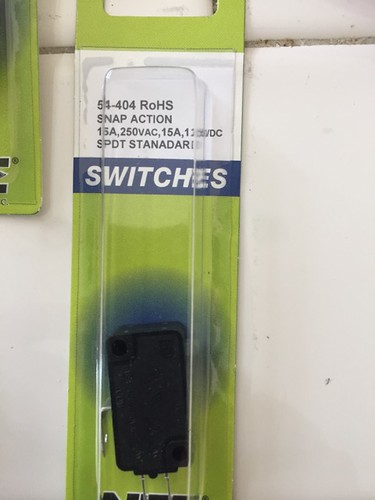
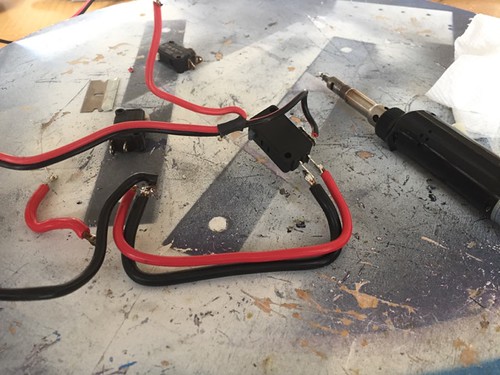
I purchased new switches and unsoldered the old ones and soldered in the new ones.
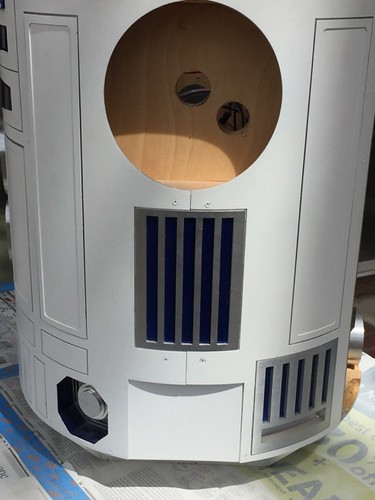
Another annoyance was the fact that I had never painted the square styrene plates at the bottom of the skins. I figured since they were already white, why paint them? UV rays, that's why. They tend to yellow over time. I had sanded them once and restored them to their original color, but they were starting to yellow again. So I decided to mask the area and paint them, as long as I was going to prepare for painting the leg anyway.
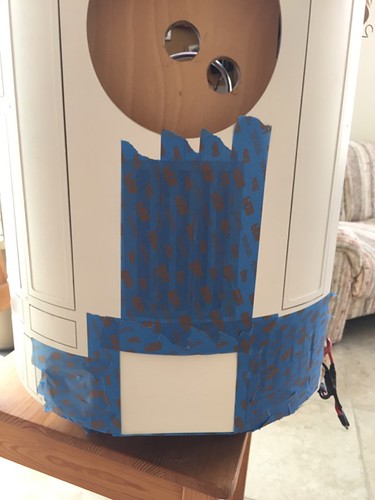
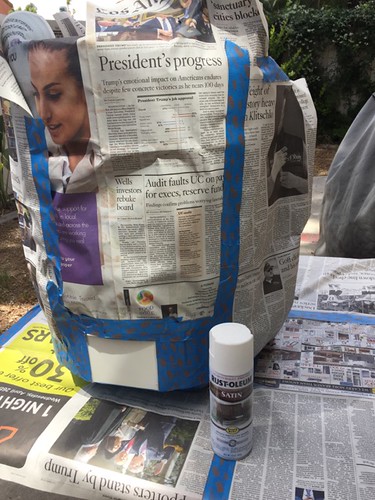
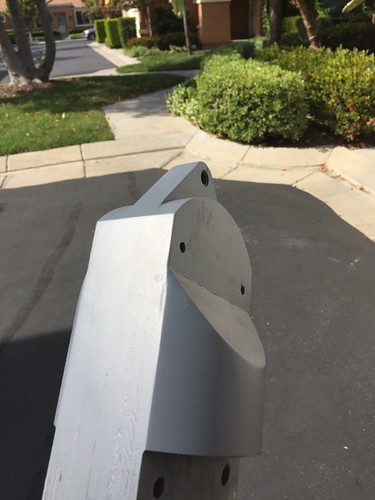
Time to finally paint the leg! And the styrene portion of the skins.

Looks good (enough)!
Styrene looks good too. The paint is still wet here, so it looks a bit brighter, but the color matched once it dried.
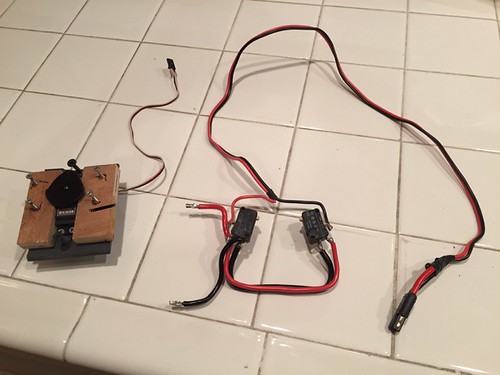
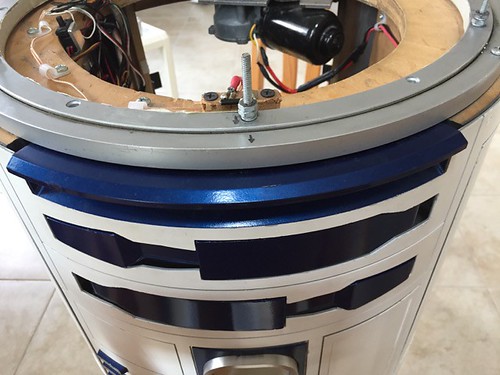
I got around to reinstalling the dome drive controller, with the new switches positioned closer to the servo horn. Disregard the messy wiring, I cleaned that up somewhat a little later.

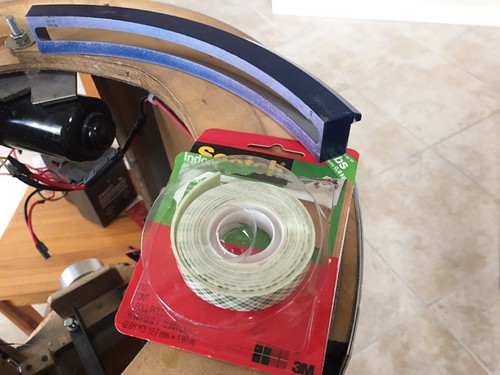
The double-sided foam tape I'd been using to hold the large data port onto the frame wasn't doing its job so well anymore, so I put down some new tape and reinstalled the LDP.
Before reinstalling the legs, I cleaned up the wiring as best I could. I am not very good at keeping my wiring neat. :(

Time to put the legs back on!
For the right outer leg, I need to fish the old FM antenna down the length of the leg with a coat hanger. I have a new 2.4GHz radio system, but I have left the old 75MHz FM receiver in the droid, in case I ever want to use it again for any reason.
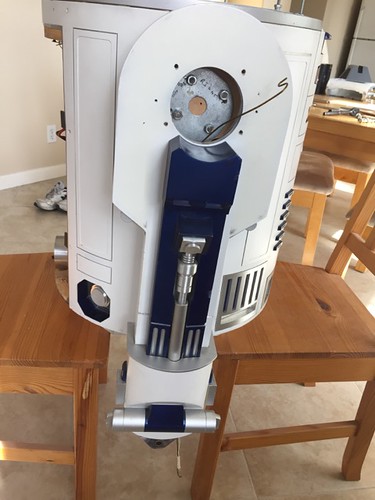
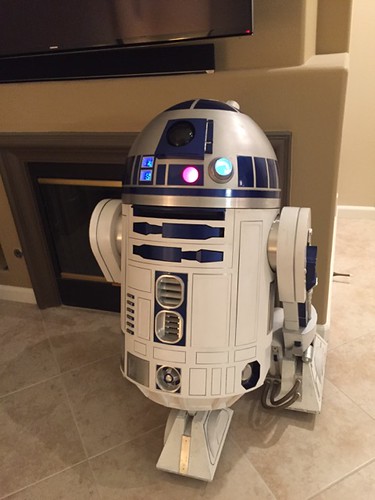
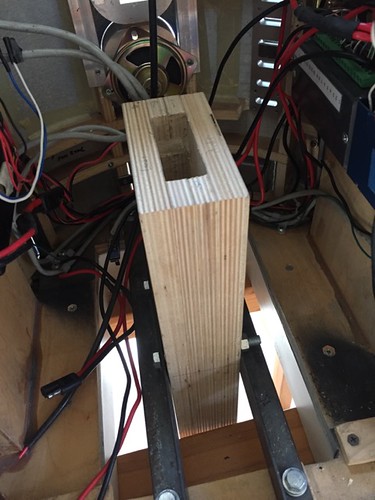
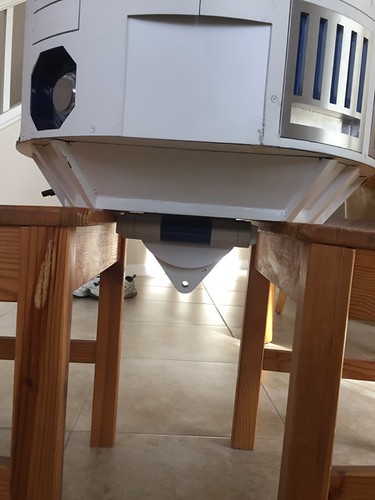
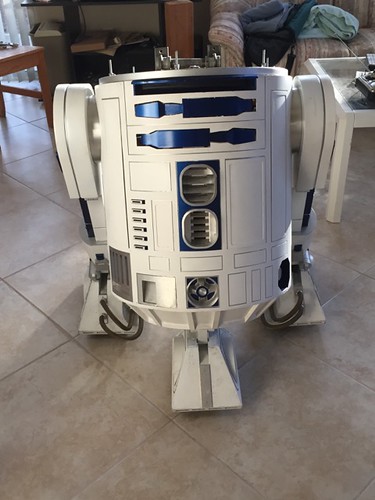
Droid #1 is back on three legs for the first time in weeks!
Here's a closer look at the new center leg. I still need to glue down one of the cylinder wedges at this point. As you can see, not much of it shows to the outside world.
And done! Droid #1 is ready roll again, and do events. Good to have him back in action. I hope I never have to do that again, or at least for 10 years.