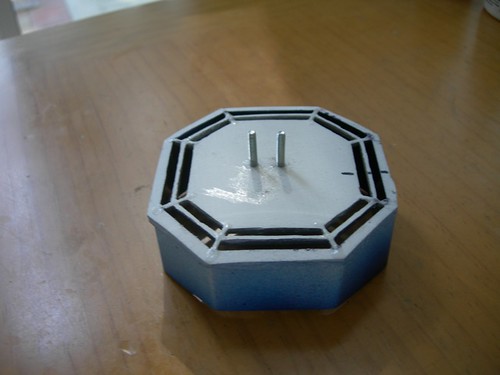
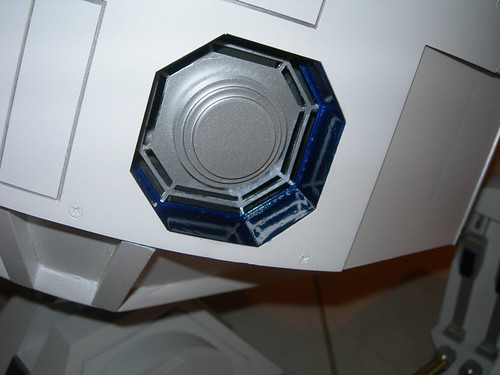
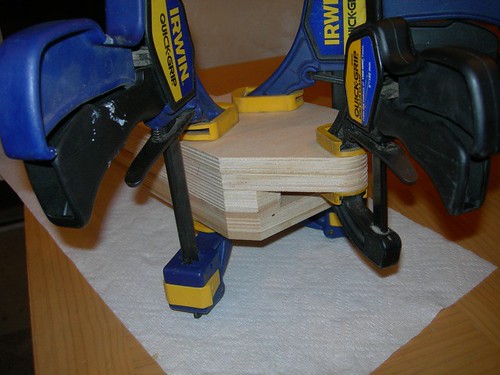
Today I put a little maintenance time in on droid #1, as I swapped out my old resin front octagon port for a new resin one. The old port was painted completely silver, the new one has the proper blue color on the frame.
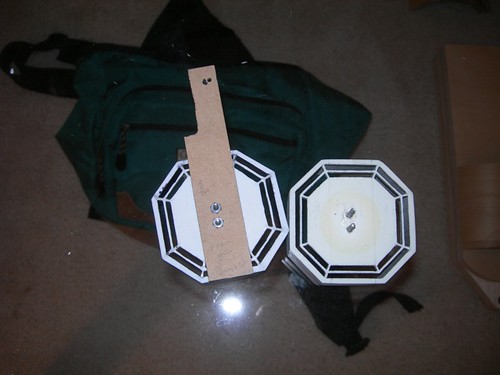
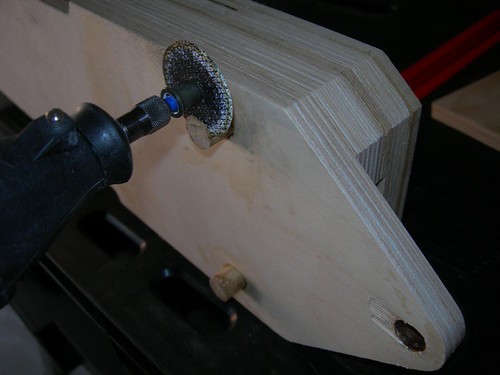
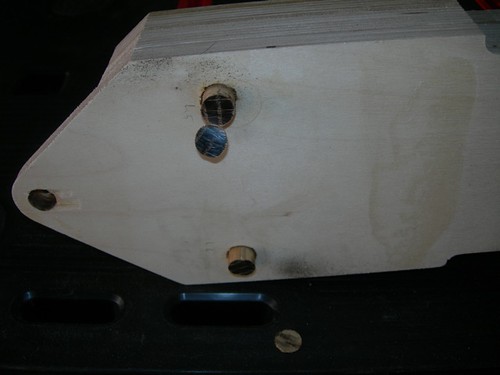
First I used the paddle from the old port as a template to drill holes into the back of the replacement port.
Next, I cut the heads off of a couple of 1" #4 screws and glued them in place.
Then I secured the paddle onto the back of the new octagon port.
Perfect fit!
One day I'll get around to doing the same for the rear octagon port.
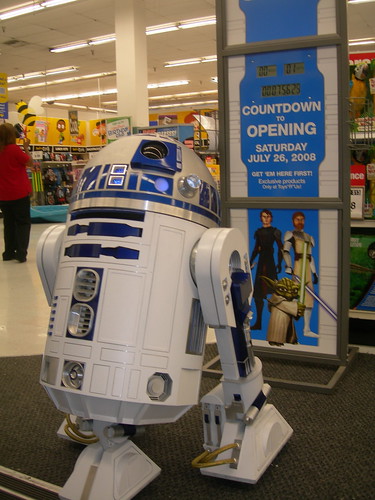
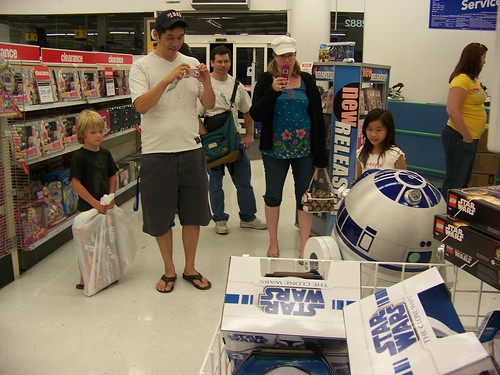
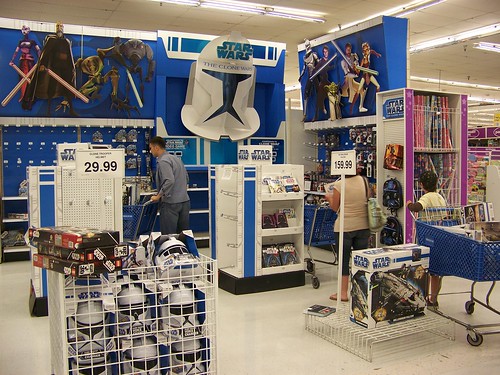
Last night/early this morning, R2 and I attended the big Toys-R-Us event for the release of the Clone Wars toys. No other characters were at this store, just R2. Store hours for this event were 12:01am - 2:00am. I arrived around 11:00pm, and first entertained the crowd outside. There were about 100 people in line waiting for the store to open.
Around 11:50pm, R2 entered the store early to await the mob. T-minus 7 minutes and counting.
Here is the "before" picture, prior to the mob.
Store managers, just minutes before the opening.
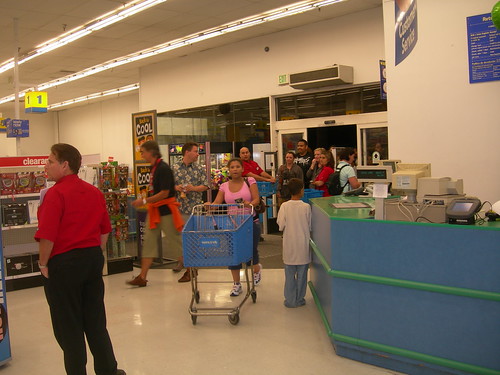
Stampede! With video.
"I think we took a wrong turn!"
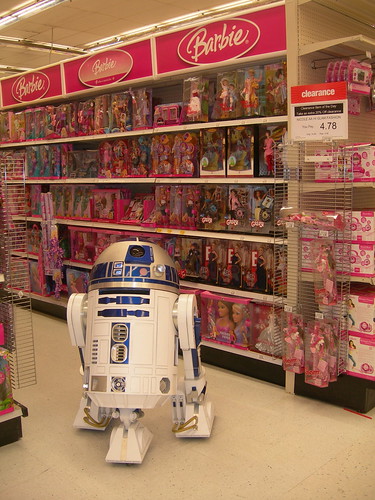
Lots and lots of pictures.
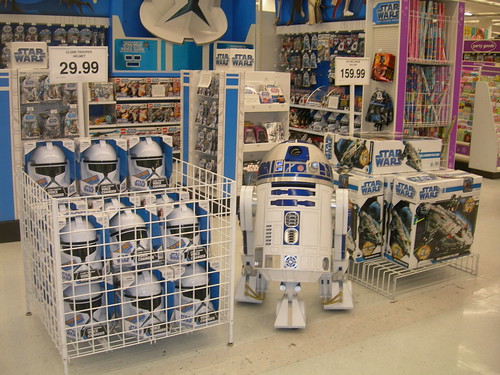
The "after" picture. Helmets are still available, but action figures are all gone on the back wall display.
I got out of there around 1:15am. It was a late night, but a fun one.
PS: By the way, the 501st Podcast of the interview conducted during our Robot Chicken Studio Visit is now available here. The segment starts around the 2 minute 20 second mark and ends around the 20 minute 15 second mark. It's very fun to listen to.
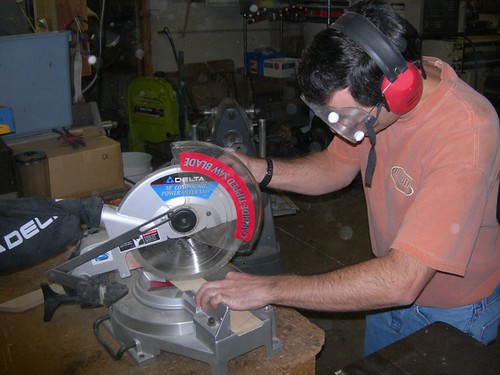
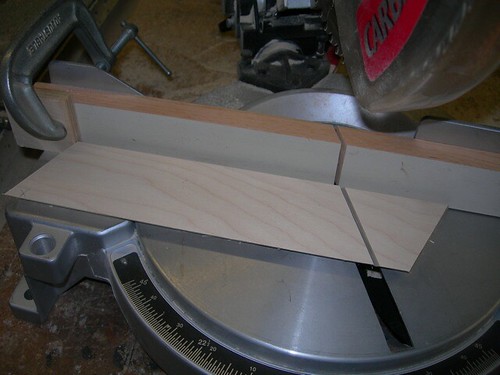
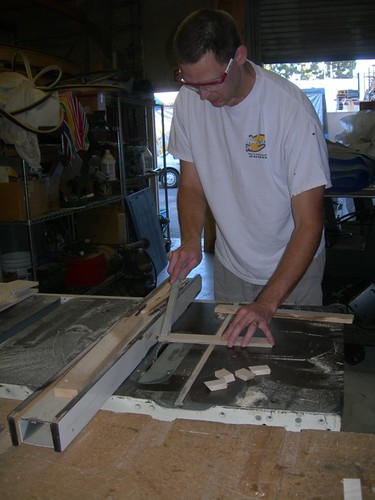
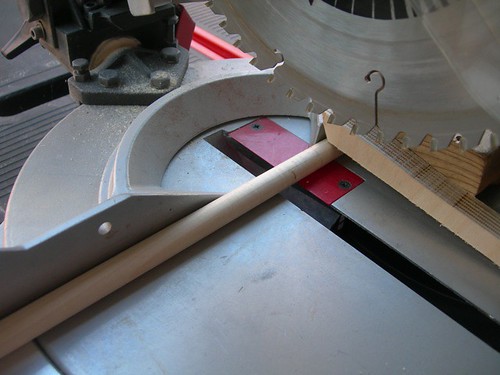
Tonight Matthew Henricks and I got together again, to finish cutting parts for the skirts we're working on.
I was bit more useful, as I brought the chop saw and did some chopping on the side pieces.
We also cut the ribs, as much as we could given that the styrene is not glued on yet, and we couldn't match the angle perfectly. That's for another day.
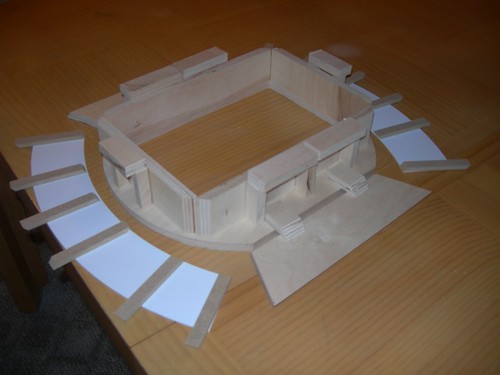
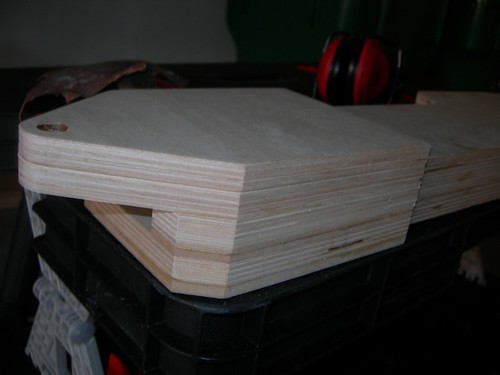
Here's all 41 pieces for the skirt, awaiting assembly. I have leg and horseshoes to finish too, the piles of wood are stacking up!
Remember, there's a video tutorial on the R2LA IV DVD, with lots more details (like measurements) available from Michael McMaster.
Tomorrow night/Saturday morning, R2 is scheduled to appear at a local Toys-R-Us Midnight Event for the release of the Clone Wars toys and merchandise. It'll be interesting to see how well I operate R2 at 1:00am.
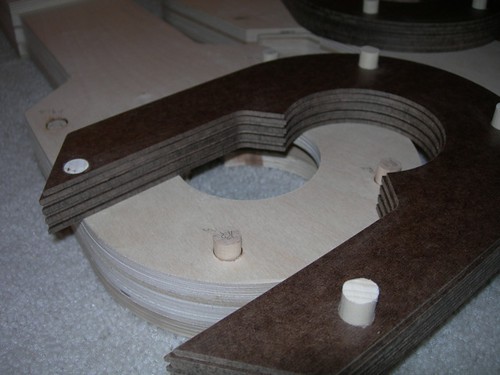
Tonight I rejoined Matthew at the shop to continue work on the skirts.
This time around, we cut the rest of the support pieces that allow the skirt to be mounted from above.
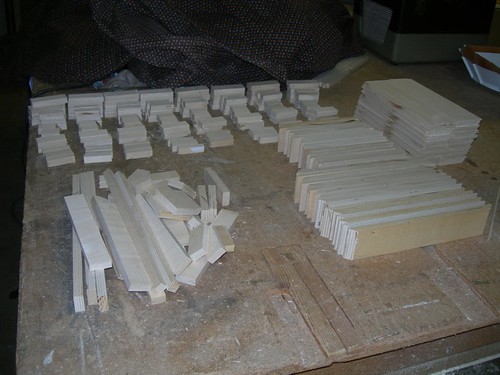
See all those pieces of wood? There are about 200 pieces there (eight skirts' worth), and I'll have you know I cut at least ten of them! Matthew was a busy guy.
We had a minor setback with the side pieces (cut just a little too short), but we hope to get back on track and finish up the skirt work tomorrow night.
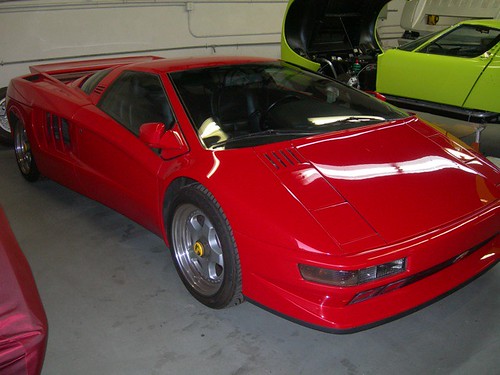
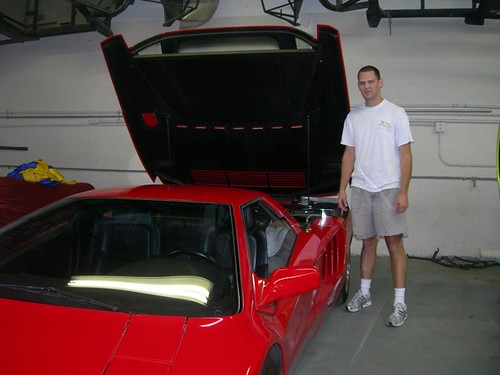
Matthew's shop leases space to an exotic car builder. The guy builds something like one car a year, these things can easily run over $750K. There were several other amazing cars in the garage.
Matthew is 6'5", to give you a sense of scale of this car.
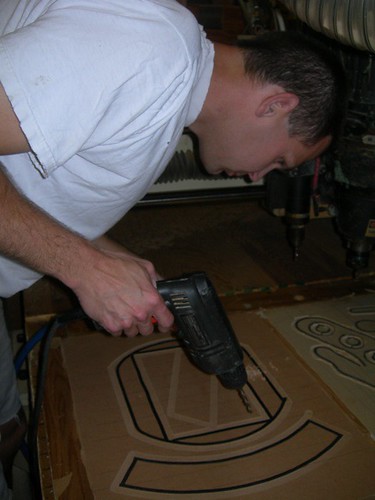
Okay, back to the real world of building. Matthew suggested we take a shot at building some of the skirt with the CNC machine. We were especially curious to see if the CNC could cut the curved styrene piece.
Before anything else, Matthew had to make the spoil board, which includes drilling holes for the vacuum to hold down the material that's going to be cut. The router bit plunges through the material and just slightly into the spoil board. Foam tape is applied to the outline of the areas to be cut, to help keep the seal on the vacuum around the parts.
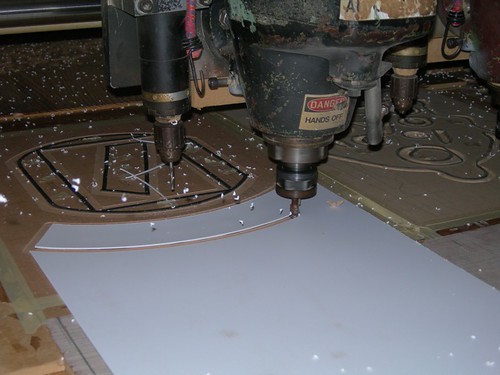
First, we cut the styrene curved pieces. Would the styrene melt?
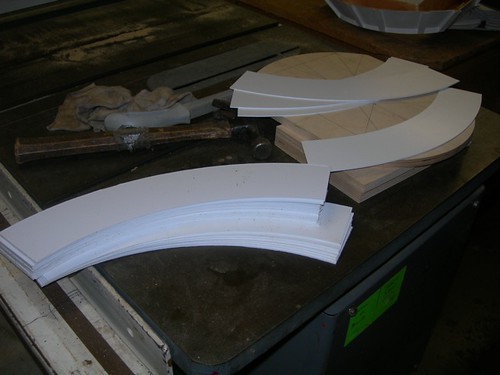
No problem! The CNC cut these pieces perfectly. We were able to cut a lot of these from just a portion of the styrene sheet.
Next, we cut a few base plates from 1/2" Baltic birth plywood. This is the same piece I cut with Kelvin a few days ago.
Here's some video of the CNC in action, the machine makes two passes to cut through all the material.
Finally, Matthew cut several of the support pieces that help with the mounting of the skirt. Tomorrow, we plan to pick up where we left off tonight.
Might there be a run of these in the future? You never know...
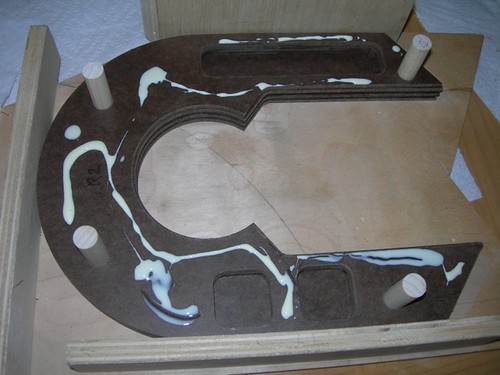
Almost an instant replay of yesterday, tonight I glued up the left horseshoe layers. Again, the shim layer is not glued at all, and again I did not glue the bottom two layers to the upper five layers yet. That will come after I clean up the seams in the pockets. I may also sharpen the 1/2" radii in the corners, to 1/4".
I always applied glue to the smaller (even numbered, starting from one on top) layers, for the simple reason that applying glue to the larger layers would make it more likely that glue would not be completely covered by the smaller layers at the inner edges.
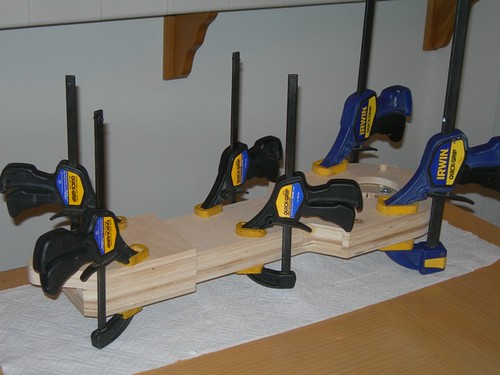
Clamped, drying, and they'll be ready for finishing work.
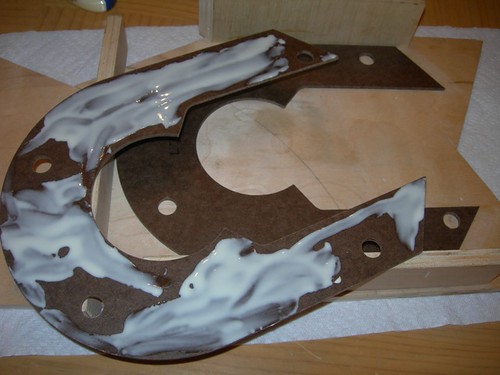
Today I started gluing up the 1/8" layers that make up the right horseshoe.
I am not gluing the shim layer at all, since this is painted silver, versus the white color of the other layers. I also did not glue the bottom two solid layers to the upper five layers with the pockets for the shoulder buttons and hydraulics. I want to be able to do some finishing work on those pockets, and it is much easier to do if they are glued to each other, but not glued to the solid layers underneath.
As with the leg layers, I used wood glue. Dowels keep the layers aligned.
Then, smear the glue around. I was careful not to glue the dowels in place. They are removable for now, but they will eventually be glued down. I used toothpicks and slightly moist paper towels to wipe away excess glue.
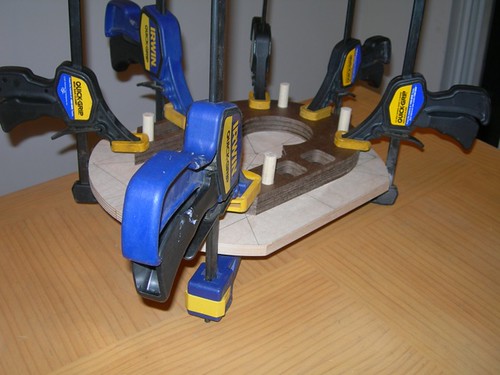
All done. I clamped 'em up and I'll let them dry. I expect to do the same for the left horseshoe layers tomorrow.
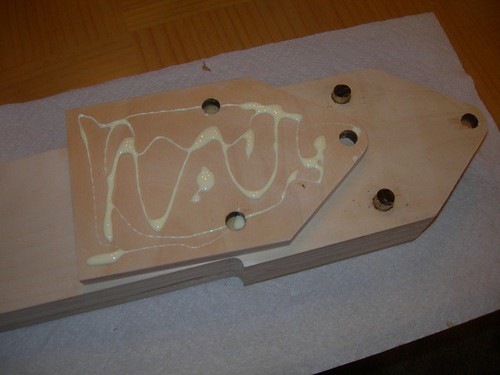
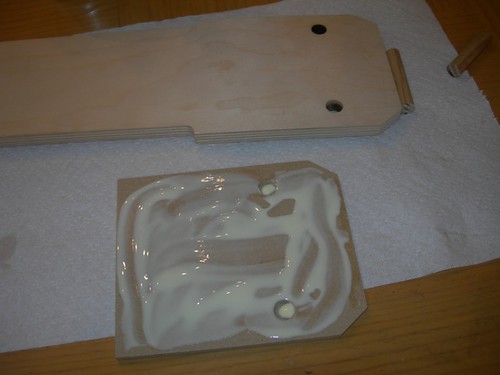
Tonight I was able to glue down the top piece for the left ankle.
As usual, apply wood glue.
Smear it around, clamp, wait a day or so, and it'll be done.
There's still lots to do with these legs. I need to put the groove around the upper ankle, and I need to deal with the Tape-Ease cylinder for the curved part of the ankle, but I may do some sanding and filling first.
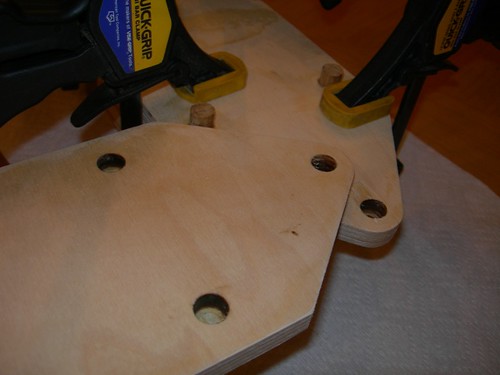
Tonight I used the Dremel cutoff wheel to shave a little material from the dowels sticking out of the right ankle. They were a tad too long for the end cap piece to sit flush.
I just shaved about 1/16" off of each dowel.
Now the top layer sits flush on top of the layer beneath it. I have not glued this last piece down yet, I plan to do that tomorrow.
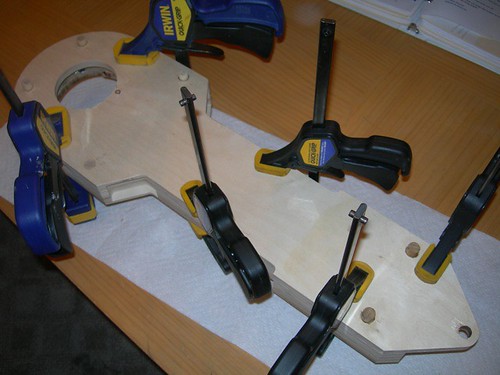
Instead, I decided to glue up the right leg. As with the left leg, I put each layer down in order, smearing wood glue around, but leaving room for the alignment dowels to be removable.
All clamped up, I'll wait about 24 hours and then unclamp, and then I can go back to the left ankle piece and glue it down.
Tonight I glued together the left leg. Well, most of it, at least.
With each layer, I applied some Elmer's Wood Glue and smeared it around.
I used the dowels to align the layers, and I managed to avoid gluing the non-ankle dowels in permanently.
I did run into one small problem. Somehow, the ankle dowels that I cut were just slightly too long. When I test fitted the ankle piece on top, it kind of rocked back and forth on the dowels. I will trim them down slightly with the Dremel. I'm not sure how this happened, I test-fitted plenty of times before. I wonder if I globbed too much glue in the dowel holes in the bottom layer? I need to watch for this when I glue up the right leg.
Tonight I finished cutting (and in some cases, recutting) the dowels that are used to align the leg and horseshoe layers.
The plan is to not glue the leg dowels in permanently, I only want to use them for alignment. Hopefully I will be able to slide the leg dowels out after all the leg layers are glued. However, I will wait on gluing the horseshoe layers, since I plan to leave the dowels in the horseshoes, and use them to mount the horseshoes onto the legs. If I am unable to remove the leg dowels, then I will plan to not glue in the dowels in the horseshoes permanently.
Note that only three of the four dowels are used to mount the horseshoes onto the legs, the last dowel is to be cut flush just below the leg surface and the horseshoe surface.
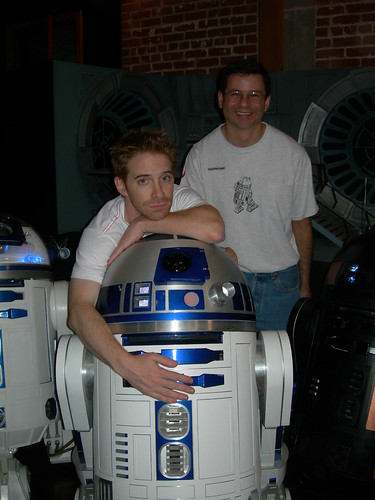
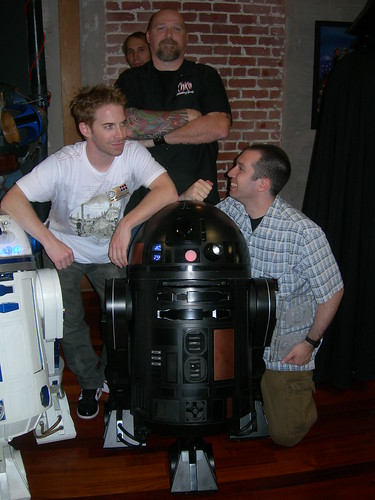
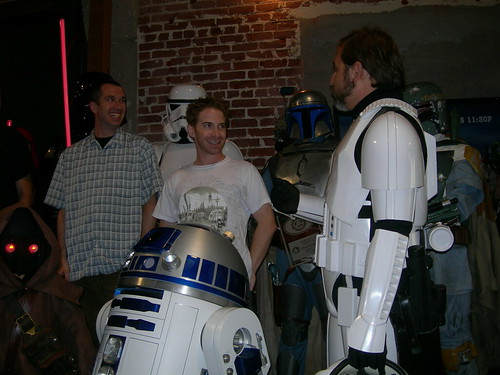
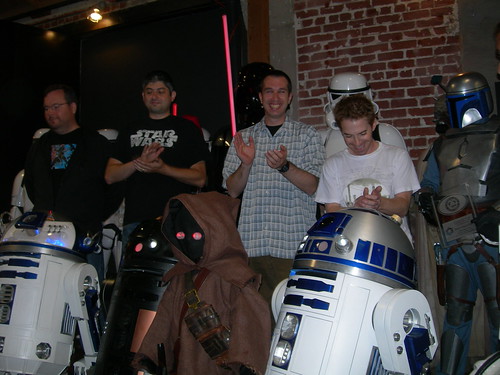
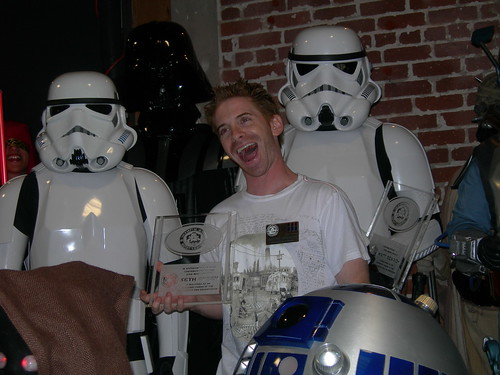
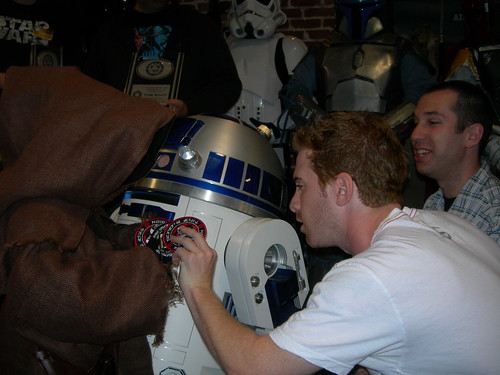
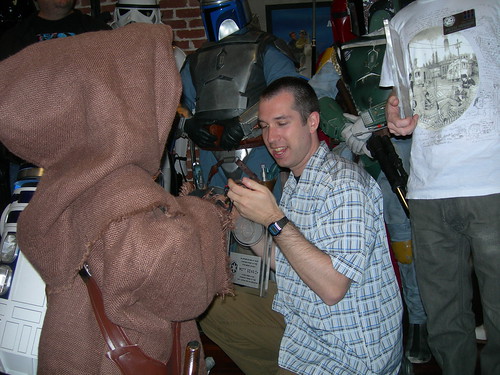
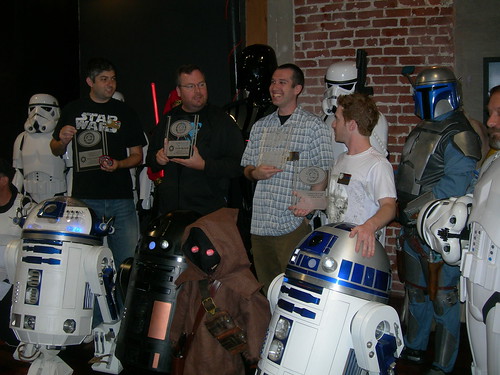
Today, my droid and I were lucky enough to accompany members of the 501st Legion in awarding the producers of Robot Chicken honorary membership in the 501st. Mike Senna joined me, and the event was organized by fellow R2 Builder Chris Romines, who brought his R2-A1, and also attended by Max Cervantes, who brought his RT-R2.
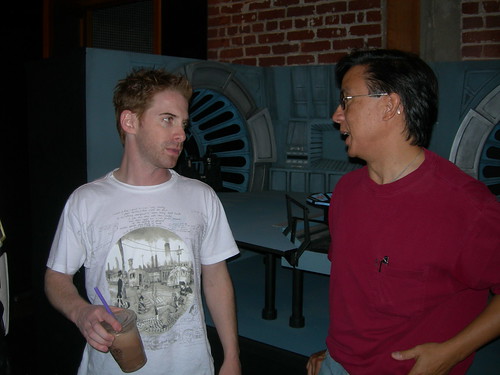
As usual, Seth Green was really fun to meet, he has a great sense of humor and is truly a fan as well as an entertainer. He always cracks me up (all two times I've been around him).
Mike and Seth chit-chatted.
Chris Romines got a picture with his droid, and Robot Chicken co-creators Seth Green and Matthew Senreich.
Troopers, droids and a Jawa lined up with the celebs as they received their induction plaques, garrison and legion patches, and challenge coins.
Don Bies would be proud of us. Or ashamed. I'm not sure which.
Thanks Chris for organizing such a great event, and thanks to both you and Mike for arranging my attendance with my droid.
7/26/08: PS: By the way, the 501st Podcast of the interview conducted during our Robot Chicken Studio Visit is now available here. The segment starts around the 2 minute 20 second mark and ends around the 20 minute 15 second mark. It's very fun to listen to.