Saturday, June 30, 2012

Reattached Rear Power Coupler Frame

Time to check on yesterday's work of restoring the coin slots to their natural habitat. The wax paper that I used to keep the clamps and wooden segments away from the JB Weld peeled right of without a problem, so that was a success.


Somehow I did manage to have some JB Weld ooze through the seam on the left coin return, however. Unsightly.


I dug around in the Dremel Bag o' Tricks and found a very thin bit, suitable for removing the mess. (I scraped off the small blob that ran over onto the paint using my fingernail.) The bit worked fairly well, but I had to be extra careful with the Dremel.


Finally, the last piece to be reattached: The frame of the rear power coupler. I'm using silicone for this one, to allow a small amount of flex as it receives the power coupler cylinder that is attached on the frame with Velcro.


All done! I'll let this cure for 24 hours, and then the restoration should be complete!


I'll fit the door back onto the droid tomorrow so we can all have a look together.

Friday, June 29, 2012

Reattached Coin Returns

Getting closer to the end of the back door repair. First item of business: Removing the blue tape that was holding the center panel in place from last night's JB Welding session. The panel is staying put.


Next up, the coin returns.


These fit pretty well into their slots on the panel. I taped them in place, in preparation for applying JB Weld on the inside surface of the door.


That toothpick is starting to get a bit grimy, but it still does the job of applying JB Weld. I don't think I'll use it for cleaning my teeth, however.


To ensure that the coin returns don't lift off from the skins, I decided to lay a few strips of wax paper over the JB Weld, and then use small segments of wood and clamps to keep them tight against the skins.


It will be interesting to see if the wax paper is easy or hard to remove from the JB Weld once it all dries, but I figure I can always tear and sand it out, if need be.


Assuming this holds well, all that will be left to do is to reattach the rear power coupler frame piece, which I plan to attach with silicone.

Thursday, June 28, 2012

Reattached Center Back Door Panel

The march goes on with back door restoration.

I removed the clips and tape from last night's session of re-bonding the large panel toward the top of the door. It's now secured nice and tight.


Because this panel has a lot to do with the curve of the door and the fit on the frame, I decided to do a test-fit of the door at this point. The screw holes on the bottom of the door still match up well with those on the brackets that are attached to the frame. The upper holes aren't dead-on, but they are close enough that the door still attaches okay. In fact, in some ways even better, as the door used to bow a bit away from the body. That no longer is the case.


Back to work. The next panel to attach is the panel that goes right in the middle of the door. Fortunately, it lays on the door well, so I taped in place, not that I had much of a choice.


Once again, I applied JB Weld with a toothpick, this time along the seam on the inside of the door.


A little while later, and I had finished applying the JB Weld. It's starting to look like a door again!


I'll let this dry overnight, and I hope to attach both coin returns tomorrow, and maybe even the power coupler frame.

Wednesday, June 27, 2012

Reattached Large Panel to Back Door

Tonight I continued work on repairing the back door.

I removed the clips that were holding the two panels down toward the center of the door. They seem to be on there okay now.


Next up, the large panel that goes toward the top of the door.


I whipped up another batch of JB Weld and applied it with a toothpick around the edges of the panel. For those that wish to emulate this technique, the toothpick is from Lucille's BBQ. (I'm kidding about emulating, but the toothpick really is from Lucille's.)


A short while later, I had the perimeter covered. Ideally, I would have kept the JB Weld away from the very edge of the panel to prevent it from oozing into the panel seam with the skin, but I didn't always manage that.


I clipped and taped the panel down onto the door, and afterward used a toothpick to scoop out some of the JB Weld that did end up oozing into the seam.


I'll let this dry overnight, and then work on the middle panel.

Tuesday, June 26, 2012

Re-Secured Two More Back Door Panels, Finished Bending Turned Aluminum Panels for R5 Neck Ring

I returned to back door rehab activities today.

First, I removed the clips from last night's JB Welding session for the perimeter of the inner and outer skins. They seem to be well bonded now.


Next, I worked on reattaching two panels that worked themselves partially loose, but did not completely separate from the back door. I used a toothpick to apply JB Weld to the edges of the panels, taking care not to mess up various autographs on the panels.


About half of this panel detached, so I applied the Office Depot clips where needed.


The other panel was about 3/4" detached, so I again applied JB Weld to its edges, and used even more clips to hold it in place.


While that was set to dry overnight, I turned my attention to the neglected R5-D4 dome work. Earlier I had cut the engine turned aluminum rectangles that go on the neck ring. The aluminum segments themselves were fairly flat.


I used a pen to help shape the curve for each panel.


I iteratively bent and fit each of the 16 panels, until they all fit snugly on the surface of the neck ring.


Sixteen rectangles, (roughly) bent to the same shape.


Here's a loose fit of them on the dome.


I plan to attach them with 3M VHB tape, but first I will do a little dome touch-up, including some mist painting to repair areas that incurred chips as I muddled my way through the dome work. But before any of that, I'll keep working on that back door.

Monday, June 25, 2012

Re-JB Welded Back Door Inner and Outer Skins

Today I worked on reattaching the inner and outer skins in the areas that they separated when R2 had his little misadventure.

Following yesterday's removal of the old JB Weld from the edges of the panels and skins, I cleaned up any remaining residue and dust with acetone.


Next, I mixed up a batch of JB Weld.


I used a toothpick to apply it to the areas where the inner and outer skins separated, which was about 75% if the perimeter of the skins, and a little bit of the area below where the largest panel goes.


I used my Office Depot clips to hold the skins together while the JB Weld dries overnight.


The two panels toward the middle of the door are partially loose, so I'll work on reattaching them next, and then proceed with the panels that are completely displaced.

Sunday, June 24, 2012

Removed Old JB Weld from Back Door Panels and Frame Piece

Today I worked on removing the old JB Weld from the edges of the back door panels, in preparation for reattaching them with a fresh mixture of JB Weld. I used the Dremel with the drum sander attachment for this job. I had to be careful, since many of the panels have autographs on them that I don't want to mess up.

A few before-and-after pictures.


Boy, what I mess I made with the JB Weld on the rear coin returns. If it's possible to butcher JB Weld, I did it here.


That's better.


And of course, the door frame itself requires a little cleaning along some of the panel edges. You can also see that some of the panels have lifted off slightly in some areas. I pulled on them to see if they would come off, but they put up a fight, so I'll apply JB Weld to the areas that detached, and hopefully I can reform the bond.


I made a light effort at cleaning up the dust and grime, but I'll come back and do a more thorough cleaning, and then work on reattaching the panels.

Saturday, June 23, 2012

Back Door Pickup and Dome Work on Mike's Dome #2

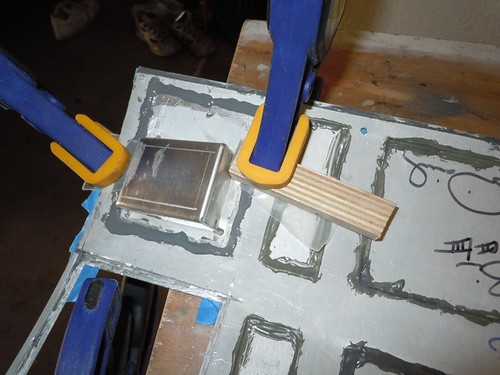
Last night I called Mike to see if I could come over so we could work on straightening out my back door panel, to which he replied, "Dude, I already did it."

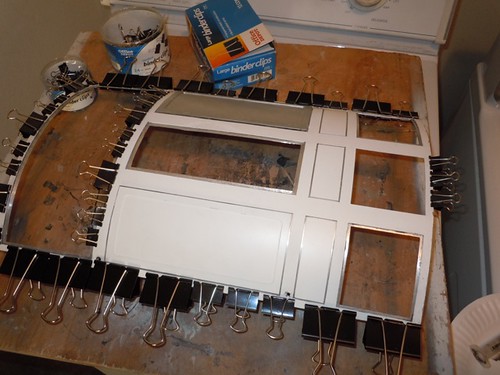
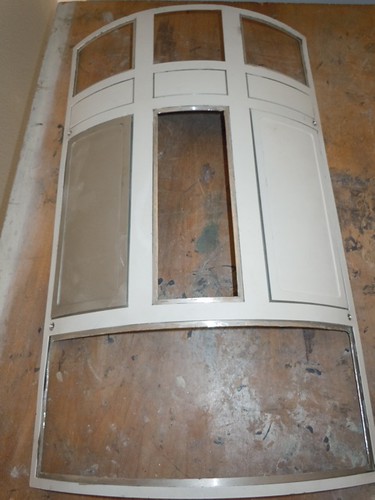
So instead of hoping we'd have enough time to work on the back door, I got to see the results of the labors of Mike and his elves. They do good work!


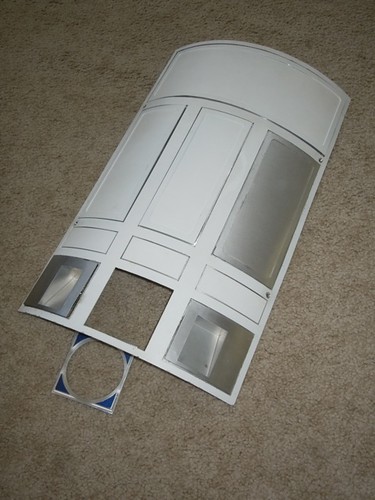
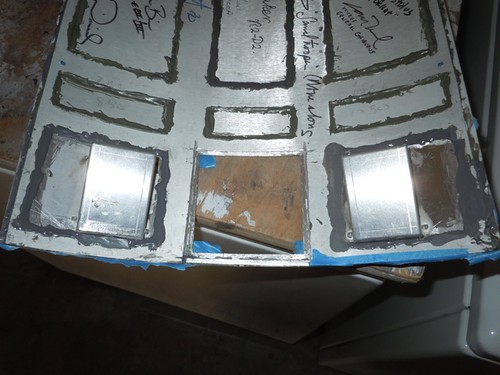
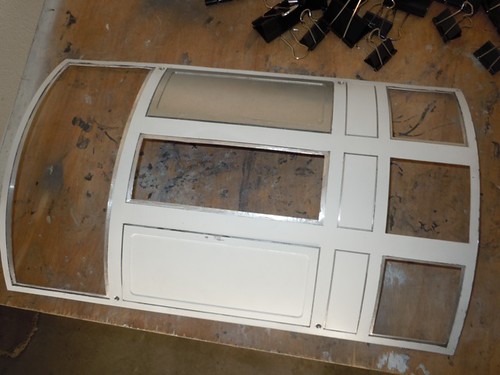
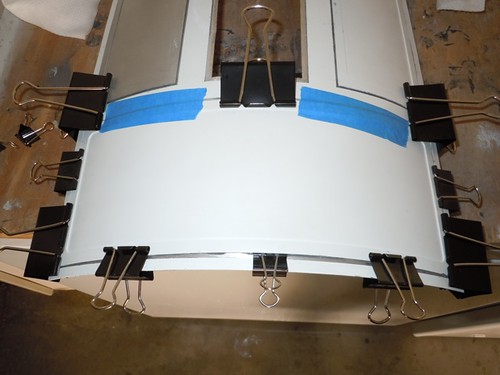
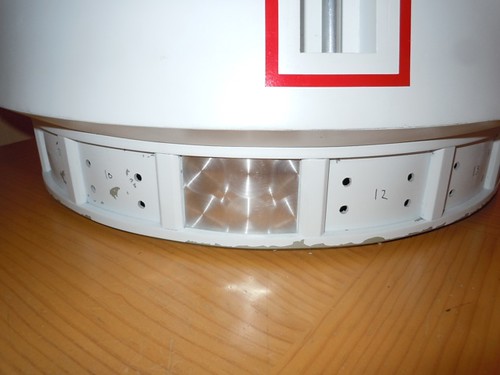
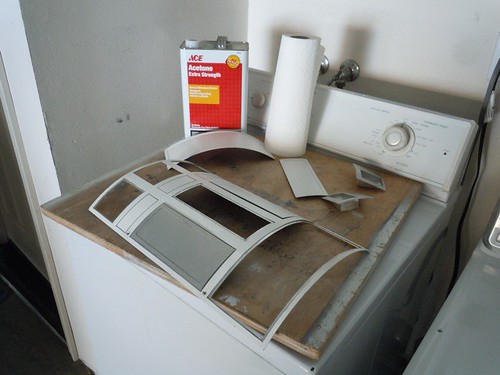
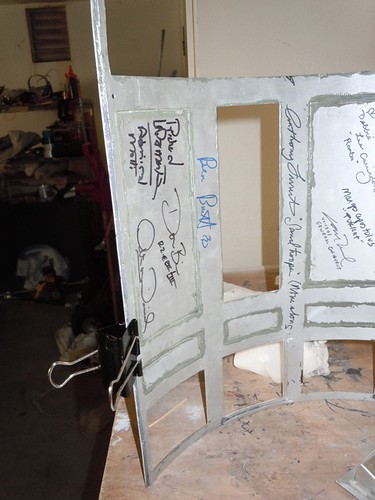
Some of the panels popped off and are just resting in place, but the shape of the door and the panels seem to be about what they used to be.


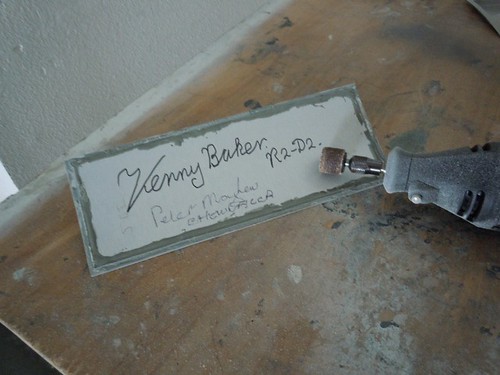
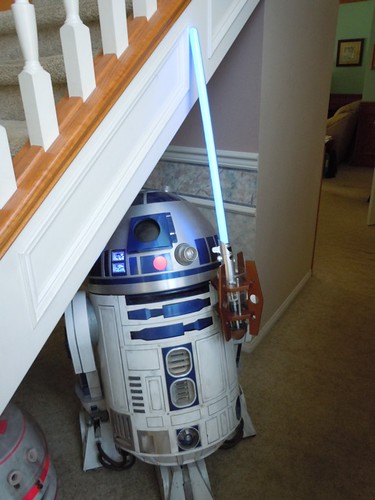
In the meantime, Mike is preparing his droid #2 for a special event that it will be involved with soon. Perhaps as a Jedi Knight?


Speaking of his droid #2, you may recall back in 
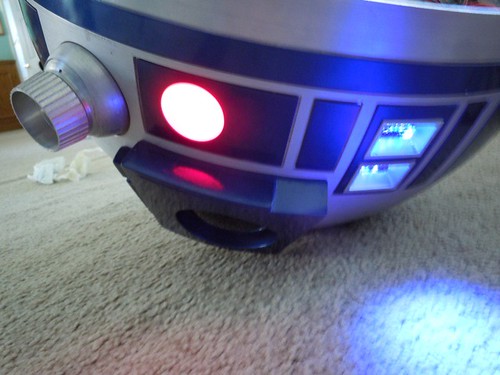
December 2011 I was working the dome electronics for Mike's dome #2, in case it was needed for the 
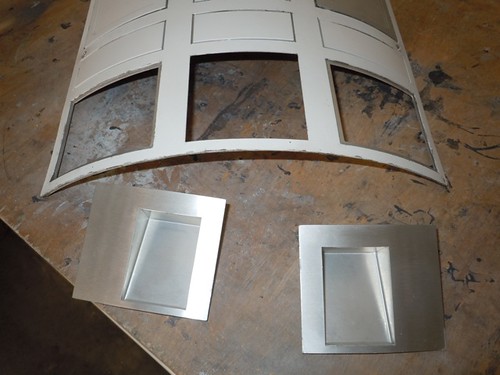
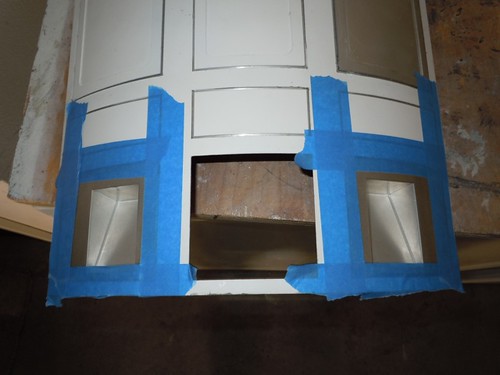
Verizon commercial. I ran out of time, and a few components, such as the PSI logic boards and the entire front logics, were merely taped into place with masking tape.


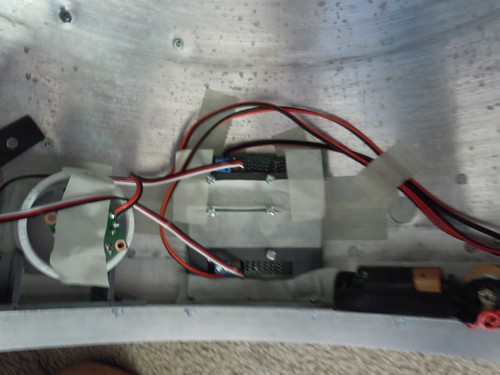
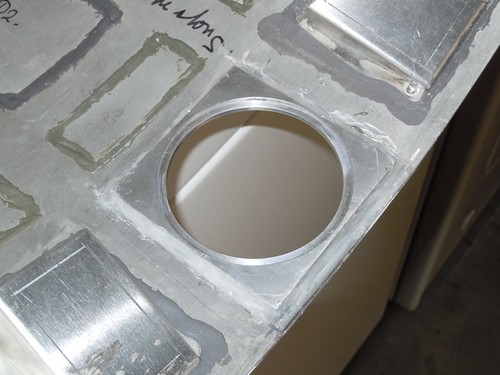
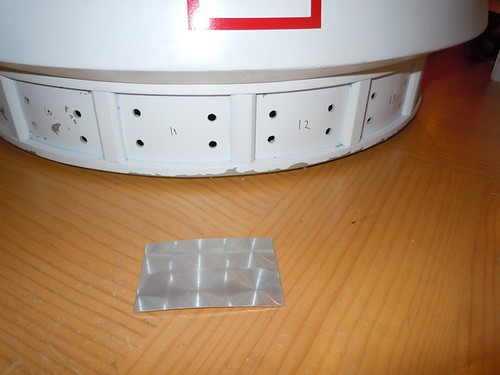
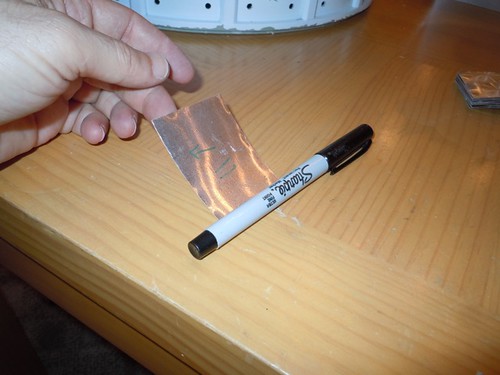
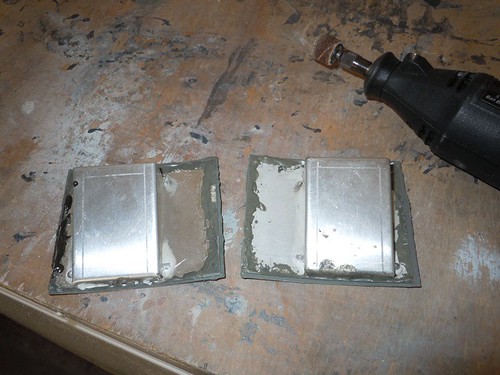
So we pulled those out and went to work on a more permanent arrangement. Mike cut some circles from 1/8" PVC to which the small logic boards will be attached.


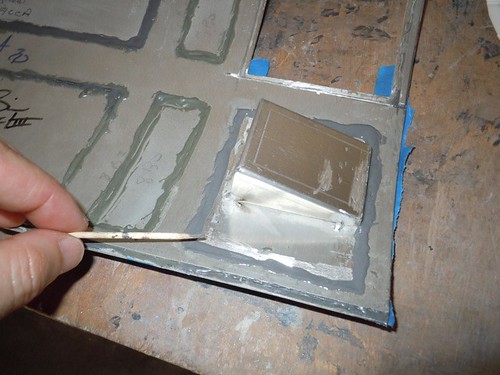
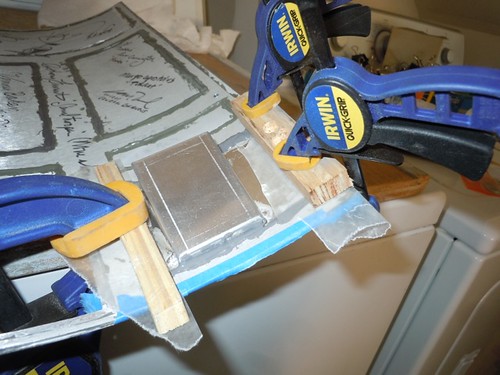
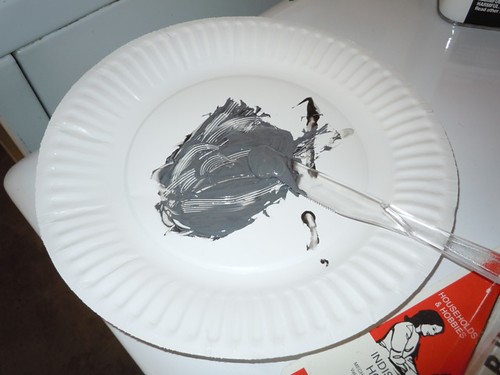
I drilled mounting holes for the electronics boards, and then used PVC glue in three locations around the circumference of the PVC disc to attach it to the segment of PVC pipe used for light diffusion. The small amount of PVC glue will hold the discs in place, but they will be removable if necessary.


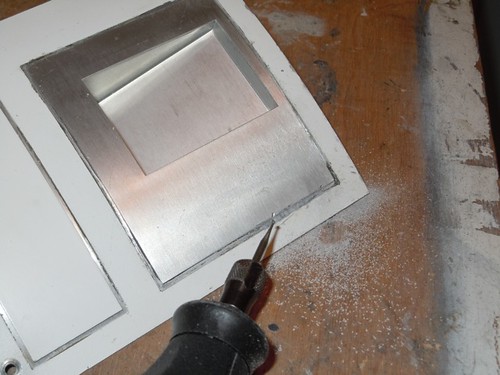
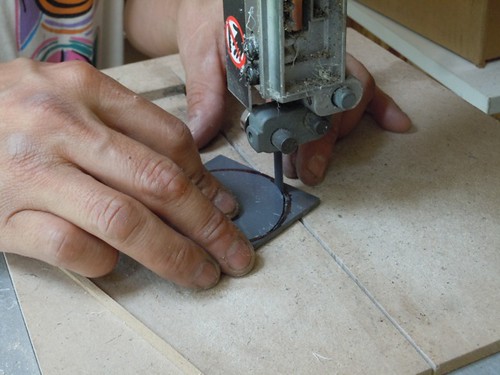
Meanwhile, Mike cut down some #6 screws to more permanently mount the front logics. Never miss an opportunity to photograph sparks!


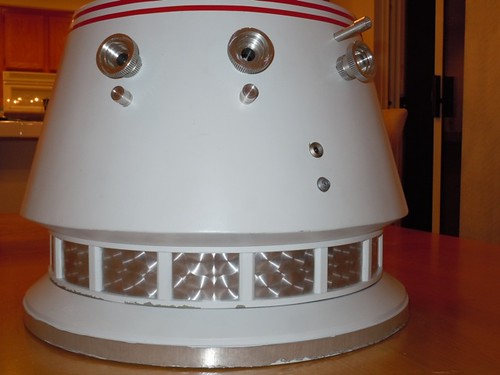
With everything back in the dome, we fired it up. The lights all work, even when the dome is upside-down. And I know a thing or two about upside-down droids.


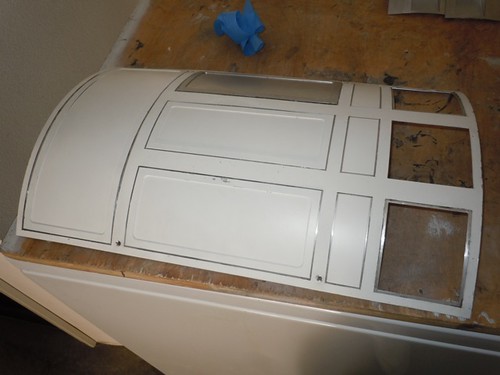
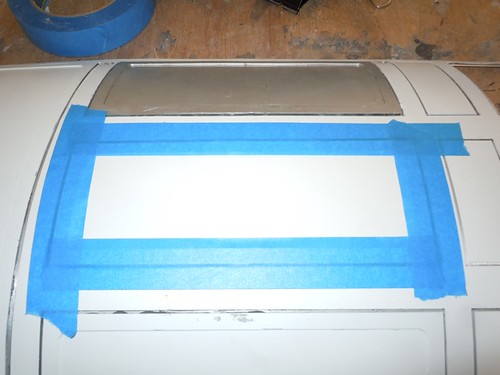
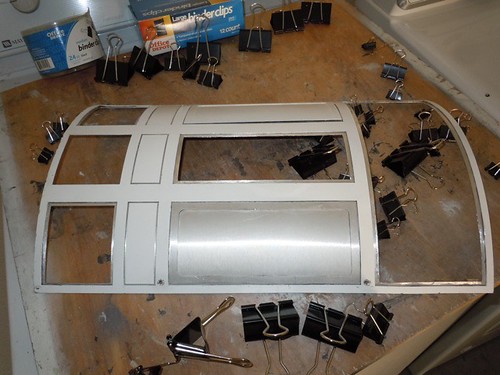
Back home, I tried the door on the droid, to make sure the holes for the screws lined up okay with the brackets that receive them on the frame. They seem to. And you can see which panels need to be JB Welded back in place. For now, it's a door with windows.


So as you can see, I still have my work cut out for me, but things are in a lot better shape than they were a couple of weeks ago. Thanks again to Mike for all the help with this.