Sunday, July 30, 2006

Resumed Work on Ankle Brackets

This afternoon I was able to spend a little time returning to work on the PVC ankle brackets (one of them, at least).

First, I used a push pin to score the outline that I need to cut to allow the leg and booster cover to pass through.


Next, I used the Dremel with the cutoff wheel attachment to rough-cut the section goes around the leg. (I'll cut the area for the booster cover later, when I have more time.)


I used a course file and a fine file to clean up the edges as much as possible.


A test fit indicates things are close, but I may need to go back and file off a little more material, the bracket is not sitting quite far back enough. It's pretty close, though.

Saturday, July 29, 2006

Back on Three Legs, Secured Aluminum Flashing

I was able to pick up the painted legs from Mike's today. I took them home, and couldn't wait to secure the aluminum flashing that goes around the shoulder discs, and fit all the decorations on.


My R2-building schedule will be a bit sporadic for the next few days (family is in town), so I can only hope to get work done on R2 in the near term.

Friday, July 28, 2006

Pat's Shoulder Hubs Arrive

Pat Coajou's shoulder hubs arrived today (it's raining aluminum lately). They do look terrific, but I got impatient and ordered Jason's a while back. Still, I'll be holding onto these.


Does this count as building? (No.)

Thursday, July 27, 2006

Finished Repainting Cylinders Silver, Power Couplers Arrive

This morning I repainted the silver areas of the remaining two ankle cylinders.

In the evening, Michael McMaster's excellent power couplers were awaiting me in today's mail.


Mike Senna called to say the painted legs were pretty much dry, so I'll pick those up Saturday morning. I can't wait to get this droid back on three legs.

Wednesday, July 26, 2006

Sanded & Started Repainting Cylinders

This morning I sanded down the Bondo that I had applied to the cylinders last night. In the evening, I applied masking tape to the blue areas in the center, and repainted the first two cylinders' silver areas.


I'm getting a lot of mileage out of that block of wood with the two 1/8" metal rods in them.

Tuesday, July 25, 2006

Bondo for Ankle Cylinders

Hey, remember those ankle cylinders whose paint job I got right the first time? Well, it was time to destroy the paint job.

There were little pinholes in the some areas of the resin that I just ignored, but I've decided to go back and fill them with Bondo. That means I'll have to sand and repaint, at least the silver section for each of them, and the blue section for one of them. Oh well...

Monday, July 24, 2006

Painted Coin Slots, Cylinder Holders

Sure enough, we did have thunderstorms yesterday, so I decided to take the day off. Today things were somewhat dryer, although still relatively humid. Not exactly ideal conditions for painting, but why let good judgment stop me now?

In the morning, I painted the resin coin slots silver. When I got home in the evening, they were dry, so I gave them a loose fitting in the skins.


Later on, I painted the wooden cylinder holders white. No apparent disasters that I can see.

Saturday, July 22, 2006

Legs Painted(!), Aluminum Flashing for Shoulder Discs

Whoo hoo! I went over to Mike's today, and at long last, the legs got painted.

Mike did all the painting, and I was more than grateful. As Principal Skinner said on The Simpsons, "If life has taught me one lesson repeatedly, it's to know when I'm beat."

Mike applied his expert painting skills to the middle leg first.


Next, it was on to the outer legs. Nothing like wearing a mask in 100+ degree heat, with leg-on-a-stick.


Then, it was time to hang 'em up to dry.


Hopefully they'll be ready to use in about a week (we want them to dry thoroughly). Thank you Mike!!!

I picked up some aluminum ducting (3' length x 8" diameter) at Home Depot on the way home, and used tin snips to cut the pieces that cover the wooden shoulder discs. I have not screwed these into the shoulder discs yet, I want to wait for the legs to come back home first so that I can ensure a proper placement.


I wrapped up by fitting the coin slots into the frame, I plan to paint them silver tomorrow (assuming we don't get thunderstorms in all this humidity, and that I have enough silver paint on hand).

Friday, July 21, 2006

Leg Rehab, Day 6

One final day (I hope) of finishing the legs before trying to paint again. Just a little light touch-up and sanding on the legs, and I think they are good to go. I'm keeping my fingers crossed.

Thursday, July 20, 2006

Leg Rehab, Day 5

More of the same (I realize this is getting boring, it's no party here either).

I cleaned up a bit of the work I did yesterday. I hit the white leg's ankle slot with a spot of primer to get an idea of how it was turning out.


Then I continued sanding, Bondo, lather, rinse, repeat. One more day of this (I hope).

Wednesday, July 19, 2006

Leg Rehab, Day 4

I did some more work on the legs this evening. I sanded the top edge of the right (painted) shoulder, in an effort to get it smoother. I also sanded down the Bondo from yesterday's under shoulder detail pocket repair.

Later, I finished placing the paper plate cutouts and Bondo into the final pocket slot (it looks just like yesterday's entry). I'll sand that down tomorrow.

I also applied Bondo to the ankle slot on the right leg. I'll sand that down tomorrow too. I may need to make one more pass with the Bondo, we'll see how it looks first.


I'm trying to finish up the repairs by Friday night, so I can go back to Mike's for final painting Saturday.

Tuesday, July 18, 2006

Leg Rehab, Day 3

Work on fixing up the legs continues. I sanded the mess on the white leg. I also concentrated on making the curve at the top of the leg as even as possible, using a block of wood with sand paper wrapped around it. I originally used a hard rubber sanding block, but I think that had a tendency to round the corners. Lesson learned.

The paint scheme reminds me of a Holstein cow. That would be an interesting R2 pattern. Moo.


I also applied some more paper plate cutouts and Bondo to the under shoulder detail area. Of course, I'll sand this down tomorrow. One more to do.


I finished up by filling in a small thin line on each of the ankle cylinder holders with Bondo.

Monday, July 17, 2006

Leg Rehab Day 2, Sanded Cylinder Holders

More work on the legs, and this will probably continue throughout the week.

There is a slight curve along the edges of the legs, so I used some sandpaper wrapped around a flat piece of scrap wood to sand the edges flat. I'm not done yet, but I made decent progress. I also worked on another pocket for the under shoulder details. I used Bondo again to affix paper plate cutouts to the top and bottom edges, and filled gaps with Bondo. I'll sand the mess down soon.


Speaking of sanding, I sanded the primer on the ankle cylinder holders. They are pretty smooth, but I need to fill in a thin line that I accidentally made when I was sanding against the pipe in the vise.

Sunday, July 16, 2006

Leg Rehabilitation Begins at Mike's

"You can repair him, can't you? You must repair him!"

I've danced around some problems with the legs for a long time, and it was time to face my demons.

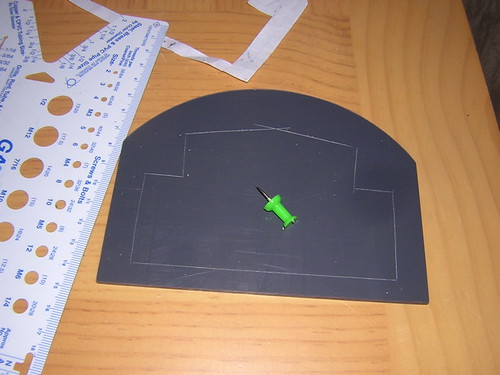
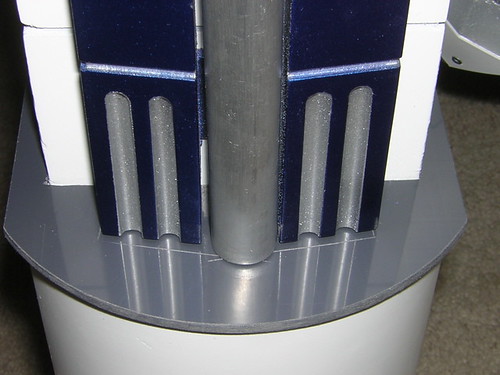
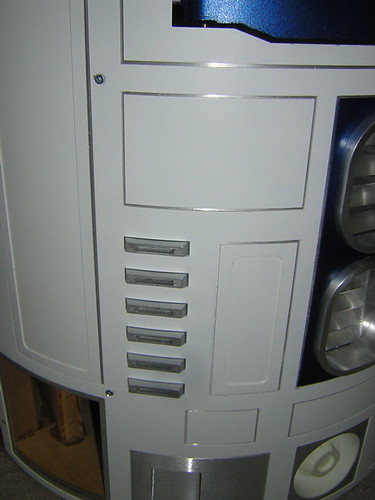
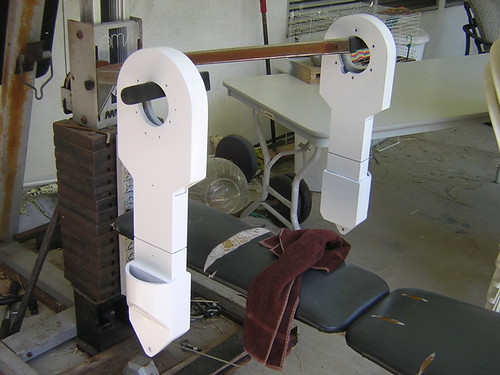
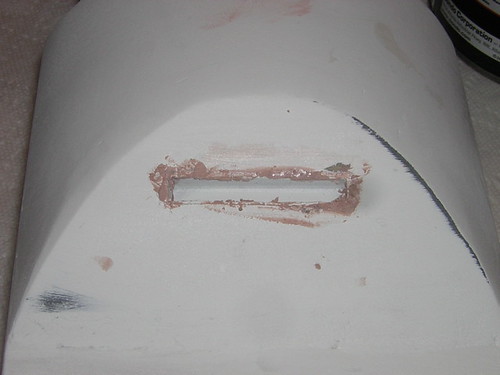
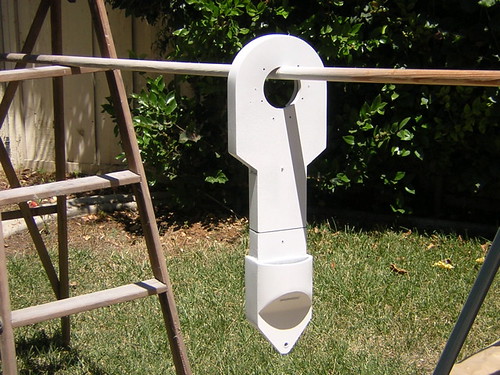
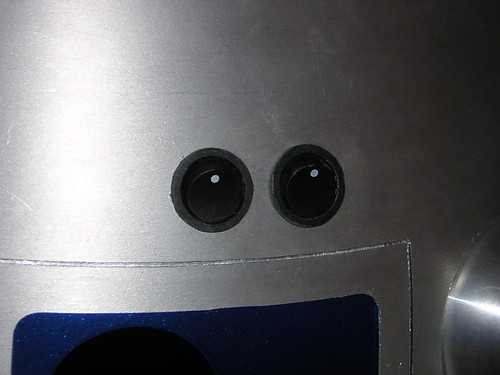
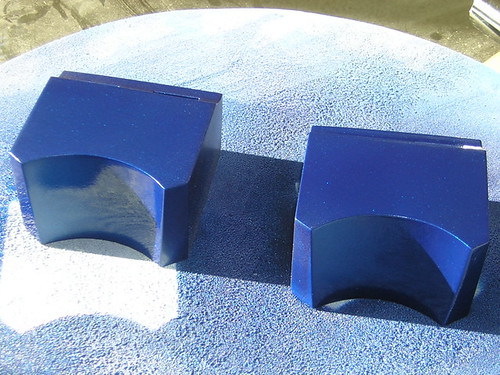
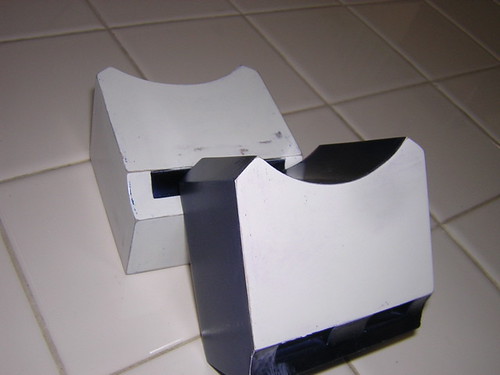
First off, the armpits for the under shoulder details are hideous on my legs. So hideous that I rarely post pictures of them. Second, I did a poor job in implementing Alan's well suggested and well explained styrene channel for the slots in the ankles. So, in all embarrassment for my inability to execute, here's the ugly truth.


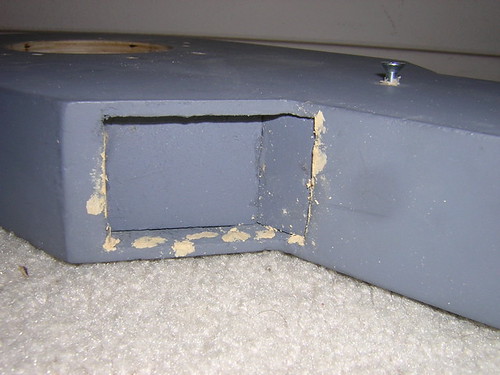
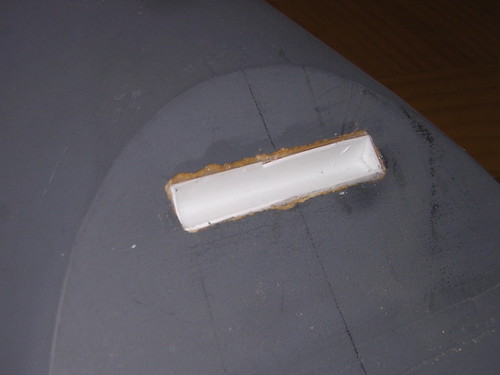
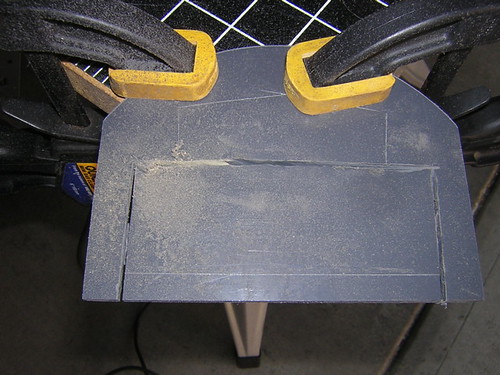
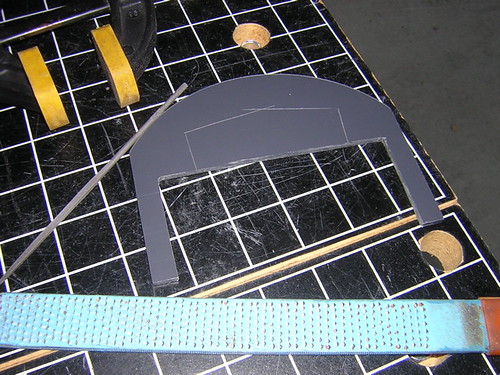
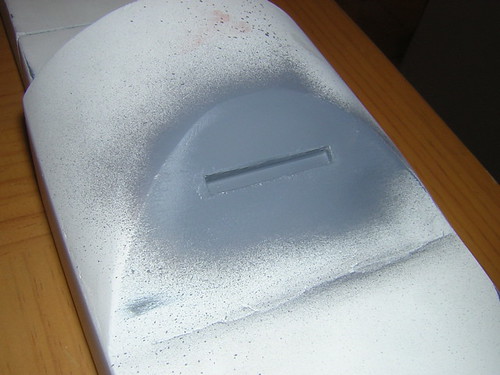
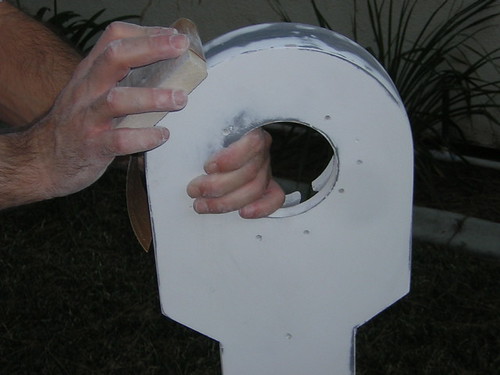
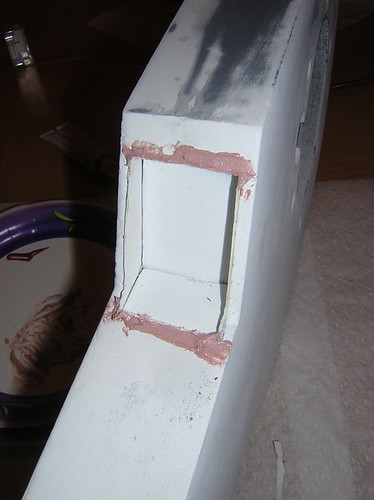
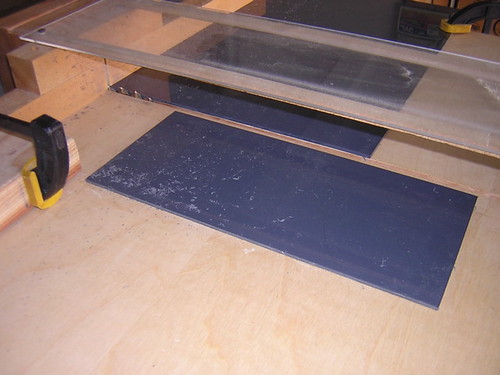
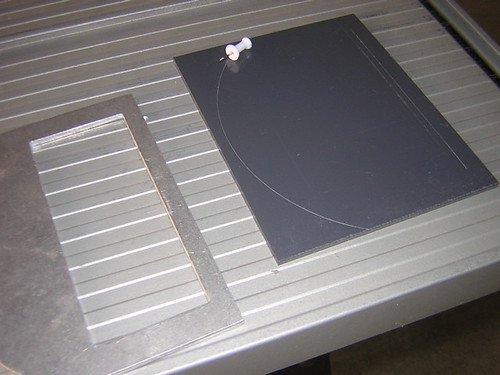
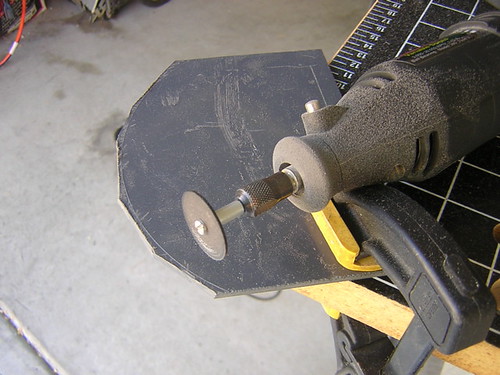
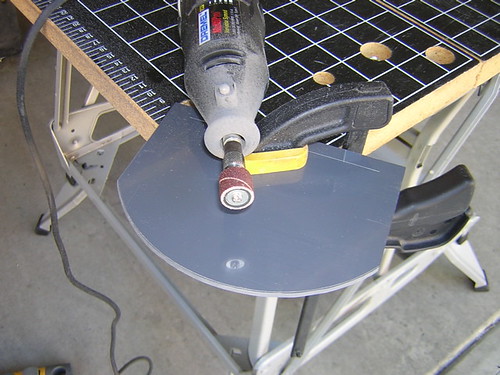
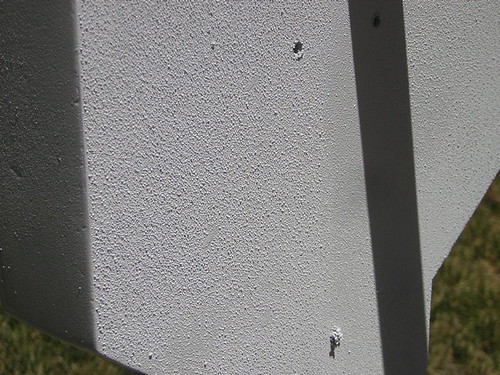
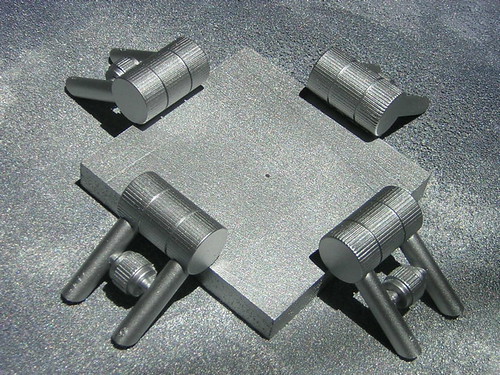
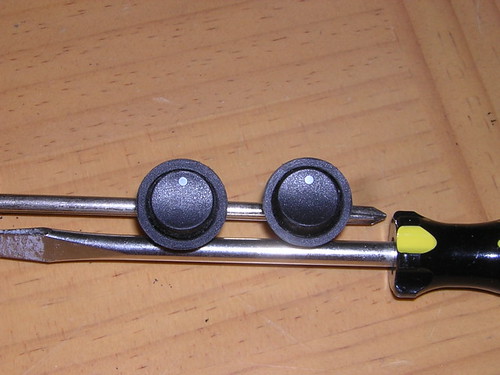
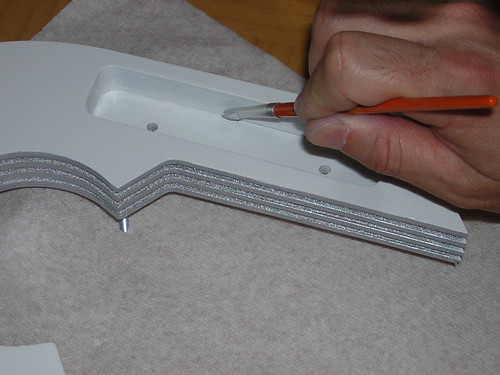
Mike Senna kindly offered to help me do some repairs. Starting with sandpaper and Bondo, we started smoothing and filling gaps in the armpits and slots. Keep in mind that I've never purchased Bondo before today, let alone used it. I've heard of it ("that car's body is over half Bondo"), but that's about it. Bondo is my new friend now.


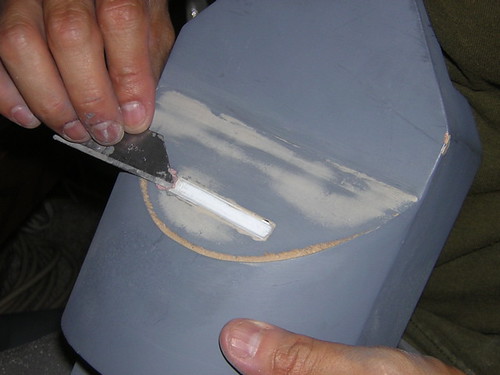
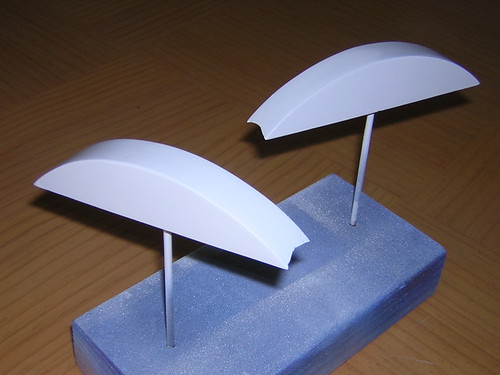
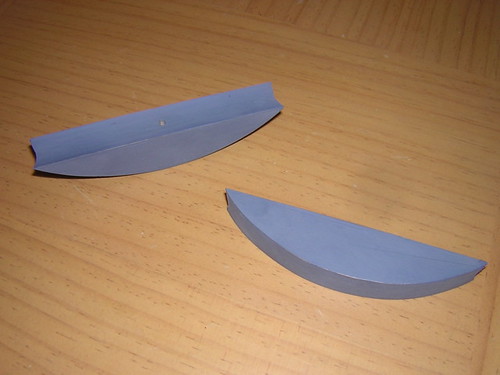
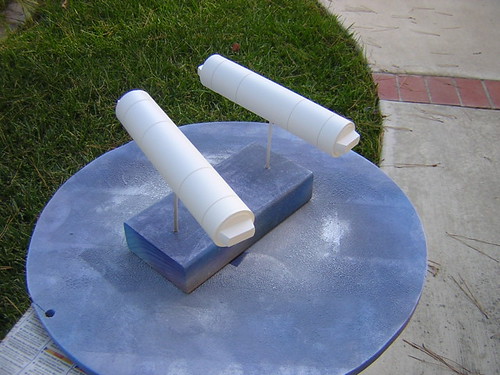
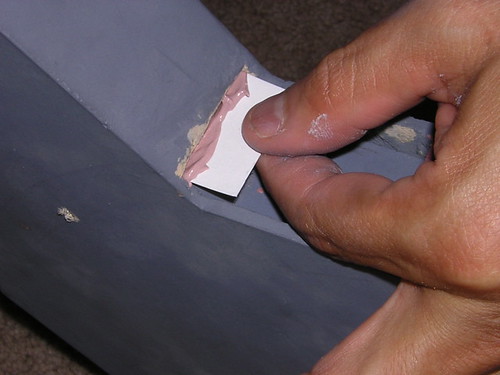
We used paper plates (you read correctly) cut to the proper size and shape to smooth out the edging on the armpits and legs, with Bondo between the paper plate snippets and the wood. Paper is wood, right? It can be glued, primed, painted, etc.


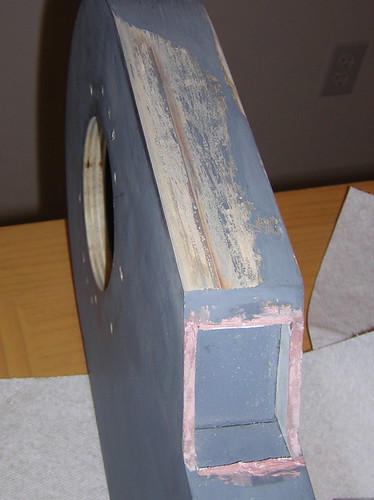
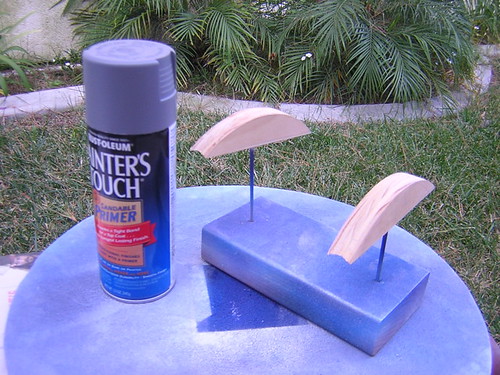
When we were done, the areas we worked on looked much, much better.


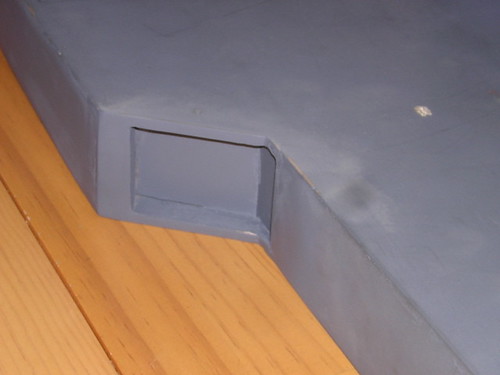
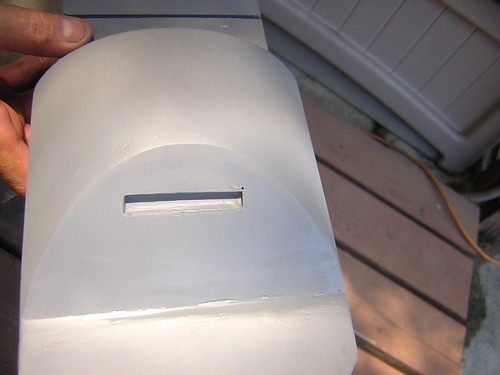
Sure, there's a little work left to be done, but this was a big boost.

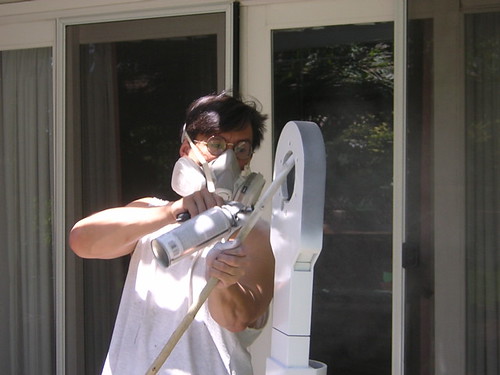
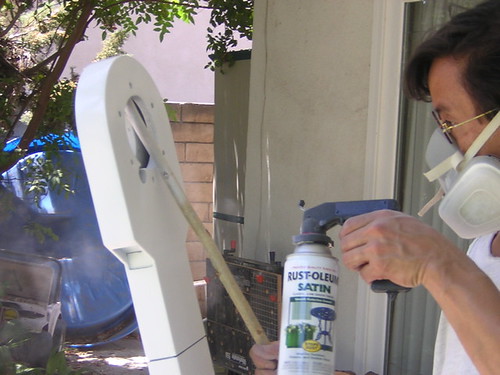
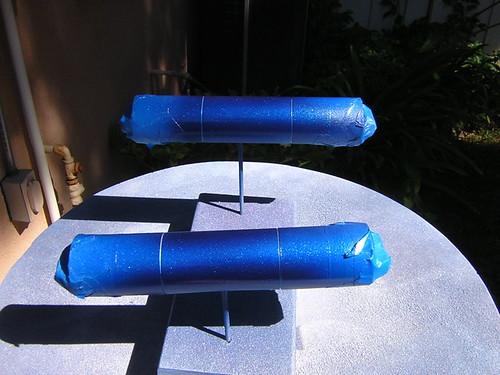
I also still need to sand down the leg I painted white last weekend, I'll work on that during the week. Hopefully next weekend the legs will be ready for another try at a final painting. Stay tuned...

Saturday, July 15, 2006

Started Ankle Brackets

I started working on the ankle brackets today.

I'm making these out of PVC, once again following Mike's example. I'm also going to deviate slightly from the blueprints. Where the blueprints have the booster covers sitting completely on top of the ankle bracket, I am going to have them go through the ankle bracket, by cutting a hole in the bracket where the booster will fit.

I started off by cutting a 12"x24"x1/8" sheet of gray PVC roughly to size. First I cut the length, then the width.


Next, I traced the outline of the bracket shape onto the PVC, using a pin and an aluminum bracket that I'm not going to end up using on this droid.


After that, I rough-cut the curve using the Dremel cut-off wheel attachment. This was like a knife through butter, but don't breath the fumes!


I cleaned up the curve with the Dremel drum sander attachment.


I also spent a little more time working on the cylinder holders (more primer) and tried sanding the unpainted coin slots to get them to fit through my skins. They still don't fit, I may have to try cutting the one row of six slots into two pairs of three. Or even just cut them each out individually. We'll see.

Friday, July 14, 2006

Started Cylinder Holder Primer

I started spraying primer on the ankle cylinder holders. I did not use wood filler on these first, and I may end up regretting that. I sanded the primer in the evening, and will apply some more tomorrow. If that does not hide the grain sufficiently, I may have to sand down to the wood and apply putty.


Hmm, I need to start taking better care of my yard.

Thursday, July 13, 2006

Unmasked Ankle Cylinders, Prepped Cylinder Holders for Painting

Yeehaw, I painted something right on the first try! The ankle cylinders appear to have turned out okay.


I also prepped the ankle cylinder holders for primer/painting by drilling a hole on the holder side, so they can sit upside-down on top of the same rods that the cylinders were mounted on. Hopefully I'll start the process tomorrow.

Wednesday, July 12, 2006

Finished Painting Ankle Cylinders, More Cylinder Holder Sanding

This afternoon I applied the blue paint to the middle section of the ankle cylinders. It was the usual process -- mask off everything but the middle section, then apply purple, blue and clearcoat. I was able to do all four cylinders. Hopefully when the tape comes off it will all look correct.


I also put in a little more time sanding the ankle cylinder holders, they should be just about done.

The PVC sheets I ordered yesterday from McMaster-Carr for the ankle bracelets arrived today too. I ordered two 12"x24"x1/8" sheets.

Monday, July 10, 2006

Sanded Ankle Cylinders Holders

The fun never stops here.

All I did tonight was work on the curve at the top of the holders that the ankle cylinders sit in. I wrapped some 60 grit sandpaper around some spare 1" pipe that connects the legs together, and sanded for a while. Care must be taken during sanding, or else a warped curve results.


I'm not sure if I'm done yet. The holder hangs over the edges of the leg by a small amount (less than 1/8" on each side). Depending on how lazy I am, I may or may not sand these down some more.

I'm glad these are optional on the middle leg.

Sunday, July 09, 2006

Touched-Up Booster Cover, Ankle Detail Blue Paint

After consulting with Mike Senna, I'm going to hold off on painting the left leg, and Mike and I will get together next weekend to try to get the paint on the legs right.

All I got done today was some touch-up work on the blue paint on one of the booster covers, and ankle details. I used the pie tin again as a palette, first applying primer, then purple, then blue. The areas touched up were so small I didn't feel the need for clearcoat.

Saturday, July 08, 2006

Tried Painting Right Leg, Received Front Logics, Painted Middle Ankle Cylinders

More misadventures in painting.

It would seem simple enough, just point spray can at leg and spray, right?


So, how did I manage to do this?


I seem to be self-cursed when it comes to painting. I may or may not try painting the left leg tomorrow. What's the point if it's just going to end up like the right one? In the meantime, I guess I'm going to have to sand that mess down. Maybe I should go into the texture coating business.

On the good side, my pre-assembled front logic displays from Ben and Jason arrived today, and they work great.


I also painted in the middle leg's ankle cylinders silver today.

Friday, July 07, 2006

Started Painting Ankle Cylinders, Fitted Dome Bump Switches

This evening I painted the outer legs' ankle cylinders.


I also sanded the threads on the dome bump switches to fit inside the corresponding holes in the dome. I am strongly leaning toward painting these blue later.

Thursday, July 06, 2006

Ankle Cylinder Primer, Prepped Legs for Painting

Nothing too exciting today.

After taking the day off from building yesterday, I applied primer to the resin ankle cylinders this evening.


I also tried using rubbing compound on one my resin ankle details, where some silver paint ran into the blue, with mixed results. I may repaint that piece.

Finally, in preparation for hopefully painting the legs this weekend, I applied some final touches of wood putty to them.

Tuesday, July 04, 2006

Painted Under Shoulder Details, Ankle Details, Worked on Dome Bumps

Today I painted the resin under shoulder details and the rest of the ankle details silver/chrome. Unfortunately, even though I masked the already-painted blue area of the ankle details, somehow a bit of silver paint leaked onto the blue. I may try rubbing compound to see if I can get the silver out, before I resort to repainting (again).


I also purchased a pair of rocker switches from Radio Shack, that will double as dome bumps and on/off switches for the dome electronics. These switches have a square bezel, so I spent time filing them into a circle. I may paint them blue, I haven't decided yet.

Monday, July 03, 2006

Under Shoulder Detail Primer

Not much building activity to report today. The R2 Builders Club hats that I ordered from Tom arrived, they look sharp. I applied some primer to the under shoulder details, and I plan to paint them silver tomorrow. I also removed the masking tape from the ankle details, and I may paint the rest of those silver tomorrow too, if I think the blue paint has dried enough on them to handle masking tape. I'm going to take a shot at making my own PSIs, so I went to Radio Shack and bought most of the components. Perhaps I can celebrate the Fourth of July by blowing up a board...

Sunday, July 02, 2006

Repainted Booster Cover Tops

As is becoming somewhat of a tradition with me, I repainted yet another part. This time it was the booster cover tops. Hopefully this is the last time I'll have to do that for a while.

One Year of Building

Today marks my one year anniversary of my first building activity.

I suppose I'm just about where I would expect to be. I figured it would take between one and two years to complete this droid, targeting completion at one and-a-half years (i.e. end of this year).

The number of mistakes I've made is too numerous to count (similar to the dollars spent), but I have to say I have learned a lot along the way. I keep a "lessons learned" document in case I am crazy enough to ever try this again.

Once again, I have to thank folks like Mike Senna, Alan Wolfson, Calvin Thomas and pixelFiend for helping to get me this far along, without their help and encouragement, no droid for Victor. And thanks to my dad and Kelvin Miyake for letting me borrow a boatload of tools, and to Kelvin again for helping with some of the more challenging cuts for me. And let's not forget the R2 Builders Group in general!

Okay, enough with the acceptance speech. I ain't done yet by a long shot. Back to building!

-Victor

Saturday, July 01, 2006

Stripped Paint and Reprimed Booster Cover Tops, Painted Ankle Details & Wedges Blue, Touched Up Horseshoes

The first thing I did today was make a run to Ace Hardware in Corona, to pick up six more cans of Rustoleum Deep Purple Metallic. That should last me a good long while. It was 101 degrees Fahrenheit when I arrived there in the morning.

Later in the day, I stripped the paint off the booster cover tops, since I messed them up yesterday. I just used acetone-soaked paper towels to scrub off the paint.


The original primer was left mostly intact, but I later recoated a couple of times, and will sand and reprime again tomorrow.

Next, I painted the blue portions of the ankle details, and the cylinder wedges.


Finally, I touched up the holes where the buttons and hydraulics live in the horseshoes. I didn't get complete coverage with the spray paint, so I sprayed some of the same paint into a pie tin, and used a small paint brush to touch up those areas.