More of the same, I repeated yesterday's exercise for installing the ankle cylinders, this time on the center leg.
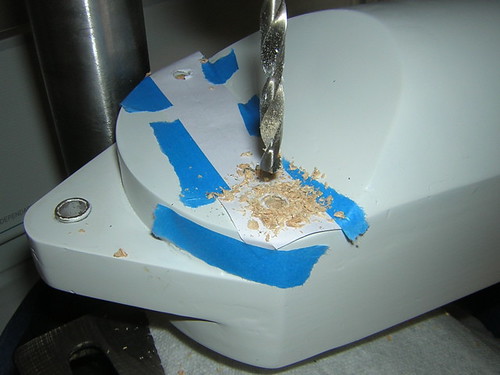
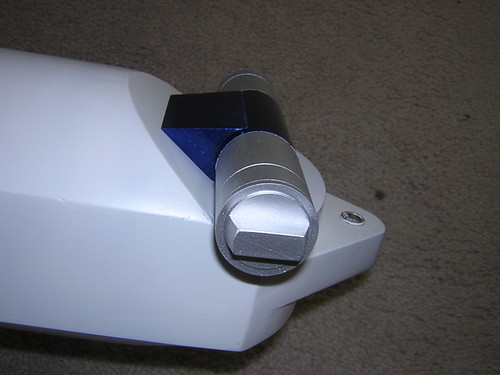
While the left cylinder and wedge fit well, the right wedge didn't fit so great. I'm left with either a gap between the wedge and the cylinder, or a gap between the wedge and the leg. My solution? For now, I only have one dowel holding the cylinder in place, and I let the side of the leg support the other side of the cylinder as it "wraps" around the leg's edge (if that made any sense...). The very slight tilt of the cylinder allows the wedge to fit better, and the tilt is not noticeable.
Okay, now back to the power couplers. I really had no idea what to expect from the latex mask. I slowly and carefully unpeeled the latex from the inside ring of the power coupler.
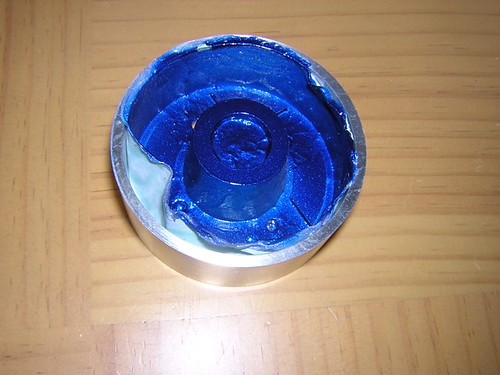
After getting the bulk of the mask out successfully, I used an Xacto knife to trim the edges of the mask on both the main power coupler body, and the power coupler frame.
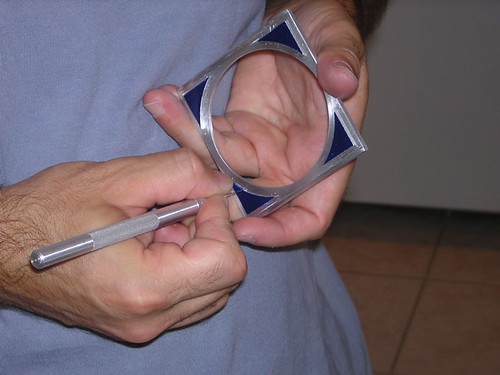
I must say, it turned out really well. I couldn't be much happier. I gave it the usual loose-fit trial.
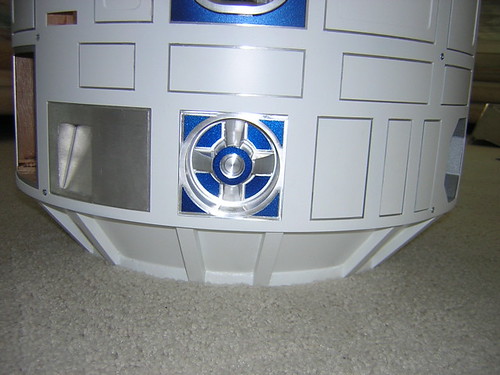
I also did some very minor blue paint touch-up on the booster covers and center leg cylinder wedges.
Believe it or not, a second attempt at gluing the left rear coin return still did not work. I finally realized that even an unopened tube of silicone must have a shelf life. The "new" tube I was using was from December 2005, which I didn't think was that old. Nevertheless, I bought a new tube tonight, and this time the silicone seemed to behave better. Here's hoping the third time's the charm.

7 comments:
Looks like that turned out nice!!
I'll have to pick up some latex and get mine painted.
Oh yea, I got the silicone and I'll be trying it out next week on putting my dome together. My nerves will be shot during this process, But it has to be done.
Any pointers on this?
Calvin
Calvin,
Yes, the latex seems to be the way to go.
As for stressing over the dome: Valium. ;)
The good news is that once you start working on the dome, you'll get more and more confident as you go, and it won't be so stressful. Just go slow at first, double-checking everything.
Have you done anything to the dome yet? Like cut out the outer dome's panels? Or cut holes in the inner dome? (Obviously I'm assuming an R&J dome here.)
-Victor
Yea, It's ready to go, I'll silicone it next week.
Take a look at it and let me know what you think.
www.tomsr2.blogspot.com
Thanks
Calvin
Calvin,
I checked out your blog (I hadn't visited in way too long). You dome is coming out TERRIFIC!
I forgot all about your posts on your painting adventures, I should have remembered that your panels are painted.
If all you are worried about is the gluing of the two domes together with silicone, worry no more. This will probably be the easiest part of your dome build. The silicone takes hours to cure, so you have plenty of time to make any adjustments you need to make as you join the two domes together. Just make sure that all your inner dome cutouts are to your satisfaction, and if you want to insert any screws into the inner dome like I did, now is the time to do so, before the domes are glued together.
I know your dome is going to look great!
-Victor
Victor,
Glad to see that the latex worked out. When i get there i will use the same trick.
I finaly did mine and they turned out pretty good.
I had a couple of places that the mask tried to lift the paint.
But I'll just touch that up with a brush and it should'nt show.
Thanks for the idea!!!
Calvin
Calvin,
I just saw your power couplers on your blog. They look great! I can't see the areas that were affected, but I'll bet they are small.
I have been known to cheat and use a dark colored felt tip pen and put a small dot where paint was chipped or lifted.
Nice going,
Victor
Post a Comment