Sunday, July 22, 2018

Comicon 2018

Today was our R2 Builders Panel at San Diego Comicon. Our panelists were William Miyamoto, Thomas Roeoesli, Michael McMaster and Mike Senna, with me serving as moderator.


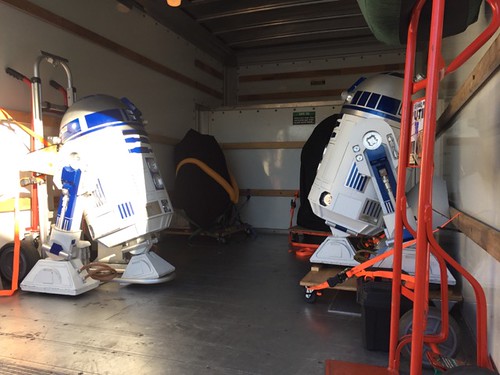
We met at our rendezvous point at 7:00am to load the droids into the U-Haul truck that Thomas Roeoesli arranges. Our panel wasn't until 10:00am, but with street closures and traffic, we wanted to depart extra early. Thomas does an outstanding job of setting things up for the panel to go smoothly.


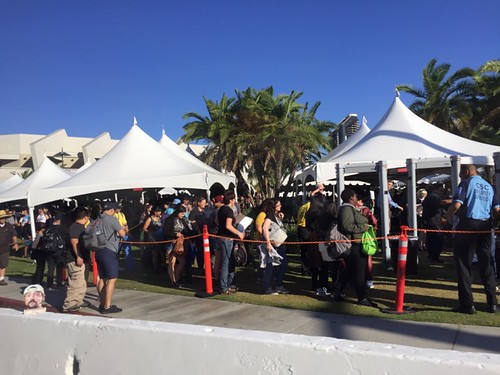
As we passed the convention center entrance on the way to the loading dock, we saw the thousands of people lining up to get into Hall H, where the huge panels take place. We haven't achieved Hall H status yet. Soon...


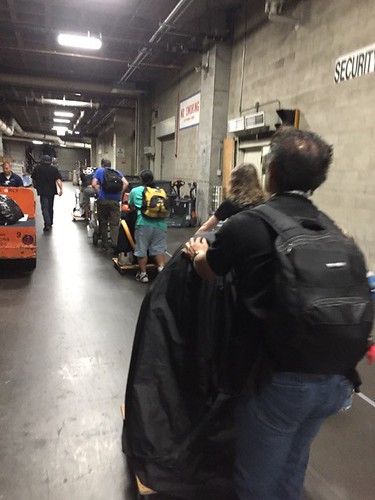
Once we arrived at the loading dock, we unloaded and wheeled our droids through the catacombs of the convention center, to get to Room 11 where our panel was to take place.


We had some time to kill, so we were able to visit the Millennium Falcon set that Michael McMaster worked on and got a group picture there. (Since Michael didn't bring a droid this year due to his involvement with the Magic Wheelchair project, he didn't need to arrive early.)


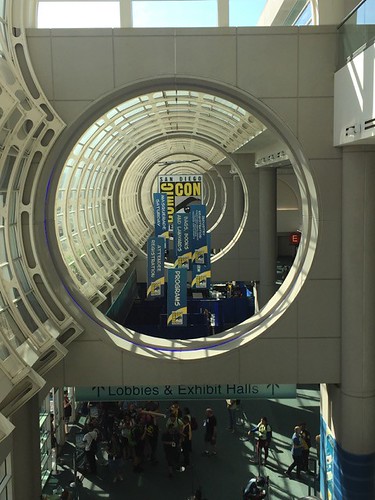
I took an opportunity for one of my favorite photos to get, from the vantage point of the escalator.


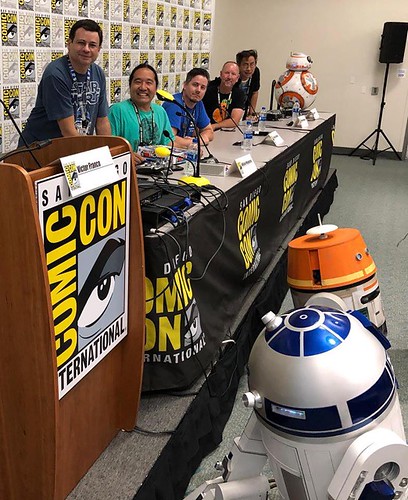
After that, it was time to start setting up in Room 11. We let the people who lined up early in, so they could get some pics of the droids as we got ready.


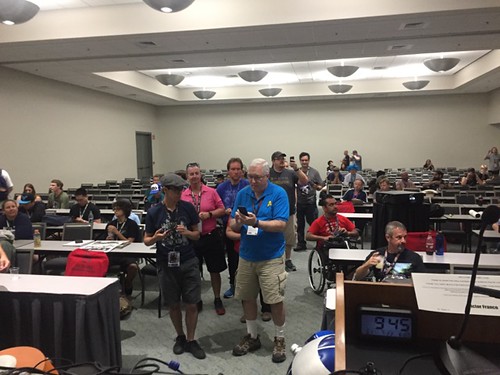
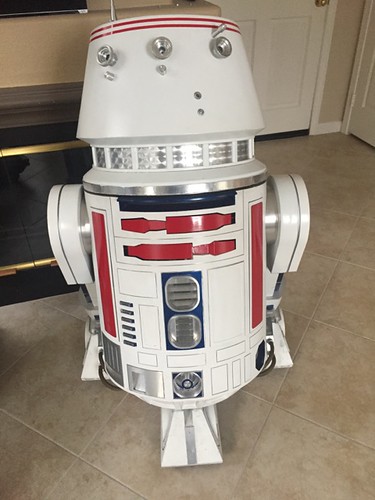
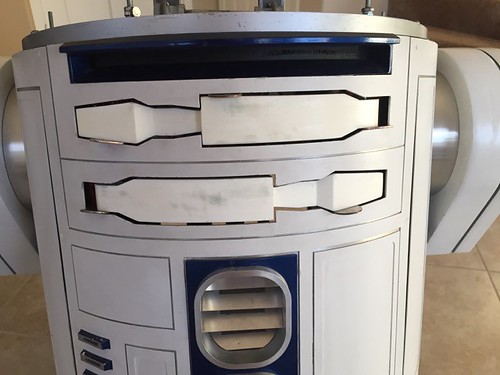
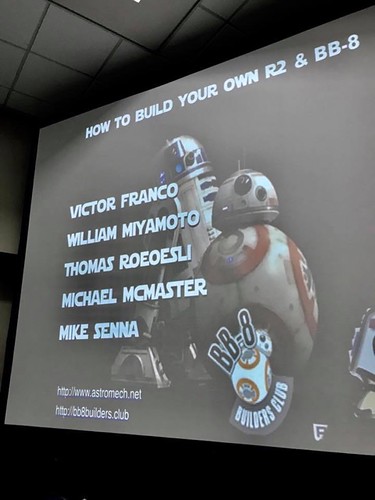
We started promptly at 10:00am. The panel covered both R2 and BB-8 building, hence the title slide.


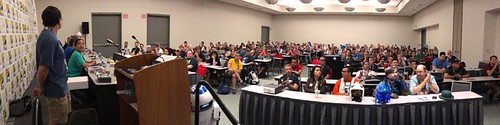
I'm guessing the room held about 200 people, and it was pretty packed.


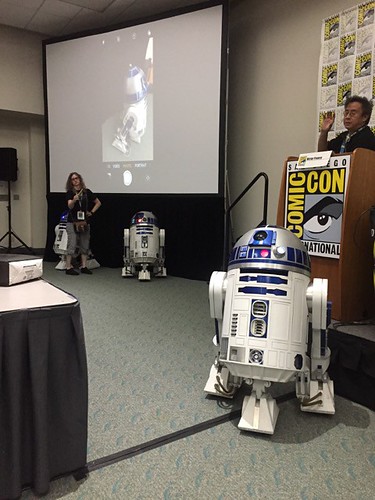
For the last few conventions, we've been using an Apple TV connected to the projector's HDMI port. I use my iPad to do the presentation, but it also allows Amy Senna to use her iPhone to show close-ups of the droids when we're demonstrating a gadget and such, and then I can take the screen back. (We password-protect the Apple TV so no one hijacks our presentation.) This works out pretty well.


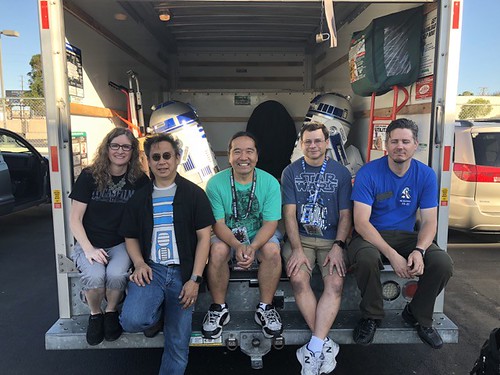
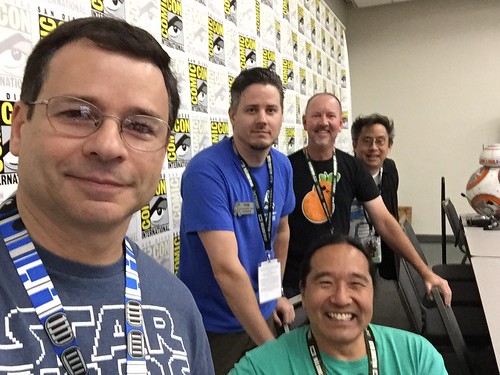
We wrapped up with Q&A and one last panel selfie, and then it was time to pack everything up and book out of there.


It's always a neat experience to do a panel for San Diego Comicon, and hopefully we'll get to do it again next year.

Thanks to Amy Senna and Thomas Arroyo for some of the pictures here, and to Thomas Roeoesli for handling all the logistics to make the panel a success.

Tuesday, July 17, 2018

Primer and Paint for Body Panels for R5-D4

Today I was able to wrap up priming and painting the body panels on R5-D4.

I prepped the panels for painting by scuffing them lightly with sand paper (this had been done previously, so not much more was required), and cleaning them thoroughly.


On goes the gray primer.


And shortly thereafter, on goes the Rustoleum Sunrise Red paint.


I was able to peer into the future, and this is how everything looks.


I'm happy with the new color, it was worth the effort to repaint. R5-D4 doesn't get out much, but at least he'll look a little better the next time he does.

Monday, July 16, 2018

Finished Stripping Old Paint, Painted New Utility Arms for R5-D4

Today I was able to finish stripping the old paint from R5-D4's panels.


Next, it was time to paint the new utility arms red, using Rustoleum Sunrise Red.


Here you can see that the new paint is a bit darker than the old.


I'm glad that's out of the way. Next up, the body panels.

Sunday, July 15, 2018

Started Stripping Old Red Paint for R5-D4

I haven't been happy with the original red paint I chose when I painted the panels for R5-D4. I had been using Rustoleum Gloss Apple Red, but it seemed too "tomato-y" to me, as if there we a slight pink hue to it. I decided to switch to Rustoleum Sunrise Red, which is a shade darker. But before I apply the new paint, I want to strip the old paint off first.

Acetone, we meet again.


It took me a good 20 minutes or so to clean each panel. I wore a respirator mask and gloves, which is always enjoyable when it's 90 degrees out.


I got through most of the panels, but there are still a few more to do.


I'll pick up where I left off tomorrow.

Sunday, July 08, 2018

Primer for Utility Arms for R5-D4

Just a quick update that I applied gray primer to R5-D4's utility arms, in preparation for painting.


To be continued...

Thursday, July 05, 2018

JB Welded Servo Rod for Top Utility Arm for R5-D4

Today I corrected the mis-drilled hole for the servo rod for the top utility arm for R5-D4.

First, I sanded off the excess JB Weld that I applied to fill the hole yesterday.


I drilled the new hole in the proper location and at the proper angle, slightly offset from the previous hole.


I did a loose fit of the rod to confirm the location was good. It overlays perfectly with the servo rod on the existing blue arm.


Time to JB Weld it in permanently.


At this point I think the arms are ready for their first coat of primer, and I'll see what further filling and sanding may be required. And after that, I'll finally be able to paint the arms red and call them done.

Wednesday, July 04, 2018

Started Working on Servo Rods for Utility Arms for R5-D4

Today I worked on cutting and installing the segments of rod that allow a servo motor to control the utility arms on R5-D4.

I am using the blue arms as a guide as to where to locate these rods for the new arms that will be painted red.


I stacked the new resin arm on top of the blue arm and made an alignment mark showing where and what angle at which to drill.


Next I cut segments of 1/8" steel rod to length.


I beat a flat spot on one of the ends with a hammer, to make it easier to drill the hole I'm going to add.


I used a punch to mark a divot at the point I wanted to drill, to prevent the drill bit from wandering.


Time to drill! I went with a 1/16" drill bit.


Next it was time to drill a hole at the end of the arms to install the rod segments. I used blue tape to mark how deep the bit should go.


And then I JB Welded the segment in place on the bottom arm.


I did a test-fit in the body, including opening and closing the arm under servo control. (A paper clip hooks from an arm on the servo motor to the hole at the end of the rod.)


I started to repeat the process for the top arm, but I found that while it mostly worked, I had somehow managed to drill the hole at the end of the arm off-angle. I was trying to be careful about this since I made a similar mistake on droid #2, but I still managed to botch it.


So I did what I did last time, fill the hole with JB Weld.


Soon I will redrill this (hopefully in the proper location), and wrap up work on the servo rods. After that it will be time for primer, more filling and sanding, and finally painting.

Tuesday, July 03, 2018

JB Welded Pivot Rods for R5-D4 Utility Arms

Today I worked on getting the pivot rods installed in R5-D4's utility arms.

I decided I wanted to widen the hole for the pivot rod in the top utility arm a little more. I had widened it 3/1000" earlier, and I went back and added another 8/1000", for a diameter of 0.136". This gives me the wiggle room I want/need to make sure the rod is straight up-and-down when I JB Weld it in place, and fit it into the frame (as you'll see shortly).


And now time for the JB Weld. I used a toothpick to apply it to the inside of the hole in the arm.


And finally, in goes the rod.


The next step is to take this to the droid, and install it before the JB Weld starts to set. I used quarters to prop up the arm to the right height, so that it won't bump into the skins when it opens and closes.


I repeated the process for the top arm.


I'll let this dry overnight and then I can work on installing the rods that go onto the end of the arms for the servo motors to pull on.