Saturday, June 30, 2007

Rancho Obi-Wan

I guess we were overdue for another road trip. Mike's family and I drove up to Central California yesterday (Friday) evening, and then finished the trip up to Northern California with Michael McMaster and his family, to deliver the Blockade Runner set to Steve Sansweet at Rancho Obi-Wan.


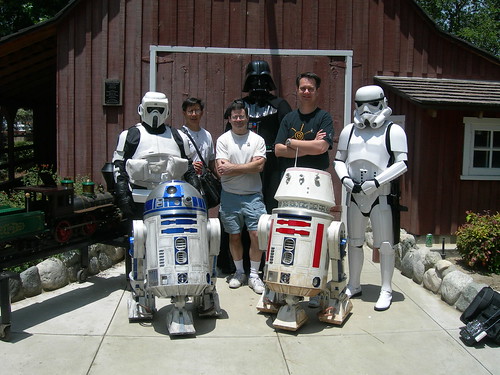
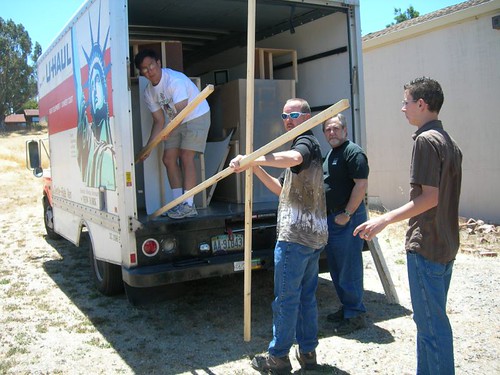
We were joined by several R2 Builders at Rancho Obi-Wan, who helped unload the Blockade Runner from the truck and get it set up in one of Steve's barns.


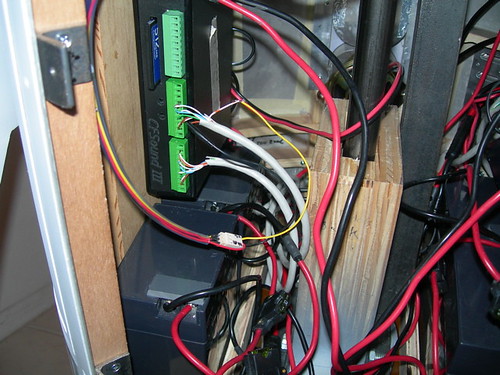
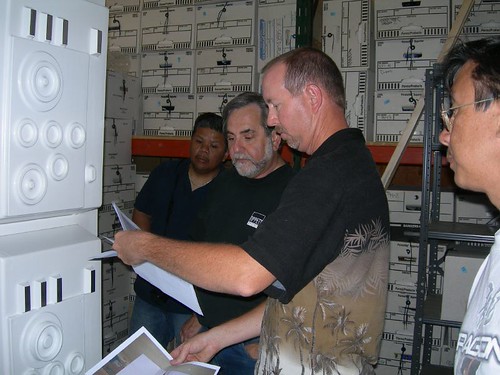
As chief architect of the Blockade Runner, Michael McMaster explained the wiring and setup to Steve.


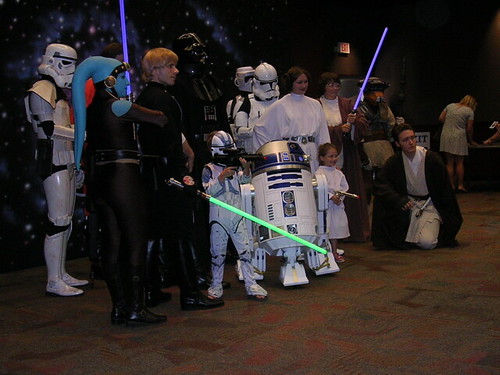
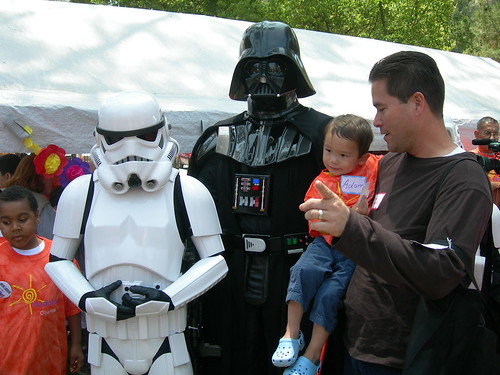
Of course, the moment we'd been waiting for was a tour of Steve's collection. You will never find a more wretched... er, complete collection (or anything bordering on close) as what Steve has compiled. Literally tens of thousands of collectibles.


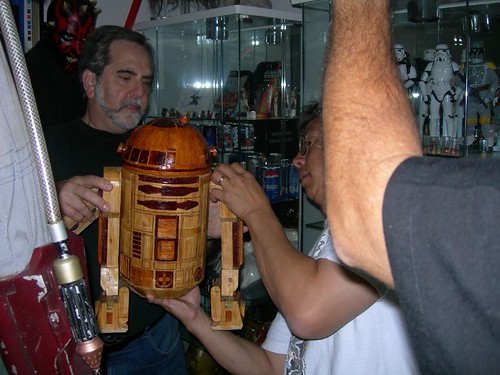
Steve talked about the background of several of the items in his collection. Many of his favorites are fan-built, such as this R2 figure made mostly from Popsicle sticks.


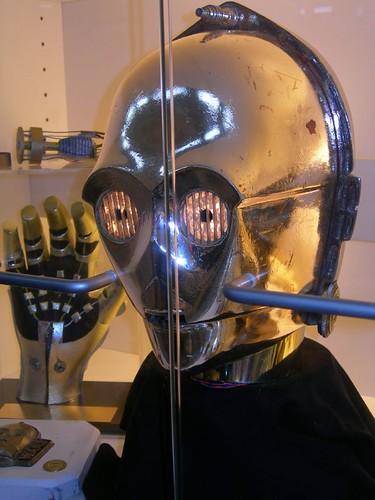
Other items were more immediately recognizable.


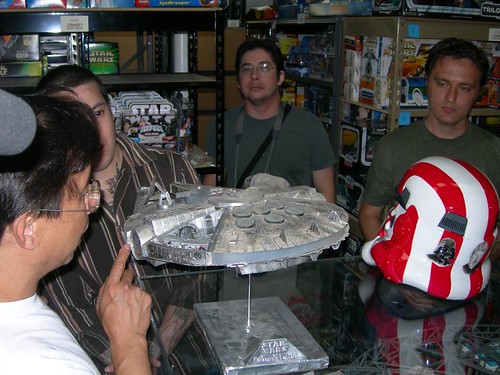
Yet other items were both recognizable and fan-built, such as this Millennium Falcon, built from tin by a fan in Mexico.


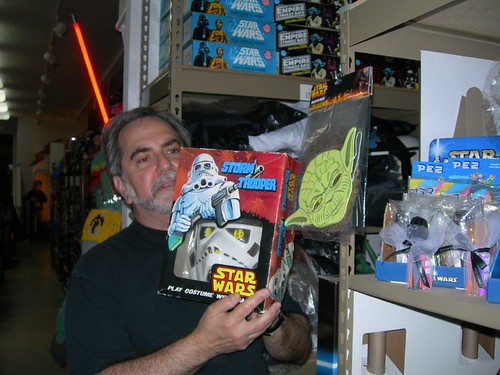
Some items were notable for their packaging.


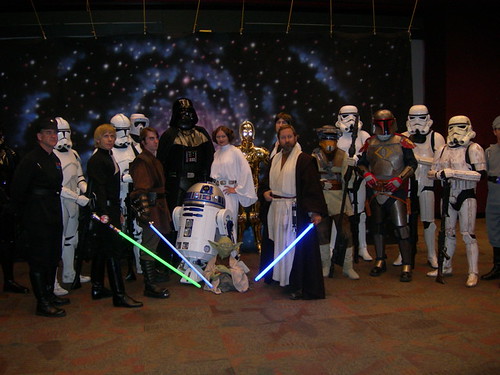
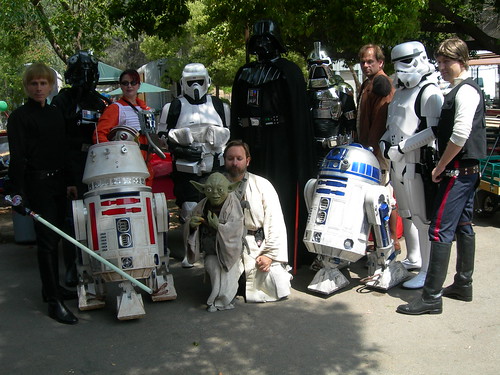
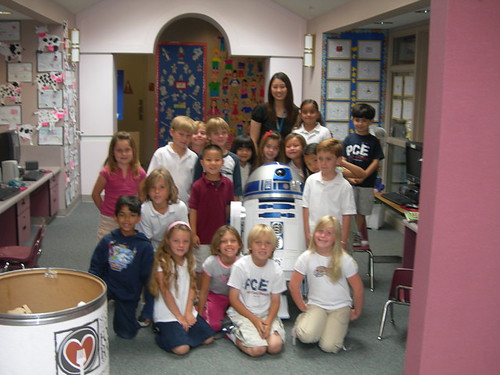
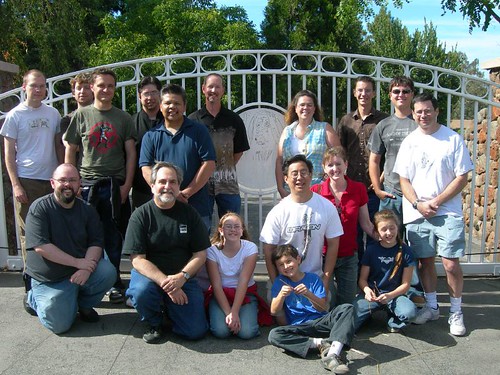
When the visit was over, we took a group picture. All we can say is, "Thank you, Steve!!" Those of us in the picture include Kevin Allington, Ed Wamser, Gerard Fajardo, Michael McMaster & family, Chris James, Steve Sansweet, Mike Senna & family, and me.


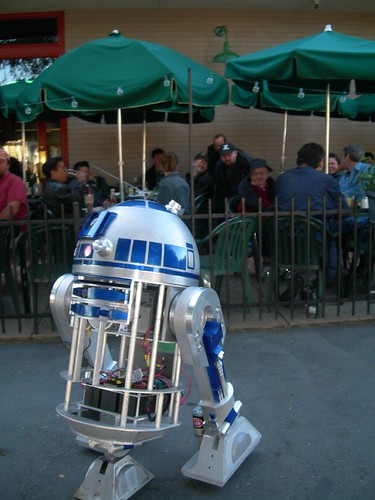
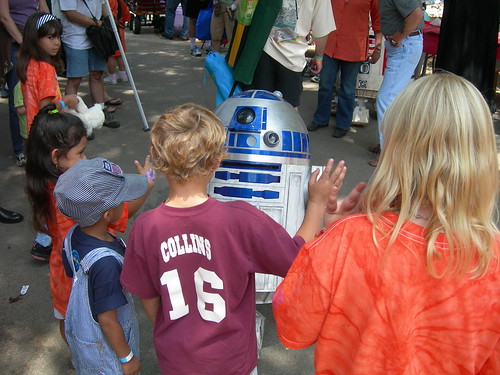
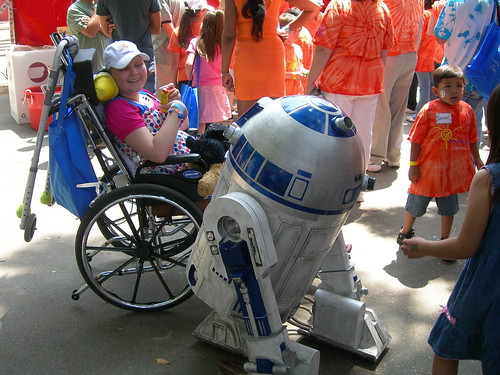
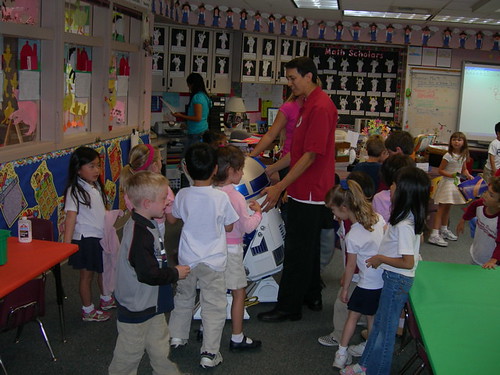
Afterward, we met up with Don Bies for dinner, where Don had some fun chasing some kids around with Chris James' R2.


A passerby mentioned to Don to be careful about the surrounding crowd, but Don assured him that he'd done this before. :)

Thursday, June 28, 2007

Finished Attaching Foot Strips, Foot Shells Back On

Things are so slow around here lately, reattaching the foot strips and foot shells qualifies as news.

Now that the top coat of paint is completely dry, I reattached the foot strips.


Attaching the feet themselves to the ankles it a bit tricky for one person to do. Thankfully, the manual droid lift allows me to tilt the body up high enough to remove the temporary feet, and reattach the permanent feet.


Back together once again.


I think I sense another mini-adventure in the works. Stay tuned for news from this upcoming weekend. :)

Sunday, June 24, 2007

Secured Outer Front Foot Strips, Top Coat of Paint for Foot Shells

Today I addressed one of many minor annoyances with my droid.

Right now I don't have anything other than friction holding the foot hoses and knurled cable fittings onto the corresponding holes in my foot shells. I had intended to use a nut to affix the threaded end of the knurled cable fittings, but I ran out of room inside the foot shell when I added the 1/4" layer of rubber to the wheels.

Part of the annoyance is that whenever I want to remove the hoses and knurled cable fittings, the front foot strips on the outer feet fall off, since nothing else is holding them on either. So I decided to screw these front foot strips onto the outer foot shells, like I've done for all the other foot strips on the feet.

First, I marked where to drill the holes for the screws. Originally, I was thinking of using three screws to hold these foot strips down, but in the end I opted for just two.


Next, I punched marks in the foot strips, to guide the drill bit.


I then used my drill press with a #42 drill bit to drill a hole that can be tapped for a #4-40 screw (3/8" long).


I reattached the foot strips to the foot shells using the knurled cable fittings, and drilled through the holes in the foot strips, and on through the foot shells to make matching holes in the foot shells.


Next, I tapped the holes in the foot strips with a #4-40 tap.


And presto, foot strips are attached to the foot shell. The screws self-tap into the PVC foot shells.


While I had the foot shells off, I decided to give them a top coat of Rustoleum Satin White at the end of the day.

Recall a couple of weeks ago I filed the channels to be a bit wider, and some of the paint was filed off in the process. I've also scuffed up the foot shells a bit through neglect, so I figured now was a good time to give them the once-over with the spray can. I'll let the foot shells dry for a couple of days and reattach them.

Wednesday, June 20, 2007

Puzzled Over Volume Behavior

I looked at the volume controls again tonight, but for the life of me, I can't figure out what's going wrong to cause the weird behavior I'm seeing.

The volume-up and volume-down pins on the CFSound III are momentary contacts, and flipping the associated switch on the remote should momentarily ground the pin and cause the volume to change. Instead, what I'm seeing is that connecting either of the volume pins causes the volume to drift up or down, depending on which pin I hook up. This happens regardless of the buttons on the remote being pressed.

This would imply that there is a constant cycle of momentary contacts going on, which makes no sense. I can only speculate that perhaps the signal being supplied by the Keycoder is fluctuating enough in a "not-connected" state so as to fool the CFSound III into thinking it's being grounded from time to time. I don't know if something like a resistor or capacitor would help filter such noise out (if it is indeed noise). I looked at the signals with a multimeter, but I didn't see anything particularly abnormal. Very strange.

For now I'm going to put remote volume control on the back burner, and think about what else I should work on. I have a couple of things in mind.

At least I didn't fry the CFSound board this time!

Tuesday, June 19, 2007

Remote Sound Volume Revisited

Now that I have two working CFSound III systems, and I don't have any events scheduled in the near-term (or long-term), I figured this was as good a time as any to attempt to control the CFSound III volume with the remote once again.

Recall that the CFSound III has an internal 3-pin header to control the volume, in addition to two push-buttons. When one of the outer pins is grounded, the volume rises. When the other outer pin is grounded, the volume drops. I connected the two outer pins to switches 15 and 16 of my Vantec Keycoder, which provide momentary ground.


Well, the wire-up kind of works, and kind of doesn't. The system is acting like switch 15 is always being pressed (or at least, occasionally being pressed). The volume drifts down by itself. Manually lowering or raising the volume with switches 15 and 16 works, but the volume again drifts back down to silence over time.

Obviously I still need to troubleshoot this, hopefully I'll have it figured out soon.

Saturday, June 16, 2007

American Cancer Society Charity Event

Today was my R2's first real charity event. (The City of Hope event a couple of weeks ago featured Mike's R2.) The Corona Police Department hosted a picture taking event with many Star Wars characters, including R2.

At least 500 people, probably many hundred more, stood in line to get their pictures taken. I believe there was a $5.00 charge for pictures, with all the proceeds going to ACS.


The Star Wars characters were out in force.


As for me, this will probably be the easiest event I'll ever work. All I had to do was sit down on a chair in an air conditioned room at the Corona Public Library, and occasionally have R2 turn his dome, move a little, and beep. A far cry from standing for four hours in the hot sun.


The kids loved the characters, especially R2. Most of the kids posed next to R2. The event lasted from 12:00pm-5:00pm, and it could have kept going if it didn't have a scheduled end time.

Thursday, June 14, 2007

Updated Sounds

Not much time to do R2 stuff this week, I'm commuting 150 miles each day to teach a training class. I did have barely enough time to update a few sound files on R2 for an event he'll be at this weekend.

I added the sound that R2 plays in response to Luke saying "Hello" in the garage. This way, R2 can beep a "hello" back to the folks that say "hi" to R2.

I also decided to remove the full version of the Princess Leia message, and I replaced with a clearer version of the message ending ("Help me Obi-Wan Kenobi, you're my only hope").

Finally, I added what I call R2's "happy sounds." It's comprised of the beeps R2 makes in the canyon before he's accosted by the Jawas (at which point, he makes some unhappy sounds, but I didn't include those).

Look for another update this weekend.

Sunday, June 10, 2007

Foot Shell Adjustments

Today I attempted to address the sagging appearance of the foot shells.

I removed the foot shells and filed the channel opening at the top to be as wide as that of the drivetrain channel (approximately 1"). The foot shell channel opening had been just slightly narrower, and was causing the shell to tilt a bit as the tip of the ankle passed through it.


After I was done filing, the drivetrain channel and the opening at the top of each foot shell were of the same size. I'll need to touch-up the foot shells with some more satin white, when I get around to it...


A test fit back on the leg shows that the leg itself is also forcing the foot shell to lean toward the center of the body. The inboard area of the ankle, next to the battery box, is pressing down on the inboard side of the foot shell. This is because the hole for the ankle bolt in the leg is drilled too high. It really needs to be about 1/8" lower.


I wish I could go back in time and drill the hole in the ankle lower on each leg. Since that's not an option that's currently available, I may shave down the bottom of the inboard side of the ankle to get a little clearance above the foot shell. I'm also wondering if I can fill the ankle bolt hole and redrill it? Maybe one day.

Thursday, June 07, 2007

Finished 9 Volt Dome Conversion

Tonight I did the rewire of the dome power to provide 9 volts to the dome's electronic components.

First, I soldered the batteries in series.


Then, I tested the wire-up to ensure I was getting a good 9 volts. 9.20 volts, to be precise.


I reattached the battery holders back into the dome, and hooked up the wiring, and all was well. In fact, R2's dome has never looked better. The lights were nice and bright, and I expect the time between battery changes to be much longer now.


I still have a couple more updates for R2 in mind. His outer foot shells are a sagging toward the middle of the body, which makes him look pigeon-toed. I know what I need to do to fix that, and I hope to get to that relatively soon.

I also want to have his utility arms open via remote, and eventually spray mist from behind the top arm. Those updates are probably a bit further out though.

Wednesday, June 06, 2007

Started Working on 9 Volt Dome Conversion

Tonight I decided to get to work on adding two more D cell batteries to my dome. The dome presently has a four-pack of D cells, providing 6 volts to the dome electronics.

All the dome electronics are rated for a minimum of 9 volts, so I've been under-volting them. The top front logic starts blinking after only a few hours due to this, so it's time to add two more 1.5-volt D cell batteries in series.

I located where the two new battery holders will go, and drilled holes for them in the dome ring, using a hand-held drill.


Then I simply attached them with 1/2" #4 screws.


I still need to modify the wiring to get the three battery holders wired in series. I hope to work on that shortly.

Saturday, June 02, 2007

City of Hope

Today Mike's R2 (not mine) visited the City of Hope Cancer Treatment Center's annual picnic. Vince Sanchez' R5-D4 was also there, along with Darth Will as Vader, and several other costumed characters.

Mike did most of the driving, but I did handle the operator duties a couple of times so Mike could get something to eat.

R2 and the characters made the rounds, entertaining the folks and bringing smiles to their faces.


We took a couple of group photos too. All in all, a very nice day.


Friday, June 01, 2007

Kindergarten Visit

The kids in Roy Powers' twins' kindergarten classes got a surprise visitor today, R2-D2!

It was Roy's turn to come in and talk about his work as an airplane astromech, and who better to assist him than R2?

Roy attempted to hold the class' attention as he explained his job on the whiteboard, but most of the time the kids were busy looking at and shouting to R2.


Once Roy was done speaking, the kids got a chance to mob R2 and take pictures with him.


Even other classrooms found out about R2's visit, and poured out into the hallway to get a picture.


Everyone had a good time, especially R2.

Transition

After a little thought, I've decided to log R2's events in this blog, along with building activities. The title of the blog is now a bit of a misnomer, as it is no longer focused solely on building alone, but I figured everyone that has followed along so far would like to see the events that R2 attends. I'd also prefer not to maintain multiple blogs.

Let the events begin!