Sunday, August 28, 2011

Installed Rear Power Coupler, Finished Droid #2

Today I installed the rear power coupler, thus finishing droid #2.

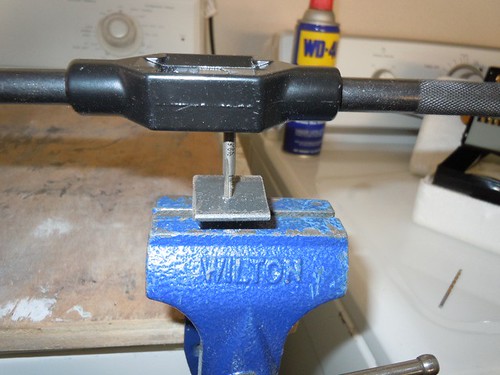
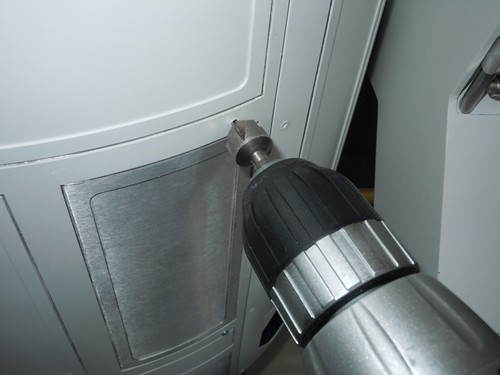
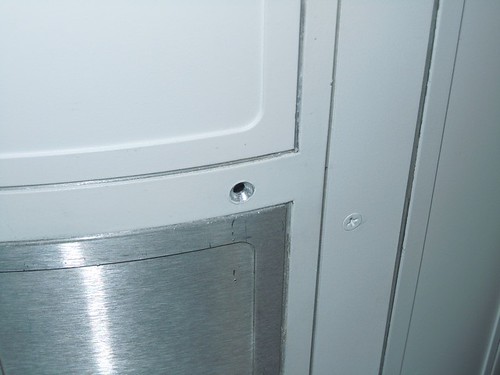
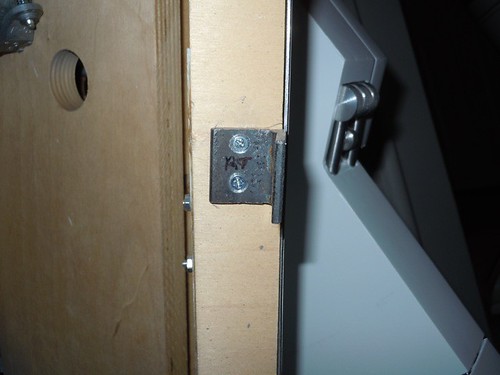
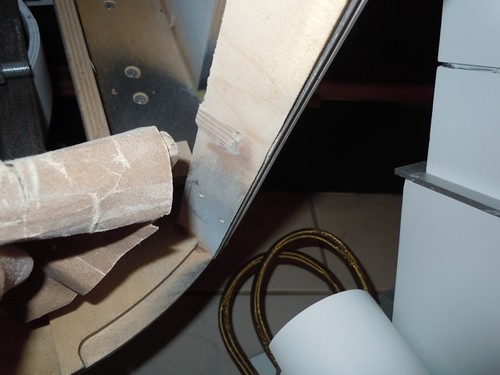
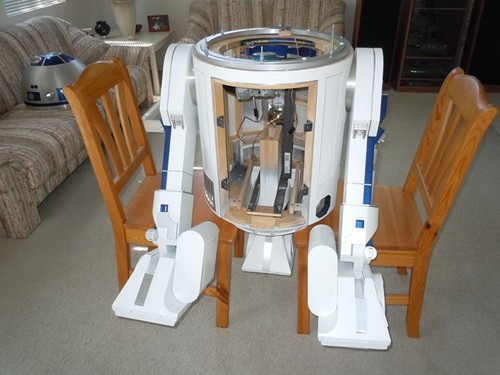
First, I lifted the droid onto a couple of chairs, to get the frame parallel to the ground.


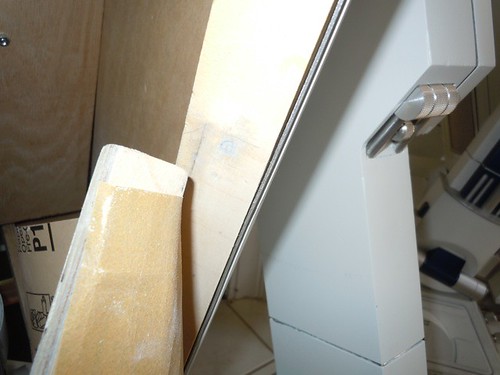
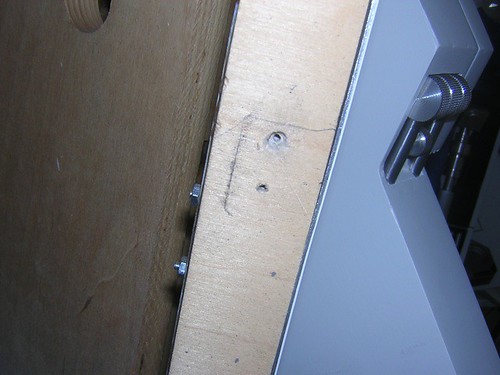
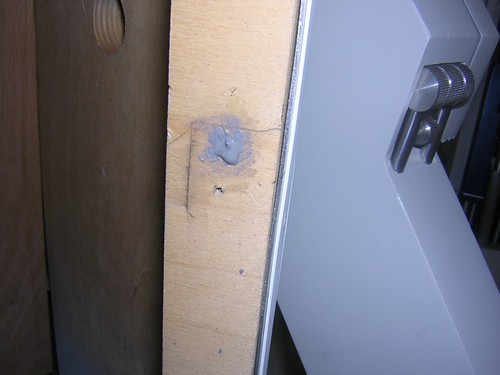
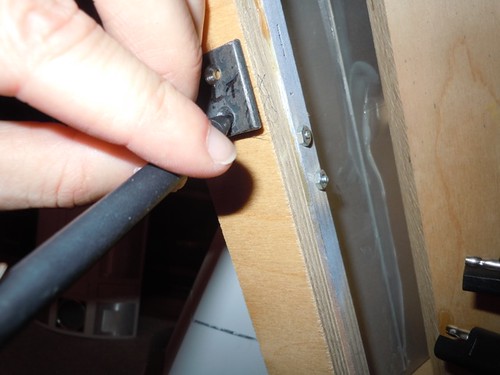
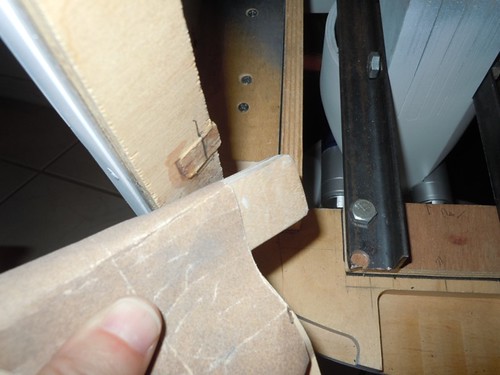
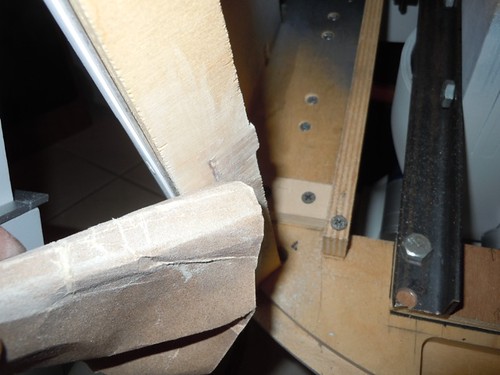
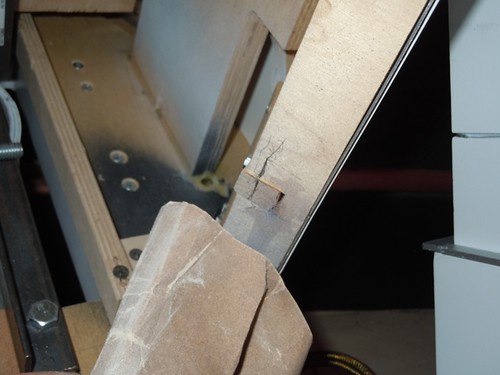
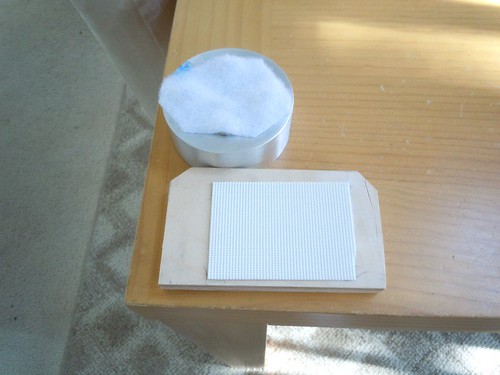
I cut the fuzzy side of some Velcro to size, and stuck it on the back of the power coupler.


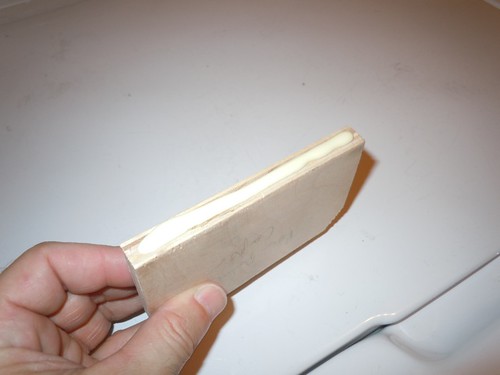
The other side of the Velcro gets attached to a wooden block.


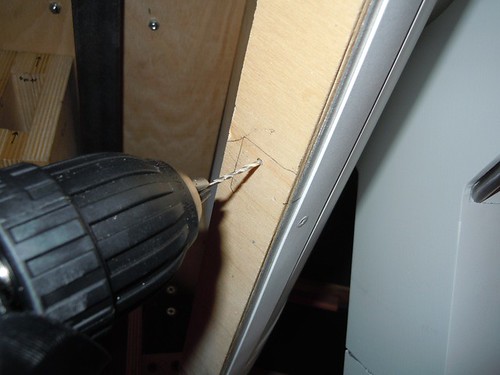
I applied some wood glue to the block, and glued it down onto the bottom of the frame.


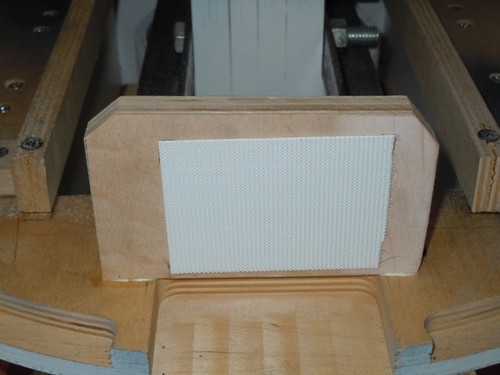
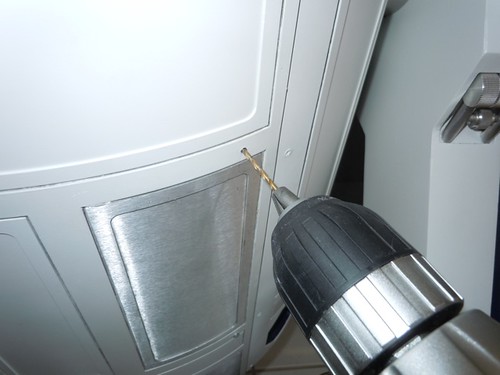
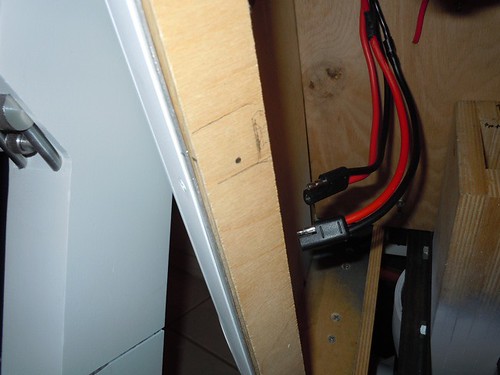
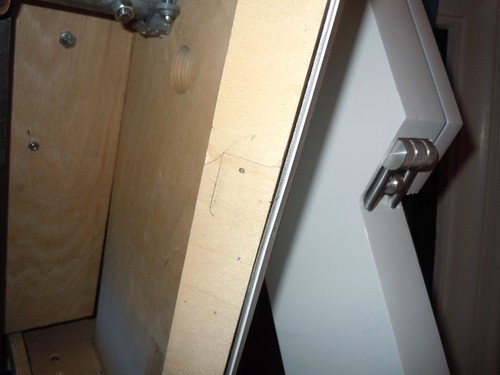
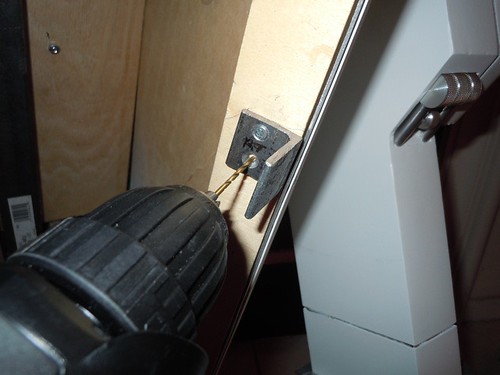
I then attached the back door with the power coupler in place, and made very slight adjustments to the location of the wooden block, so that it holds the power coupler in perfectly.


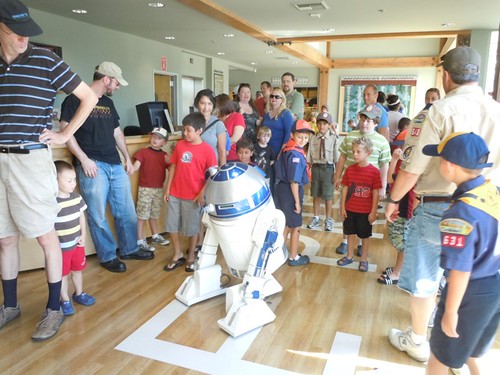
And with that, droid #2 is done.


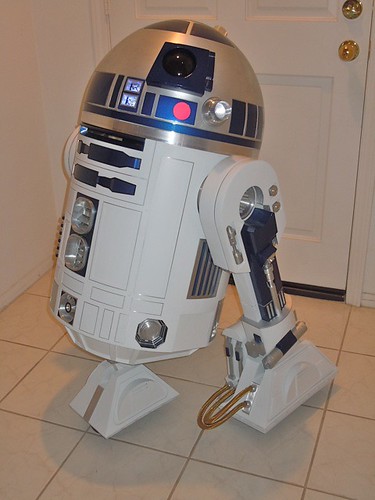
Poor droid #2. He didn't get any of the fanfare that droid #1 got. For one thing, droid #2 is not yet remote-controlled. I'm going to leave him static for the moment. At some point I'm sure I'll R/C him, but I don't need to for now. He does have the dome and sound automation circuit installed and working, so he's not completely moribund.

So, what's next? Well, no more droids(!). I do have a couple of projects for the two I already have, though.

First, I have an A&A R5 dome that I want to build, so that I can change R2-D2's personality to R5-D4, along with some red overlay panels. Second, there are some improvements on droid #2 that I'd like to apply to droid #1, such as the electronics panel, and I want to bring the shoulders a little closer to the body on droid #1, and apply the same aluminum flashing on the shoulders that droid #2 has.

So things will slow down here a little bit, but I have events on the calendar, and I can't stay away from building for too long. :)

Thanks for following along, it's been a fun ride, and it's not over yet.

-Victor

Saturday, August 27, 2011

Wrangling for Matthew, Finished Installing Back Door

This morning I assisted Matthew Henricks, as he brought his droid (not mine) out to the Orange County, CA fundraiser kickoff at the local Boy Scouts of America office.


As the scouts and parents waited to view an instructional video, Matthew talked about and showed his droid to them.


A little later, he went upstairs for an incognito bird's-eye view, while I worked as droid security. "Be gentle..."


In the afternoon, I was able to finish up installation of the back door on droid #2.

I sanded smooth the area where I glued in a toothpick and some JB Weld last night, and then I temporarily installed the bracket.


I drilled through the hole in the door, and through the bracket.


I then removed the bracket, and took it to the vise, for tapping with my new #4-40 tap bit.


I installed the bracket one last time, and then countersunk the remaining three holes on the back door.


Door installation is complete!


All that remains is the installation ofl the rear power coupler, and then droid #2 will be done.

Friday, August 26, 2011

Recut Top Right Door Bracket, Tapped Other Brackets, Widened Door Holes, Countersunk Lower Left Back Door Hole

Back to work on the back door.

I cut a replacement bracket for the one that I snapped the end of my #4-40 tap bit in.


I used the original bracket as a template for the mounting holes used to attach the bracket to the frame. I drilled through the holes and through a 1/2" scrap piece of plywood.


I used the block of wood as a guide for where to drill the replacement bracket.


After drilling the new bracket, I countersunk the holes.


Unfortunately, I was not immediately able to screw the bracket onto the frame. This is the ill-fated bracket that I also snapped off the drill bit on the upper hole the other day. The digging with the pliers to pull the drill bit out left enough slop that I wasn't getting a tight fit when I tried screwing down the replacement bracket.


I decided to use wood glue to glue a toothpick in the hole, and then I covered the mess I made with the needle nose pliers using JB Weld. An hour or two later, I smoothed this over little more, and I will sand it smooth once it's all dry.


In the meantime, I got to work on widening the holes on the door. Previously, I had drilled these holes with a #43 drill bit, so that when the drill bit drilled through the door and the bracket behind it, the hole in the bracket would be the rights size for tapping for a #4-40 screw. I used a 0.116" drill bit to widen the hole to be large enough to allow a #4 screw to pass through.


I also bought a replacement #4-40 tap bit (two of them actually). Rather than attempt to tap the brackets while they were still in the frame, I removed them, put them in a vise, and tapped them there instead. Much better, no broken bits today.


I reinstalled the three brackets, and screwed the door in place. The upper-right bracket isn't installed yet, until the JB Weld and wood glue dry and have been sanded smooth.

I was able to countersink one of the four holes on the door, the lower-left hole. I need at least two diagonally opposing screws to keep the door on, so this was the only hole I was able to countersink tonight.


Hopefully I can install the upper-right bracket tomorrow, drill and tap it, finish the countersinking on the door, and be done with the door installation. Then all that's left is installing the rear power coupler.

Wednesday, August 24, 2011

Finished Attaching Door Brackets, Drilled Back Door for Mounting Screws

Work on installing the back door continues.

I taped the door back onto the body, so I could locate where the two bottom brackets go, and trace their locations.


After tracing where the brackets belong, I removed the door, and used the holes on the brackets to trace where to drill. (Blindly tracing the bracket when the door was on also produced to nice scribbles.)


I drilled the holes and installed the two bottom brackets.


Now all four brackets are installed.


I taped the door on yet again, in preparation for drilling through the door and brackets as pairs, using a #43 drill bit for the #4 1/2" machine screws I plan to use to secure the door. I then got to work drilling.


Close enough.


The location of the vertical ribs on the frame dictate where the brackets go, which in turn dictate where the holes get drilled. I'd prefer that the holes were a little closer to the edge of the door, but there's not much I can do about it.


Next, I started tapping the holes with a #4-40 tap.


What's worse then snapping a drill bit in the wooden frame, like I did last night? Snapping a tap bit in a metal bracket.


There is virtually no part of the tap bit sticking out of the hole I was tapping. That segment will be in there until the sun consumes the earth, billions of years from now. I will need to cut a new bracket, drill and install it, and I'll need to replace my #4-40 tap bit.


Disgusted with my handiwork, I decided to call it quits for tonight. I still need to finish tapping all the brackets, and I also need to widen the holes on the door to fit the #4 screws, and then countersink those holes.

Tuesday, August 23, 2011

Attached Top Two Door Mounting Brackets

Tonight I got started installing the door mounting brackets on the frame.

I lined up the left top bracket with the line I traced on the frame last night, and marked where to drill one of the holes.


I repeated the process for the right top bracket as well.


I then drilled a pilot hole for one of the two #4 1/2" wood screws that I'm using to attach the bracket to the frame.


Here's something I don't recommend, snapping the drill bit in the hole.


About 20 minutes later I managed to pull the sucker out, and switched to a larger bit. This one was 1/16". Not the first time I've done this, and probably not the last.


With the first screw in place, I drilled the hole for the second screw.


Time to do the bottom two brackets.

Oh, wait. I can't. The intersection of the horizontal and vertical ribs is uneven on both sides. I thought I had finished work on the frame a year or two ago, but it was time to break out the sand paper again.


Now it's smooth, but in the process I sanded off my bracket alignment mark. I'll need to tape the door down again and retrace it.


Same thing for the right side.


As much as I would have liked to finish up the bracket installation tonight, it started getting late, and I decided this can wait, hopefully just a day.