Monday, October 31, 2005
Horseshoes Arrived
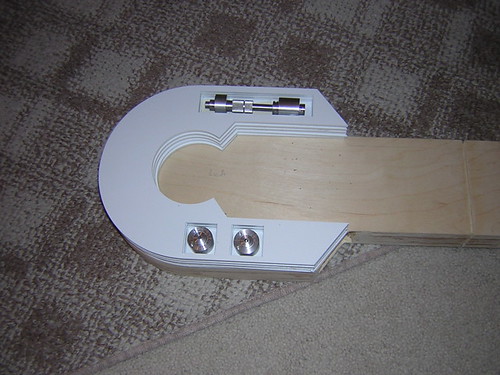
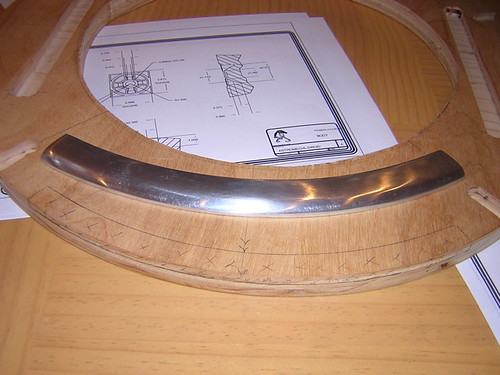
Happy Halloween! Andy and Alex' layered shoulders (aka "horseshoes") arrived today! The aluminum pieces are the ones that I received from Ryan, back on June 27, 2005.
Sunday, October 30, 2005
Finished Gluing Skirt Supports
I glued in the four supports for the sides of the skirt today. Too many pictures of virtually the same thing, so I'll forego pics today.
Saturday, October 29, 2005
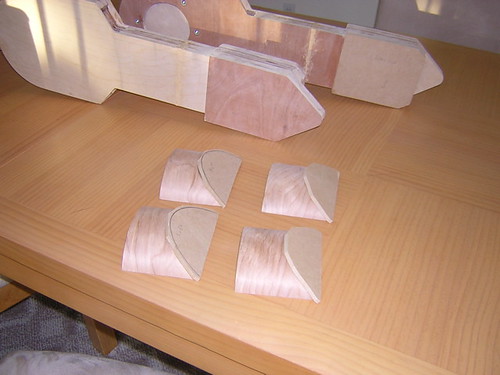
Skirt Box Routed, Sides Glued
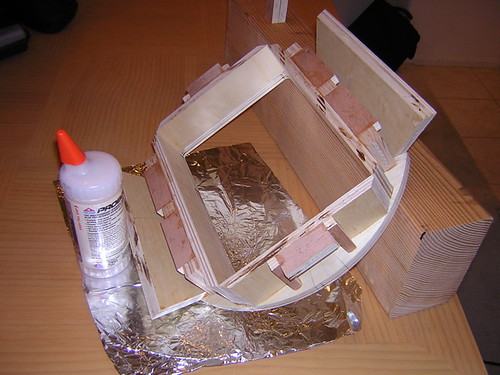
Today I routed the rectangle where the middle leg will lead through the skirt flush with the box built above and around it. I also glued on the sides of the skirt that will be visible from the outside. I still need to glue some more supports for these sides, and obtain some styrene for the curved part of the skirt in the front and back.
Tuesday, October 25, 2005
Monday, October 24, 2005
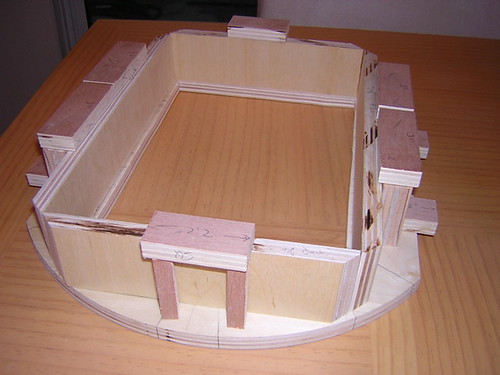
Skirt Center Box Glued
Tonight I glued up the box that goes around where the center leg enters the bottom of the skirt. Short and simple.
Sunday, October 23, 2005
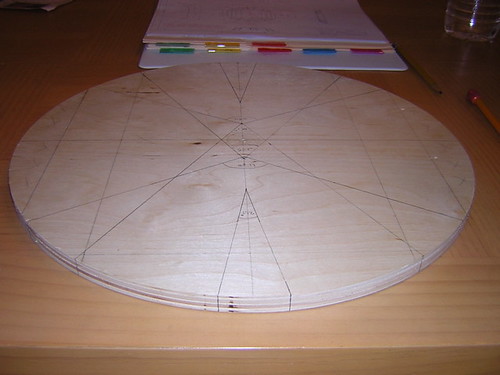
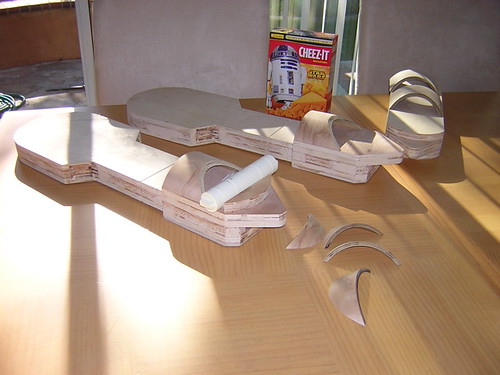
Skirt Cut Outs
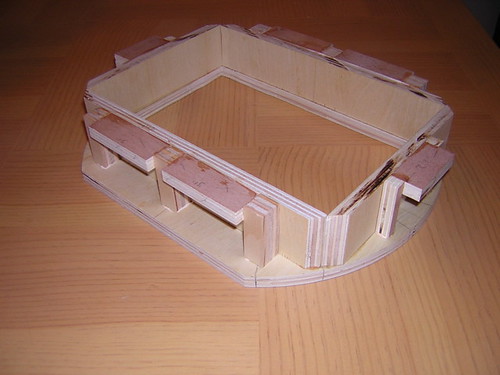
I was able to spend a fair amount of time today cutting out various elements of Mike Senna's skirt design. First, I sliced the straight parts of the base circle that I cut out yesterday. Next I cut out the sides for the box that go around the center leg opening, including angle cuts on the corners. Then I cut a series of supports, some vertical, some horizontal. I also cut the MDF for the skirt ribbing. Finally, I cut the side supports that serve as the sides of the skirt and will be visible from the outside. Nothing has been glued up yet.
I still need to cut the MDF strip into 12 pieces for the ribs, and make angle cuts on them.
I still need to cut the MDF strip into 12 pieces for the ribs, and make angle cuts on them.
Saturday, October 22, 2005
Glued Side Tape-Ease Cylinders, Started Skirt
I glued on the Tape-Ease cylinders to the side legs today. Then I got a late start on working on the skirt, following an advance look at the tutorial that Mike Senna has put together. All I got done was the cutting out of the base circle, and the marking up of where the center leg hole will be, and the angles that lead to the side strips of wood on the edging of the skirt.
Friday, October 21, 2005
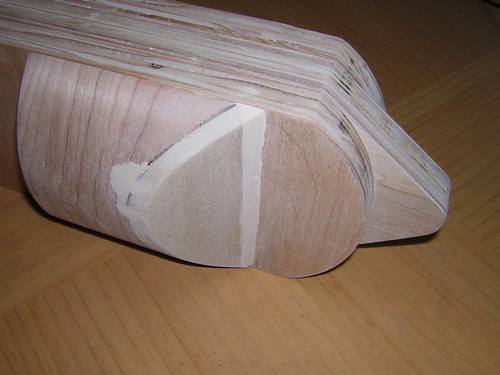
Finished Sanding Cylinder Corners
I sanded both sides of the center leg where the angled Tape-Ease cylinder meets the leg. I know, it ain't 100% perfect, but pretty close. I think I'll primer it and see how it looks.
Thursday, October 20, 2005
Puttied Cylinder Corner II
Sequel to yesterday. I sanded the puttying I did yesterday, and did a bit of touch-up. I next puttied up the reverse side of the center leg of the Tape-Ease cylinder MDF section where it meets the leg.
Wednesday, October 19, 2005
Puttied Cylinder Corner
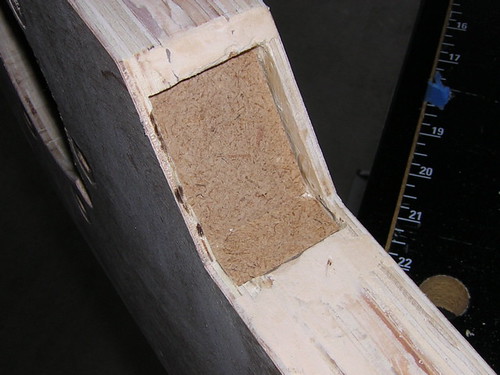
I added some Plastic Wood putty to where the MDF that is attached to the Tape-Ease cylinder meets up with the center leg (I only did one side, will do the other side next). This was necessary because I goofed when I glued the MDF onto the cylinder section. Obviously I still need to sand this mess.
Sunday, October 16, 2005
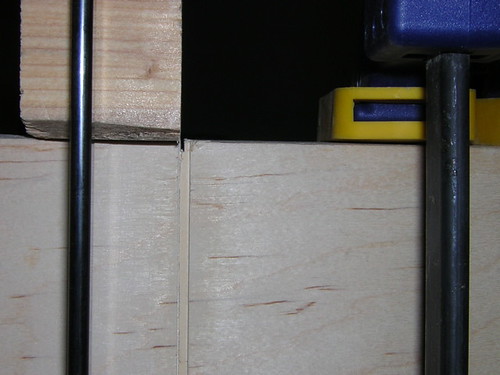
Finished Grooves, Marked Frame, Glued Center Cylinders
The title sounds like I was more productive than I actually was. I did manage to finally fix the grooves circumscribing the outer legs, and they are in good alignment all the way around now. Half-way done with the first side-of-the-leg cut here:
I am starting to revisit the frame that I haven't touched since, what, mid-July? I will need to route out certain areas to accommodate parts, such as the Large Data Port, Octagon Ports, Power Couplings, and Coin Returns (there will be a few other spots too). So I've started to mark the areas of the frame that will need routing.
Finally, I glued on the Tape-Ease cylinder area to the center leg (both sides). Because of a goof-up that I noticed a while ago, I will need some putty to finish the corner where the sloped area meets the leg.
Saturday, October 15, 2005
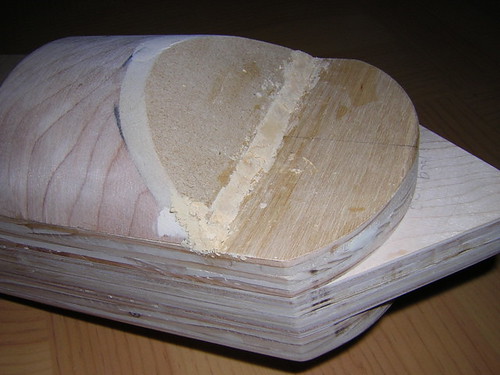
Finished Armpits, Recut Grooves
I finally finished chiseling out the armpits. I'll need to recut the 1/8" MDF that goes in there, as the original pieces are now a bit too small for the larger space into which they will fit. I also recut the ankle grooves. They are very much in alignment now, although a portion of one groove is cut a bit too deep (probably repairable with putty). Need to putty up the nicks here and there, and use a hacksaw to cut edge grooves.
Friday, October 14, 2005
More Armpit Digging
After several days of having no time available to work on R2, I managed to squeeze in some time today to continue working on chiseling out the armpits for the stabilizers. One leg is done, the other needs a little bit more work. Still to do: Recut grooves around leg, fix up minor nicks during chiseling, and glue on the Tape-Ease cylinder section. And this is just for the inner leg. Nothing started yet on the outer leg (although I did order Andy's styrene horseshoes, and I already own the aluminum shoulder buttons and hydraulics).
Saturday, October 08, 2005
Routed Cylinders, Dug Out Armpits
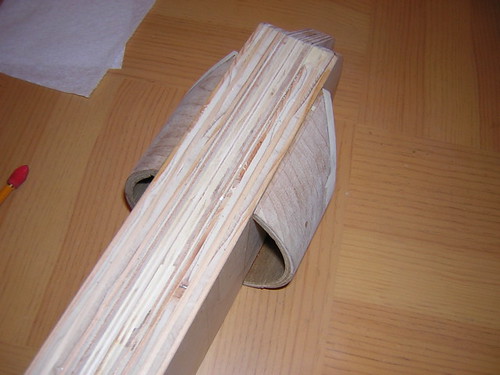
(How's that for a blog title?) With Kelvin's help yet again, we routed the overhang of the MDF on the Tape-Ease cylinder. Some sanding and puttying and more sanding later, and this area will be done(!). Also worked on the area in Artoo's "armpit" where the shoulder stabilizer will go. I needed to make this a bit deeper and more rectangular. I inset some 1/8" MDF for a smoother surface (not glued in yet). I only got about 1 1/4 out of 4 of these dug out. Used a Dremel and a chisel. Very slow and tedious.
Tuesday, October 04, 2005
Angle Cuts Covered, Grooves Filled
I jigsawed a rough cut of the covers for the angle cuts for the covered portion of the Tape-Ease Cylinder. These will be routed down to size using Mike Senna's (un)patented routing technique. I also decided to bite the bullet and fill in some of the grooves on the legs and try redoing them (soon, hopefully). Almost none of the grooves on each side matched, save one.
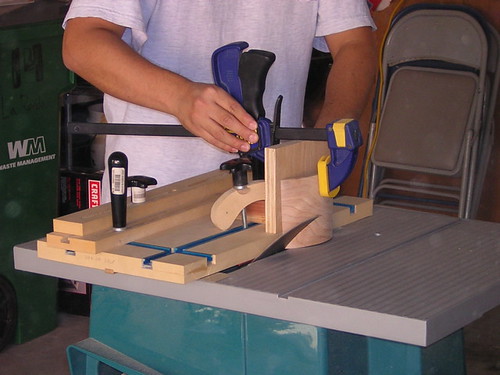
Sunday, October 02, 2005
Tape-Ease Angle Cuts
Again thanks to my buddy Kelvin, we were able to make the 55 degree angle cuts on the round part of Artoo's ankle. We had to create a custom jig onto which we clamped the cylinder arcs, and then we were able to make the cuts by clamping the cylinder arc along side the sled.
Saturday, October 01, 2005
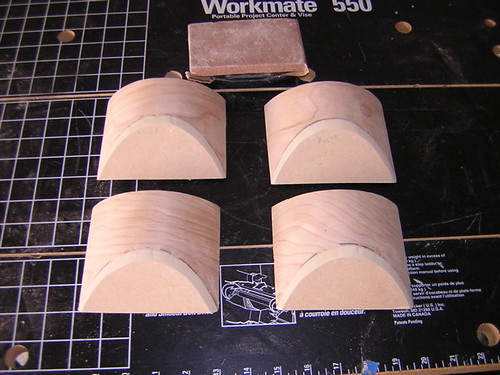
Sanded Cylinder to Size
Sanded the Tape-Ease cylinder wedge to size, by inverting a belt sander and running the edges of the arc along the sandpaper until the arc was of the proper size. Got stuck trying to figure out how to slide the cylinder along the table saw to make the 55 degree cutout it requires. Will hopefully resolve that tomorrow.
Subscribe to:
Posts (Atom)
