Thursday, April 29, 2010

Sanded Backs of Resin Ankle Details

Wait, wasn't I building a second droid?

After three weeks of doing no work on droid #2, I finally got around to doing something. Tonight, it was sanding the backs of the resin ankle details smooth.

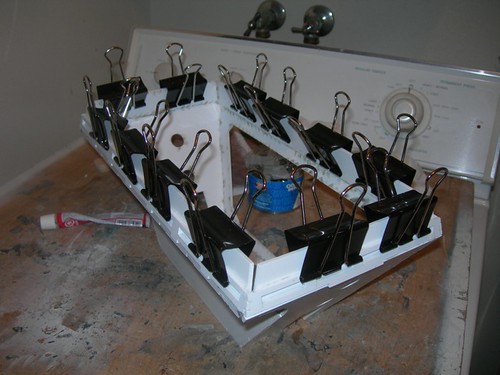
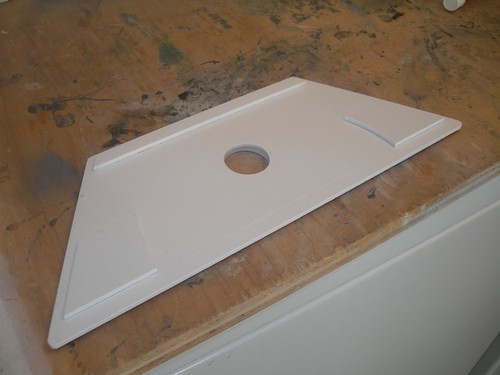
If you've been paying really close attention to droid #2, you may recall that I poured some resin from Mike Senna's molds of his scratch-built ankle details way back on March 4, 2009. The only problem, if it can really be considered a problem, is that these ankle details were made for a slightly thinner leg than I'm using on droid #2. Droid #2 has an extra 1/8" layer in it to make up for the fact that plywood is a little thinner than its nominal width. So, I decided to order a set of ankle details from Keith, since they are a better match for the legs on droid #2.

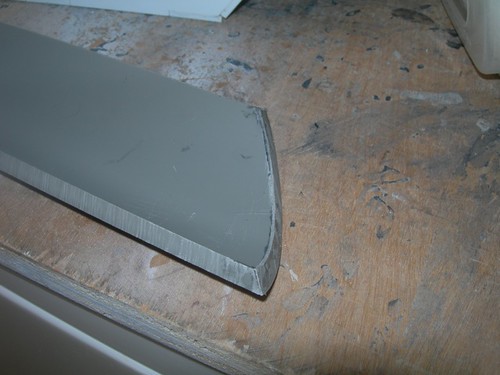
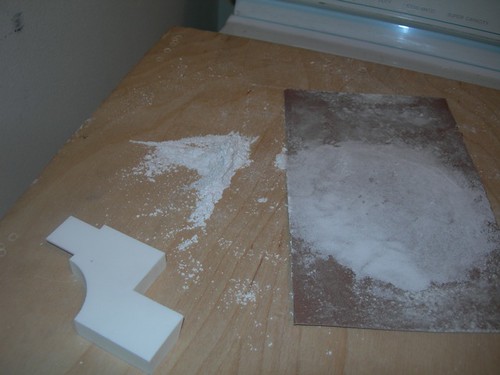
Okay, time to start sanding.


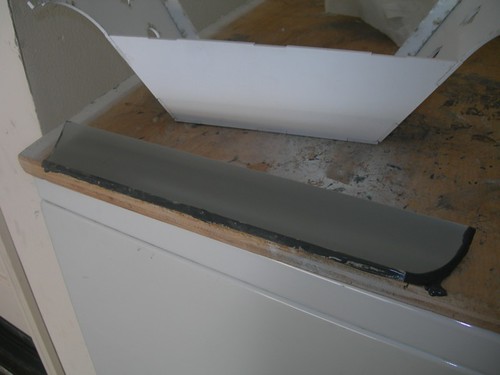
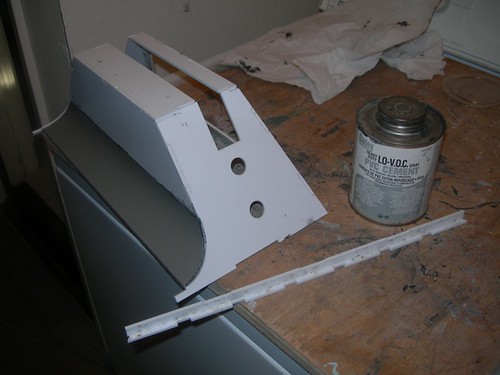
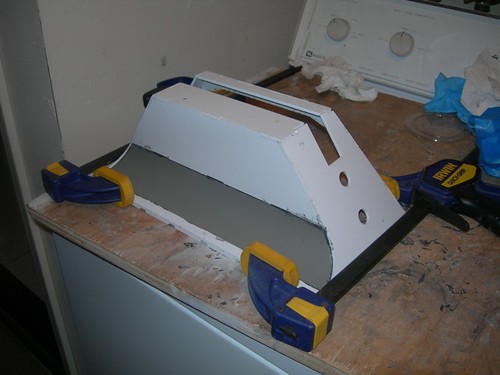
One down, three more to go.


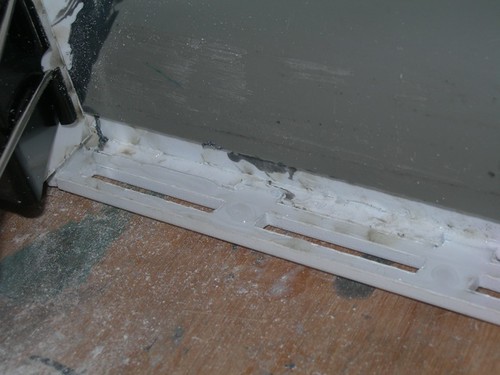
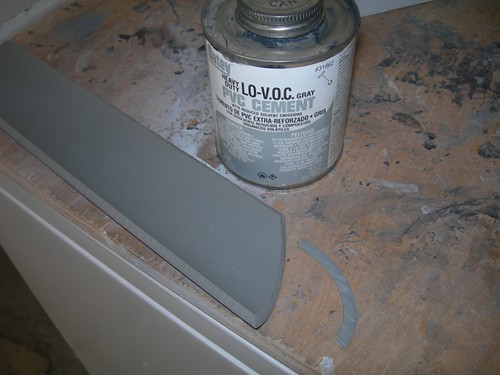
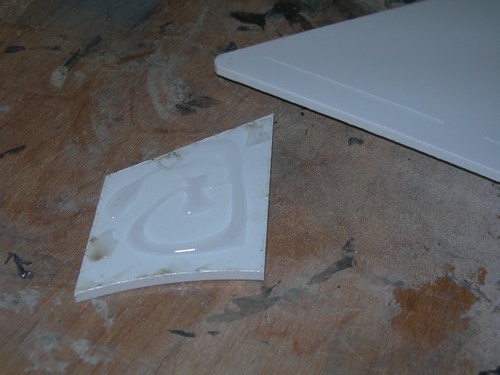
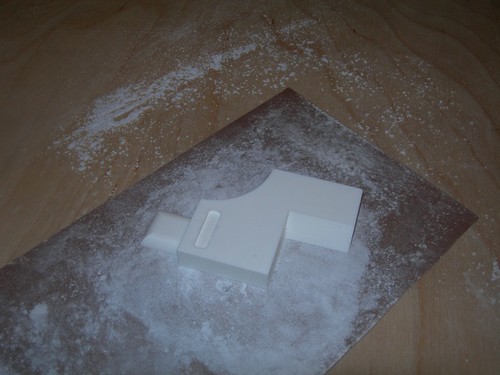
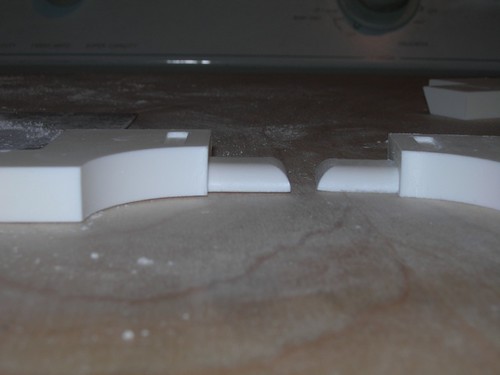
Here's a picture of an unsanded back (left) versus one that has been sanded smooth. It's barely noticeable, but there is a tiny gap below the edge of the ankle detail on the left. With a little effort, that is eliminated.
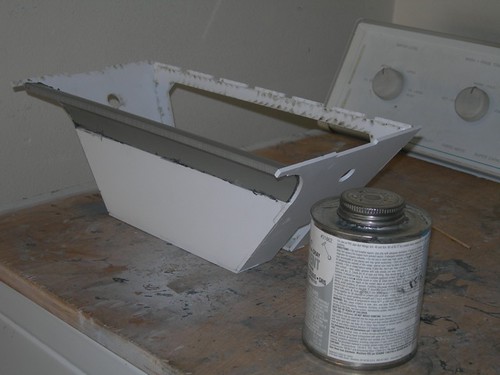
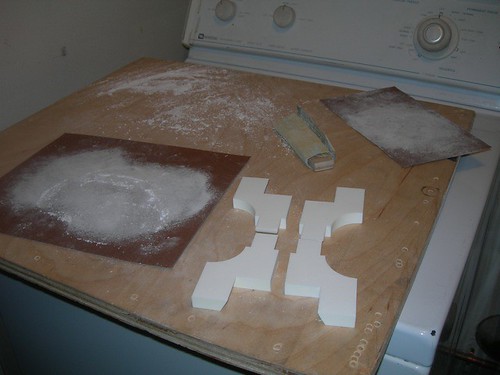


All done!


Hopefully I can keep some momentum going and continue making progress with droid #2.

Sunday, April 18, 2010

Wizard World Anaheim 2010 - Day 3

Today was the last day of the R2 Builders appearance at Wizard World in Anaheim.


My grade school friend Scott happens to be Cassandra Peterson's (aka Elvira) appearance manager, so she stopped by to say hi.


Simpsons illustrator Phil Ortiz was on hand, I got a sketch of a Simpsonized version of myself with R2.


I haven't been this tired since CIV, but everyone seemed to have a great time this weekend.


Today's full photoset is here.

Saturday, April 17, 2010

Wizard World Anaheim 2010 - Day 2

Today was day 2 of the R2 Builders appearance at Wizard World, and a busy day for the booth it was.


Jerry Chevalier brought Salacious Crumb, which turned out to be a big hit.


Who's Mike Senna?


Speaking of Mike, he paid $75 an undisclosed sum of money for William Shatner's autograph for his daughter Justine, who is a big fan.


"I got drunk at the Mos Eisley Cantina." And what better droid to get drunk with than Mike's?


I was asked to bring R2 backstage for pictures with Mickey Rooney, which was cool.


R2 again helped the Purrfect Angels with their sci-fi show and got a picture afterward.


My favorite visitor so far during this convention has been Kaitlyn. She brings her parents to visit the R2 Builders booth about once every hour or two.


This pit droid crossed Ken Stubbert one too many times.


At the end of the day we had an impromptu droid parade around the convention center. My droid headed up the line, with Disney's "Main Street Electrical Parade" blaring out of the speaker. The crowd was quite delighted at this surprise. At the finish line, the droids all went crazy, spinning around and spraying each other with mist.


It was another fun day. Two down, one to go.


Today's full photoset is here.

Friday, April 16, 2010

Wizard World Anaheim 2010 - Day 1

Today kicked off the Wizard World convention at the Anaheim Convention Center. This year, the R2 Builders had their own booth, 10'x20'!


Besides me, droid builders Gene Arena, Ken Stubbert, William Miyamoto and Chris Romines brought their droids.


I did several interviews tonight, including this one for the Orange County Register (a short ad plays first):


Here's another. I'm so fascinating...


R2 took lots of pictures with lots of folks.


The other droids were also very popular.


The R2 Builders booth was quite the attraction, one of the most popular of the afternoon and evening. I think the next two days will be even busier!

The day's full photoset is here.

Wednesday, April 07, 2010

Finished Gluing Second Outer Foot Shell

Tonight I wrapped up gluing together the second outer foot shell, by gluing the skirt pieces in place.

First, I ran glue along the inside of the window strip pieces.


Before long, all four skirt strips were clamped down, to dry overnight.


There is plenty of filling and sanding to do on all three foot shells. I'm not sure if I'm going to move straight into that, or something else first. We shall see.

Tuesday, April 06, 2010

Glued Down Window Strip PIeces on Second Outer Foot Shell

In a replay of the work I did for the first outer foot shell, tonight I glued down the window strips for the second outer foot shell.

As with the first foot shell, there was a little overhang to deal with.


Sand paper makes quick work of that.


Glue goes in the low areas.


Finally, clips help hold the window strips in place.

Monday, April 05, 2010

Finished Gluing Window Strips Together on Second Outer Foot Shell

Tonight I just had enough time to glue the window strip pieces together. I had two pairs of strips glued, so only the opposite corners needed gluing.


Again, I used whatever I had around to keep the four sides in proper alignment.

Sunday, April 04, 2010

Cut and Glued Curved Part for Second Outer Foot Shell, Glued Door Side Strip and Panels

Today I continued working the second outer foot shell.

I set up my quarter-section-pipe-holding jig like I did for the first foot shell.


Then I got to choppin'.


After some iterative cutting, the quarter section of pipe fits into place. I actually cut a just the pipe slightly too short. I mention this to show how to salvage such mistakes.


It's a good idea to hold onto your scraps, you never know when you'll need them. In this case, a very thin cross section of the pipe can be glued onto the end of the pipe, to help fix the problem of cutting it slightly too short.


Some PVC glue holds it in place.


Once that had dried, I applied PVC glue to the quarter section of pipe, and glued it onto the foot shell.


While that was drying, and after a reasonably strong earthquake rolled through the area, I glued the side pieces and strip into place on the door.


I wrapped up by gluing in the part that goes at the bottom of the curved part of the foot shell.


Light pressure from the clamps help keep the part in place as the glue dries overnight.