Monday, June 30, 2014

Installed Arduino Uno Inside Droid for Utility Arm Mystery Project

Tonight I worked on installing the Arduino Uno board into the droid for the utility arm mystery project.

First, I cut a mounting backer from MDF.


Next, I used the holes in the board as a template for where to drill 7/64" holes through the MDF to accommodate some #4 screws. I only drilled 3 of the 4 mounting holes.


I then used 3/8" #4 screws to secure the Arduino Uno to the backer board, and applied some Velcro to the back of the backer board.


Finally, I secured the board to some Velcro on the frame, and wired everything up.


Testing was successful! I plan to reveal the mystery project on Wednesday.

Sunday, June 29, 2014

Meet the Makers Weekend at the Discovery Science Center - Day 2

Today was Day 2 of Meet the Makers weekend at Discovery Science Center in Santa Ana, CA.

I brought droid #2 out again, but this time he was configured as R2-D2, rather than R5-D4, since I was the only builder that brought a full droid today. Maddy joined me with her R2 dome.


At 12:45pm I did the first of two presentations that were well-attended (thanks to Maddy for help with the pics).


In between presentations, I took R2 into the Mythbusters exhibit.


I also talked to folks, answered questions, and R2 did the usual picture posing.


At 2:45pm R2 took the stage for the second presentation. I took the back door off ahead of time to show the insides of the droid.


After I was done for the day, some of the staff took pictures.


And that was a wrap! Another good weekend at Discovery Science Center.

Saturday, June 28, 2014

Meet the Makers Weekend at the Discovery Science Center - Day 1

Today the R2 Builders came out to the Discovery Science Center in Santa Ana, CA, for their Meet the Makers weekend. The center was also hosting an entertaining Mythbusters exhibit.


I brought droid #2 out for this one. Today he was dressed as R5-D4, although tomorrow I plan to have him change back to R2-D2. We were joined by Todd Gottfried, Roy Powers, Matthew Henricks and Maddy Lazerson, and their droids. We got set up and started doing our thing at noon.


At 12:45 I gave the first of our two presentations (no pictures for that). At 2:45 Matthew gave our second talk. For both talks all the R2 Builders took questions.


I also visited the Mythbusters exhibit, which featured props from the show as well as interactive stations, including one exploring the chemical contents of human flatulence (now there's and idea for an 8th grade science project).


We wrapped up with a group picture, and then called it a day.


Matthew's droidmobile is a bit more open-air than mine.


I do it all again tomorrow.

The full photoset is here.

Friday, June 27, 2014

Painted Styrene, Tested Arduino Uno in Droid for Utility Arm Mystery Project

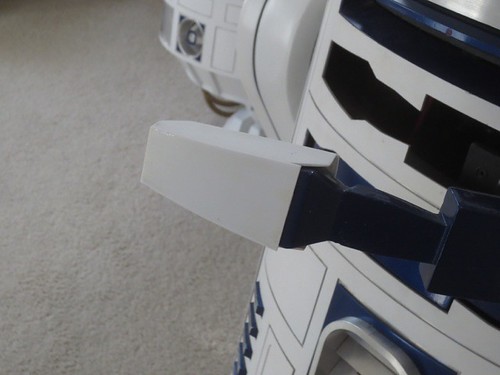
Lots of progress this evening on the utility arm mystery project.

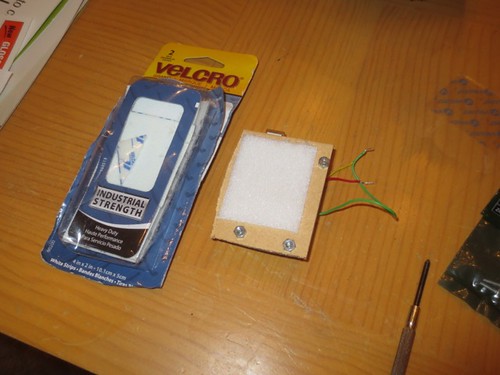
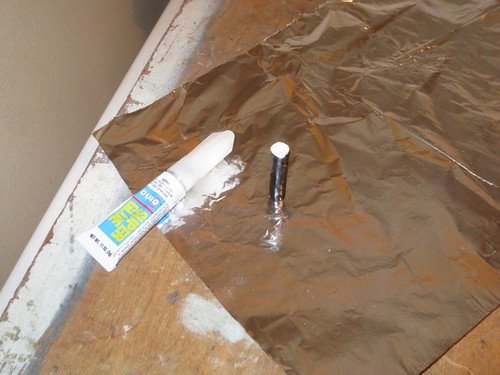
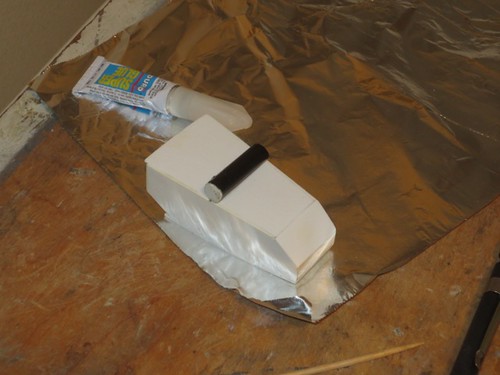
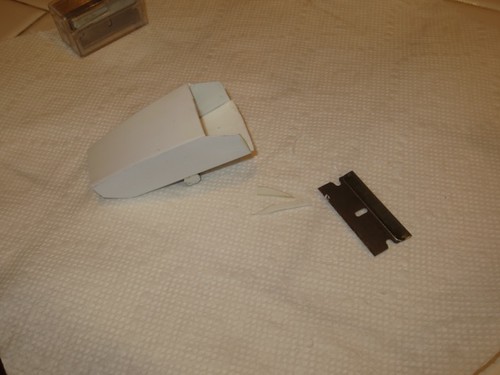
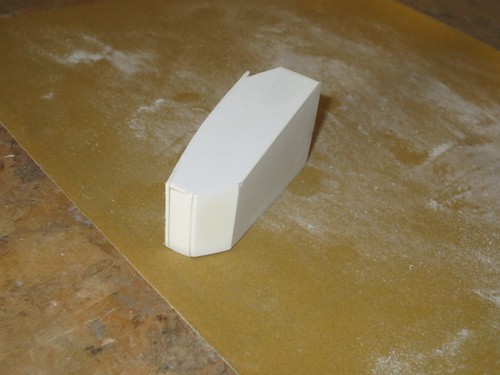
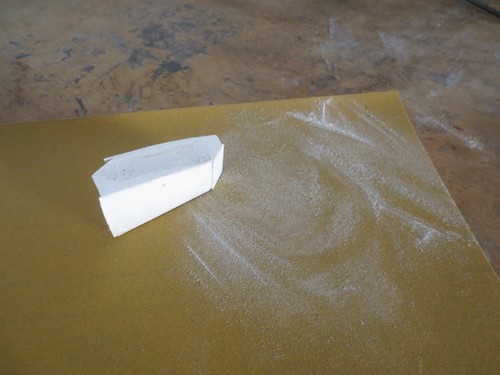
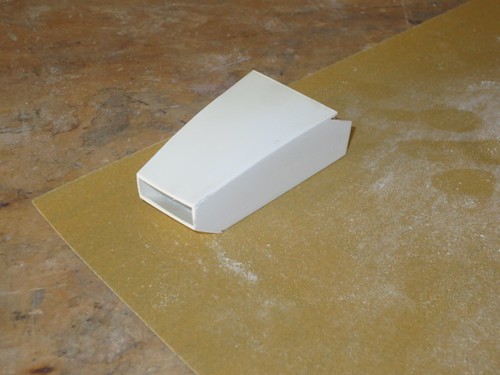
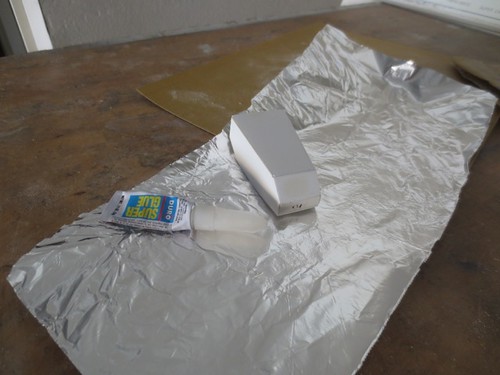
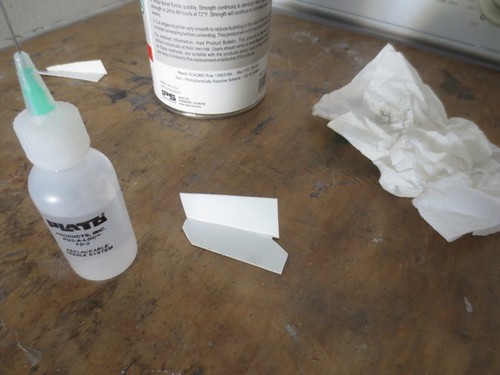
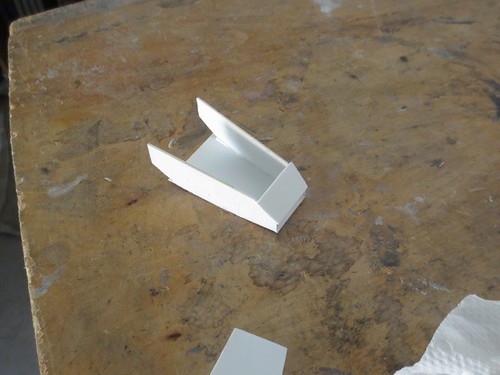
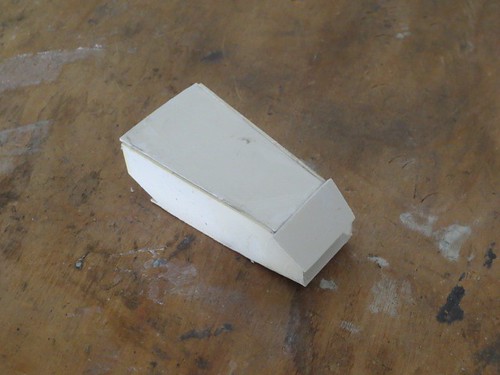
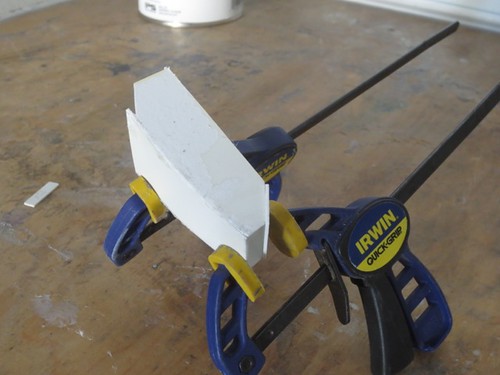
I finally was able to prime and paint the styrene glove.

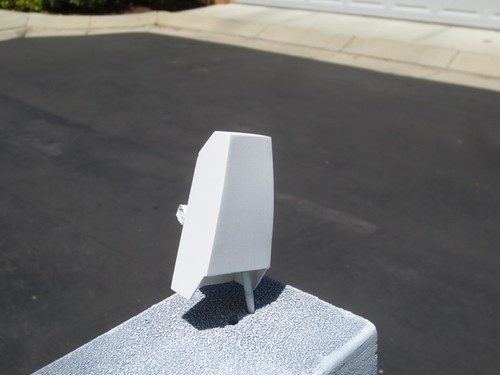
First I used Rustoleum white primer.


That was followed by some of my dwindling supply of Rustoleum Metallic Purple.


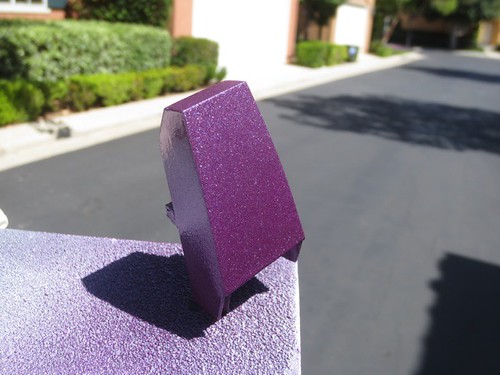
Then, Duplicolor Anodized Blue.


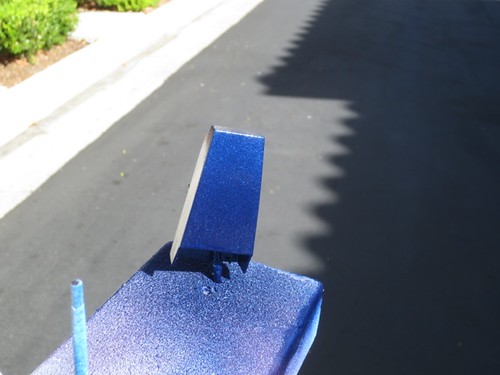
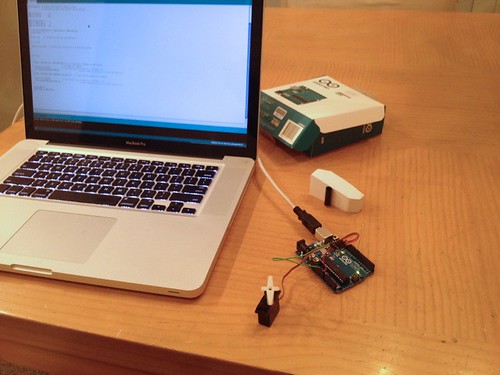
I followed that with a clearcoat, that looks pretty darn similar. As I let that dry for a day or two, I returned to the Arduino effort.

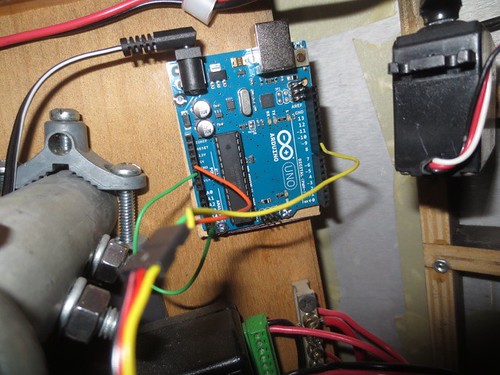
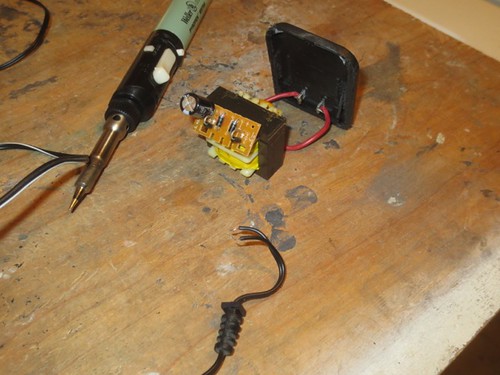
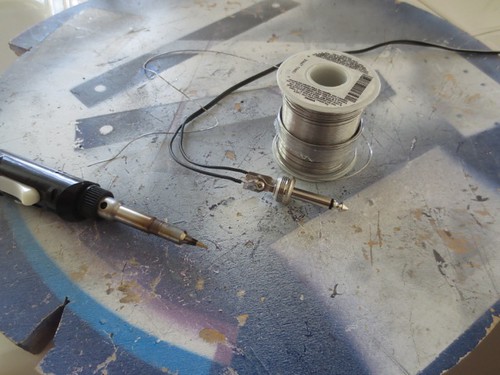
I soldered the wire I cut from the power adapter the other night to a monophonic audio plug. This way I can connect the Arduino power to the plug I usually used for the solenoid for the mist effect, and turn off and on the Arduino board with switch #14 on my Keycoder on my transmitter.


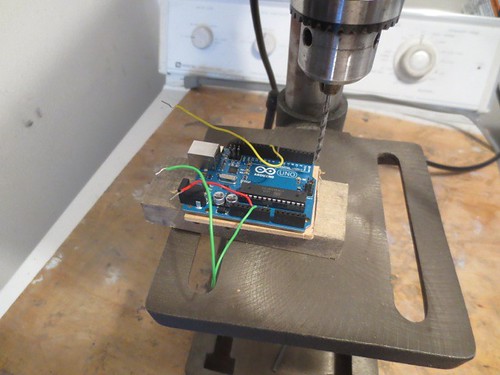
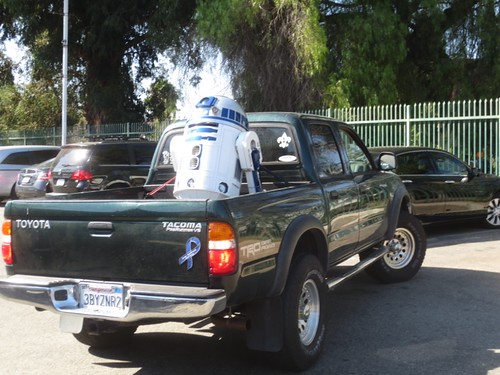
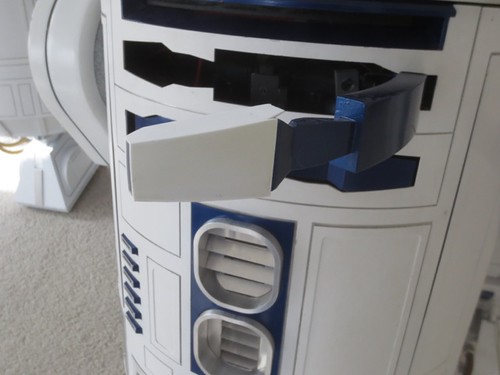
I then loosely hooked things up to test on the droid.


I iteratively adjusted the speed, start and stop positions of the arm.


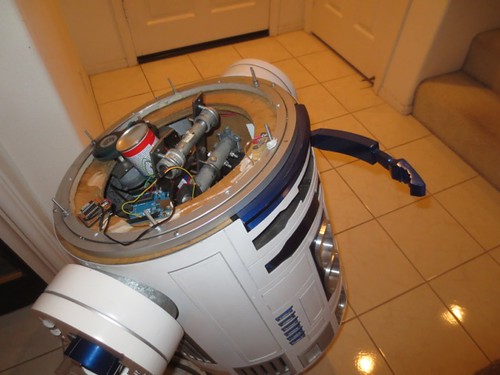
I pretty much got it working the way I want, where the arm waves back and forth slowly, and it alternates at two different slow speeds. I may make some minor tweaks, but so far so good.

I will post some video of this in action soon. Either way, the mystery will be revealed shortly. As if anyone is reading this and cares.

Thursday, June 26, 2014

Arduino Code for Utility Arm Mystery Project

Work continues on the utility arm mystery project. Tonight, it was time to break out the computer and my Arduino Uno board.

I wrote up a simple loop to turn a servo back and forth at a couple different speeds.


Now the wires from last night might be making a bit more sense, even though I didn't use them yet. One might guess that the code could possibly control one of the utility arms, I suppose.

Wednesday, June 25, 2014

Glued Straw Segment to Utility Arm Mystery Project, Harvested Wire

The utility arm mystery project gets a little more mysterious.

Today I moved to the straw phase of the project. I cut a small circular segment of styrene, and glued it to the end of a segment of a drinking straw.


I then glued the segment of straw to the back of the styrene utility arm glove.


I used a razor blade to trim some excess styrene. It's just about ready for primer.


Finally, I harvested some wire from an old wall transformer. Rather than just snip the wire, I did the civilized thing and desoldered it. Of course, to do this, I had to do the uncivilized thing and hacksaw into it.


Why would I need wire? This thing just keeps getting more mysterious.

Tuesday, June 24, 2014

Sanded Styrene Tip for Utility Arm Mystery Project

Just a tiny bit of work on the utility arm mystery project tonight.

I sanded smooth the styrene front tip piece. The dark areas that look like gaps are actually filled with glue, so I don't think those areas will need to be filled.


I then tried it on the droid.


It doesn't quite fit like a glove, but I think the fit is good enough for its purposes.

I need to do some slight trimming of the overhang on the front-most surface, and I have one more minor piece to glue on. Then I'll plan to spray some primer to see if I have any areas in dire need of filling.

Monday, June 23, 2014

Sanded and Finished Gluing Styrene for Utility Arm Mystery Project

This evening I made some modest progress on my utility arm mystery project.

I started by using 180 grit sand paper to sand smooth the surfaces that were glued together yesterday.


I did a test fit on the utility arm itself.


The fit is reasonably good. Not perfect, but good enough. I realize the arm won't be able to close all the way with the styrene in place, but that's part of the intent of the mystery project.

I only plan to have this cover the very end of the arm, so I will trim a bit of the excess material later. The styrene will be painted the same shade of blue, so hopefully it will all blend in reasonably well.

Finally, I glued in the tip piece, this time using CA glue.


A bit more sanding, some trimming, and a little filling remain before painting.

Sunday, June 22, 2014

Started Gluing Styrene for Utility Arm Mystery Project

Today I continued work on my utility arm mystery project. This time, it was gluing up the styrene pieces I cut yesterday.

I used Weld-On, which I dispensed from a bottle with a needle applicator. Five of the six segments were glued today.


Some of the segments slightly overhang others, and those will be sanded down to size.

In some (many) areas, the Weld-On dripped or leaked, making a bit of a mess of the styrene surfaces. I'll need to sand those smooth, and there will probably be filling work too, certainly in the corners at least.

I used some small clamps to help keep the pieces together along the curved shape as this dries overnight.


I didn't glue down the last segment at the tip of the arm, as it looks like I cut it a bit small. I'll recut it and plan to glue it on soon.