Saturday, July 28, 2012

Star Wars Day at the City of Orange Library

Today was Star Wars Day at the Orange Library, in the city of Orange, CA. Mike Senna joined me in a presentation about the R2 Builders Club and our droids.

Reserved parking up front, very nice.


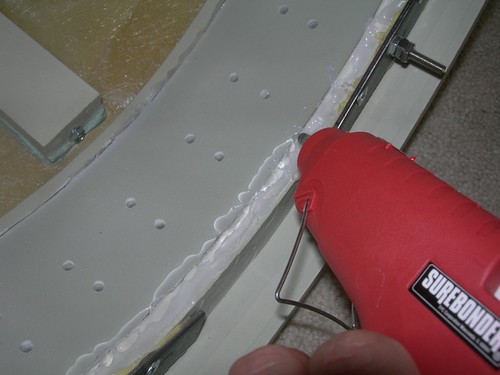
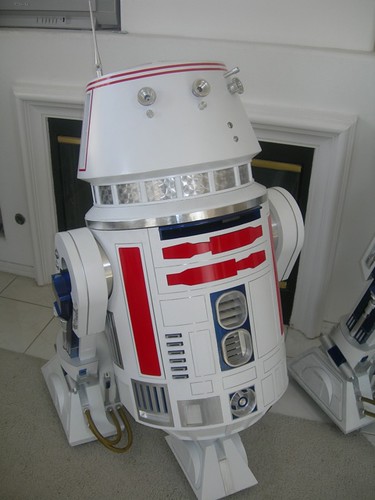
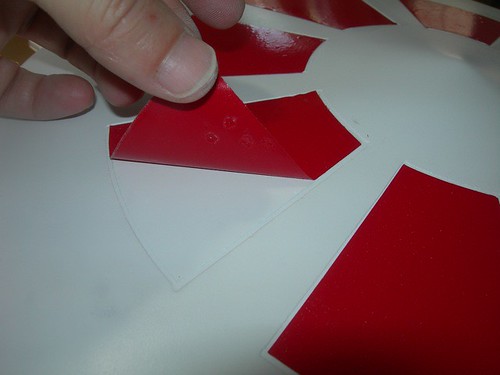
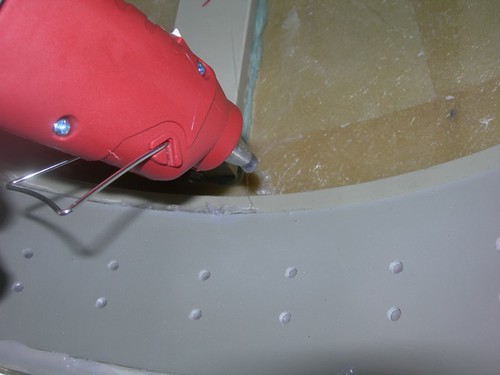
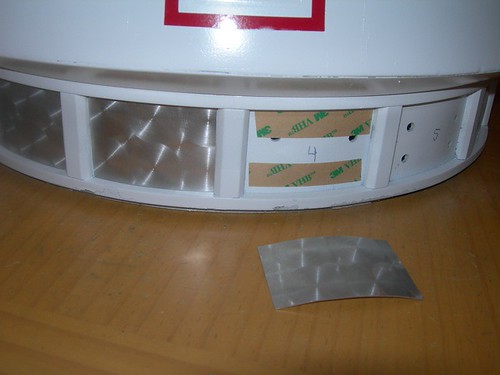
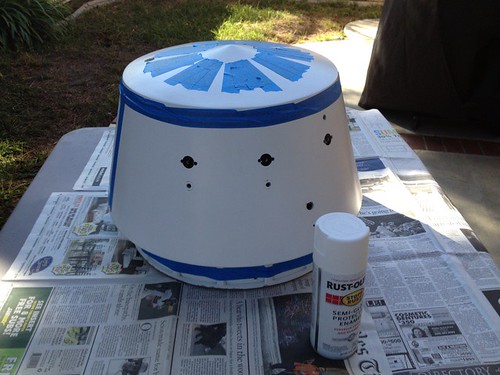
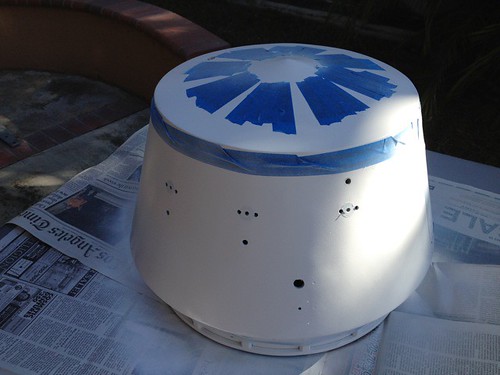
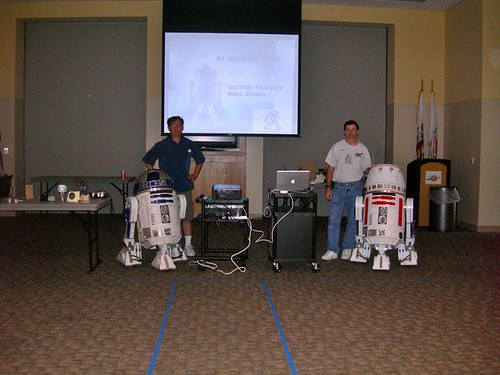
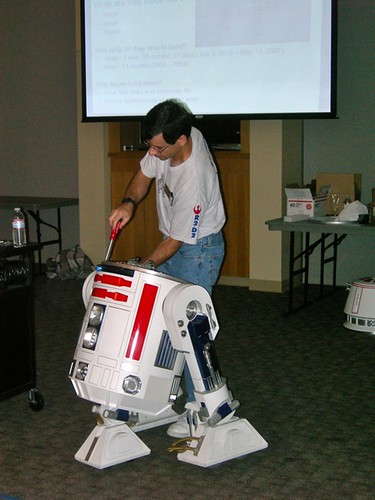
This event marked the public debut of my R5-D4, which for now is droid #1 dressed up in red, with the new dome. Thanks to Mike for helping to attach the panels while I was dealing with other prep work. Looking good, if I may say so!


The calm before the 1:00pm storm of kids and adults, who waited outside patiently.


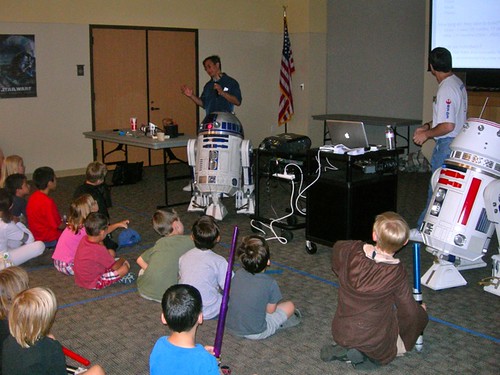
The doors opened and dozens of young and not-so-young Star Wars fans filed in. Shortly thereafter, I started the presentation with a light overview of fun facts about R2 in the movies.


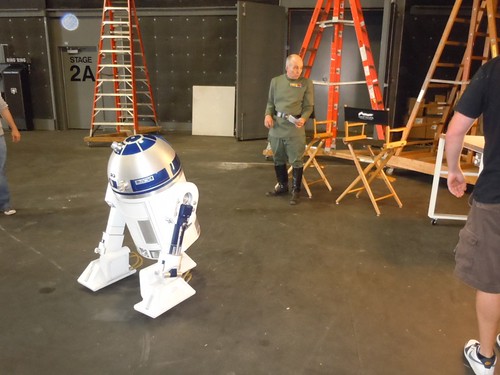
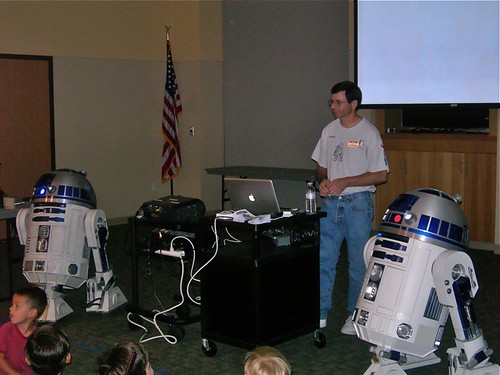
Next, Mike and I explained how our droids work, and how we built them.


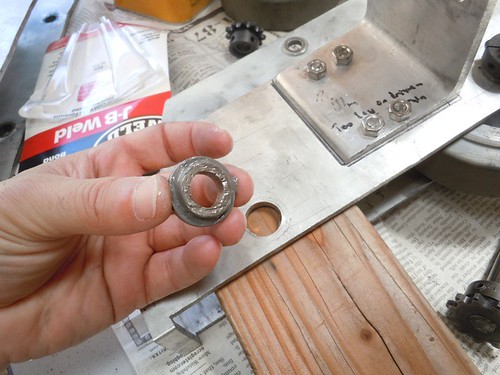
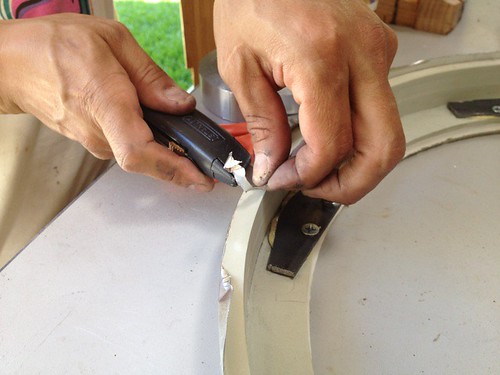
Mike fielded questions, while I showed how I can transform R5-D4 into R2-D2. In my case, I need to swap out Rockler bearings, but that only takes a minute or two.


After I pulled the red panels off, the kids collectively said "Whoa!" as they saw R2-D2 materialize before them.


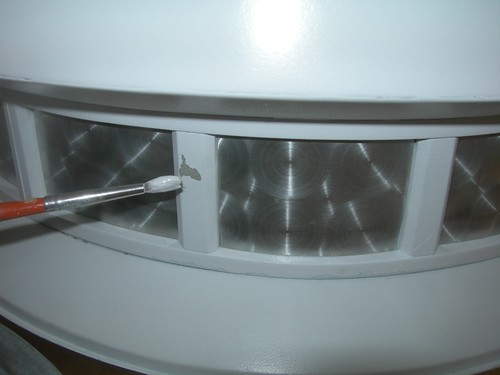
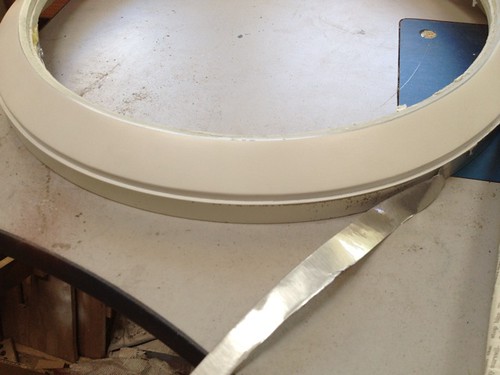
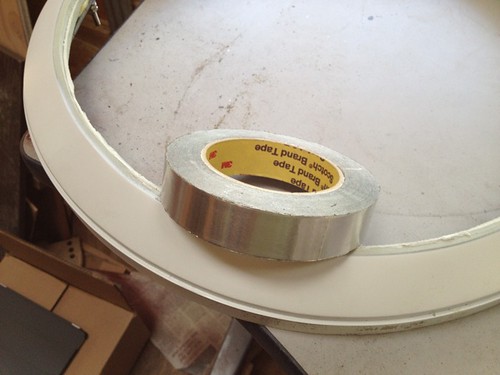
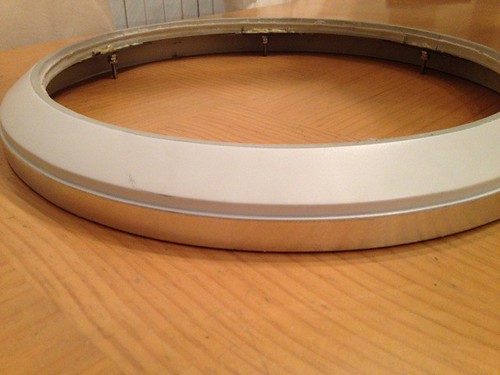
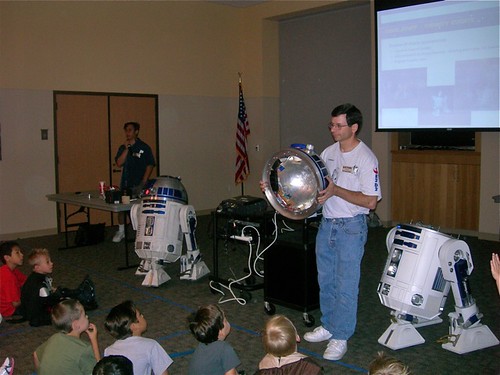
Mike talked about the domes, while I showed the audience what my dome looks like on the inside.


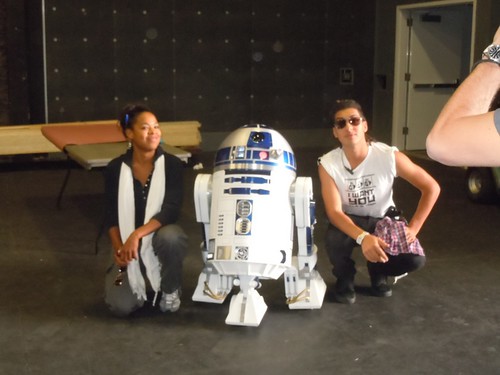
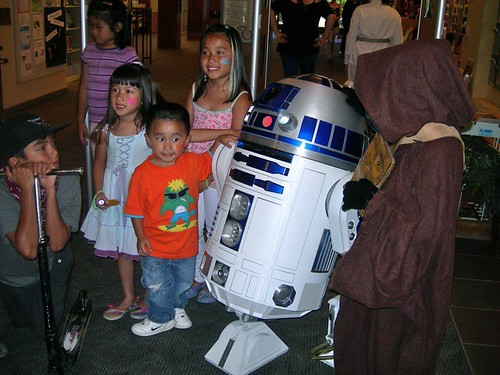
We wrapped up about 45 minutes after we started, and then the kids took pictures with the droids, while we answered additional questions.


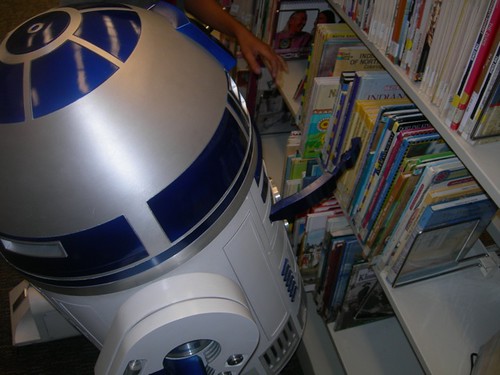
R2 is on a mission to improve droid literacy.


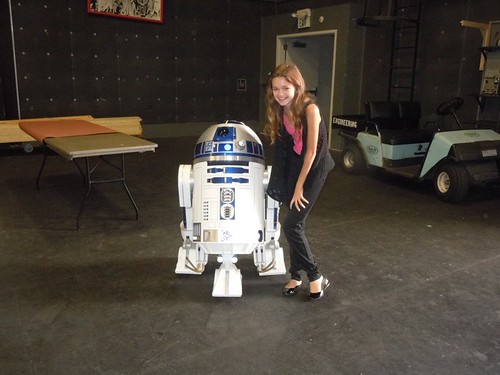
It was a nice outing, I think everyone enjoyed it.

Sunday, July 22, 2012

Finished R5 Dome

Today I wrapped up work on the R5-D4 dome.

I started by hot-gluing the dome ring to the neck ring.


And I finished by applying a little touch-up paint where I had scratched some off, here and there.


I present R5-D4 (again).


And his friend, R2-D2.


Right now droid #2 is dressed up as R5-D4. However, droid #2 is not R/C'd yet, so droid #1 will have to do double-duty for now. R5-D4 may make his public debut as soon as this coming Saturday. We shall see...

Saturday, July 21, 2012

Additional R5 Dome Work

Nearing the finish line on the R5 dome, or so I think.

Yesterday I fixed the rear strut, it had been upside down. Now it's rightside up.


The red vinyl panels had annoying bubbles in them, so I peeled them back and re-smoothed them down.


Much better.


I used a hot glue gun to form a better bond between the neck ring and the main dome piece. Tomorrow I'll attach the dome ring the same way.


Lastly, I am replacing the rivet that holds the button snap in place with a longer one. I drilled a small hole in the new, longer rivet.


I used a poor-man's cotter pin to hold the rivet in place, everything fits nice and snug.


The last two items are to glue the dome ring back onto the neck ring, and do some small touch-up painting with a brush. Hopefully tomorrow.

Thursday, July 19, 2012

Reinstalled R5 Dome Parts

Tonight I spent some time reinstalling the various greeblies that decorate the R5-D4 dome.

I'm trying to come up with a method of holding the antenna on with a spring mechanism. Currently, I'm using a 10-32 screw, a spring, and a couple of washers. When the antenna is grabbed from above, the spring compresses, allowing a little give, but finally stopping.


This setup certainly holds the antenna on well, but I may tinker with it some more. Or not.


I reinstalled the various eyes and other weird appendages, as well as the side and rear struts.


D'oh! I installed the rear strut upside-down. And it took me something like 45 minutes to get it in there, due to the limited space for the screws that hold it in. I guess I'll fix this, lest some 4 year old point out how wrong it is.


Otherwise, things are getting close to finished.


The bottom dome ring is still separated from the rest of the dome. It fits on with some friction, but I plan to use a hot glue gun to reattach it. I also need to apply a little more touch-up paint with a brush, and figure out a good way to hold the button snap in place toward the bottom-right of the front of the dome.

Wednesday, July 18, 2012

Attached Aluminum Panels to R5 Dome

Time to attach the engine turned aluminum panels onto the R5 dome! I'm using the 3M Very High Bond tape for this job. Sixteen panels in all.


Two strips of tape per panel.


All done.


It should be mostly downhill from here. I mainly need to reattach the dome greeblies, plus I have something in mind for the antenna on top, to prevent it from snapping off when kids and adults reach for it.

Sunday, July 15, 2012

Kinect Gag Reel Shoot from July 13, 2011

Similar to the proverbial unheard tree falling in the forest, if a droid is involved in a video shoot that is never published, does it still get a blog post? Let's try it and see what happens.

Waaay back on July 13, 2011 I was involved in Lucasfilm shoot for the Kinect Star Wars promotional videos at Hollywood Center Studios, in Hollywood, CA. The original blog posting is here.

R2's role was not to be in the primary video itself, but to be in a sort of documentary gag reel for the behind-the-scenes fun. Unfortunately, it doesn't look like that particular video will ever see the light of day.

Since the primary video has been released, and it's been over a year since the shoot, there aren't any secrets to guard anymore. Here is the primary video (never intended to feature R2), starring Ciara Bravo as "Girly Vader":


Besides featuring director Ron Howard's brother Clint, the video also has an awesome cameo by Richard LeParmentier in the white Imperial uniform, chuckling as everyone gets Force-choked except for him. Star Wars fans know that Richard played Admiral Motti in the original Star Wars, and received the first Vader Force-choking in the saga.

Richard was kind enough to sign R2's back panel that day.


While the main shooting was taking place on Stage 7, R2 teamed up with Clint Howard on Stage 2 for a few humorous scenes, where Clint discussed union wages and lunch breaks with R2, and R2 withdrew money from an ATM. I was so busy operating R2 and time was so tight with Clint that I didn't have much of an opportunity to take pictures, but I managed to get one.


Speaking of lunch breaks, during the actual lunch break for everyone involved in the shooting, I was asked if R2 could hold a plate and fork and line up for lunch to shoot a quick scene, so I made that happen.


We also did a take without the plate, in case Lucasfilm preferred something a little less odd.


Of course, the crew got the usual pictures with R2.


Once we were done, I visited the green screen set on Stage 7 for a while, where they were still shooting Girly Vader. More pictures, some blurry and without the flash for the times that the cameras were rolling.


It was a really enjoyable day, and as much as I would have liked to have stayed and watch the rest of the shoot, I hit the road before the onset of rush hour.

So the tree fell, no one heard it, but it did still make a sound. Now we know.

The full photoset is here.

Touch-Up Paint for R5 Dome

Time to clean up the R5-D4 dome a little bit. In my workings with the dome, it's become a bit grimy, scratched and chipped in places, so I decided to apply a mist coat of paint.

I contacted the builder who produced the dome, and he let me know that the paint is Rustoleum Semi-Glosss White, so I picked up a can. I masked the red pinstriping and red panels on the top, to protect them from the mist coat of paint.


I didn't need to apply a lot of paint, just enough to cover those areas where the paint had been affected by the dome work I'd been doing.


After about an hour, I removed the masking tape. Looking better.


I'll let this dry for at least a couple of days, and then start putting everything back together again.

Saturday, July 14, 2012

Drivetrain Review, New Chrome Tape for R5 Dome

Today I went over to Mike Senna's place so that he could take a look at the drivetrain issue I had at PopCon last weekend, and to get some help with re-taping my R5 dome.

First, I took apart the drivetrain that gave me trouble.


Mike inspected the axle to see if it had any sharp burs on it. He did find an area that looked like it caused the flanged bearing to wear irregularly, so he sanded that area smooth.


I had refrained from JB Welding in the new flanged bearing until Mike could take a look at this, but now the time had come to JB Weld and tap it in place.


(I had also purchased a replacement for droid #2's drivetrain, since I harvested this bearing from it. So the replacement was cut to size and JB Welded into droid #2's drivetrain as well.)

Turning to the R5 dome, while I've been working on it, I've managed to mangle the chrome tape that goes on the neck ring. Out with the old.


In with the new. Mike mentioned he had some good foil tape, so I asked if we could use some of that instead.


I managed to tear the foil tape as I was applying it to the neck ring, so Mike did the honors of applying it (and thus preventing me from wasting half a roll). Afterward, he trimmed the excess.


It's very hard to tell, but the chrome tape is in place and looking good.


Sooner or later I should be able to wrap up work on this dome. I have a few more minor things to do, like some touch-up painting, taping the turned aluminum panels to the neck ring, and gluing the neck ring back onto the rest of the dome.