Saturday, December 31, 2005

New Year's Eve Silliness

I did no building today, but I decided to put together most of my junk and dress R2 up for New Year's Eve.

Happy New Year!

Friday, December 30, 2005

Paint Test, Marked Rear Panel

Wow, I got almost nothing done today. Huh, how about that?

I did another blue paint test, this time by first sanding the scrap piece of aluminum, then two coats of BriteTouch Primer, followed by the Krider blue formula (except three clearcoats instead of four). The picture below shows today's test (left) vs. the one I did the other day (right). I know, they pretty much look the same, so why bother posting this picture?


I also marked up the rear inner skin for the back-panel cutout. I may attempt that tomorrow, we'll see...

Thursday, December 29, 2005

Center Leg Rails Started, More JB Welding

Another busy day. First I cut and secured the supports for the center leg rails.


Next I cut the rails themselves with a hacksaw (a laborious process to be sure). Then over to Kelvin's to use the drill press to drill the mounting holes into the rails.


Back home, I received the U-bolts and wheel axle bushings that I ordered from McMaster Carr, and Heath's aluminum foot strips arrived. Yea!

I wrapped up by JB Welding the rest of the back panel outlines to their corresponding panels. This was TED-I-OUS and kinda messy. Also ran another white paint test.

Wednesday, December 28, 2005

Paint Tests, JB Welded & Cut Styrene

I tried a couple of paint tests, of both R2 blue and white. For blue, I used Kelly Krider's famous formula (primer, Rustoleum Metallic Purple, DupliColor Anodized Blue, and Rustoleum Crystal Clear clearcoat, in that order). For white, I used the Rustoleum primer instead of the Brite Touch, and Rustoleum Satin White (same as earlier). I need to wait for both to dry to assess the results.


Next I had my first experience with JB Weld, even though I bought the stuff way back on May 29, 2005. I JB Welded one of the back door panels to its outline. I'm only JB Welding the back door parts, to allow for potential autographs on the inside of the back door.


At the end of the day I cut out some styrene to cover the exposed areas of the frame, on the right and left-bottom sides.


I also made a couple of trips to Home Depot and a trip to Rockler to pick up various parts (screws, rails for the center leg, casters for the center foot).

Tuesday, December 27, 2005

Dremeled and Drilled Frame

I started off the day by repeating some of the silicone exercise from yesterday for a pair of panels on the rear skins (the panels not included as part of the back door).

Next, I Dremeled out a few areas of the frame, specifically the rib supporting bottom of the coin slots (shown here), the rib above the front power coupling (not visible from this angle), and the area above the shoulder (seen in the next picture).


Finally, I made one of the cuts I had been putting off for as long as possible, due to my fear of messing it up. This was the drilling of the holes in the shoulder planks that the gas pipe connecting the two legs passes through. As far as I can tell, the holes line up just fine, but I won't know for sure until I connect the legs. The gas pipe needs to be cut down a bit too. The other hole that's visible is for electrical wires to pass through the shoulder and on down the legs to the feet.


By the way, yesterday's white paint test didn't turn out as robust as I had hoped. I was able to peel the paint and primer off the aluminum fairly easily with my finger nail. The paint did not come off the primer; rather, the primer and paint came off together from the aluminum. I did not prep the aluminum other than cleaning it with acetone. I hope to try a couple of experiments tomorrow, one with a different primer, the other with a light sanding and cleaning of the aluminum before applying the same primer as yesterday. We'll see how that goes...

Monday, December 26, 2005

Siliconed Panels, White Paint Test

Yesterday I just about finished drilling and countersinking the outer skins:


Today I started applying silicone to glue panel outlines of the outer skins to the panel cutouts of the inner skins. Don't worry, I cleaned up the mess.


I wrapped up by doing a paint test of Rustoleum Satin White on a scrap piece of aluminum from the skins. I applied two coats of primer first, followed by three coats of Satin White.

Friday, December 23, 2005

Frame, Skin and Resin Work

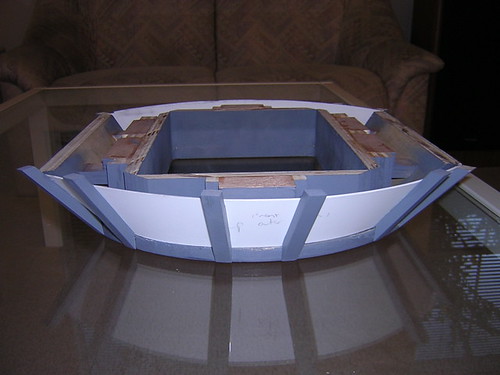
Today was a fairly busy and productive day.

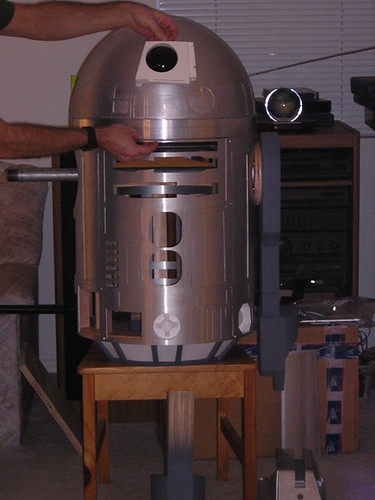
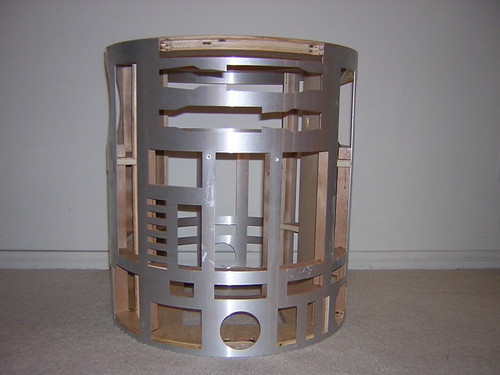
I started out by routing off the tiny amount of the top of the frame that I had left above the area of the large data port. I thought I could/should leave it there, but I was wrong, so bye-bye it went. Here's the "after" picture:


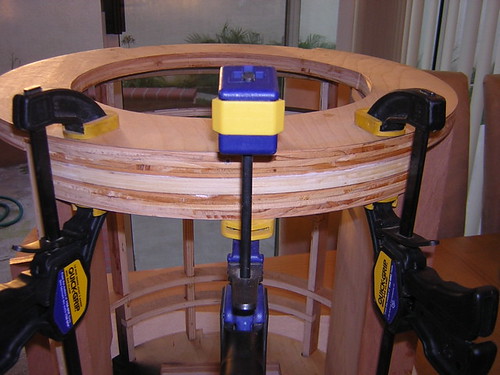
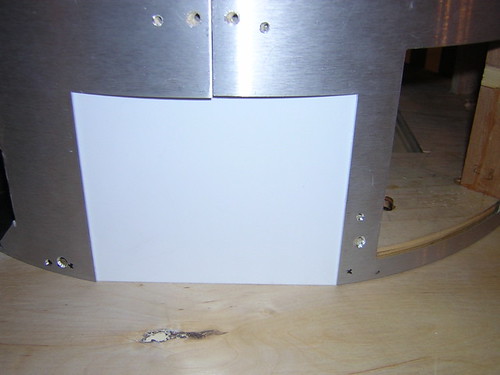
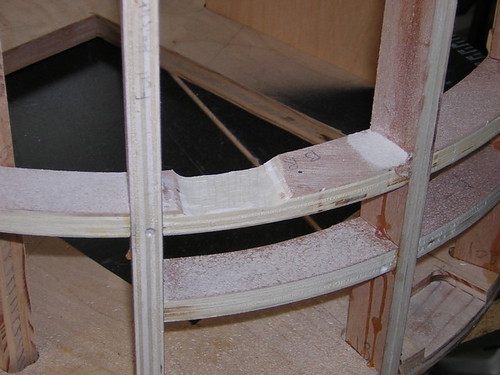
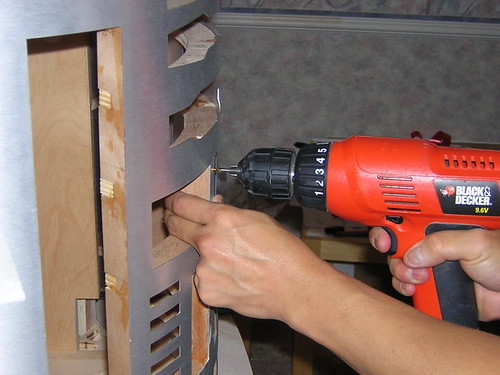
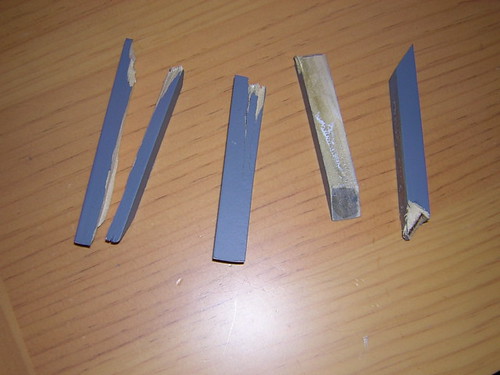
The next thing I needed to do was enlarge the slot that I cut into the bottom of the shoulder planks to make room for the octagon ports (both front and back). I didn't leave enough room, which was bad, because now the frame is all glued up, and I had to use a hacksaw blade by hand to make this cut. Very tedious.


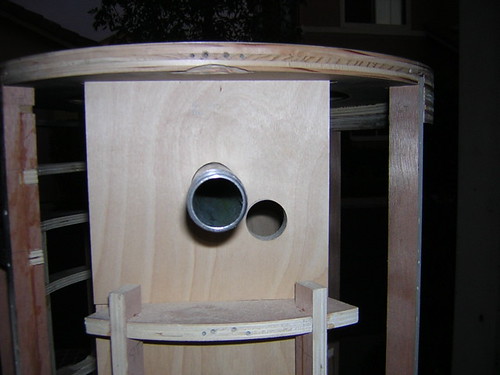
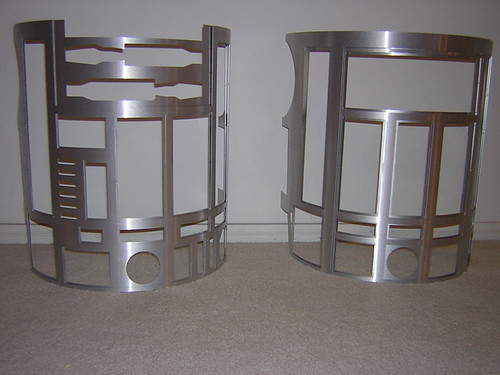
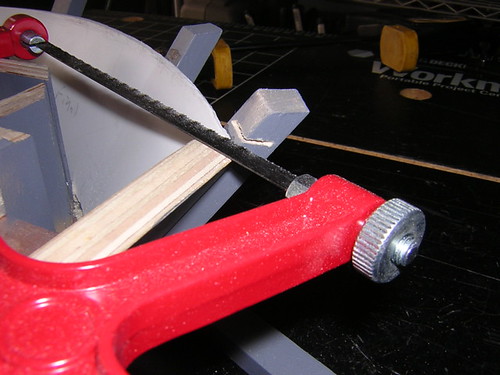
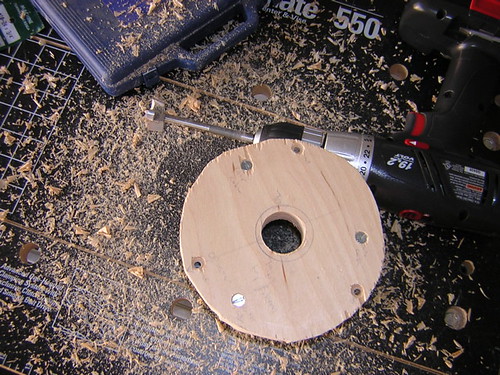
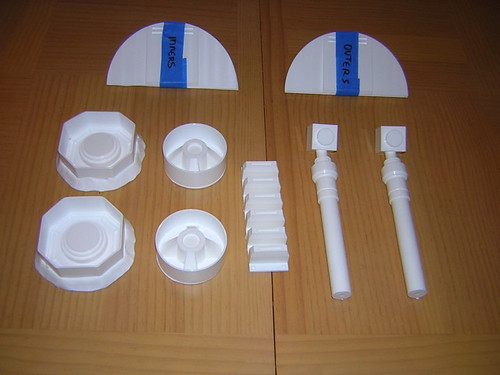
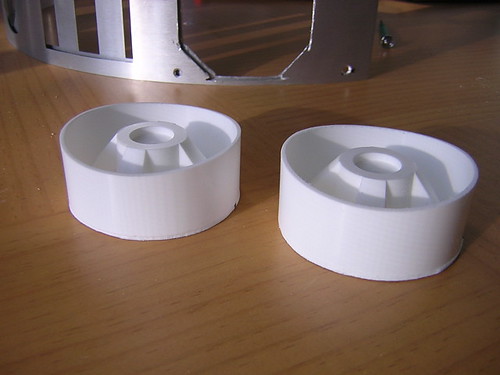
After that, on Mike Senna's advice I decided to widen the inner skins' octagon ports with a Dremel and the cutoff wheel attachment. This way, the octagon ports will sit flush against the outer skins, instead of the inner skins. You can see the "after" results in the background of one of the pictures below. Here's a "before" look:


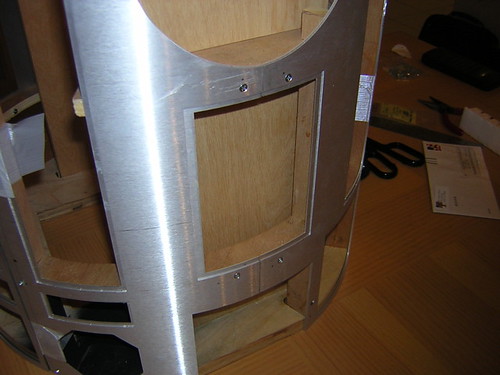
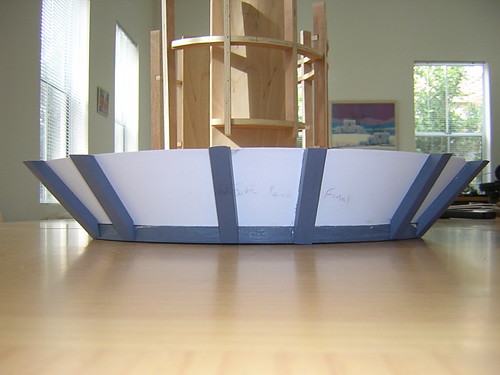
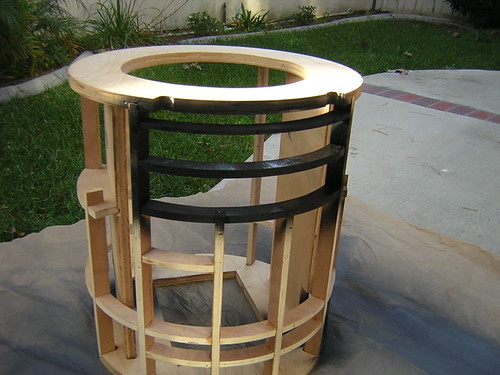
Again on Mike's advice, I painted selected areas of the frame black. These areas might be seen from the outside. For example, if/when the utility arms open, that area will be dark. If I choose to sand and cut the octagon ports so that the ribbing on the back is cut like a web with openings, the background there too will be dark.


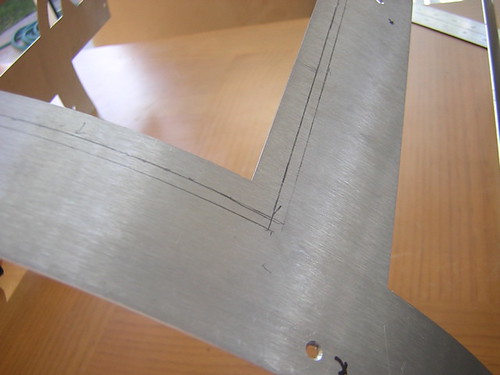
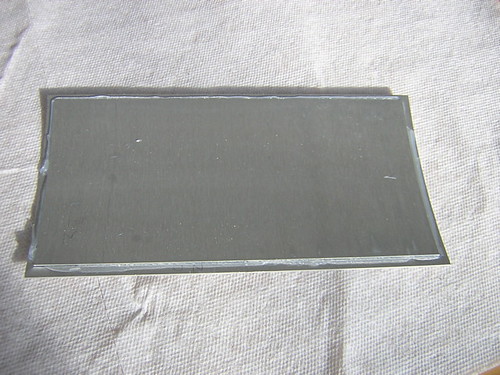
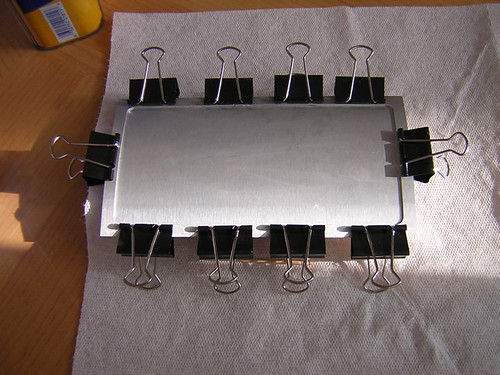
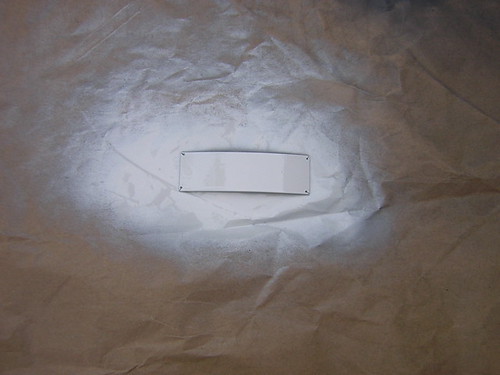
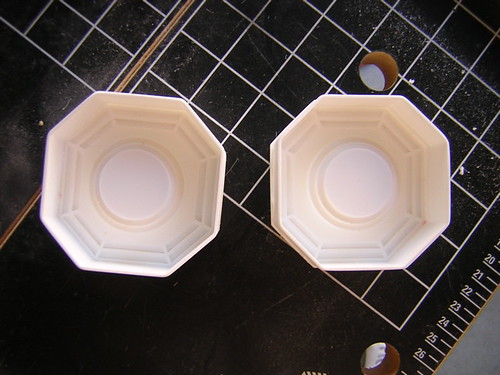
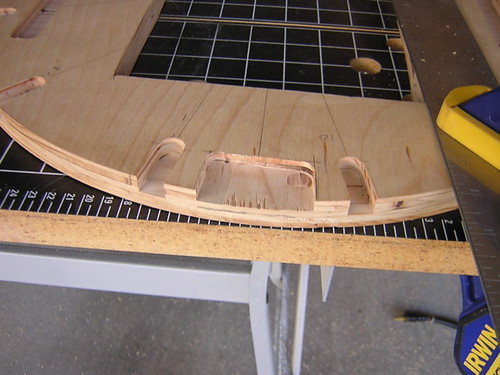
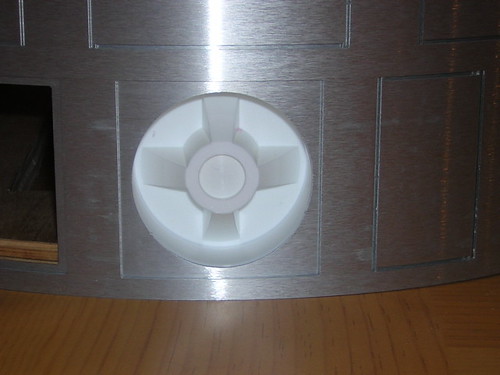
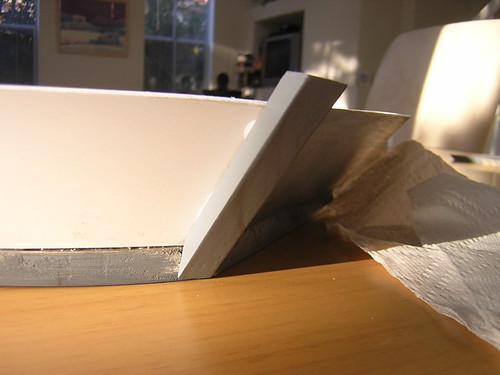
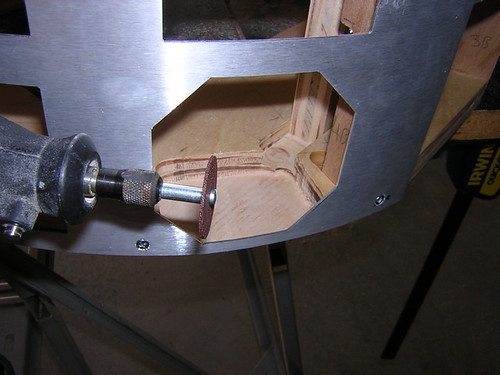
Next I sanded the resin power couplings using a piece of sandpaper face up, taped to a curved piece of one of the aluminum skin cutouts that maintains the overall radius of the skin curvature. I sanded the face of the power coupling against this curve, so that the power coupling will rest flush with the inside of the skins. Here's an "after" look:


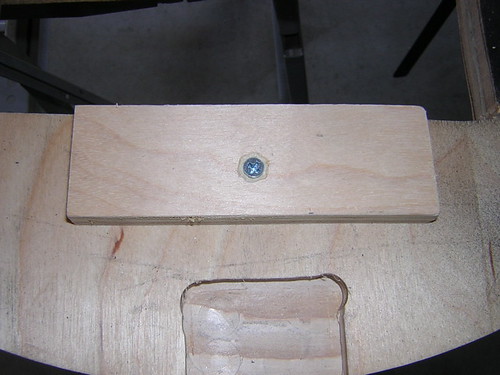
Finally, I cut out and glued together the top of the door frame for the back panel. It ended up being a little thicker than I intended, but it should be okay. I can always route it down if need be. I haven't decided if I should make side door frame strips, or just hold the door on with brackets and screws.

Wednesday, December 21, 2005

Drilled Inner Skins

I finished drilling and countersinking the inner skins tonight, for the screws that will attach them to the frame. Next up, drilling the outer skins, which will require great care, since these will show to the outside world.

Saturday, December 17, 2005

Frame Glued Up(!), Started Skin Attachment

Mike Senna was kind enough to let me come by again, so I could receive much needed guidance and assistance on the big frame glue-up, and the start of the skin attachment.

We both worked the glue bottles and got the frame glued up lickety-split. I thought this would be an iterative process, using clamps and grips to hold parts of the frame together. Instead, we just worked through the entire frame in one shot, glueing up pretty much everything except the tall wooden shoulder planks, and the pie wedges that help hold them in place. (The shoulder planks will be glued after the shoulder hole has been cut, the pie wedges won't even be glued at all, believe it or not.)

After gluing, we used some of that really strong tape with the threads in it, and stuck it at the top-, middle-, and bottom-side areas of the skins on each side, and stretched the skins as tight as possible around the frame. We pretty much got a perfect fit, and we let the glue set for a couple of hours.


Next, we ensured the alignment of the skins to the frame was as good as possible, and then Mike showed me how to drill and countersink the holes for the screws that attach the skins. Only two holes on the front inner skin so far, but that's enough to get me started.


If that wasn't enough good R2 news for the day, Dave Everett's center internal vents arrived today too.

I'm on vacation until the New Year, so I'd like to get the skins all attached and painted, and the legs attached as well before vacation ends. Here's hoping, anyway.

Wednesday, December 14, 2005

Filed Down Skins

One of the tedious parts of working with the aluminum skins is the filing down all the tabs that hold the various panels in place. I counted a total of 76 unique pieces in my set of aluminum skins, once all the pieces had been separated and filed smooth where needed. Still, I love the aluminum skins! They are now ready for primering and painting. (No picture, too boring.)

Monday, December 12, 2005

Finished Cutting Skins

I finished cutting the skins tonight:


Earlier in the evening I picked up lots of paint and primer for the skins.

Sunday, December 11, 2005

Routed LDP Area, Sanded Resin, Started Cutting Skins

I routed out the area of the frame that contains the Large Data Port (LDP), and did a test-fit:


While I was working on the frame I also trimmed a couple of ribs and the shoulder planks (no pictures posted for this), to better accommodate the octagon ports.

Speaking of the octagon ports, I flipped the belt sander upside-down, secured it, and went to work sanding away. I figured resin dust is probably not a good thing to breath, so I wore a mask along with the goggles and ear protection. I sanded them down to the point that there was only about 1/16" extra overhang. I may hand-sand the rest, or I may leave them as-is. I haven't decided. See More Resin Parts for a "before" look.


Finally, I started cutting out parts of the aluminum skins with a hacksaw blade. Still much more to do, I've only gotten started.

Saturday, December 10, 2005

Finished Main Skirt Build, Routed Frame

I finally finished the main skirt work. All that remains is a bit of filling in of small gaps here and there, and painting the thing.

This would be a pretty misleading weblog if I just showed the stuff that went right, because lots of things go wrong (seemingly more often than not). Remember those wooden dowels I used for the ribs? Well, routing them down with the router table didn't always go so well. These ribs below were literally ripped from the skirt as I tried to route them:


So I remade a few ribs, and for those that were already glued on, I cut them down with a hacksaw (which lead to sloppy results). The ribs that came off were remade and cut to size before gluing.


Here's how the skirt turned out. I may one day redo the styrene and the ribs, but for now, this will do. (That's my upside-down frame in the background, for reasons that are about to become clear.)


Next I returned to my long-neglected frame. Now that I have the resin power couplings and octagon ports, I am able to mark up areas of the frame that need to be routed out to accommodate these parts. So I turned the frame upside-down and pulled off the still-loose base plate and started marking away:


Then I routed the marked areas. Below is the area for the center-front power-coupling:


I did several test fits of the resin parts as I went, adjusting the depth of the router bit and area being routed as necessary. Here's the final fitting:

Sunday, December 04, 2005

Started Gluing Skirt Ribs

I started gluing the skirt ribs onto the curved styrene part of the skirt today. I also tried routing the ribs down to size (on the other side of the skirt in the photo below), but I ended up mangling a few of the ribs due to poor feeding into the router, and the fact I didn't let the glue dry long enough. So I'll let these dry for a day (or a week, or whenever I have enough daylight to use the router again) and try again.

Saturday, December 03, 2005

Finished Prepping Router Table, Glued First Skirt Rib

Between applying coats of primer to the legs, I finished my router adapter plate for the router table, and set up the router table to be able to trim the overhang of the skirt ribs:


Next I glued the first skirt rib for a test run of a trim with the router, which I will do tomorrow. The idea is to turn the skirt upside down, and let the spinning router bit trim the overhang of the rib, flush with the top of the upside down skirt (technique courtesy of Mike Senna).

Friday, December 02, 2005

Feet Arrive

The budget feet I purchased from Anna arrived today (box 1 of 2 so far):

Thursday, December 01, 2005

More Resin Parts

Another outstanding batch of resin parts arrived from Keith today. The order was comprised of pairs of octagon ports, power couplings, inner & outer half moons, leg struts, and a coin slot strip. Thanks again, Keith!