Friday, February 29, 2008

Marked Back Door Support

Another bogus update. I spent 1 minute drawing an outline with a pencil. In this case, it's for the supporting rib for the top edge of the back door.

I used the 1/2"-thick section of horizontal rib that I cut out when I opened up the back door area of the frame, to mark the outline on a 3/4"-thick piece of plywood. This happens to be the same piece of 3/4" plywood that I cut out the same supporting rib for droid #1. Kind of an Adam & Eve thing going on with this rib.


Tuesday, February 26, 2008

More Glue for Frame, Widened Front Power Coupler Area

Tonight I gave the frame the once-over with a bottle of wood glue, reinforcing joints and filling small pockets here and there.


Once the glue had dried with the frame right-side up, I turned the frame over and repeated the process on the underside.

I discovered that I didn't route out quite enough material above the front power coupler to allow the frame piece to fit in the allotted space, so I used a hacksaw blade to remove some material.


Now everything fits.

Monday, February 25, 2008

Unwrapped Frame

Here's a bogus building update. I removed the skins from the glued-up frame.

You'll have to take my word for it, the frame is glued up and it doesn't fall apart.


I may go over some of the joints and add a dab of glue here and there to be extra thorough, but everything seems to be holding fast.

Saturday, February 23, 2008

The Big Frame Glue-Up

Today I went to Mike's for some help with gluing up the frame. The actual gluing can be done by one person of course, but taping the skins around the frame really could use the help of a second person.

Each of us grabbed a bottle of Elmer's wood glue and got busy filling in the slots on the vertical ribs, and locating them in place against the slots on the horizontal ribs.


Once the ribs had been glued in place, we wrapped the skins tight around the frame. We matched up the front and back skins on one side of the frame, and taped the two skins together at the seam. Then, we stretched the skins around the frame on the other side, pulled the skins together until the gap was closed, and again taped the two skins together, opposite the prior taping. We used strapping tape (the tape with the threads in it) to ensure that the bond was strong enough to handle the stress.


Everything looks good! I'll let the glue dry for at least 24 hours before removing the skins.

Friday, February 22, 2008

Drilled Holes in Planks for Wiring, R2LAV DVD Arrives

This morning I drilled the holes that will allow the wires to pass through the shoulder planks. I used a 1.25" Forstner-style bit.


After cleaning up the mess, the hole looks great!


These holes are offset to the lower-rear of the pilot hole marks where the gas pipe holes will go.


Last but not least, Michael McMaster's R2LA V DVD arrived in the mail. I watched the whole thing tonight, and thoroughly enjoyed it. The wiring/electronics tutorial that we shot last April 28th with my droid should be helpful to others that need to perform the same task.

Thursday, February 21, 2008

Cut Frame Ring for Back Door, Unclipped Back Door Framed Panels, Marked Shoulder Planks for Drilling

I guess I'm not quite done with frame work before gluing it up.

This morning I cut the ring that goes all the way around the frame, so that there will be a clear path for back door access into the droid.


After 36 hours of drying time, I unclipped the framed back door panels that I JB Welded together a couple of nights ago. Everything seems to be holding well.


Finally, tonight I marked the spot on each vertical plank where I will drill holes for the motor wires to pass through the frame, and on down the legs. These are separate holes from those that the gas pipe will go through. I won't drill those until after the frame is glued together, so that I'll be sure to hit the right spot.

Tuesday, February 19, 2008

Finished JB Welding Back Door Framed Panels

Tonight I finally got around to finishing the JB Welding of the framed panels that go on the back door.

First up, the large panel that goes toward the top of the door.


As with the other panels, I was careful to keep the JB Weld near the edge of the panel, to avoid making a mess that would be difficult to clean up.


Once again, I used a toothpick to clean up the excess JB Weld on the front and back of the panel. This particular toothpick comes from Lucille's BBQ, here in Southern California. I recommend both their ribs and their toothpicks, but only use the toothpicks for cleaning up JB Weld.


All cleaned up. I only used three small clamps along the curve on each side of the panel, because I want to avoid bending the panel. On droid #1, the back door seems to have too small of a radius when it's attached to the body, so I'm trying to avoid doing anything that might change the radius of curvature on the various parts of the door.


One last panel and frame to bond. JB Weld goes on the panel's edge, and the frame goes on top.


Next, clip it and clean it.


I'll let the JB Weld set for a day or two and then unclamp the panels.


I probably won't get much else done before the weekend, when I hope to glue up the frame.

Monday, February 18, 2008

Finished Shoulder Discs

I had originally planned to work on the front vent harness assembly today, but I remembered that I really can't fit it into the frame until the frame is glued up, because I need to figure out how far forward the vents must rest so that they will emerge through the skins by about 1/4".

Instead, I decided to finish up work on the shoulder discs. The steps taken here follow those in my downloadable wooden leg tutorial, and are copied from Mike Senna's approach.

I started by marking up the discs. First, I drew lines at 60 degree intervals.


Next, I scribed concentric circles with a compass. The inner two circles outline the gas pipe holder (to help center it during later drilling), the outer circle is drawn to accommodate enough space from the outer edge for washers to go where six more holes will be drilled.


I took the discs and gas pipe holders to the drill press. With the gas pipe holder centered as indicated by the drawn circles, I drilled through the 1/4" holes in the gas pipe holder, and through the disc underneath. Four holes are drilled for each gas pipe holder on each disc. As each hole was drilled, I dropped a 1/4" x 2" bolt through it, to keep the gas pipe holder from moving.


After that, I used the gas pipe holder as a template for drilling the backing plate that is used to distribute the stress of the bolted-on gas pipe holder (and eventually, the gas pipe).


The last step was to drill six 5/16" holes along the outer circle I drew, at 60 degree intervals. These holes allow for the six bolts that will hold the assembly onto the leg, once the legs are built and ready to go. The bolts are 5/16" x 2". Placement of these holes is not ultra-critical, but it's good to get them as close to the mark as possible.


Both shoulder discs are done. I had cut down the bolts ahead of time during my build of droid #1, but I may have to cut down the bolts even further to allow the shoulder hubs to fit in the legs, we'll see. Either way, the discs are going to have to wait quite a while until I have wooden legs to attach them to.

Sunday, February 17, 2008

Cut Shoulder Discs, Assembled Front Vents

Today I cut the shoulder discs and glued up the front vents.

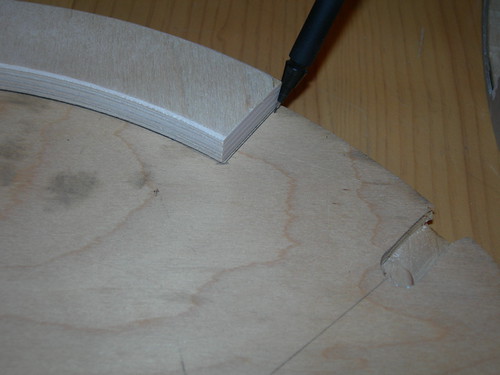
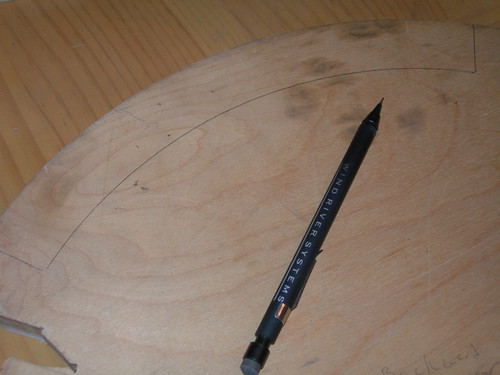
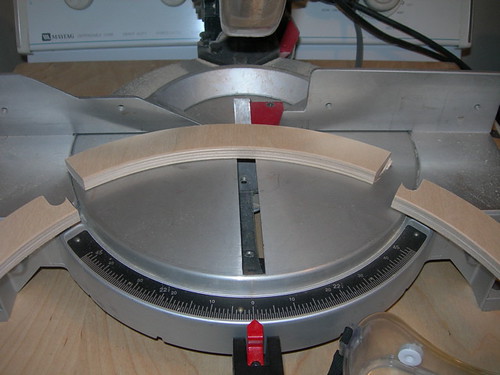
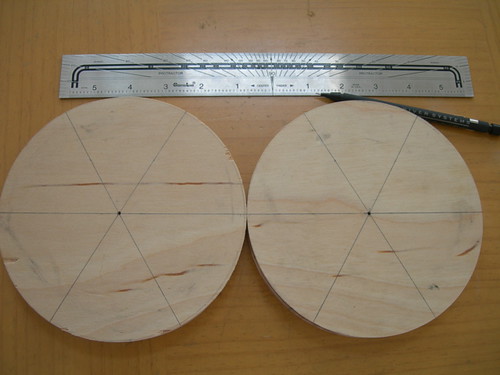
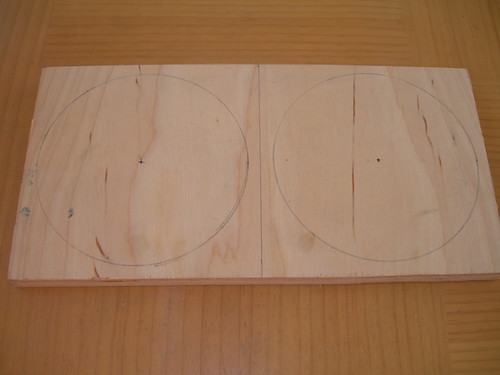
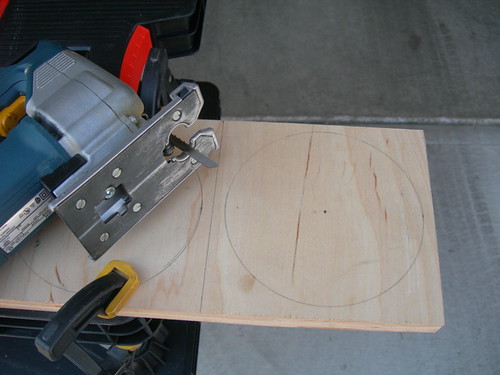
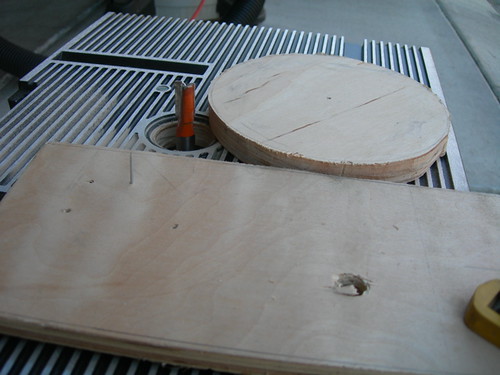
I picked up where I left off yesterday with the shoulder discs, by rough-cutting the 6.25" x 3/4" circles with a jigsaw.


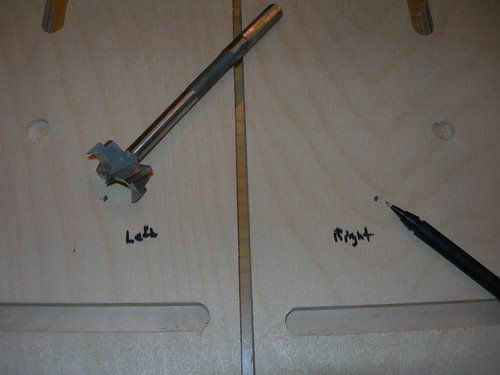
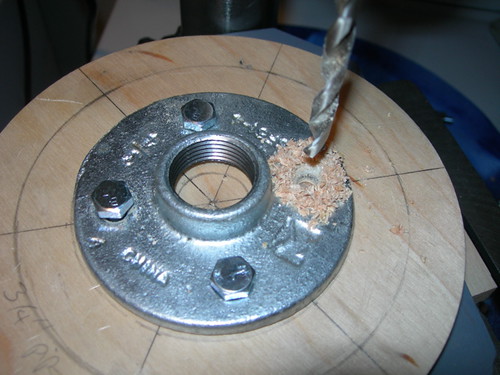
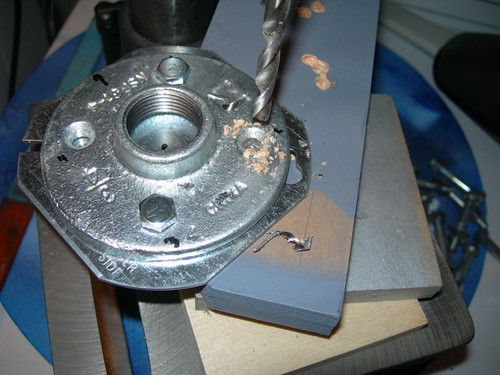
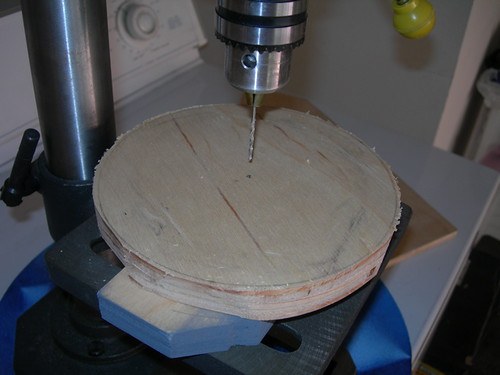
Next, I drilled a 5/64"-diameter hole straight through the center of each circle, just wide enough for a nail to fit.


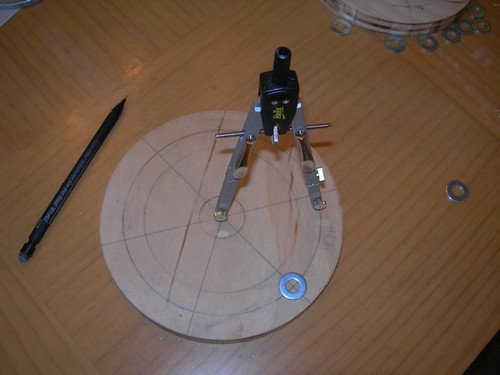
I then placed the nail through a similarly drilled hole in a board, so that the shoulder disc can sit on top of it on the router table.


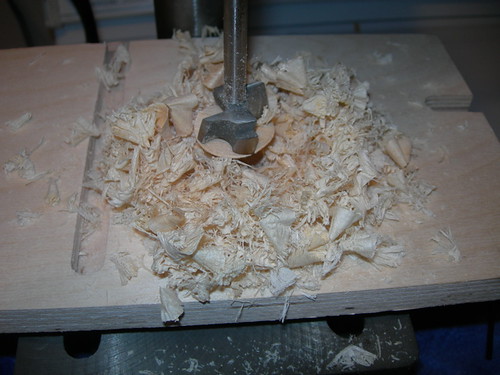
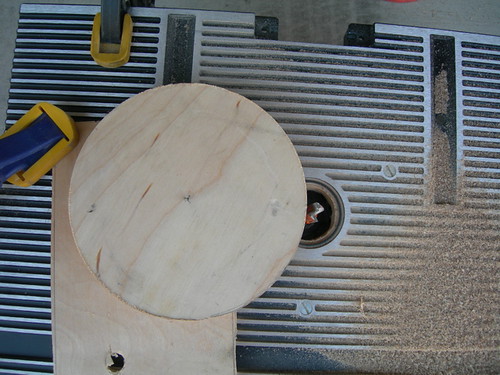
I used a routing technique Mike Senna taught me on droid #1 (and that is described on the R2LAIII DVD). With the disc in place, and everything loosely clamped, I edged the disc into the spinning router bit, until I shaved off enough material that the router bit touched the circle I drew on the wood. At that point, I turned off the router and clamped everything down. Then I turned on the router again and spun the disc on the nail, until all the rough-cut edge was shaved down to the 6.25" diameter.


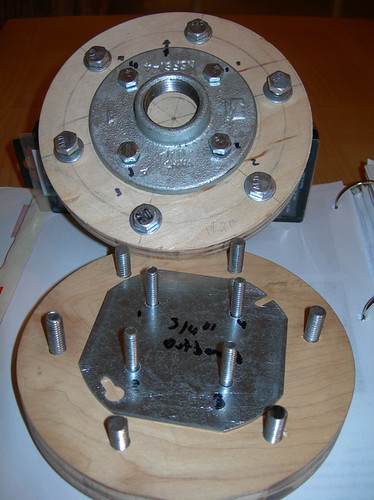
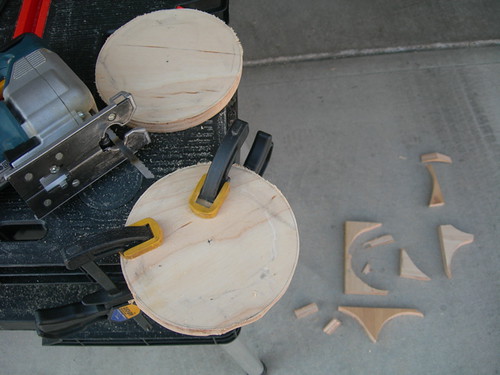
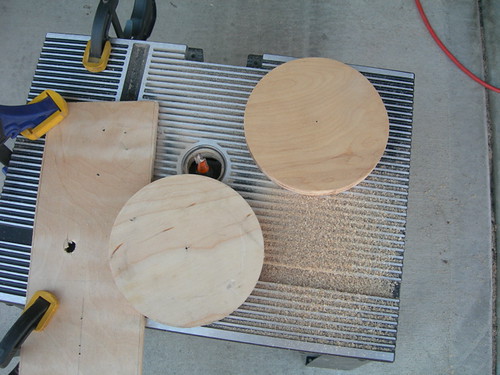
Repeat, and two shoulder discs are ready for marking-up for the gas pipe flanges (at some future date).


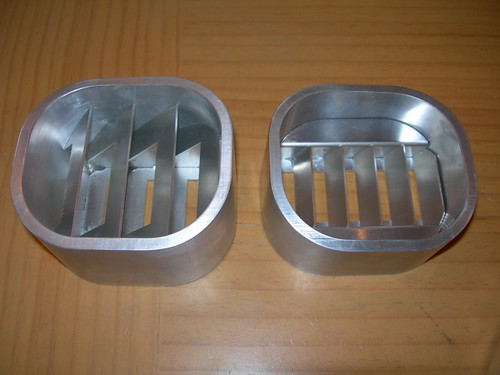
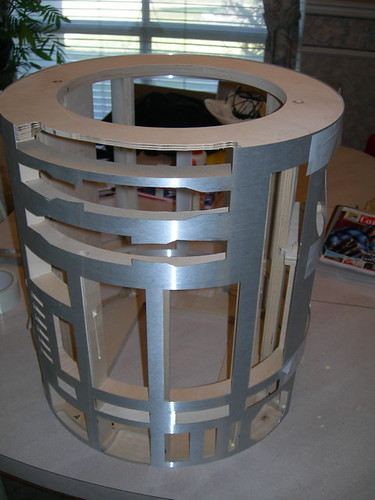
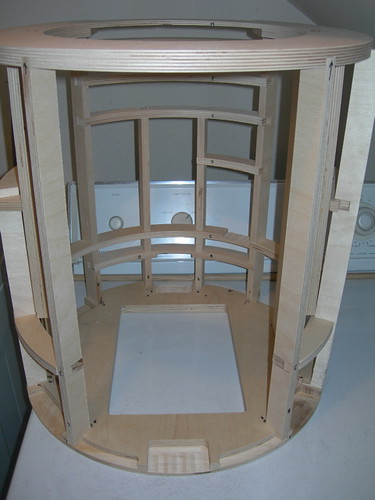
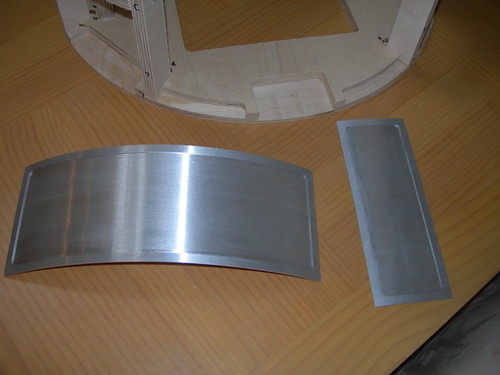
In the evening I turned my attention to the front vents.

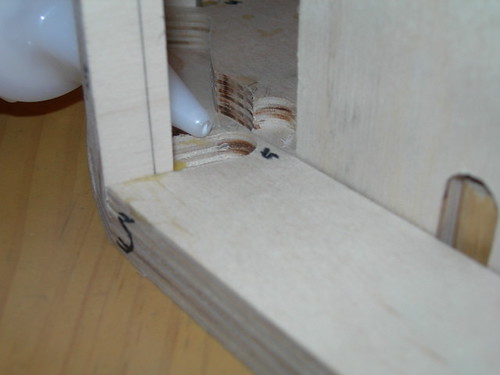
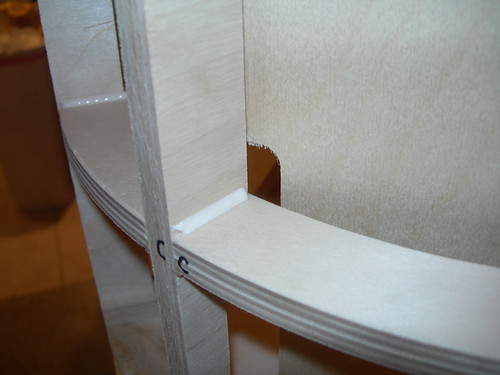
I hope to glue up the frame next weekend, so I want to finish my minor trimming on the frame as soon as possible. One of the last things I need to do is trim the two center vertical ribs, to accommodate the front vent harness assembly. I can't make the cuts on the ribs until I've actually built the assembly, of course. Step zero in the harness build is to put together the front vents.


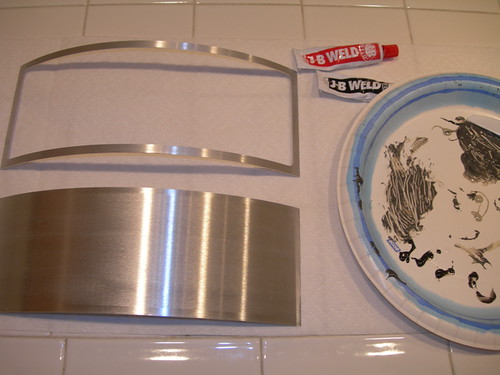
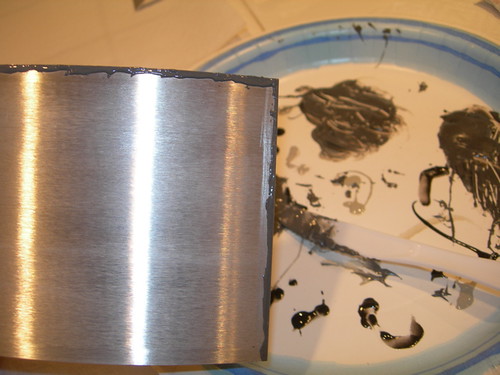
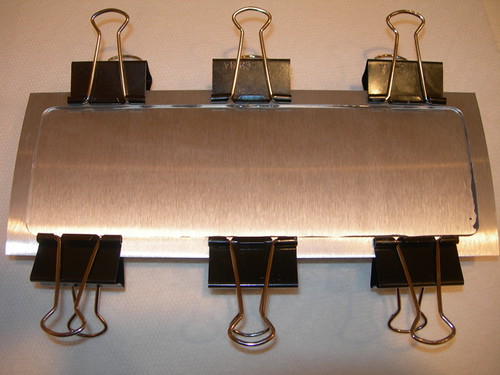
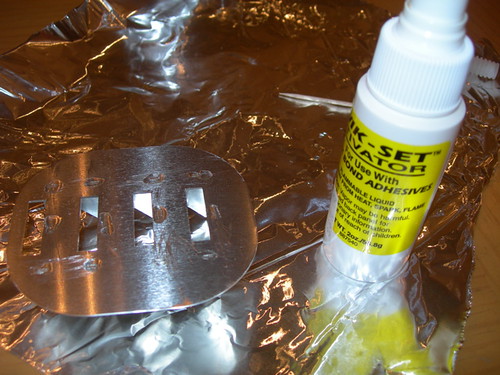
Like last time, I used Loctite (which my spell-checker thinks is "Lactate") to glue the pieces together.


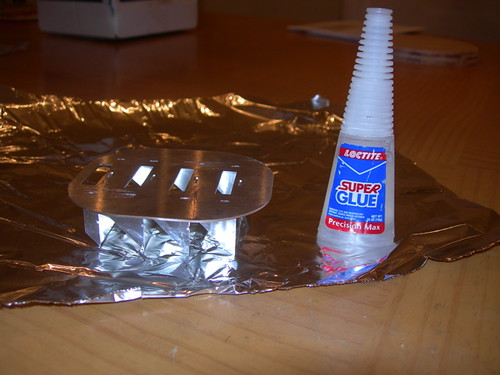
Unlike last time, this time I had enough sense to spray some accelerator to instantly dry the glue.
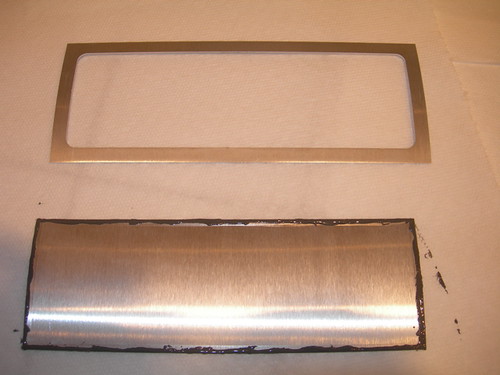
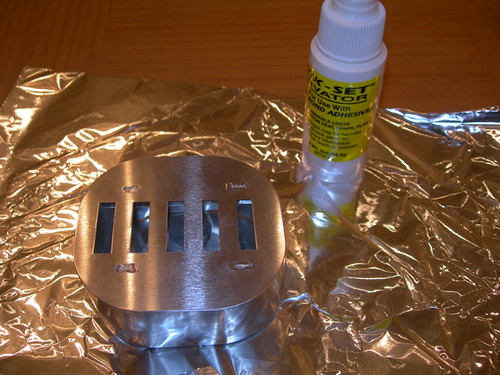


Top vent done.


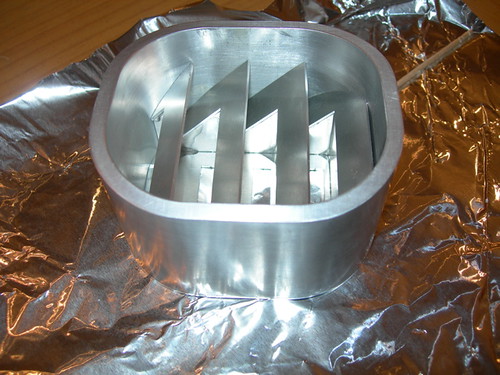
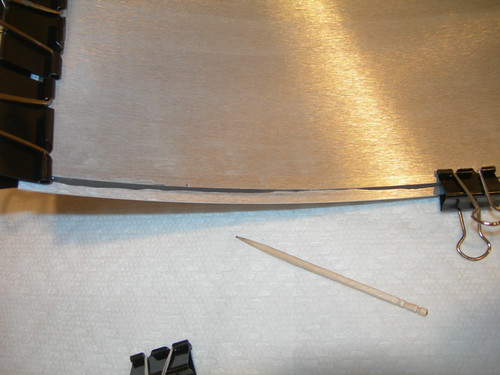
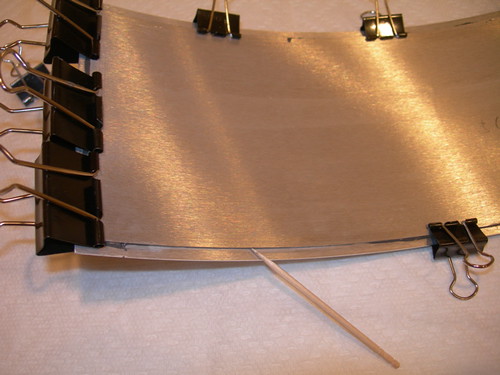
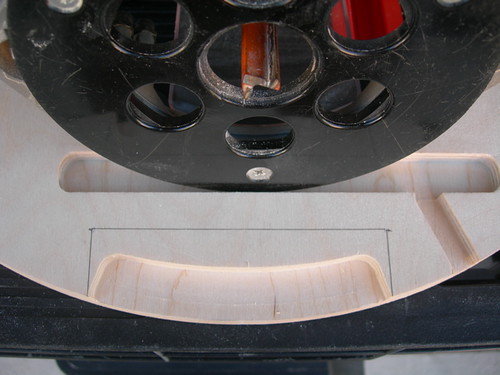
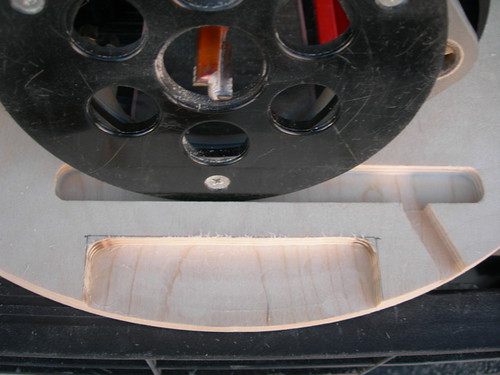
Next, the bottom vent. I used the surround to guide the pieces into place, and glued them to the backing plate.


Then I removed the surround and glued the slats down, and then applied accelerator again.


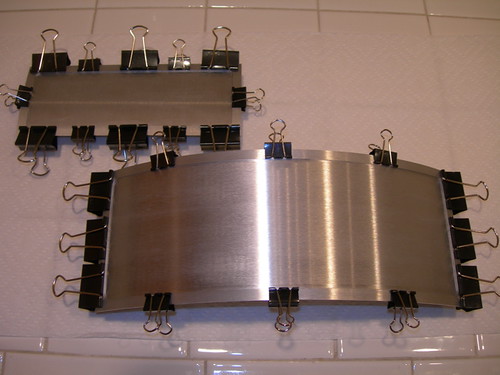
Both front vents are ready for the harness build, which I hope to get to tomorrow, since I have Presidents Day off.

Saturday, February 16, 2008

Routed Top Plate, Started Working on Shoulder Discs, Meet-Up with McMaster

Today I routed a little material from the underside of the top plate of the frame, where the aluminum flashing that goes around the shoulder discs will enter into the frame. The room already provided was certainly adequate, but again I decided to make things even roomier in case I go overboard with the flashing.


Speaking of the shoulder discs, I had planned to cut these out too, but I ran out of time. I only got as far as cutting out the rectangle that these will be cut from, and I marked the 6.25" diameter circles.


I ran out of time because I got a last-minute call from Mike Senna, letting me know that Michael McMaster was in town with his son Kyle, who is auditioning for the Disneyland Jazz Band this weekend.

Us three geniuses posed in the Apple Store at the Grove in Santa Monica.


A short time later, Max Cervantes joined us, and proved that his PT Cruiser is indeed R2 Blue.


We passed a hat store on the way to dinner, and happened to run across Indiana Jones and Short Round on the way. Good times.


Tomorrow I hope to finish those shoulder discs, and see what other progress I can make.