Thursday, July 29, 2010

Finished Prep Work on Second Outer Foot Shell

I believe I'm finally done with the preparation work on the second outer foot shell.

I sanded down the mess on the top that I made yesterday.


Then I applied some more primer.


There is some very slight bumpiness, but not enough to make me go through this exercise again. I'm done.

I have some minor work to do on the channel of the wooden center foot, and then I'll probably move on to battery box finishing.

Wednesday, July 28, 2010

Done with Second Outer Foot Shell Filling

Are we there yet? Are we there yet?

Here's hoping that I am done with the Evercoat on the second outer foot shell. Let's see what the primer has to say.


"Maybe."

There is a little unevenness along one of the outer edges.


There is a very minor divot on the top as well.


I determined that the unevenness on the side is due to too much Evercoat, and this can simply be sanded down. I also decided that the small divot on the top can be filled with primer. I sanded both areas.


Then I hit them with primer once again. The side area looks good.


I had sanded the primer and primed again up on top, making a bit of a mess, since I didn't let the first coat dry sufficiently before applying the second coat.


I'll let this dry overnight, lightly sand and reprime tomorrow, and then hopefully all the foot shell prep work will be done(!).

Tuesday, July 27, 2010

Lather, Rinse, Repeat

Ugh, another iteration of finishing work on the second outer foot shell.

I applied primer to see if there were any flaws left. Of course there were. Fortunately, they are getting smaller and fewer.


All together now:

Time to sand those spots and apply the the Evercoat, in a very thin layer.


Finally, the sanding when dry.


I think one way or another I'm about done with this. With any luck, tomorrow's coat of primer will agree.

Monday, July 26, 2010

Center Foot Trim, Another Round of Evercoat for Second Outer Foot Shell

During Saturday's work on the center foot, the strips I glued on top of the channel area were cut just slightly too long, on purpose.


A couple of minutes with a file and sand paper made short work of that.


Next, I still needed to deal with a few minor uneven areas on the second outer foot shell. First, I sanded the primer in the areas that needed work.


Then, on went a thin layer of Evercoat.


After the Evercoat had dried, I sanded it smooth.


I sure hope that is the last time I need to do that, but I will spray some primer on it tomorrow and see.

Saturday, July 24, 2010

R2LA Build Day

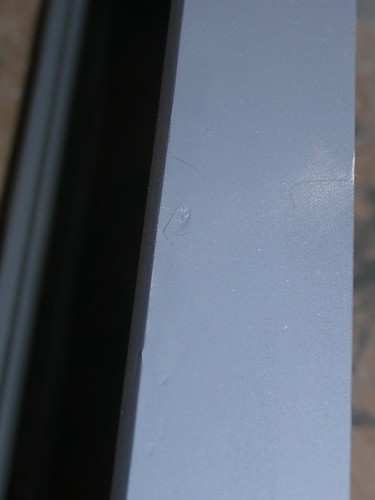
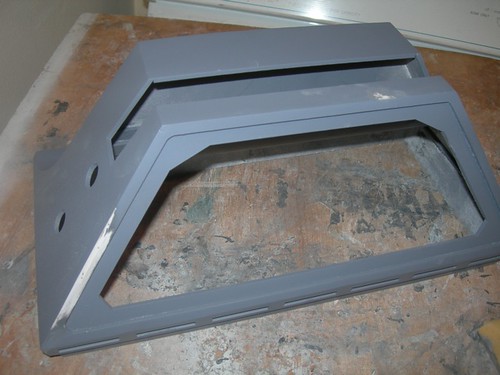
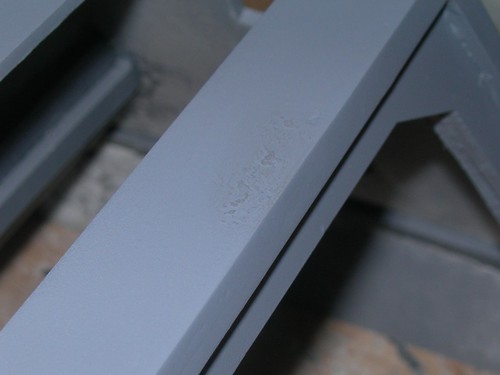
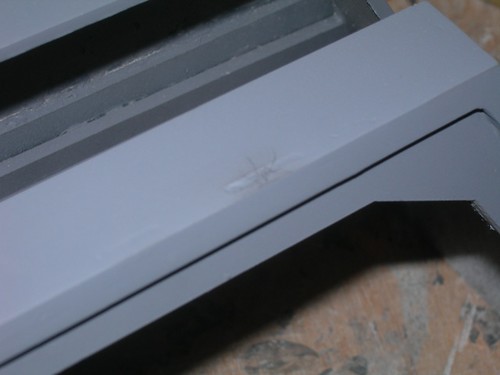
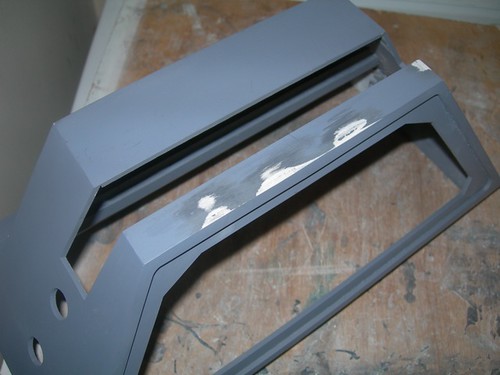
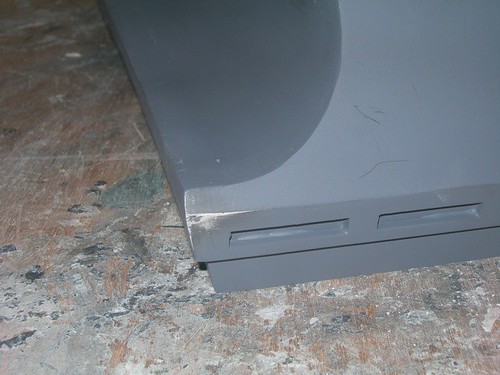
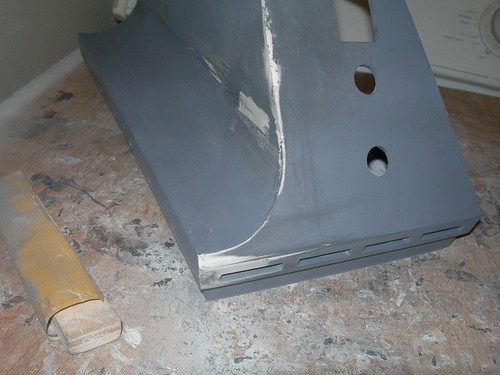
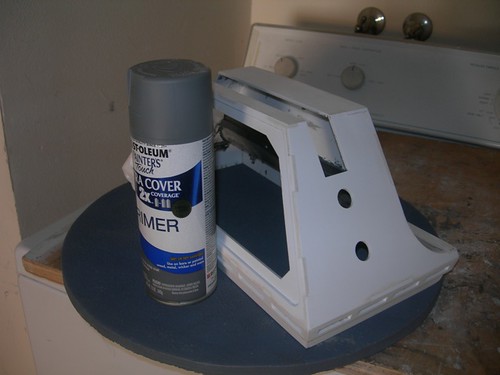
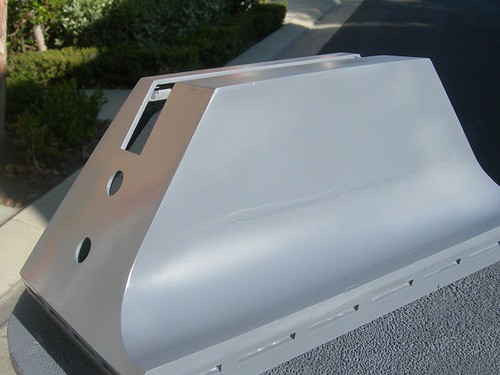
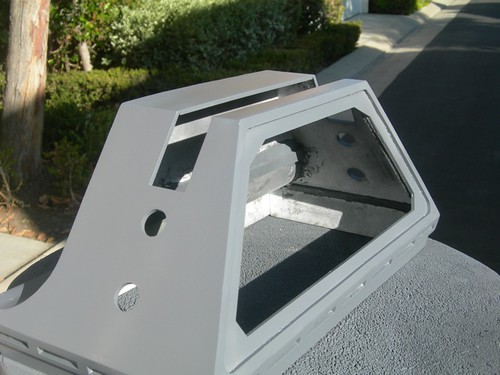
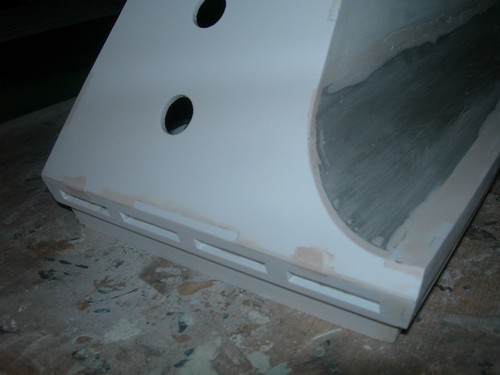
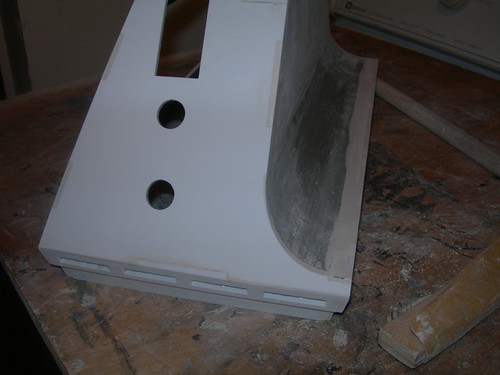
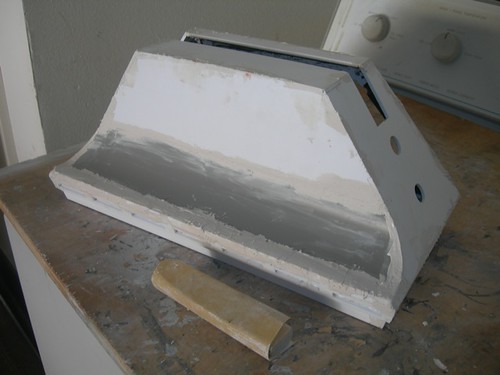
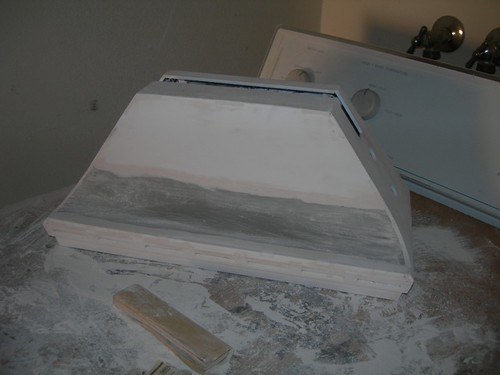
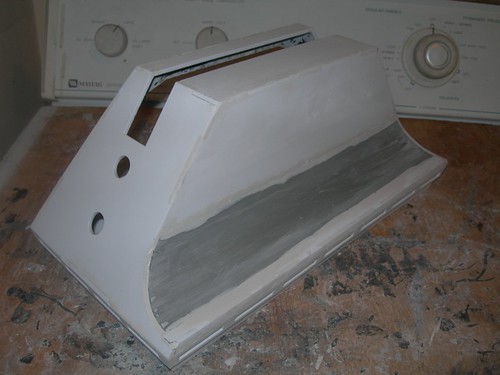
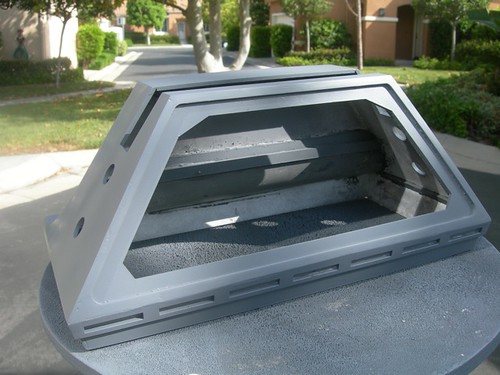
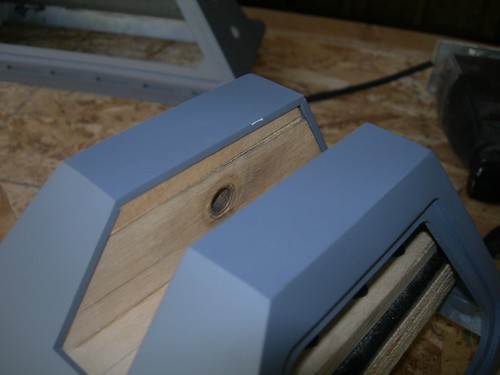
Today Mike hosted an R2LA build day, but before I headed out for that, I sprayed some primer on the second outer foot shell that I've been working on. Still a few more imperfections to iron out, but it's getting there, slowly but surely.


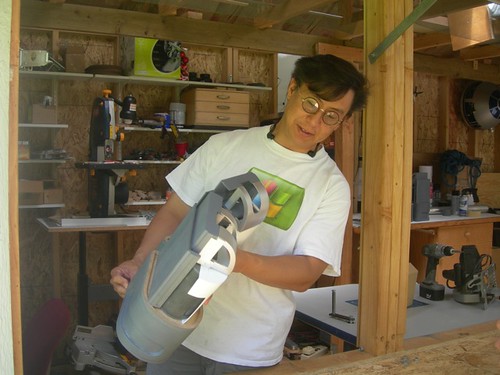
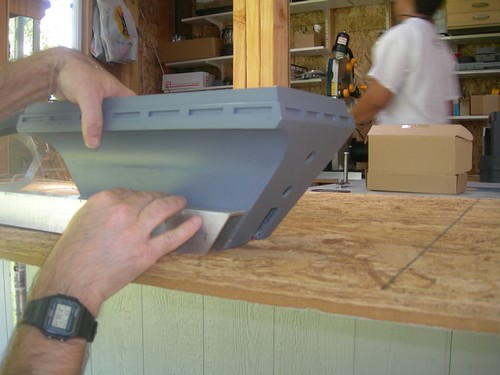
Next, it was over to Mike's where he showed off his newest mystery project. (I already knew what this was.)


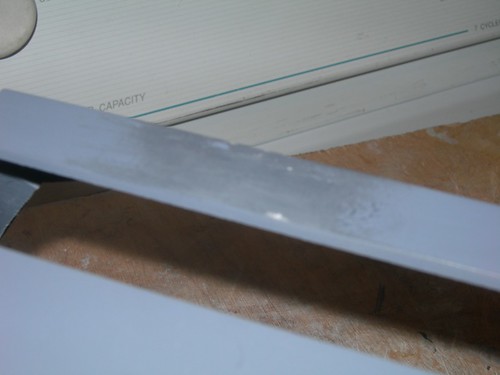
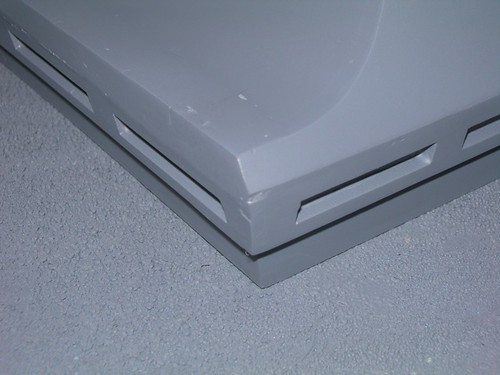
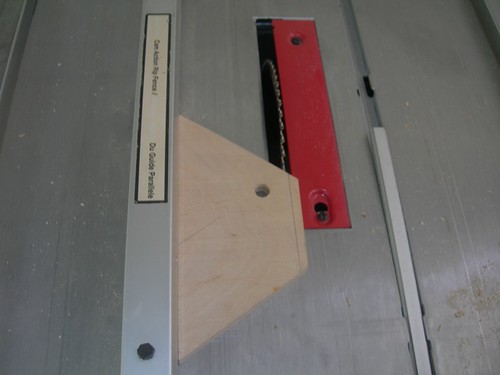
My objective was to cut the center channel for the drivetrain for the outer foot shells, and work on the wooden center foot. Mike cut the top off of the center channel piece for me on the table saw.


I cut the angles on the miter saw.


Of course, I goofed on the second center channel, and I was left without enough material to finish the pair. Oh well, I'll get some more aluminum and try again another time.

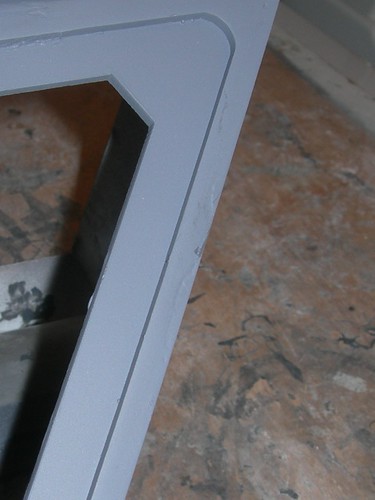
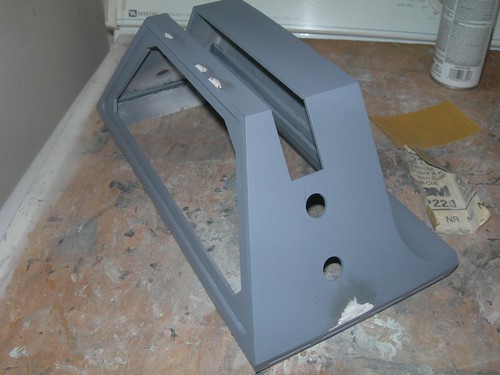
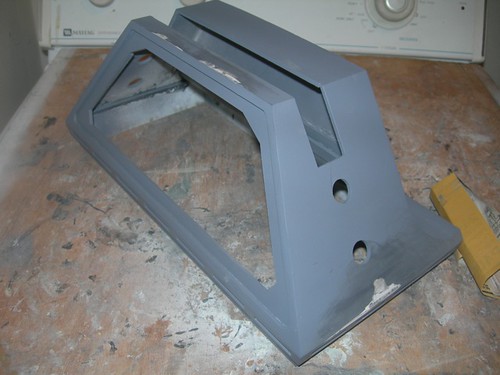
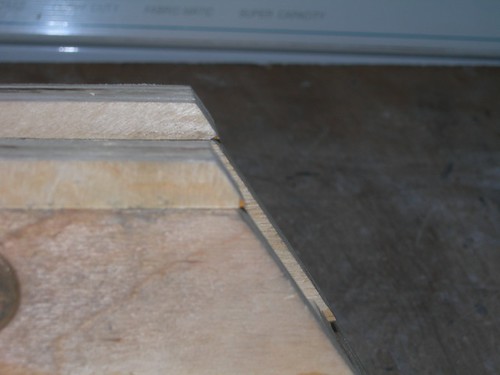
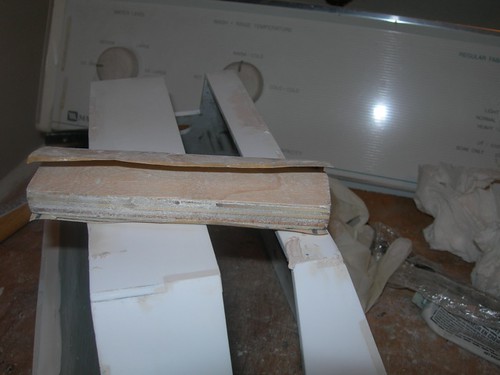
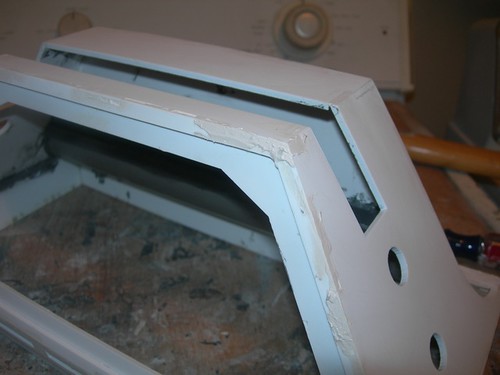
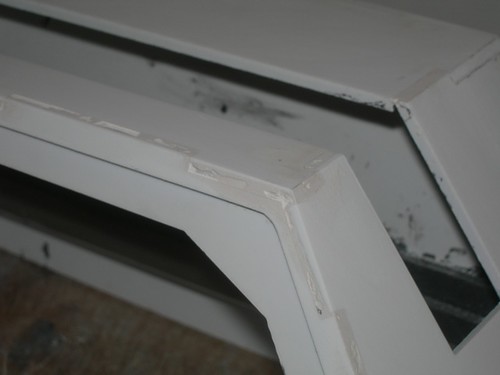
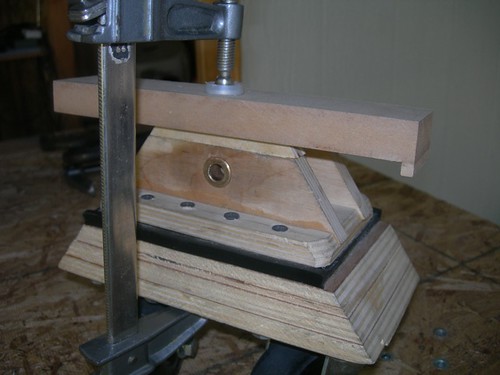
In the meantime, I had built a wooden center foot for droid #1 that I never used, because it the center channel on it was flawed. Mike explained to me that I could salvage it by gluing a couple of strips on top. This area is not structural, so it need not be overly sturdy. It just needs to hold.

I measured, marked and cut some scrap plywood strips.


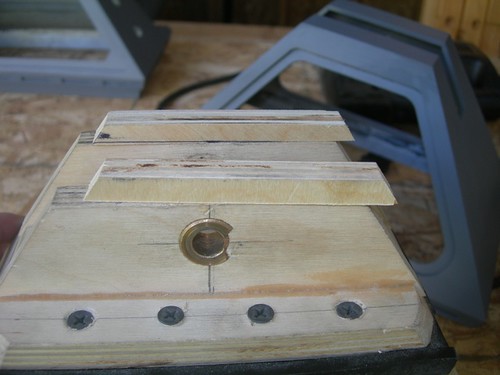
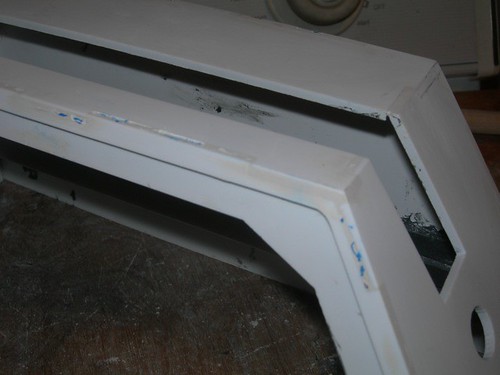
A test fit looks good.


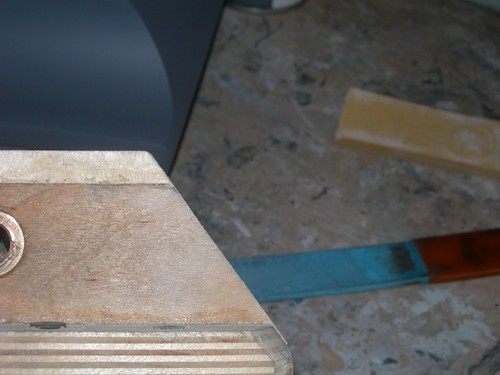
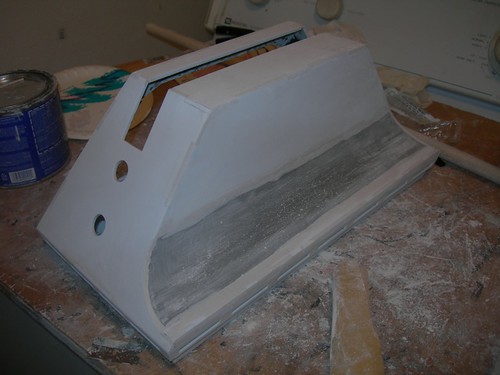
Time to glue it up and clamp it down.


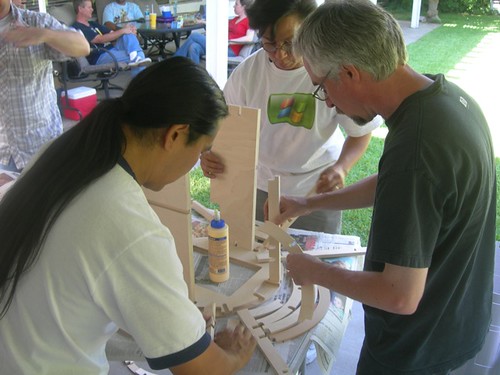
In the meantime, the build day was buzzing with activity.


Mike cloned his wooden leg templates for Randy Eubanks, all the while ensuring that his beer was free of dust.


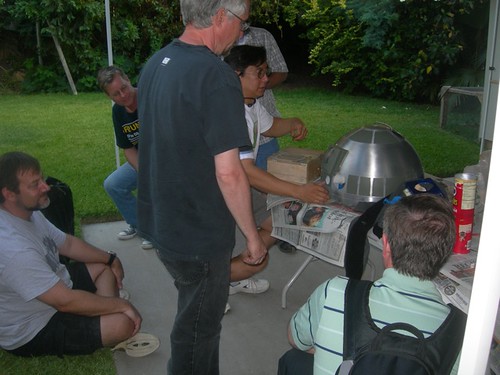
Ed Perello had his very impressive dome on display. It's clear a lot of time and effort has gone into painting and polishing this dome.


Three separate wooden frames were glued up.


A little dome work was mixed in as well.


And yes, there was a little down time too.


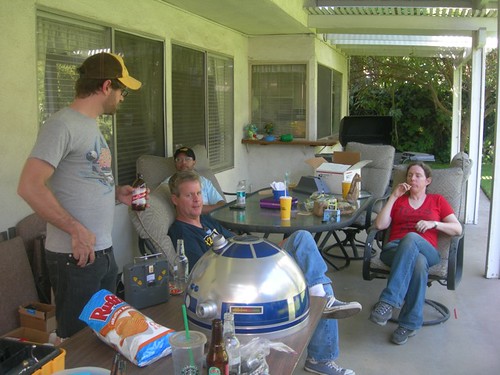
All in all, a fun and productive day.

Friday, July 23, 2010

Evercoat Touch-Up for Second Outer Foot Shell

I found a few spots that need a little more Evercoat on the second outer foot shell


I lightly sanded the primer in those areas.


On goes the Evercoat.


And back off it goes, having sanded the areas smooth.


I'll hit this with another coat of primer and see how everything looks.

Thursday, July 22, 2010

Primer for Second Foot Shell

Time for primer on outer foot shell number 2.


A light coat helps to show what looks good and what areas need more work. To repeat, I'm not trying to make the area above the middle of the curve look good, since it will either be hidden by the battery box, or completely removed for the motors.


There are several small areas that need a little more filling and sanding. I'll get to those next.

Wednesday, July 21, 2010

Third Round of Evercoat for Second Outer Foot Shell

Time to sand down last night's work.


Sand.


Fill.


Sand.


I think it's ready for primer. I see some imperfections, but they may be minor enough for the primer to hide. Or they may not be, and I may find more that I can't see now.

Tuesday, July 20, 2010

Round 2 of Evercoat for Second Outer Foot Shell

Tonight I applied some more Evercoat to some spots I missed the first time around.


After it dried, I sanded it smooth, and then marked with blue pen any other spots that needed filling.


I filled those areas in, and I will sand them down soon. I think I still missed a small area or two, so I'm not done yet.

Monday, July 19, 2010

Sanded Evercoat on Second Outer Foot Shell

Time to start sanding the Evercoat on outer foot shell #2.


I started with 220 grit sand paper. Since I applied less Evercoat this time around, the job went a little quicker, and with a little less mess.


I then moved to 400 grit, and the foot shell is in decent shape.


There are some obvious voids that still need filling. I'll get to these next.