Thursday, June 30, 2011

The Big Droid Put-Together Continues

The work on assembling droid #2 continues.

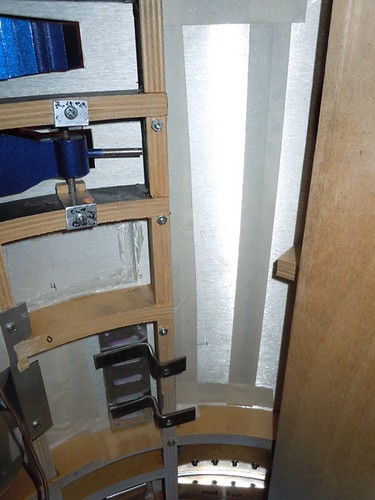
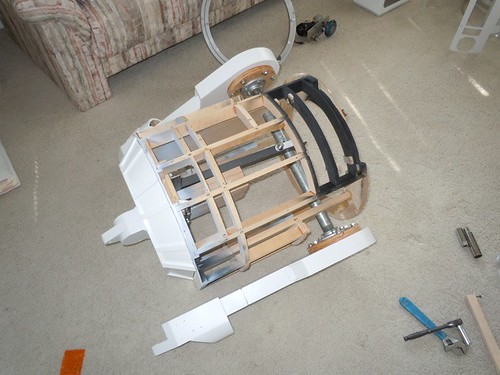
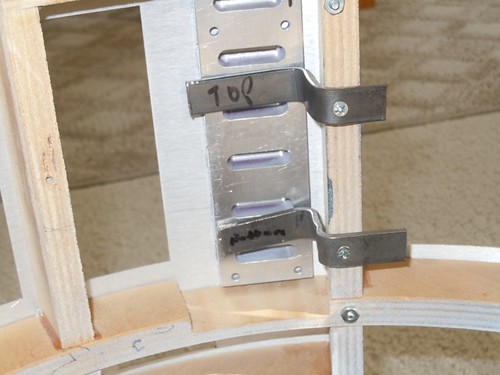
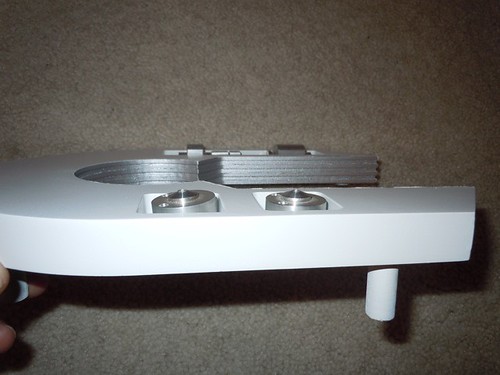
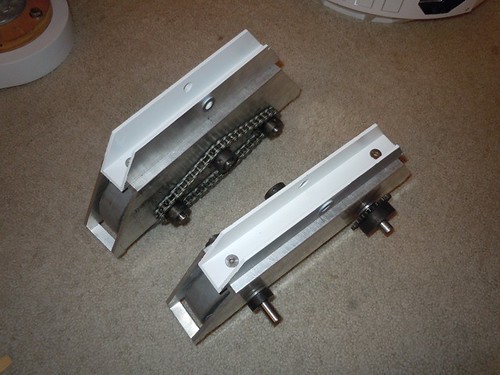
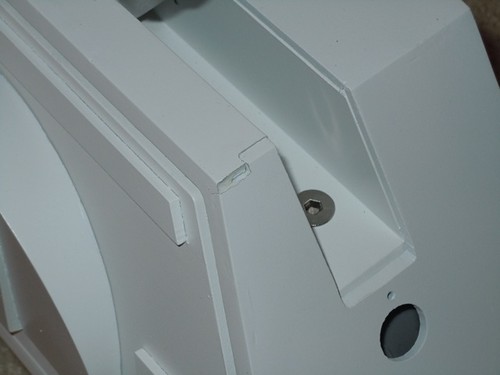
I started with an easy step, mounting the shoulder buttons and hydraulics.


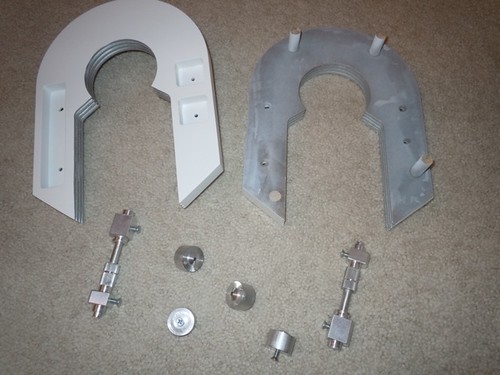
In November 2008, I was careful to drill the angle for the top button at 5 degrees, so that it has the proper tilt.


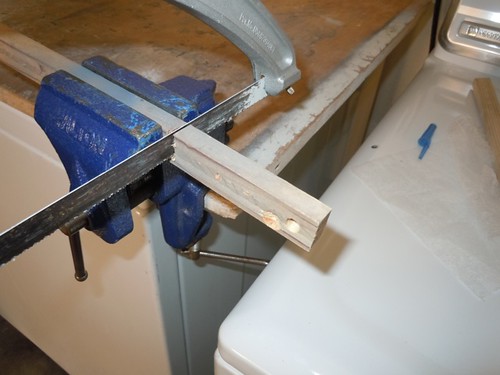
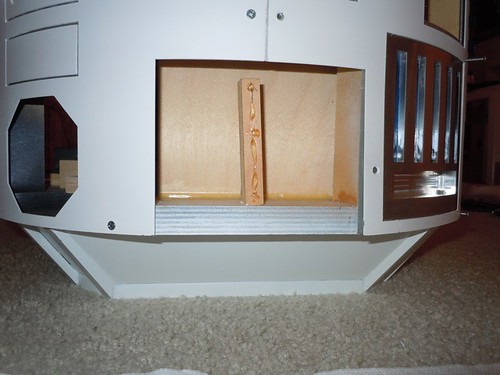
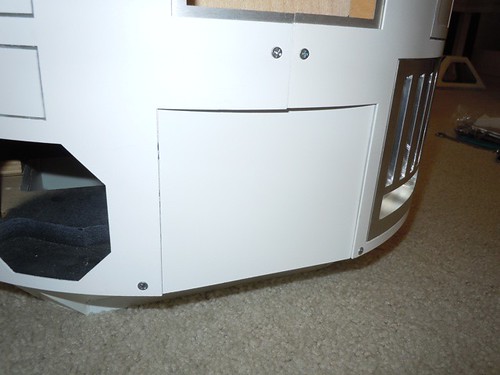
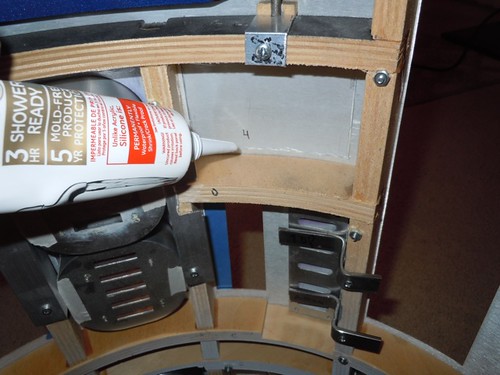
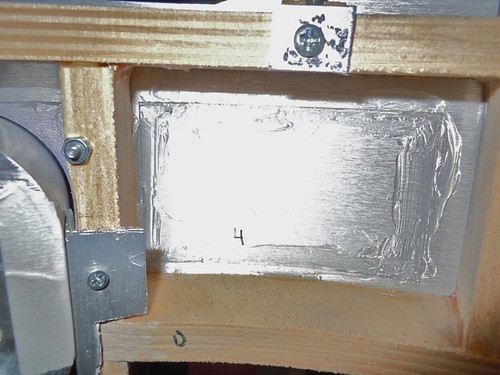
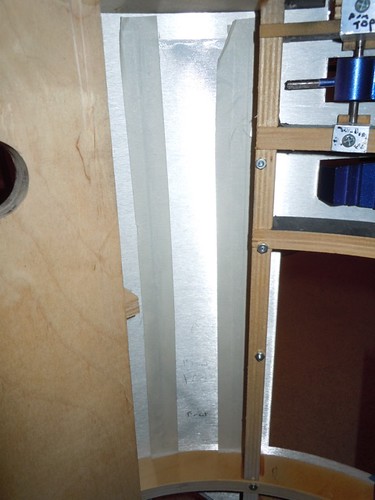
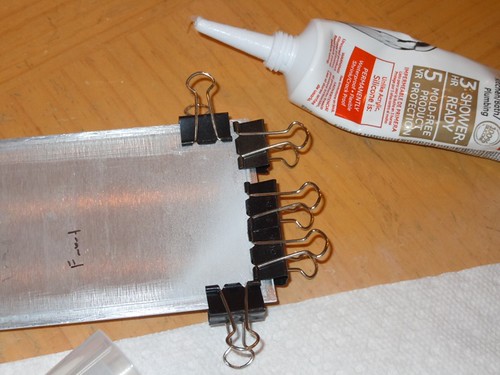
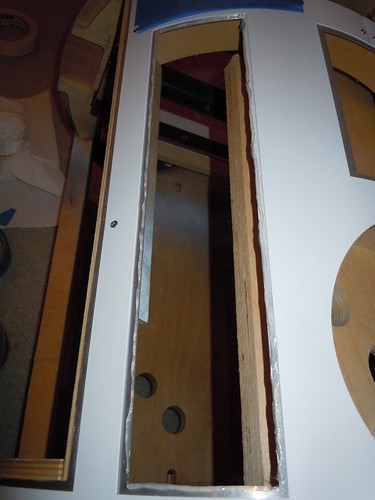
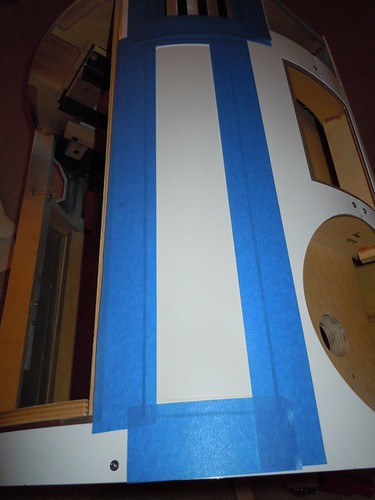
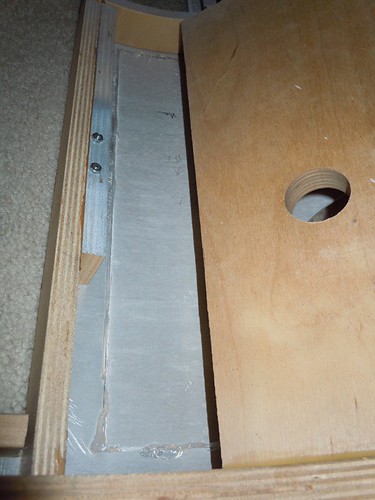
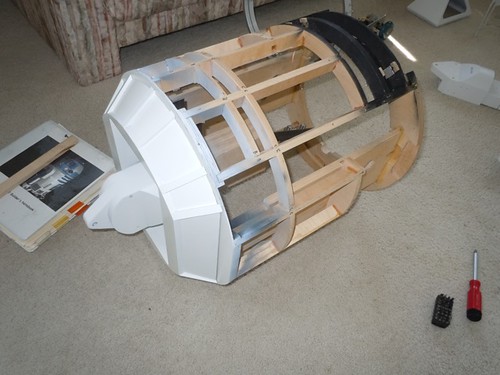
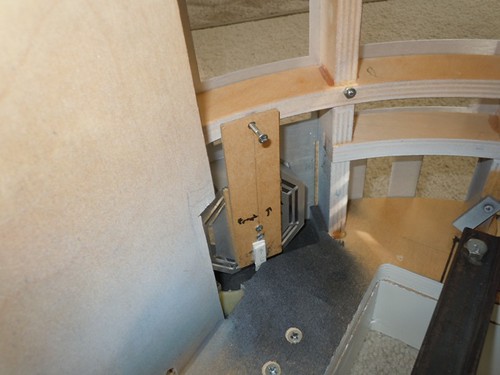
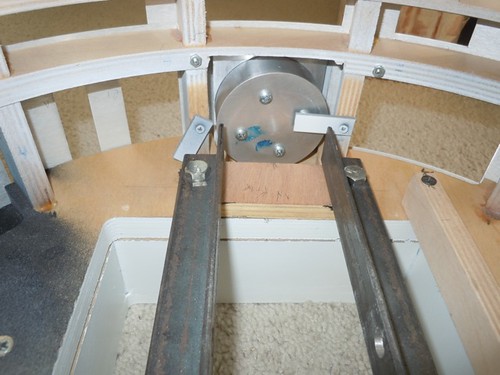
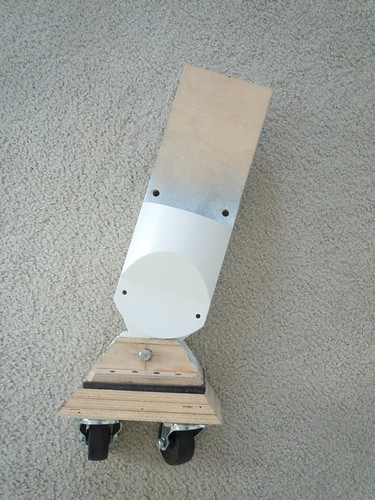
Next up, installing the channel on the drivetrain. It's tough to hold the nut in place under the hole, so I used a very thin piece of scrap wood as a tray to slide the nut under the hole.


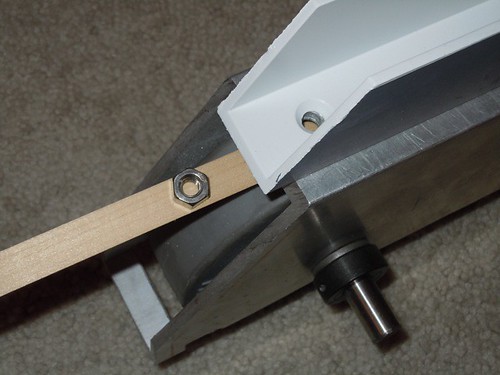
I'll paint the screw heads white with a paint brush later.


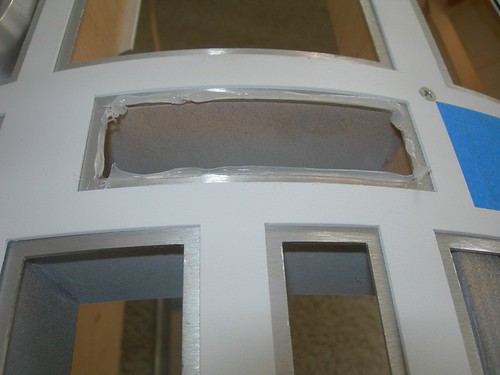
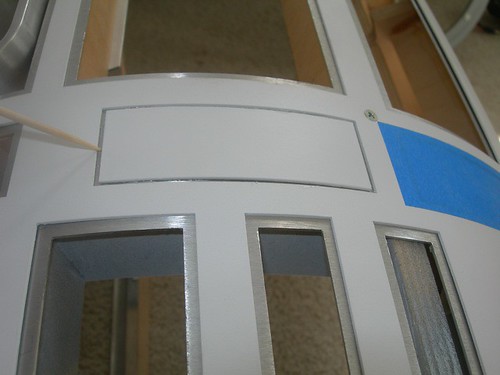
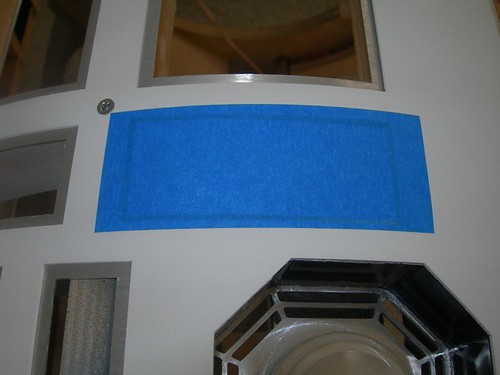
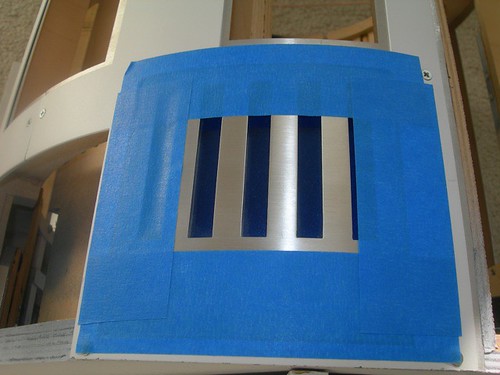
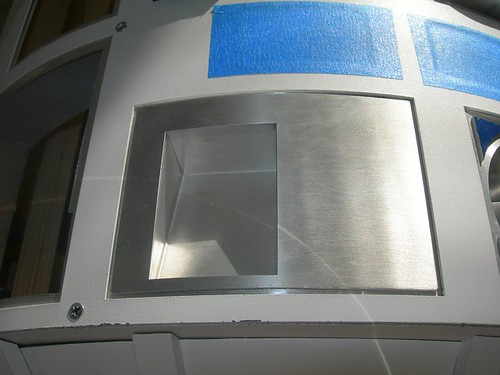
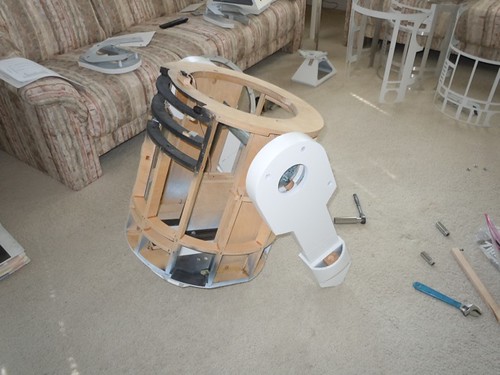
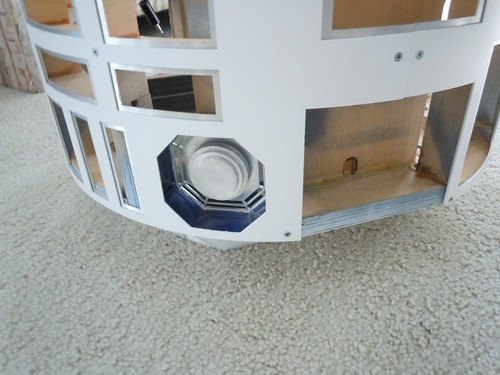
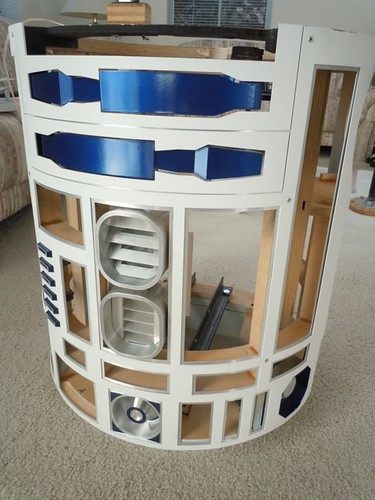
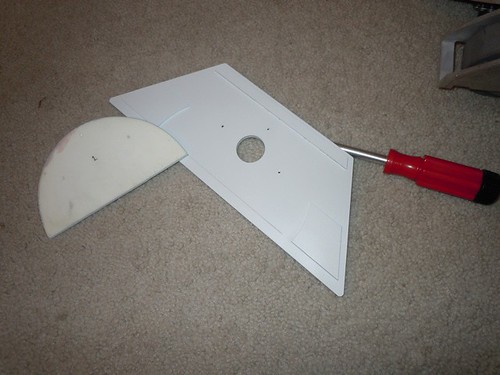
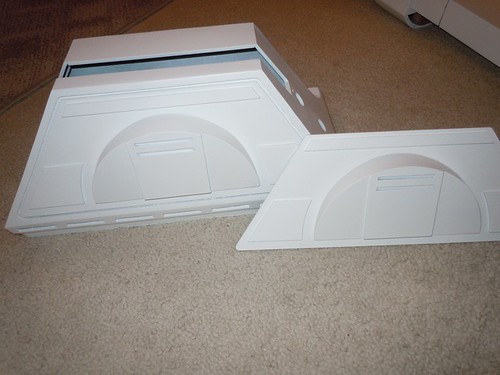
Another easy one, installing the half-moons on the outer doors.


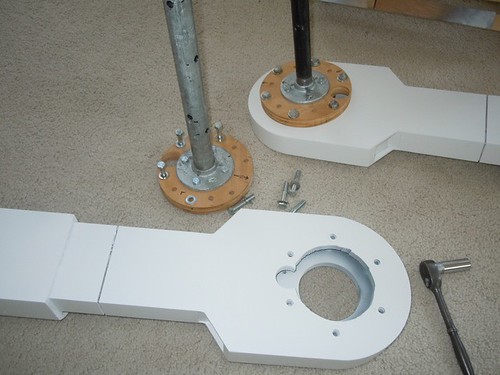
Time to put the legs back on. I first installed the covers for the wooden shoulder discs.


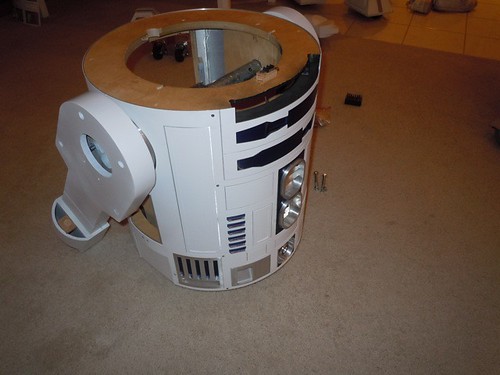
The part I hate, installing the feet.


This is why I hate it. It is easy to damage the foot shells. I should really put something under the ankle area to prop them up off the ground. I guess I'll need to repair this sometime soon.


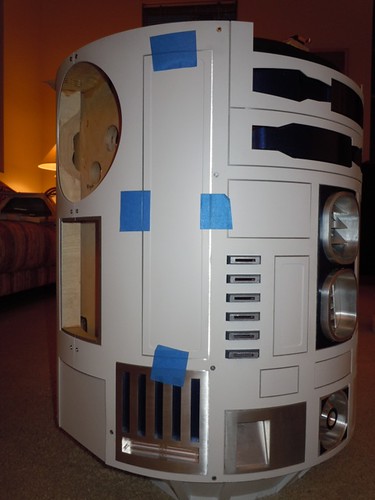
I wrapped up by attempting to install some of the leg details. The screws that hold the booster cover top pieces in place are fitting too snugly into their holes in the legs, so I'll need to gouge the holes to be a little wider. I also need to sand some of the paint off the inner perimeter of the ankle bracelets, as they no longer want to fit around the booster covers, now that everything is painted. I installed the Rockler bearing, and plopped the dome on top.


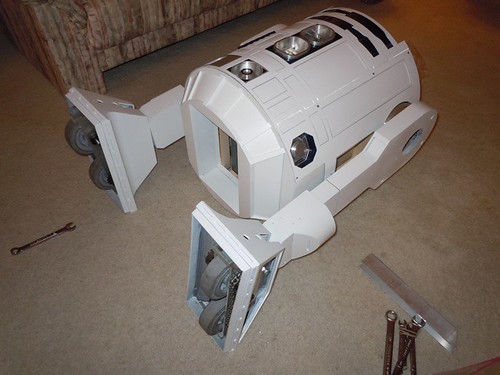
The most obvious problem is the one I mentioned the other day; namely, that R2 is standing too straight. He isn't able to lean the requisite 36 degrees between the center leg and the outer legs. I'm pretty sure I'm going to have to plug the ankle holes, and redrill them lower. They're already centered at 1/2" from the tips of the ankles, but that doesn't look like it's going to be enough. I'll start with the center ankle, and see if that's sufficient.

Even though I'll have a few days off, I'm not sure how much time I'll be able to put into this. We shall see.

Wednesday, June 29, 2011

Unmasked Skin Panels, Glued in Side Styrene Skin Pieces, Taped in Final Skin Panel, Glued Side Vent Parts Together

This morning I removed the masking tape I was using to hold the skin panels on that I had glued with silicone a couple of days ago.


All the panels are holding tight, so that's good.


In the evening, I worked on gluing in the styrene pieces that go on the bottom sides of the skins. First, I needed to cut a couple of 3" wooden posts from scraps.


I applied Testors model glue on the side that the styrene gets glue to, and wood glue on the bottom, where it is glued to the bottom of the frame.


No need to worry about the glue dripping, the carpet will catch it.


I then slid the styrene piece in place, and using the holes for the octagon ports, held it all together with my fingers for several minutes, while the glue had time to set.


I also taped the last skin panel in place, the one that I had to repair the other day. Again, I used blue tape to keep the panel centered on the outside.


I used masking tape on the inside to tape the panel in place. I'm not gluing it in, in case I want to hinge it in the future.


I wrapped up by gluing the side vents together. These are two-piece vents. Once piece is the blue background, the other is the aluminum grill.


There aren't any screws for this part, so I simply laid the back plate on top of the grill, and applied silicone along the perimeter.


I smeared it around a bit, and I'll let this dry overnight.


As I mentioned earlier, I'll probably wait a little bit before gluing the side vents onto the skins, since once they are on, the skins won't be easy to remove anymore. Just in case I need to remove the skins for some unforeseen reason during this final assembly, I don't want to make things more difficult than they need to be.

Monday, June 27, 2011

Started Attaching Skin Panels

Today I attached most of the skin panels.

I'm using silicone to attach the panels that will be in place semi-permanently.

First, I applied some silicone around the perimeter of the hole where each panel belongs.


Next, I placed the panel down, and used a toothpick to scoop out any silicone that seeped into the seam.


I then used the blue painter's tape to secure the panel, while the silicone dries overnight.


This process was repeat many times.

I also glued down the pocket vents and front coin return with silicone.


After letting the silicone cure for a few hours, I applied more silicone to the seam on the backs of these panels.


I used my finger to smear it around.


For the framed panels that I may want to hinge one day so that they can open and close, I used regular masking tape, as I did on droid #1. I used blue painter's tape to help center the panel in place.


Then I applied the masking tape on the inside, to hold the panel in place, and then I was able to remove the blue tape on the front.


Unfortunately, on the long front panel on the left, I pressed too hard and cracked the bond between the frame piece and the rest of the panel, at the very bottom.


I used silicone to help seal that up.


I clipped the frame back onto the panel, and I'll let that dry overnight.


I wrapped up by attaching the two long panels on the rear skins with silicone.


I also applied silicone on the backs of these panels, and then afterward smeared it smooth.


Here's where things stand.


Still to do on the skins: Attach the panel that I cracked (assuming it is good to go), and attach the small styrene side pieces that go on the sides. I will probably attach the side vents toward the end, because once those go on, taking the skins off won't be easy, since they attach to both the front and rear skins.

I may not have time to work on droid #2 tomorrow, but I'll get back to it as soon as I can.

Sunday, June 26, 2011

Prepped Skin Panels for Gluing

I was short on droid-building time today, so I got little done.

The next thing I want to do is glue the skin panels onto the skins with silicone, but before I do that I need to clean them up.

The panels have been sitting face-up since I painted them in April, 2008. That means a lot of dust and grime needed to be cleaned off. Some moist paper towels did the trick.


Next, I needed to clean off excess silicone, along with primer, paint, oxidation, and other miscellaneous gunk, from the back edges of the panels, as this is the area that will adhere to the skins.


This took a lot longer than it looks, but hopefully the panels are ready to be glued down now.

Saturday, June 25, 2011

The Big Droid Put-Together Begins

Calvin & Hobbes had the "Horrendous Space Kablooie," I have the "Big Droid Put-Together." It's time to start putting the turkey together, after roughly 4 years of building.

Before starting, however, I decided to attempt a part count for droid #2. For the purposes of counting, everything that I scratch-built got counted by their constituent components. For example, if each outer leg is composed of five layers of wood, then each leg counted as five layers, not just one leg. For parts and electronics that I purchased, items that came assembled (e.g., the front logics) count as one piece. Parts that require assembly were counted by their constituent components (the aluminum skins, for example).

My preliminary part count, which is sure to change upon closer review: 1,420 parts

I realize that may sound preposterous to some, but it's true (again, subject to a double-check of the spreadsheet). I plan to post the spreadsheet a little later.

Okay, on to the Big Droid Put-Together. Here's what is waiting to be assembled.


That doesn't look too bad. (Hah!)

Even though they can't stay on for now, I decided to test-fit the legs first, just to make sure all was well.

The center leg went in first.


The outer legs get the fun gas pipe assembly. Hmm, which leg is which, anyway? The paint wiped out my markings!


I think everything is okay so far.


Next, I pulled the legs back off, and started mounting the skins. The inner back goes first.


Followed by the inner front.


Followed by the outer back.


And finally, the outer front.


Next, I started mounting parts. The front octagon port.


The rear octagon port.


The front power coupler.


The coin slots.


The utility arms.


And finally, the front vents.


I fully expect to find problems as I go, and I did find my first one.

I tried to take a short cut and rehabilitate a center foot that I built but was not able to use on droid #1. Unfortunately, I may not be able to use this on droid #2 either, because the center leg won't be able to lean back the required 18 degrees. I will either need to plug and redrill some holes on the ankle or foot (or both), or rebuild the foot from scratch. I'm not sure yet how I'll deal with this. I'll think about it some more.


In the meantime, I need to start gluing the remaining skin panels down with silicone.