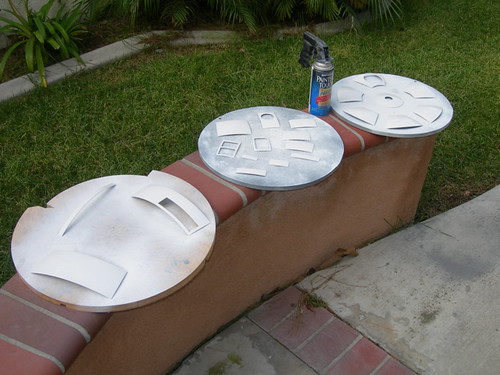
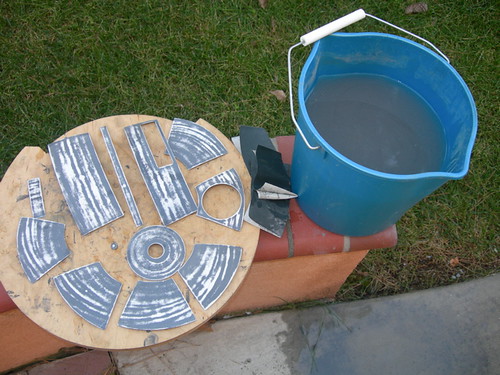
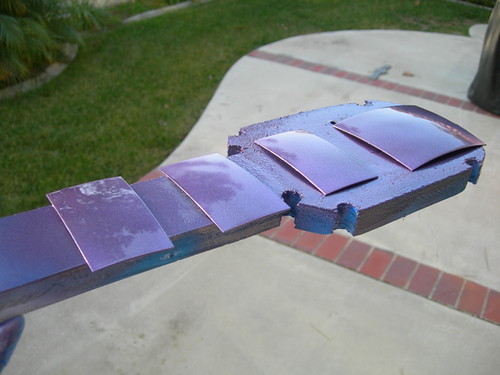
Following one of Kelly Krider's color formulas, and Mike Senna's methodology, I applied each coat until the surface looked wet and shiny.
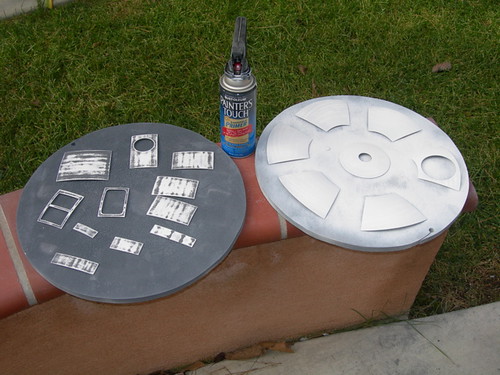
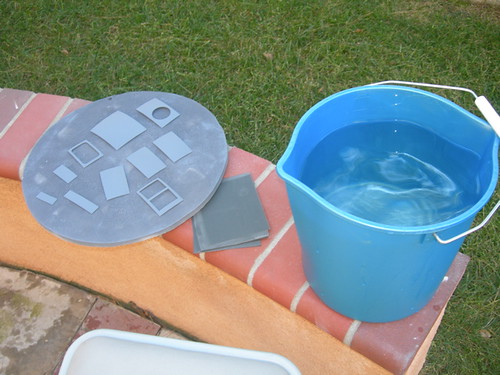
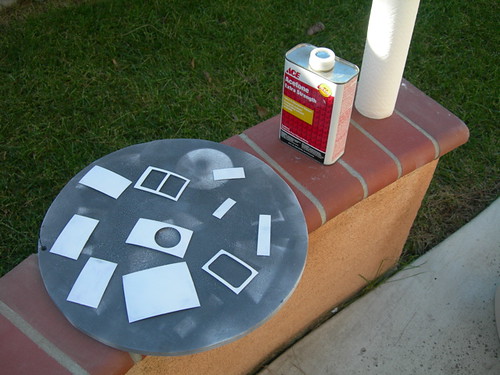
First up, some of the smaller panels got their coat of Rustoleum Metallic Purple.
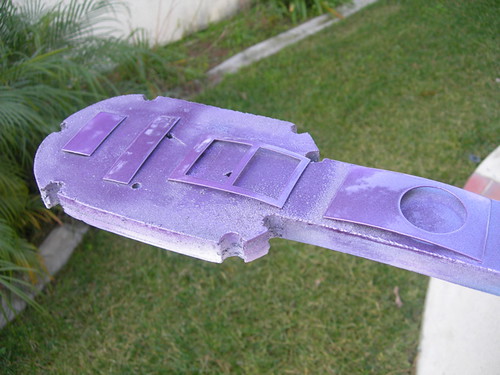
I placed the scrap wood with the pieces on it into my gas oven for ten minutes. The oven is turned off of course, with the pilot light keeping the temperature somewhere around 90-100 degrees Fahrenheit. This helps the paint to dry a little, before applying the next coat. (The high temperature today in Southern California was about 60 degrees Fahrenheit.)
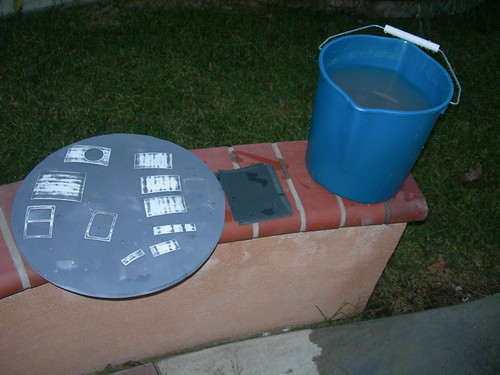
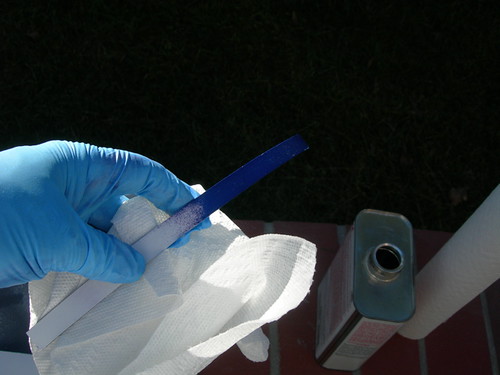
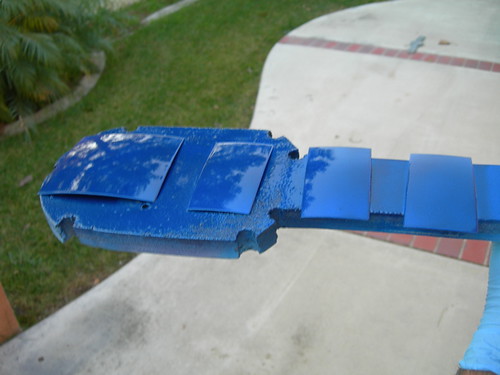
Next, the Duplicolor Anodized Blue.
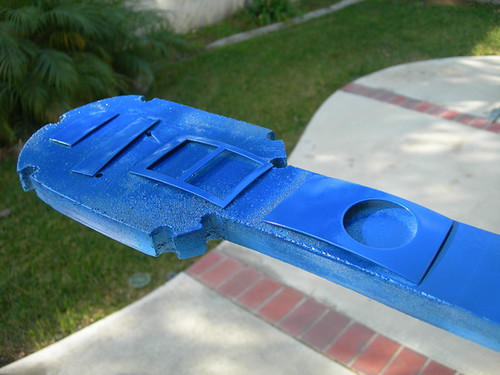
Again, everything is placed in the oven for ten minutes, and then the Rustoleum Crystal Clear Enamel clearcoat is applied.
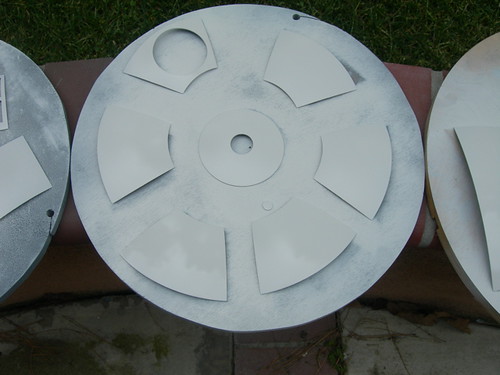
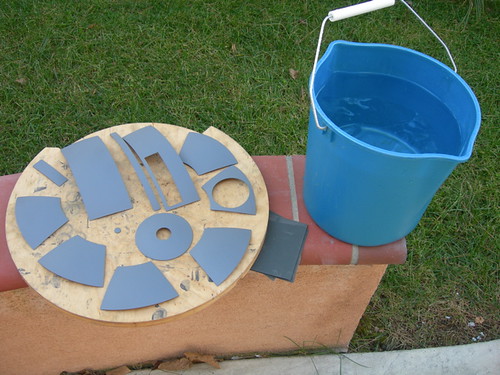
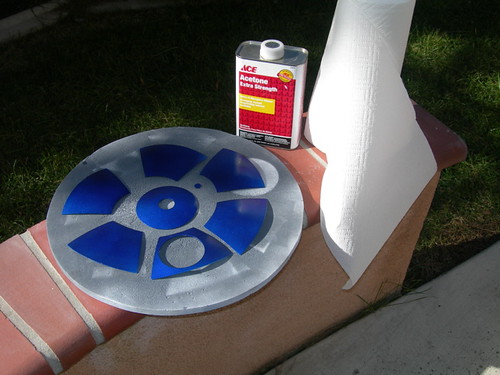
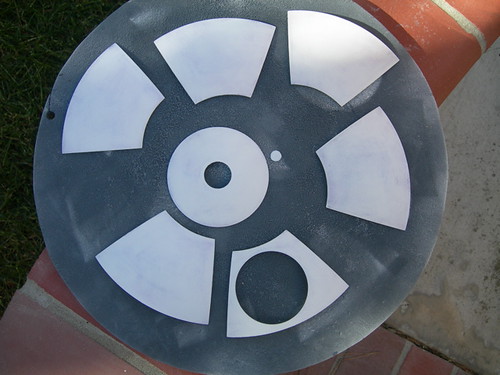
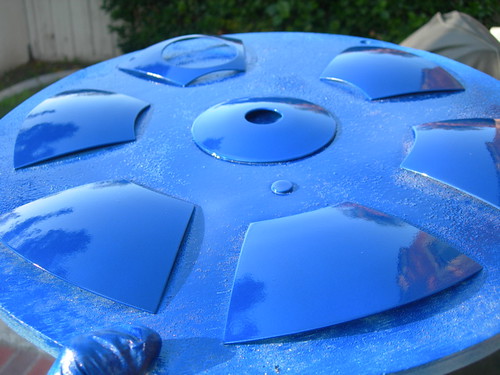
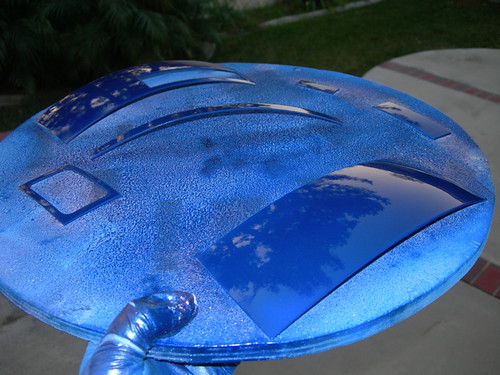
Next up, the pie panels.
Purple...

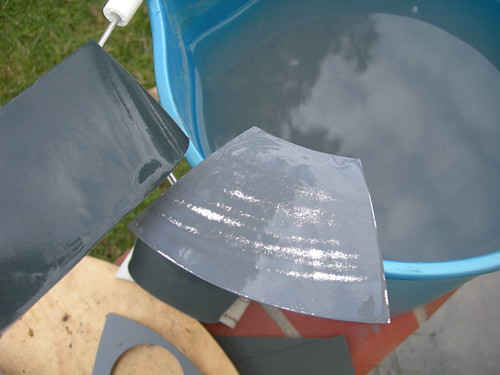
...then the blue...

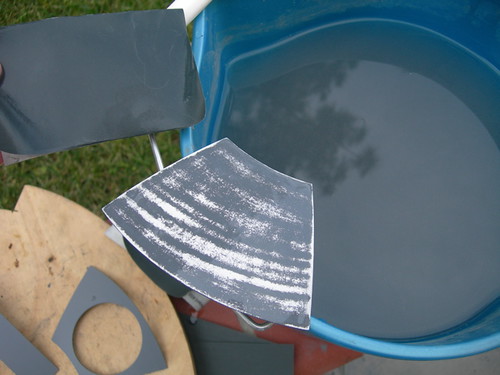
... and finally, the clearcoat.
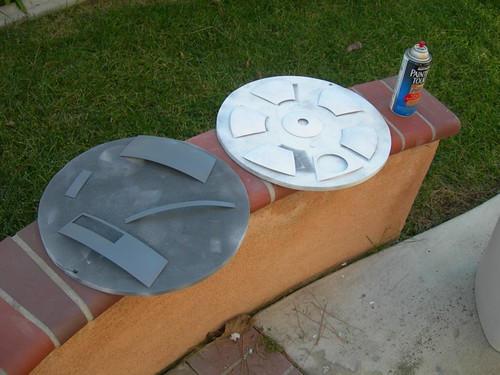
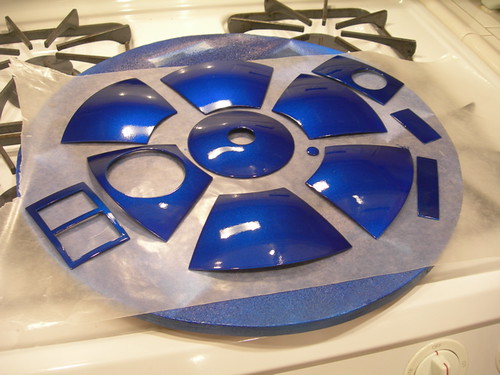
The pieces keep coming.
There are a few small bits of crud that managed to get into the paint, but they are few and far between, and overall I'm very happy with how the paint job turned out.

Now I cross my fingers and hope that the paint will be fully dry by week's end.
I need to tape the panels back onto the dome in time for an event coming up on Saturday. I'll leave the panels in the oven (again, turned off), to help the paint to dry. If the panels aren't dry in time, I'll have to pass on the event.