Monday, May 26, 2008

Reattached Front Vent Panel

Going in circles, I yet again attached the skin panel that goes around the front vents. My earlier attempts at this using silicone and 3M VHB tape were unsuccessful, because the panel had been bent slightly to remove some of its curvature. I rebent the panel slightly to the correct profile.

I decided to go with the 3M VHB tape, rather than mess around with silicone this time.


The corners seem to be holding well. Time will tell, but I think this just may work out.


I have an event coming up next Sunday. Depending on how lazy I am, I may or may not have much to report between now and then, we'll see.

Tuesday, May 20, 2008

R2's First Birthday

Happy Birthday R2!


It was one year ago today that I finished R2 and unveiled him to my friends and family.

For his birthday R2 is getting some new batteries, and maybe some other goodies. He may also get weathered sometime during the summer.

Hard to believe it's been a year already!

Saturday, May 17, 2008

Scout-o-Rama 2008

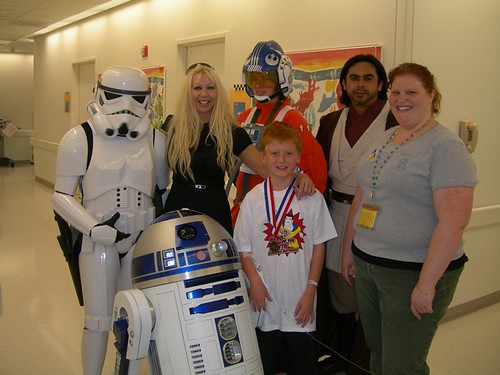
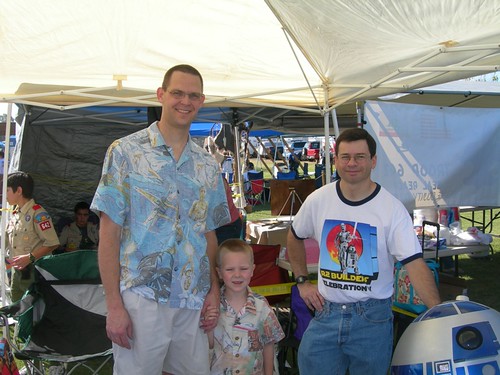
Today, Matthew Henricks, his son Brandon and I manned the R2 Builders booth at the 2008 Orange County Council's Scout-o-Rama. We were representing local Pack 1294.


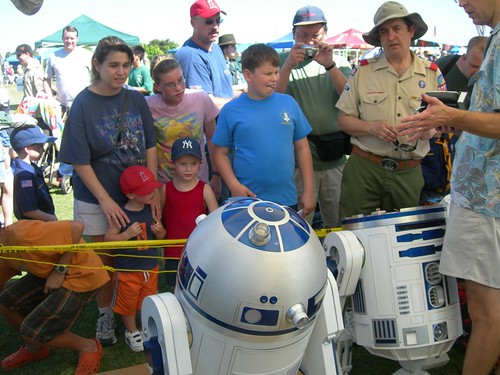
It was a cool 91 degrees as hundreds (thousands? 30,000 were to be in attendance) stopped by the booth. We handed out many R2 Builders Club brochures to folks wanting to join our religion learn more about the club.


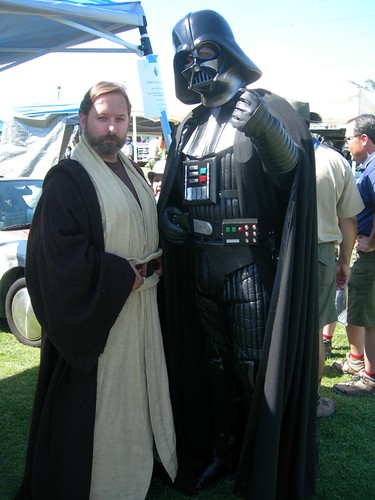
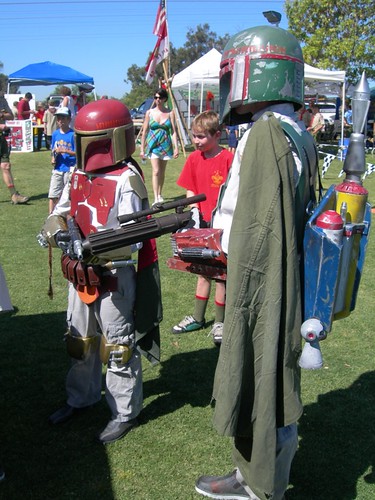
Many other Star Wars characters occupied the adjacent areas. How Vader, the Troopers and the Fetts deal with the heat in those helmets I'll never know.


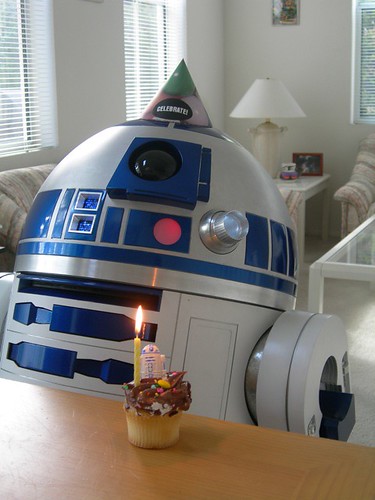
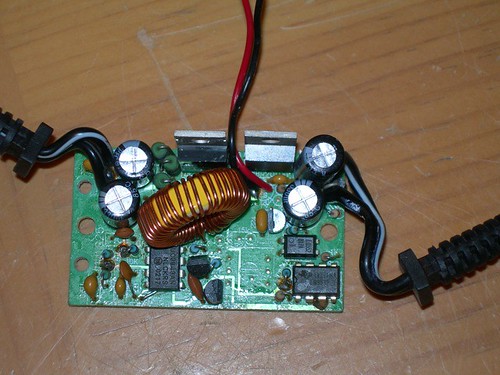
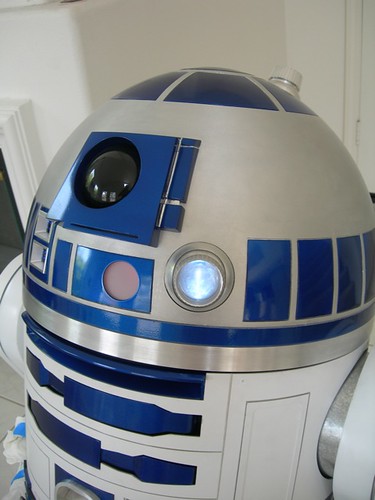
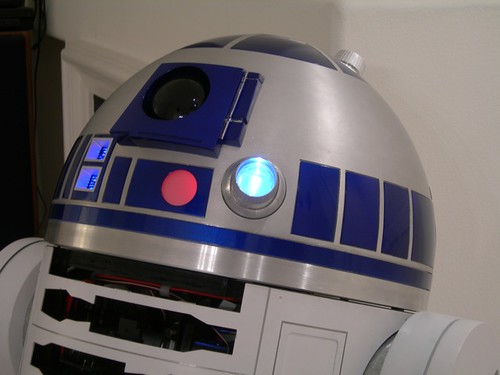
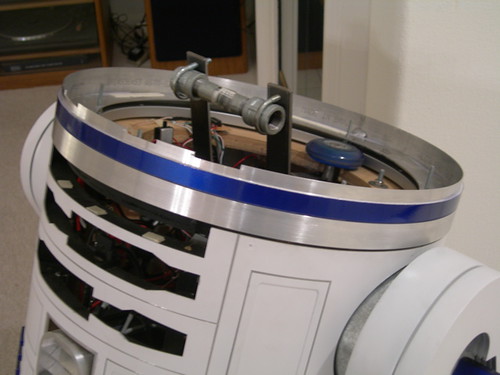
Matthew practiced his droid-driving skills with my droid, which drove surprisingly well on a large piece of thick cardboard that we were provided. Matthew's droid wasn't set up for R/C, so he had his droid's innards on display, while mine was buttoned up and ready to go.


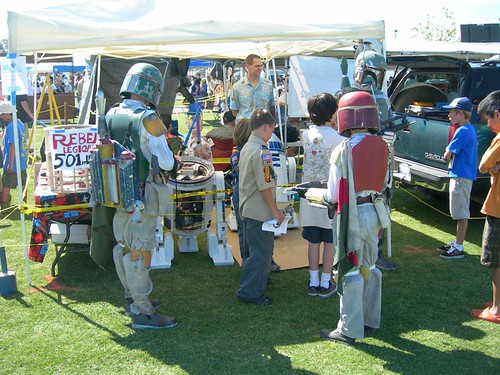
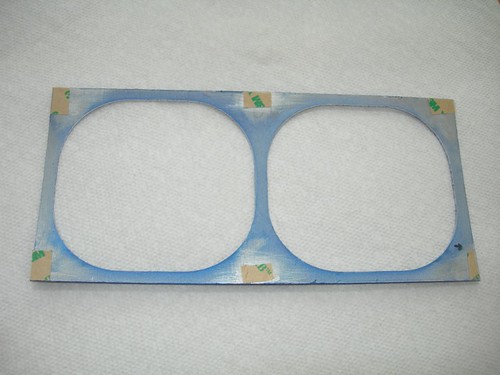
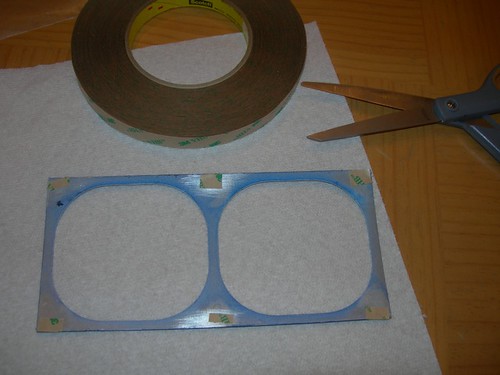
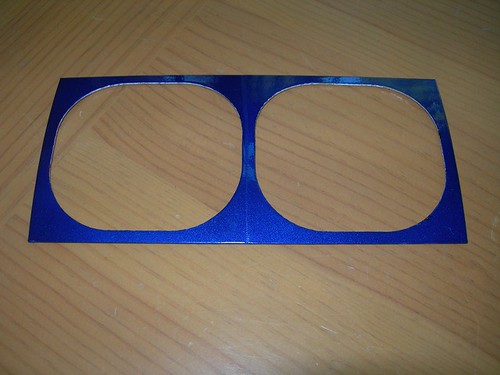
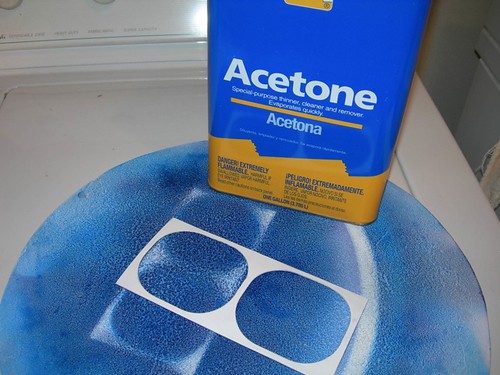
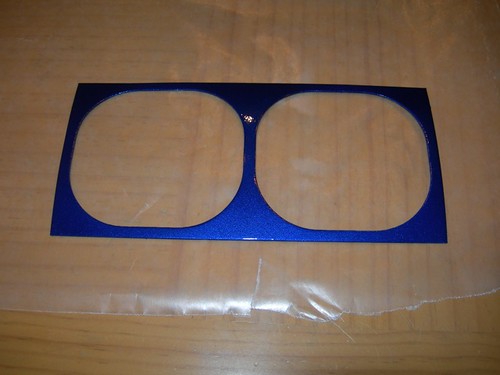
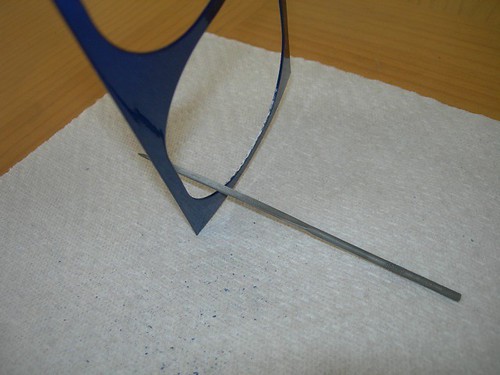
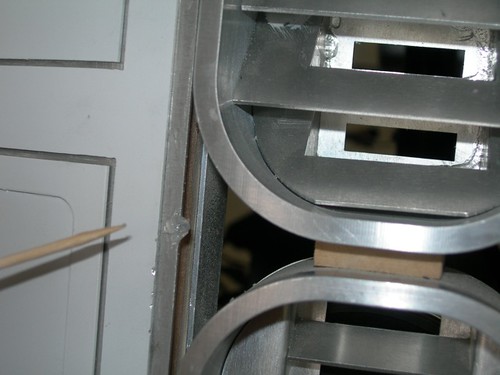
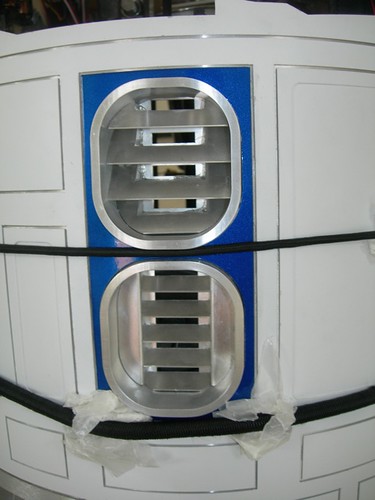
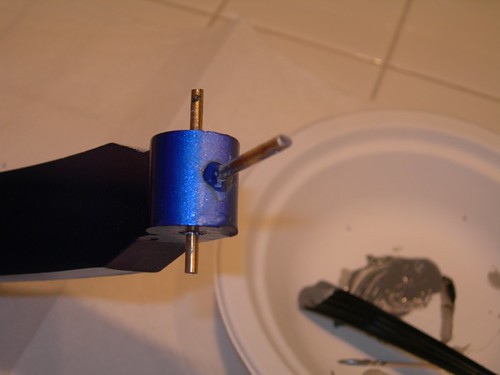
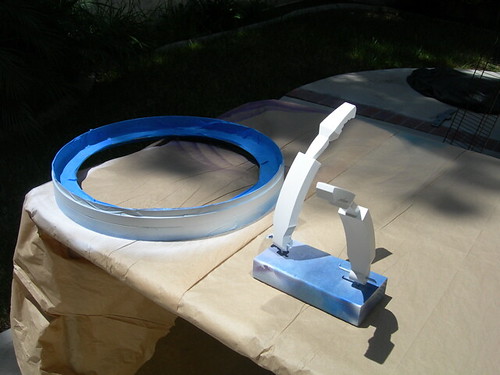
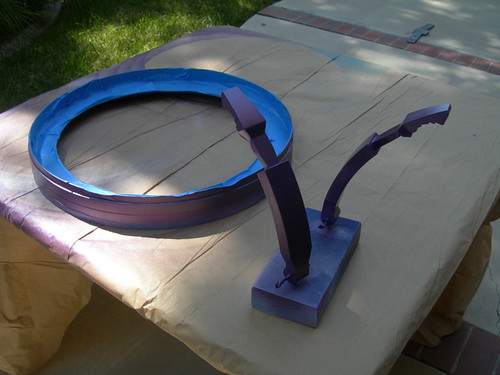
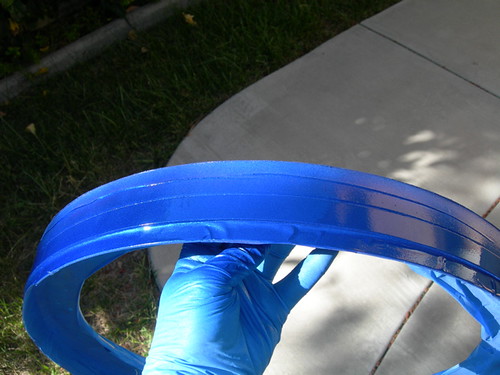
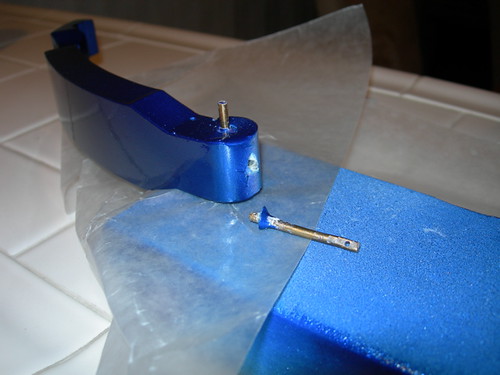
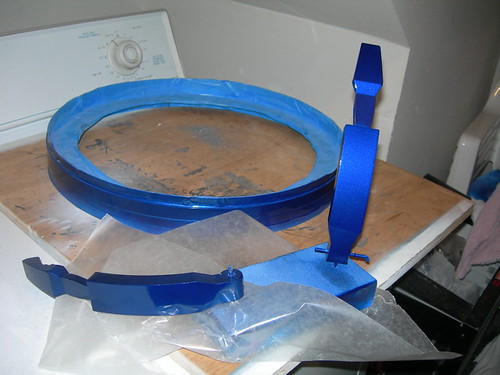
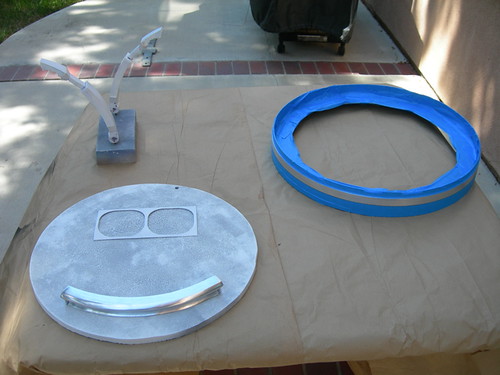
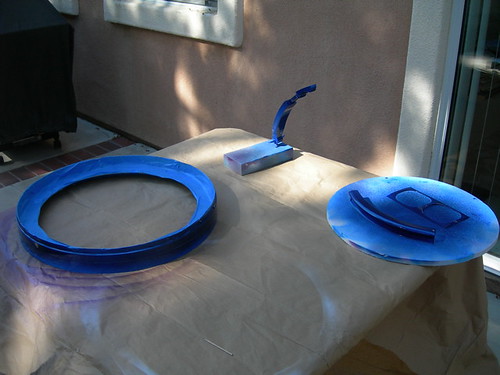
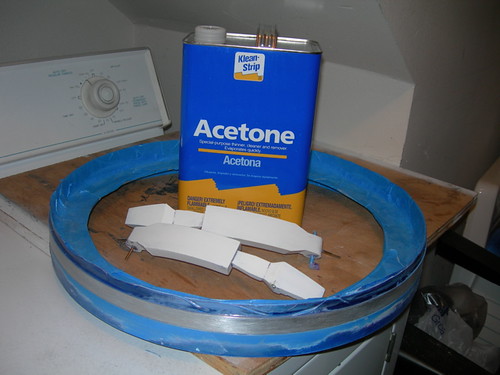
We also displayed various droid parts on a display table, to explain how these things are put together.


My friend of 37 years (since first grade) Kelvin Miyake visited our booth with his wife and kids. If it weren't for Kelvin, I would not have had a table saw, chop saw, router, etc. with which to build R2. Kelvin also helped with some tricky parts of the build (drivetrain, dado cuts, among others).


A good time, if not an exhausting one, for everyone. :)

Friday, May 16, 2008

Children's Hospital Visit

Today R2 was privileged to visit Children's Hospital Orange County (CHOC), to help make the day a little brighter for some of the patients.


A young man was being awarded Hero of the Month. Star Wars characters were there to present him with certificates and other goodies. R2 had a medal to deliver, which I wrapped onto one of his utility arms.


His mom signed a photo waiver, and we were able to take a group picture with the patient and the Star Wars characters.


R2 and the characters also made visits to other sick kids' rooms, but no photos were allowed.

I try never to take for granted the blessings of good health, and today really drove home that point.

Replaced Voltage Converter

Well, it was apparent that my 24-to-12 volt voltage converter would not arrive via UPS Ground in time for today's 3:00pm event, so I had to drive to Aircraft Spruce's West Coast office and pick another one up. :(

I snipped the cigarette lighter ends off (you know, the ones that contain the important fuse protection) for droid wire-up.


I installed it in the droid, and powered everything up.


Phew! The power came on on the adapter, and all my 12-volt devices are working again. R2 can beep once more.

When I came home from this afternoon's event, this was sitting on my doorstep.

Thursday, May 15, 2008

Front Vent Panel Work, Rewired Solenoid

Today was 100% devoted to reworking recent errors I've made (and possibly staging new ones). The subtitle of this blog does say "misadventures," after all.

First, once again I filed the paint from the inner perimeter of the front vent panel, so that the paint won't chip when I slide this panel over the front vents. I've learned that from past experience.


I tried using the same 3M Very High Bond Tape to keep this panel in place that I use for the dome panels.


Unfortunately, the panel doesn't quite match the curve of the skins it sits on, so even with this tape, about half the points of contact are not even touching. :( This is a temporary solution for two events I have coming up Friday and Saturday. I'm not sure what I will use in the long term. Maybe silicone again, but I need something that can safely press down on the panel without damaging the finish.


I even managed to leave light thumbprints in the clearcoat as I was pressing and holding the corners of the panel for the tape to stick. Will I repaint again? I dunno, I don't really feel like it right about now.

Finally, I wired the solenoid back to the way it used to be before I put those connectors on for quick release. I think they ended up being more trouble than they were worth, and I'm not sure that the connectors have a high enough gauge wire to handle the task anyway.


I spoke with Aircraft Spruce, they claim I should see my replacement voltage adapter in the morning (I'm taking a planned vacation day), so I should have plenty of time before my 3:00pm event to install it and bring my 12-volt citizens (CFSound III, Keycoder, solenoid) back to life. I hope.

Wednesday, May 14, 2008

Repainted Front Vent Panel, Pulled Out Voltage Adapter

So... I removed the bungee cords that I used to help secure the front vent panel in place while the silicone dried. Well, not only did the silicone not bind the panel to the skins, but to add insult to injury, the bungee cords marred the clearcoat (even after a week of drying). The panel now had a stripe running down the center, between the two vent openings.


Guess what I got to do tonight?


I guess I should buy some acetone futures while I invest in Rustoleum as well.

Another note of bad news, it looks like I fried my 24->12 volt adapter when I was working on my solenoid rewiring the other day. I must have damaged the circuitry with a brief short-circuit. The LED no longer lights up, and none of my 12-volt devices (Keycoder, CFSound III, solenoid) are receiving power from it anymore. I opened it up to look for a blown fuse.


No replaceable fuses in there, it must be using a solid state IC fuse (it claims to be fused for short-circuit protection, but I'm not sure what they really mean by that).

[EDIT: Mike informed me that the fuse was in the cigarette lighter adapter portion of the voltage adapter that gets removed for R2 usage. D'oh!]

So I've ordered a replacement that I desperately hope will arrive before a Friday afternoon event. It's supposed to arrive sometime on Friday, but I'm not sure exactly when...

Saturday, May 10, 2008

Mounted Front Vent Panel, Utility Arms, LDP, Another Coat of Paint for Skins, Mike Cut Templates

Lots of varied activities today. First, I mounted the remaining parts that I painted blue last weekend.

I needed to file the paint from the inner perimeter of the front vent panel, the fit is that tight around the front vents.


I globbed drops of silicone on the skins where the panel goes, and glued it down.


I used bungee cords to help secure the panel in place. Yes, I know this looks ridiculous.


I also reinstalled the utility arms and LDP. In the right light, the clearcoat on the utility arms looks a little wavy, I may give them a light going-over with some rubbing compound to smooth that out.


I gave the skins for droid #2 what I promise will be the last coats of Rustoleum Satin White. They aren't going to get any whiter than this.


Finally, I went to Mike's to drop off some stuff and pick up some other stuff. I asked Mike if I could borrow his leg and horseshoe templates, but he did me one better: He cloned a new set for me! Thanks Mike!

Friday, May 09, 2008

Modified Solenoid Connection

Seeing as I was running low on compressed air in the installed canister, I decided to take this opportunity while swapping cans to redo how I connect the solenoid to the power supply.

I picked up a very inexpensive PC fan connector (the same as those that I use in the dome) and snipped it in half.


I soldered one of the halves to the solenoid, and the other to the droid's 12 volt side of the power supply.


I hooked it all up and tested it on the droid, and all was well. Now it's much easier to deal with unhooking the solenoid.

Thursday, May 08, 2008

Repaired Utility Arm Post

Tonight I made a minor repair to one of the utility arms.

The other day while painting, I inadvertently twisted the rod that supports the opening and closing of the utility arm, such that it came out of the resin arm.


After gouging out a very small amount of resin in the hole in the arm, I applied some JB Weld to a toothpick and globbed some in the hole. I then covered the end of the segment of rod with some additional JB Weld.


I jammed it in there, and cleaned up the excess JB Weld that oozed out, as best I could.


I'll let it cure for 24 hours and see how it goes. Should be good as new. If so, I'll start reinstalling the arms soon.

Monday, May 05, 2008

Put Dome Back Together

Tonight I attached the newly painted dome ring to the dome, and reassembled all the dome electronics. Hurray, the colors are starting to match!


I'll probably wait a few more days to reinstall the LDP, utility arms and front vent panel, in order to let the paint cure a bit more on those parts.

Saturday, May 03, 2008

Painted Utility Arms & Dome Ring

Okay, let's try this again.

Today I repainted the utility arms and dome ring.

First, the Rustoleum white primer.


Next up, the Rustoleum Metallic Purple.


Followed by Duplicolor Anodized Blue.


And finally, the Rustoleum Crystal Clear Enamel Clearcoat (two coats, 15 minutes apart). But wait... something needs to go wrong by now, right?

Sure enough the segment of rod I'm using as a post for one of the utility arms decides to break off as I was applying the last clearcoat.


Miraculously, I think I managed to salvage the part. I used the other segment of rod that acts as the pivot point as a new post. I finished the clearcoat and let everything dry.


Before allowing the paint to dry too much, I removed the masking tape from the dome ring, and used an Xacto knife to trim the excess paint.


The dome ring looks a lot better, now that it has been repainted.


I'm not sure what, if anything, I'll work on tomorrow.

Friday, May 02, 2008

Painted Front Vent Panel, Large Data Port

Five steps forward, three steps back.

Today I planned on repainting the dome ring, the two utility arms, the panel that goes around the front vents, and the LDP.


It didn't take long for things to go wrong. I applied the white primer and purple paint. Most of the parts made it this far.


One of the utility arms had a pretty large drip of purple paint, so I abandoned painting it. :(

On to the blue layer.


And finally, two clearcoats.


Sadly, I noticed that the other utility arm did not have full coverage near the pivot point. I placed the arm inside the skins to see how obvious this would be. It was too obvious for my satisfaction.


Likewise, the dome ring had some minor drips on it. Since the whole purpose of this repaint is to get everything to look as good as possible, this meant only one choice...

Time to break out the acetone and paper towels again.


At least the skin panel and LDP turned out really well. As usual, the pictures don't really capture the color. (The pieces are sitting on wax paper, my counter isn't that dirty.)


Tomorrow I'll repaint the other parts again. I'll try to be more careful.