Wednesday, September 29, 2010

Drilled Dome Ring

Tonight I had some time to drill the dome ring for the assemblies that will secure the various dome electronics.

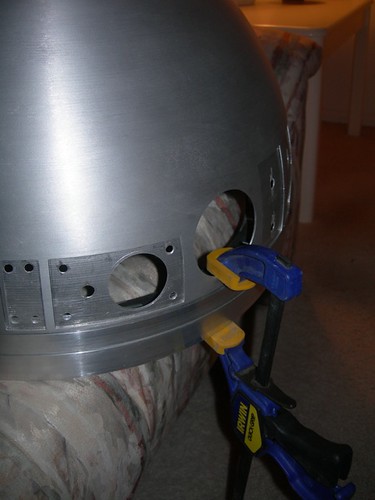
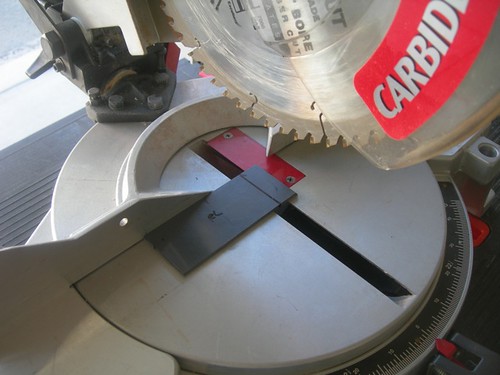
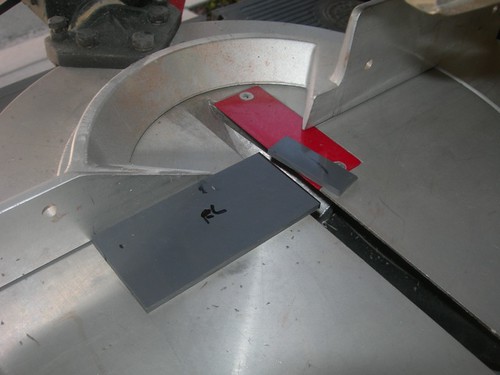
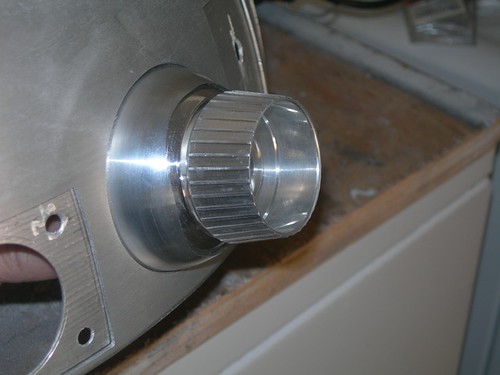
Sometimes I get a little too creative in my setups.


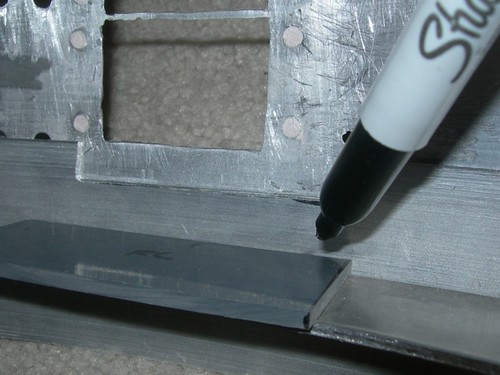
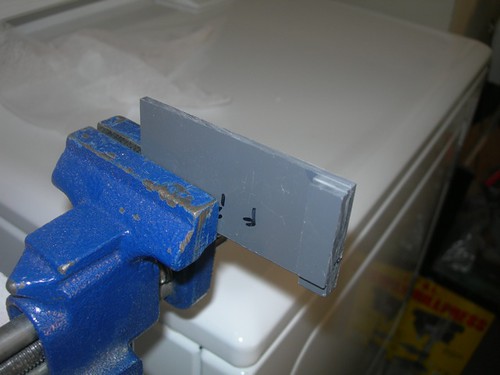
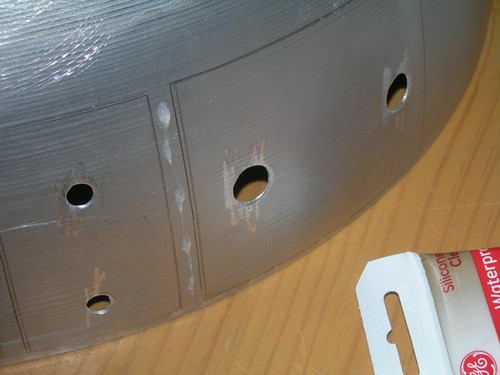
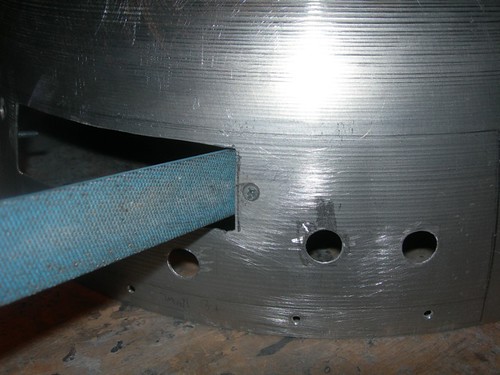
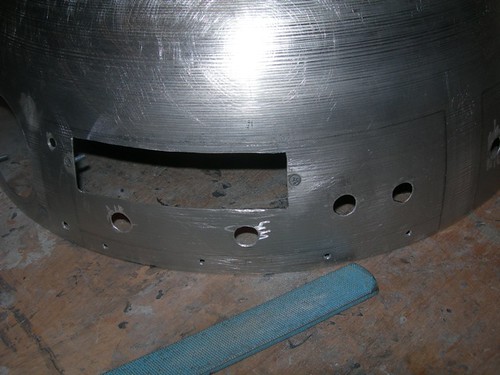
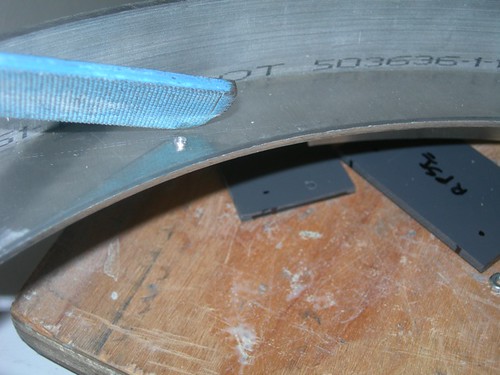
This was mostly a repetitive process. First, I'd grab the segment of PVC that I needed to secure to the dome.


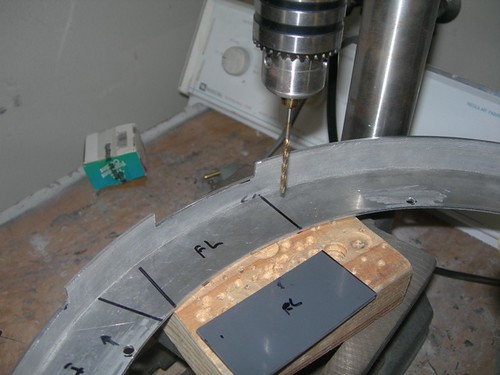
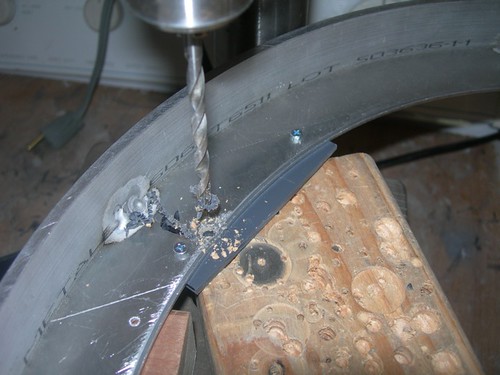
Next, I'd hold it in place on the dome ring, and drill a hole through the PVC and through the ring in one shot.


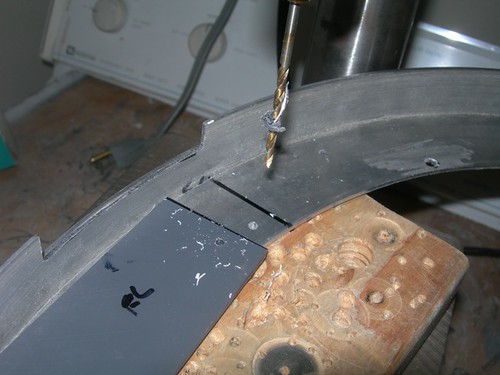
Finally, I'd secure the PVC with a screw and nut on the first hole, and drill the second hole, ensuring that the holes would match up.


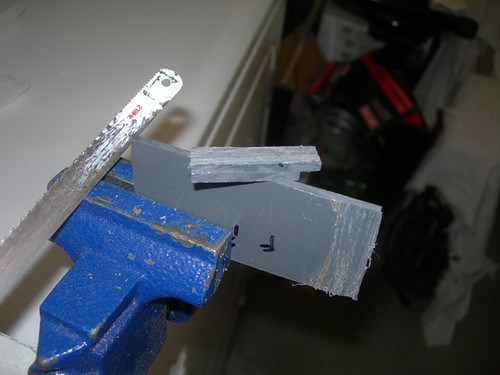
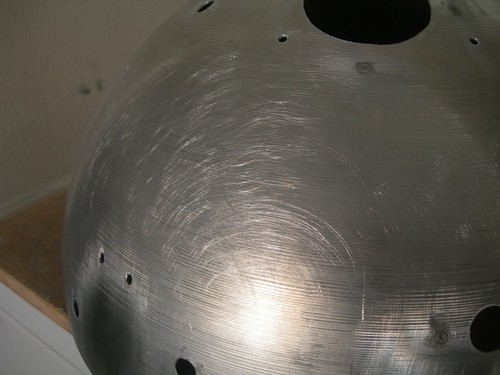
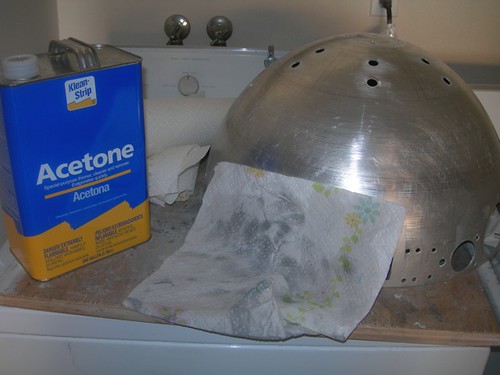
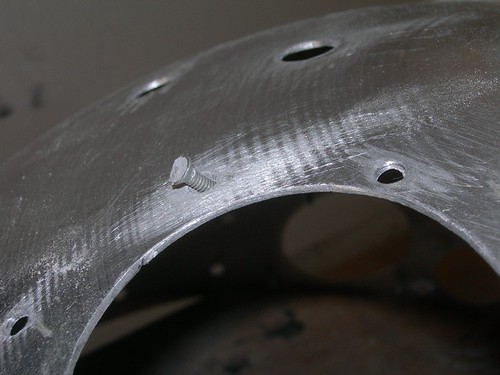
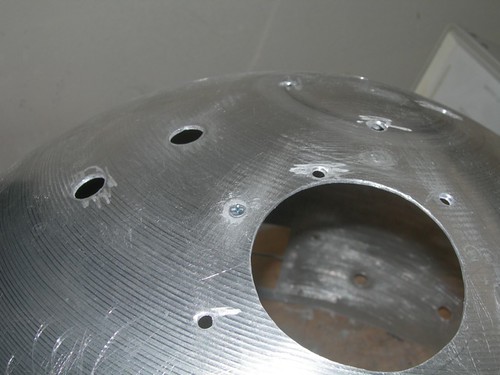
The drilling process leaves small aluminum volcanoes on the underside that I filed down.


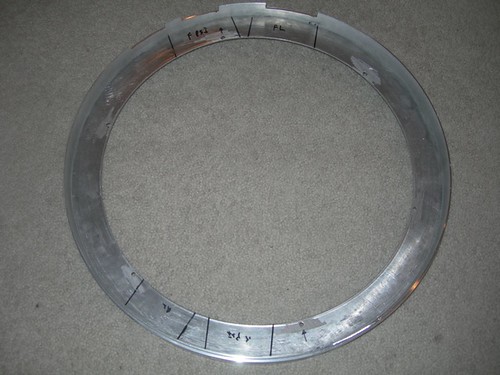
I repeated this process for all the PVC bases, and for the battery holders.


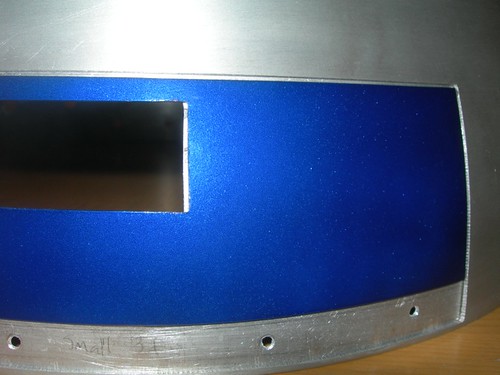
The front PSI base piece covers up the hole for the front screw for the Rockler bearing, so that needs to be drilled from the underside with a larger bit.


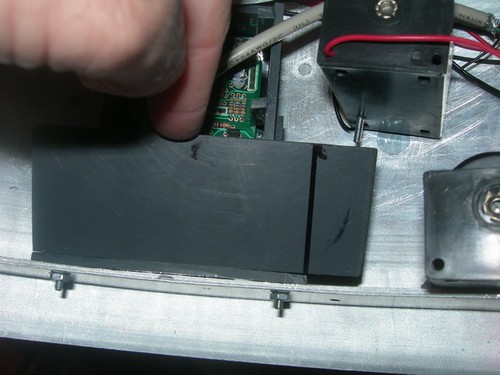
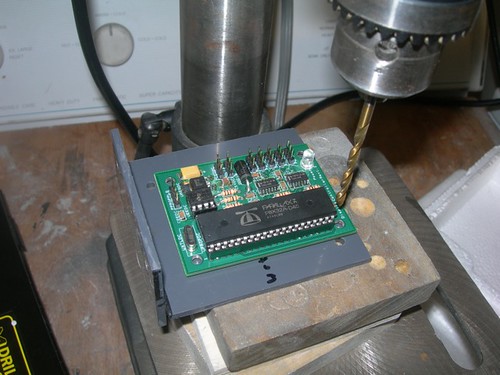
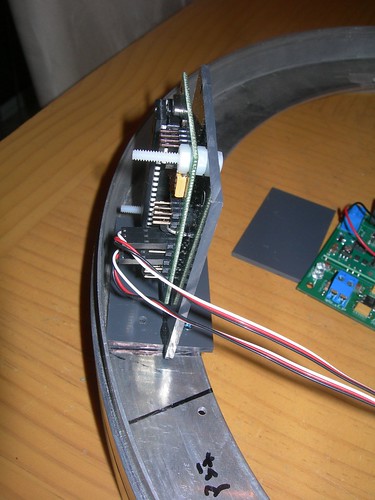
For the J.E.D.I. DC/DC power supply and display controller, I decided to recycle a mounting plate that I did not end up using for droid #1. I'm not sure this actually saved me time, as using it presented its own challenges.

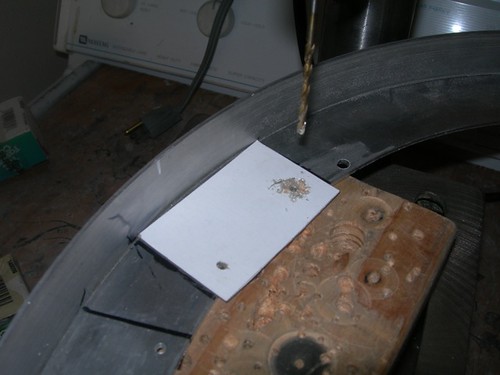
First, I could not use the base directly as a template for drilling the dome ring, since another large piece of PVC is glued to the base perpendicularly. Instead, I traced the outline and marked where the holes should go on a piece of card stock and used that as a template instead


There were already two holes in the vertical piece of PVC that happened to match the holes on the DC/DC power supply board, but I needed to drill mounting holes to match those on the display controller board.


The plan was to mount the DC/DC power supply board on one side, and the display controller board on the other. Things were going well until I tried fitting the assembly on the dome ring. At that point I realized that there wasn't enough room for the connectors on the 3-pin headers. (The nylon screws could be cut short as needed.)


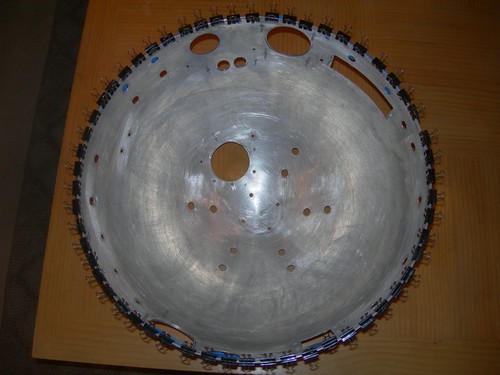
I saw that if I rotated the assembly around, I could get everything to fit. So I flipped the PVC assembly around, and used the holes in the dome ring as a guide for drilling the PVC base.


That's better.


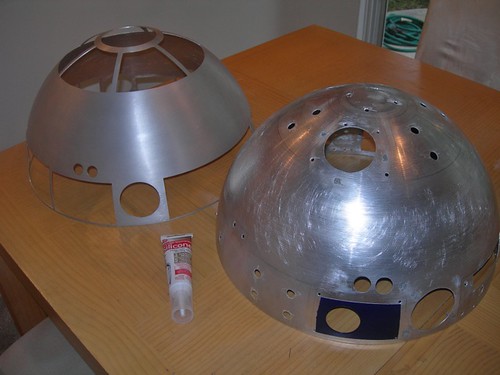
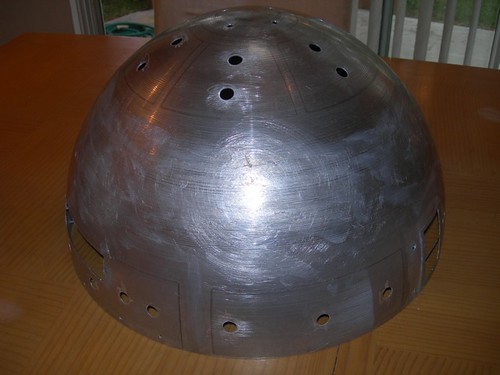
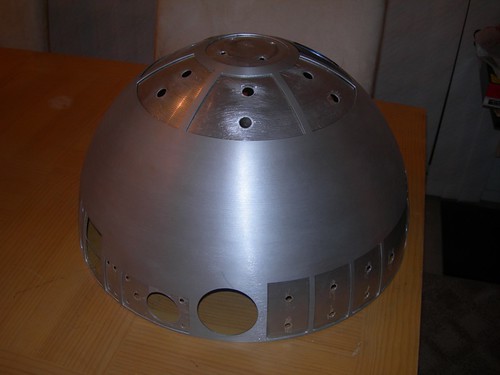
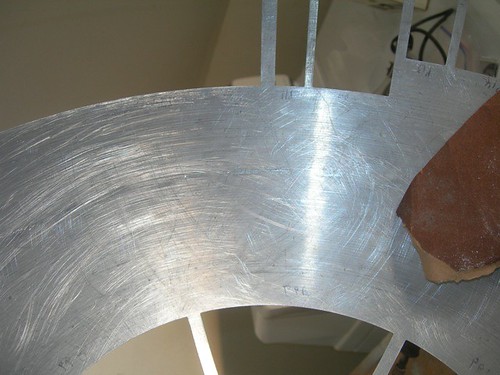
I think I'm done drilling the dome ring.


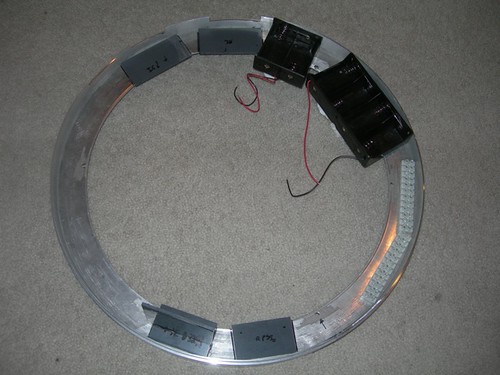
I still need to build up the rest of the PVC harnesses that will secure the front logics and PSIs.

Monday, September 27, 2010

Marked Dome Ring for Drilling

Tonight I marked up the dome ring for where I'm going to drill the holes to mount the electronics.

The first thing to do is secure the dome tightly to the ring. I used my Quick Grip clamps for this, taking advantage of the various holes in for the HPs, PSIs and logics.


Next, I located my base plates made from flat sheets of PCV that I will use to mount the electronics to the dome ring. I marked the outline once I found the exact spot of the each part; in this case, the front logics.


All done marking. I didn't mark the area where the batteries and power distribution blocks will go, since they don't have to match corresponding spots on the dome.


This is the layout that I plan.


One of the holes for the Rockler bearing is covered up by the base plate for the front PSI. Thus, an extra hole will be drilled through its base plate. I was careful to avoid the Rockler bearing mounting holes for the other parts that getting mounted on the ring.

Saturday, September 25, 2010

Pasadena Symphony and Pops Concert

Tonight R2 and many other Star Wars characters appeared at an outdoor concert put on by the Pasadena Symphony and Pops. Singer Jodi Benson (the singing voice of Ariel in The Little Mermaid and Jasmine in Aladdin) also performed.


The locale was adjacent to the Rose Bowl.


The plan was to meet, greet and provide photo ops with the guests, and then do a short stage appearance during the show.

I arrived extra early to check out the stage area with SoCal 501st CO Lesley Farquhar, as we discussed the appearance with our contact/stage manager Lora. It was hot out there, like 95 to 100 degrees hot.


The other folks from the Rebel Legion and 501st arrived, and were instructed on staging order and schedule.


Shortly before the 6:00pm meet and greet, the costumes went on.


Once everyone was ready, we went out and entertained the crowd. The drivetrain did just fine on the short grass, but there were a few gopher holes that decided to surprise me, from time to time.


Once we were done with the guests, I parked R2 just past the curtain on stage-right.


Our appearance was scheduled after intermission, so I was able to take in the first half of the concert.


Finally, it was our turn to go on. The appearance was planned to be very short. The characters would come on stage at the beginning of the Star Wars main theme, stay a minute or so, and then exit the stage when the theme transitioned.

As planned during rehearsal, R2 trailed the other characters so that I could maintain a line of sight at all times. What was not planned, however, was that as the characters left the stage, stage manager Lora told me at the very last second to have R2 stay out on stage by himself and the orchestra. They requested that I improvise something on stage, so I ended up having R2 do some sort of strange interpretive dance. Near the end of the movement, Lora told me "Okay, bring him home." And that was that.

The video is kind of long, but I managed to amuse myself at the 3:23 mark with R2's utility arms.


Darrin Forsythe appeared during the Imperial March to take over conducting duties.


It was an enjoyable evening.

The full photoset is here.

Friday, September 24, 2010

Started Working on Dome Electronics Mounts

I didn't get a whole lot done today, but I did manage to get a small start on the mounting pieces for the dome electronics.

Being the lazy man that I am, I rummaged through my PVC scraps, looking for appropriately sized pieces. I found one that was a little too long, compared to the same piece in the dome on droid #1. I marked a line to show where to trim.


Then I prepared to trim.


Then I trimmed. (I'm stretching this narrative out.)


Another scrap piece that I found had the correct dimensions, but had some leftover pieces glued onto it.


That's nothing a hacksaw blade can't solve.


Done for the day. Told ya I didn't get a whole lot done.

Tuesday, September 21, 2010

Glued Domes Together

The moment we've all been waiting for... gluing the inner and outer domes together with GE Silicone II clear silicone. I was finally able to get this started before going to work this morning.


I pretty much copied the method with droid #1, and zig-zagged silicone in the area between the pie panels on the top, and the side panels on the bottom.


I took some creative liberties in the process.


Where I could squeeze it in, I applied silicone between some of the side panels.


Next, I smeared the silicone around to get good coverage.


As with the dome on droid #1, I used my vacuum cleaner as a pike for R2's head, as a warning to droid #1 to not misbehave.


When I got home in the evening, I worked on gluing together the bottom edges of the domes. First, I applied masking tape to avoid scratching the surface of the outer dome with the clips I'm using.


Then, I slowly made my way around the dome, applying silicone between the edges of the inner and outer dome, and using my little binder clips to pinch the domes together while the silicone dries.


For droid #1, I used 51 clips. This time I used 56.

Monday, September 20, 2010

More Final Inner Dome Prep

Well, I had planned to glue the domes together tonight. I did another test fitting to make extra sure that everything looked good.


I hadn't tried overlaying the panel from the outer dome for the rear logic surround lately, so I grabbed it and checked. Sure enough, just a little bit of the inner dome is peeking through on the right side.


Well, that won't do. Time to fix it with the file.


That's better.


At this point I want to re-psych myself up for gluing the domes together, so it'll have to wait just a little bit longer.

Sunday, September 19, 2010

Widened HP Holes on Inner Dome, Prepped Domes for Gluing

Today I spent some time wrapping up a few loose ends, before permanently gluing the inner and outer domes together.

First, I widened the holes for the holoprojectors on the inner dome, in the areas I marked up the other day. Since there wasn't much material to remove, I used the Dremel drum sander.


I tested all the HP holes, and the the HPs seem to fit just fine.


Next, I scuffed up the inside of the outer dome, and the outside of the inner dome with 100 grit sand paper. This is to provide the silicone that I plan to use a nice, rough surface to bond to.


Next, I cleaned the domes with my deadly friend acetone.


Finally, I managed to bump one of the top HP mounting screws loose.


I cleaned up the hole, replaced the screw with a new one, and JB Welded it in place.


Next up, gluing the domes together. When I have a few minutes.