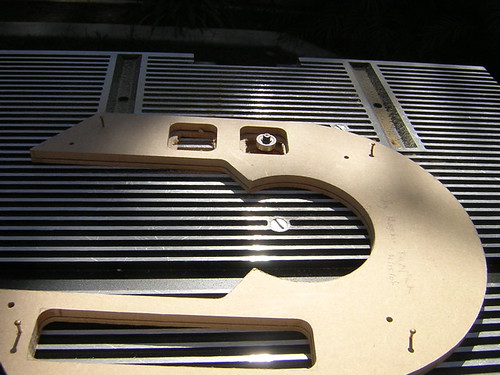
Saturday, May 06, 2006

Started Booster Covers

Another deep breath as I venture off into the unknown once more. (I tend to be overly dramatic sometimes.) Thanks to a bunch of people who have chimed in with help on how to do the booster covers, I finally got started. I'm not at all sure that I'm going about this in a good way, we'll see. I'm using two layers of 3/4" poplar today for the bottom part. The total height for this portion of the booster covers is just over one inch, so some cutting will be in order later.

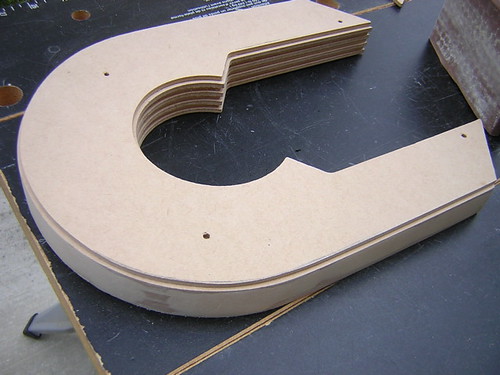
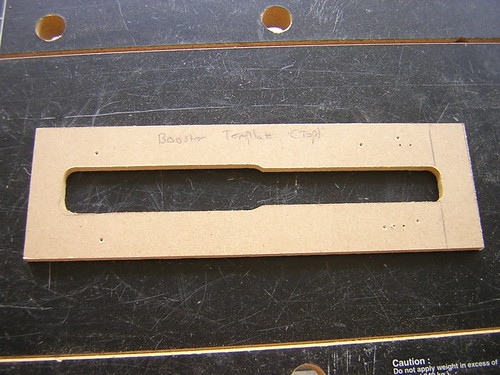
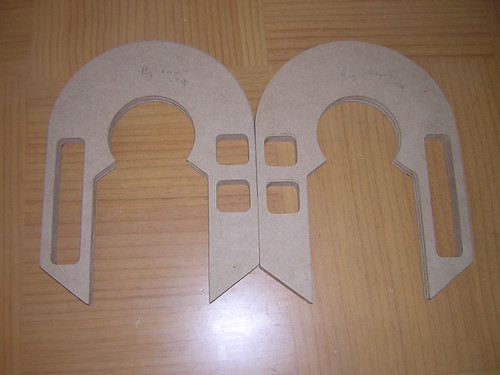
First, I cloned an MDF template for the bottom portion of the booster covers that Mike Senna graciously let me borrow.
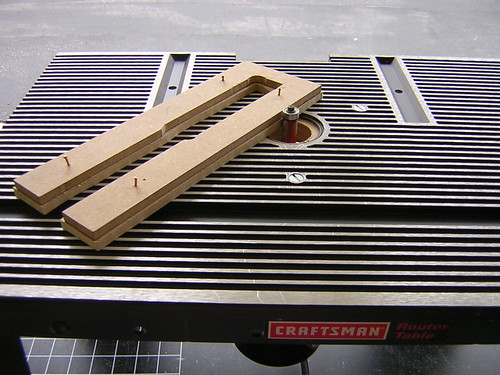


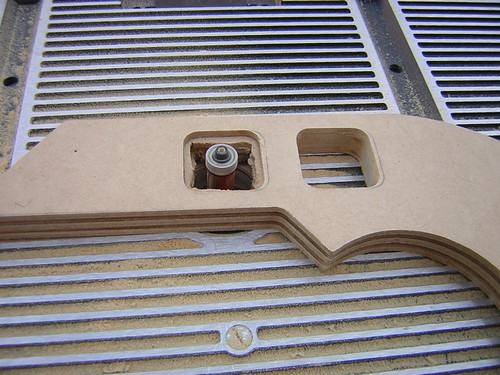
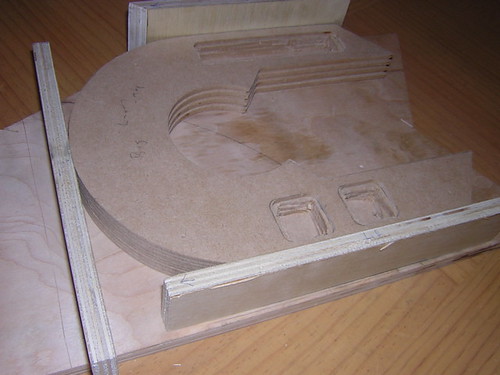
Mike suggested that I might want to close the "tuning fork" at the bottom, so the two ends would stay separated from each other by a constant distance while woodworking. So I took the cloned Senna template and made another clone, this time with the bottom ends still connected. This way the two "legs" won't have a tendency to bow as I work with the template and its resultant cuts. Later I can chop off the bottom and open up the tuning fork on the final pieces.


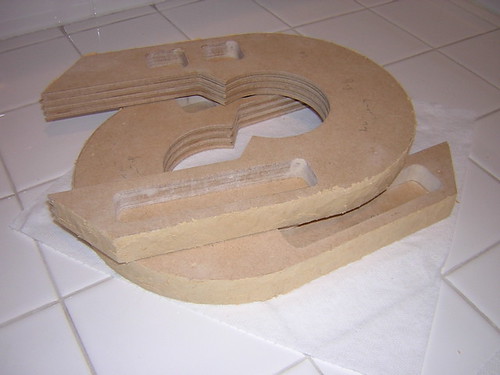
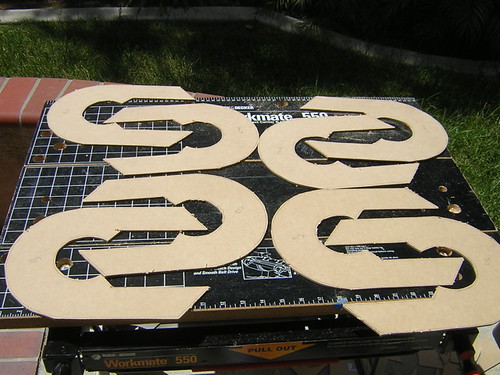
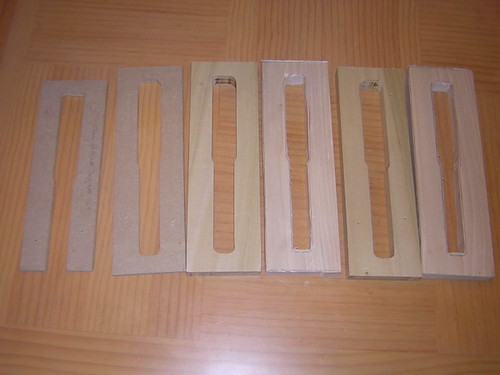
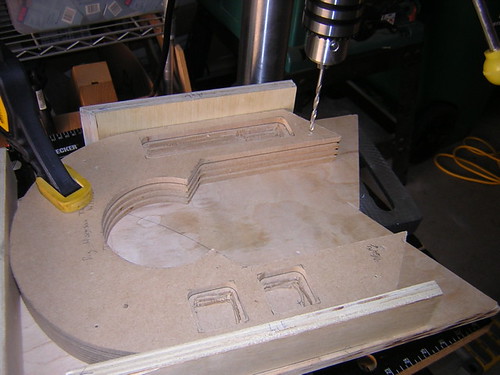
I rough-cut four booster cover layers. Before routing them all down to size, I decided to do what I did with the horseshoes. That is, I'm routing one layer down to size using the MDF template, but I'm leaving the other layer rough-cut until after the two layers are glued together. Then I'll come back with the router and route the second layer down to size, using the first layer that is glued to it.

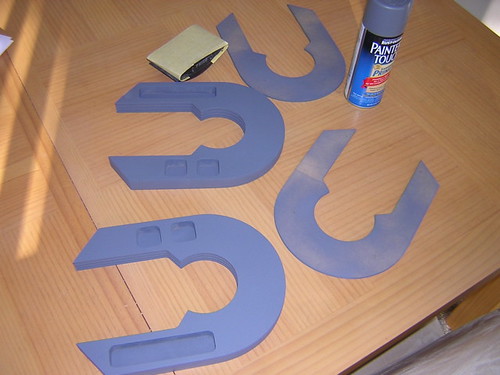
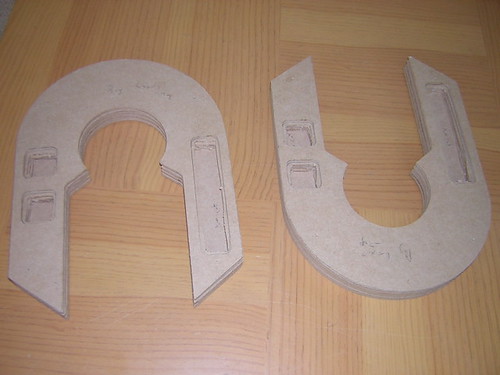
Shown here from left to right are the two templates, followed by two pairs of booster cover layers, one layer routed down to size (the darker poplar), the other rough-cut (the lighter poplar).


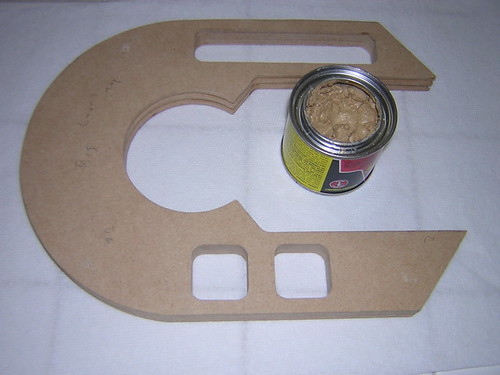
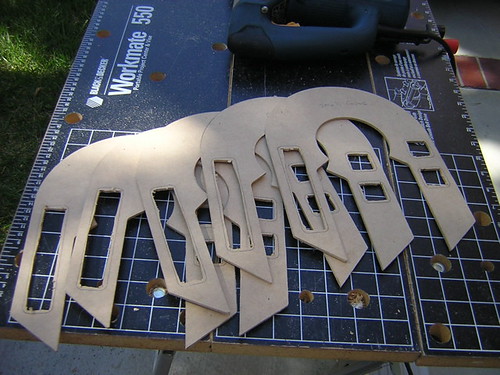
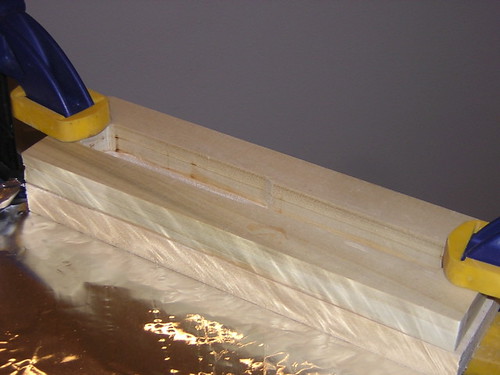
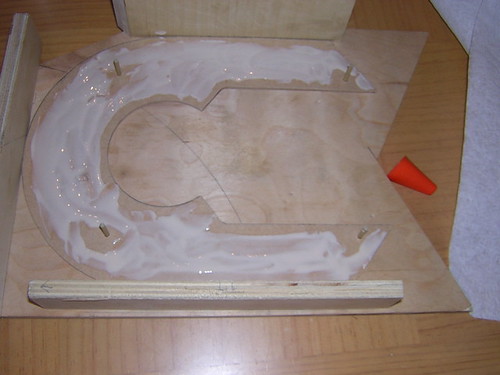
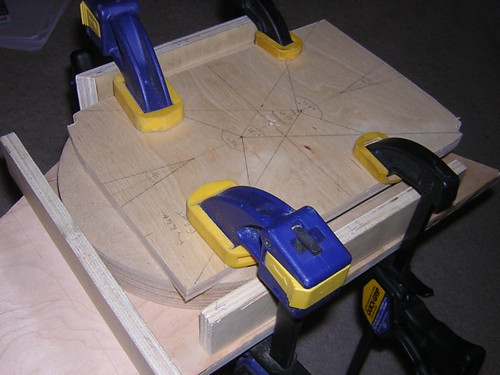
Finally, I glued the rough-cut layers to the properly-sized layers for each booster cover.


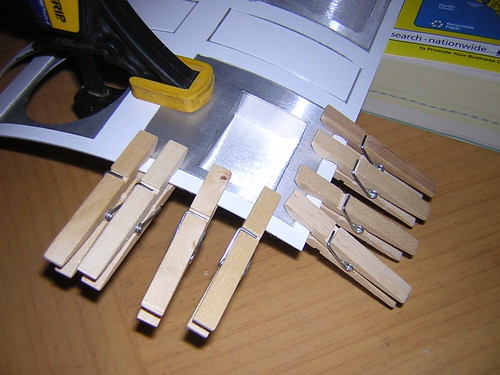
On a carry-over from yesterday, I siliconed in the left coin return on the back door, so the coin returns are done. And yes, I did the obligatory work on sanding and primer for the horseshoes.

Friday, May 05, 2006

Glued Two Coin Returns, Secured Vent Harness

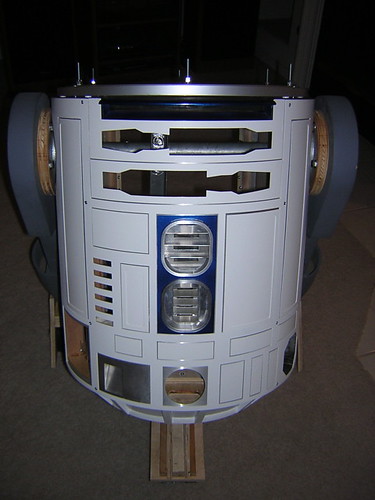
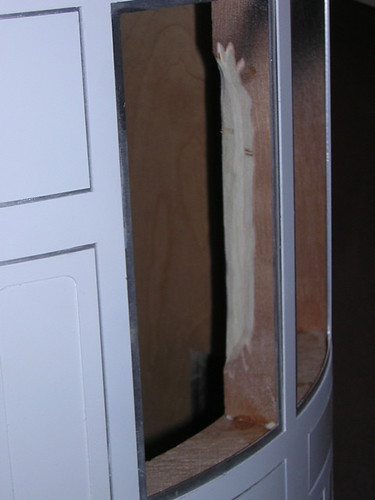
In the morning I used silicone to glue in the front coin return. In the evening I glued in the back door's right coin return. The back door's left coin return still remains to be glued in (probably tomorrow).


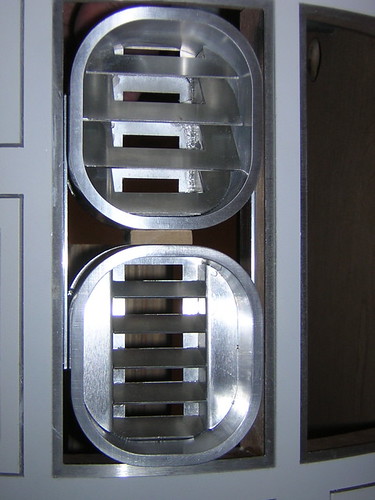
I also screwed the vent harness into the frame. (Yea!)


I have not glued down the blue vent surround, it is still loose.


Oh yes, and needless to say, more primer on the horseshoes. Getting closer to being done.
Thursday, May 04, 2006

More Primer, Front Vent Work, JB Welded Coin Returns

The primer saga continues for the horseshoes, as I try to get the edges as smooth as possible. I typically lay down three coats of sandable primer, lightly sand, and repeat. It's progressing, so I think this is the way to go.

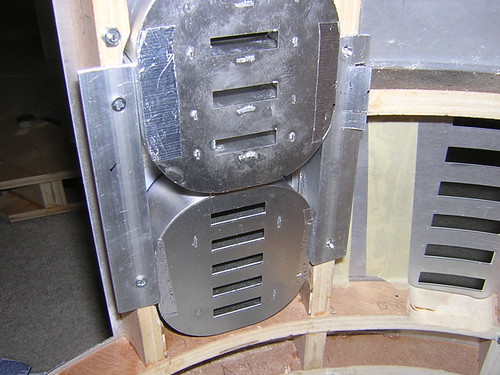
I needed to shave the vertical rib to the right of the front vents some more to accommodate the front vent harness.


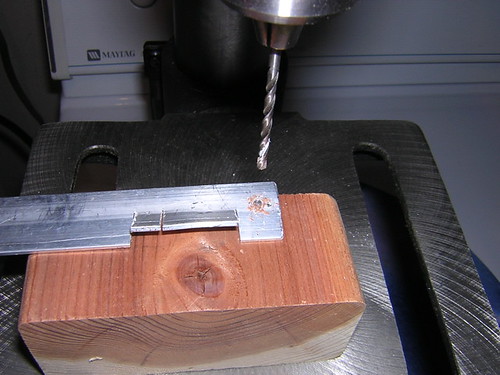
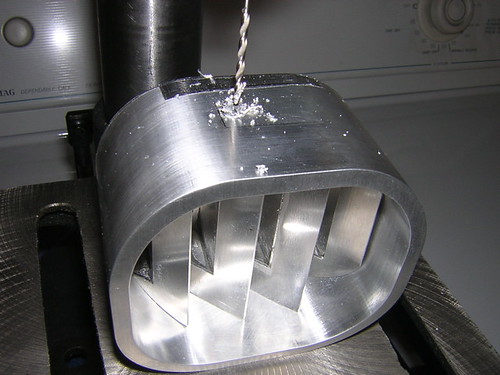
Then I drilled the rails for the harness so they can be screwed down onto the back of the vertical ribs. I marked the spots on the rails to drill, and used my trusty drill press, on my trusty dryer. I bent an area of one of the rails because it was bumping into a horizontal rib in the frame.


A test fitting looks good. I got careless handling the vents and knocked off the top slat of the upper vent, but another dose of Loctite glue did the job.


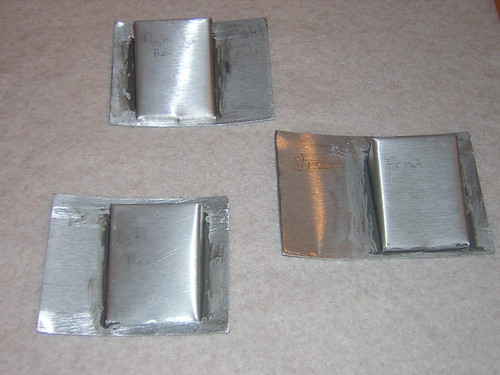
Finally, I gouged out spots on the wooden frame base plate where the coin returns will go, and I JB Welded the coin returns. I remember dreading these earlier, but they didn't end up being a complete disaster after all (although I still need to attach them to the skins...).

Wednesday, May 03, 2006

More Horseshoe Primer

Well, I can kind of see the layers on the horseshoe edges after the first coat and sanding of primer. So I'm using Victor's "Keep blasting it with primer until you can't see seams no more" method of hiding seams (patent pending). Not sure how long this will go on for. I might be better off sanding the primer off and going over it with the putty again. We'll see.

Nice to see several builders on the board today that have done their booster covers from wood (hi PF, Bruce, Alan, Mike and others!). I'm going to need all the good ideas and methods I can find.

Tuesday, May 02, 2006

Front Coin Return

April showers bring May drizzle. I couldn't apply primer to the horseshoes today because it was too damp in the morning and too breezy in the evening. So all I was able to get done was the front coin return. At least the coin returns are pretty much behind me, except for the JB Welding.

Monday, May 01, 2006

Primed Horseshoes, Cut Rear Coin Return Frames

In the morning, I applied the first coats of primer to the horseshoes. Of course, the shim layer only requires primer and paint along the edge, so I didn't give the shim faces full coverage. In the evening I sanded the primer, and I plan to make another pass with the primer tomorrow morning.


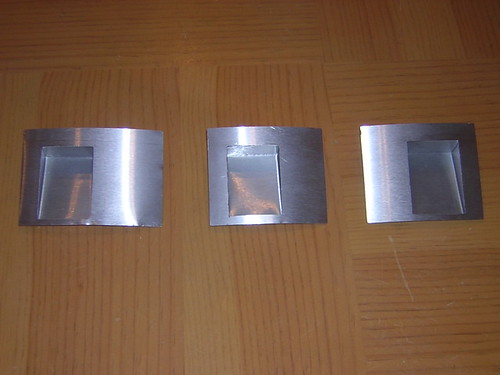
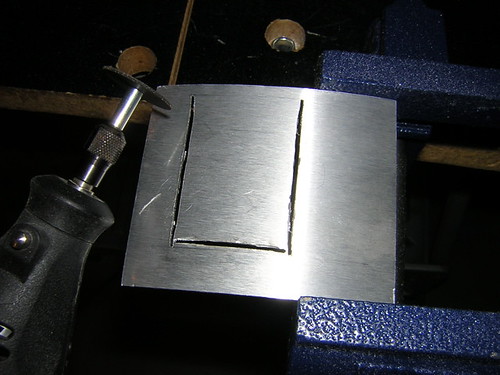
Later in the evening I used the Dremel to carefully rough-cut the two coin return frames for the back door.


I cleaned the frames up somewhat with a file, and set them loosely together with the inner piece of the coin return. I'll eventually JB Weld the frame and inner part together, and then JB Weld the whole thing to the inside of the back door. Luckily scratches in the aluminum tend to disappear over time thanks to oxidation. I hope to get to the front door coin return tomorrow.

Sunday, April 30, 2006

Finished Horseshoes, Built Front Vent Harness, Started Coin Returns (Again)

This morning I finished up the cloned shim layer that I made the other day, thus completing the horseshoe build. The horseshoes are ready for primer, but it was too breezy today.

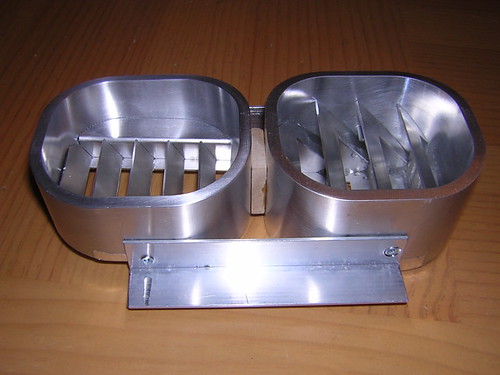
Next I worked on building a harness for the front vents. I drilled holes into the sides of the vent surrounds (I hated to do that, but in the interest of sturdiness, I did), and then tapped the holes for #4-40 screws. The holes were strategically located so they won't show, unless if you were to lay down on the ground perhaps, and even then, only the top vent's holes would be visible.


I've managed to live my entire life without ever using a tap until now, that's how far removed I am from being an actual craftsman-type. I glued a small piece of 1/4" MDF to separate the two vents in between them, and then screwed down the rails that will attach to the frame from the inside. The frame ribs on either side of the vents will need to be shaved a bit when I screw the L-channel to them, to have the vents look just right from the outside.


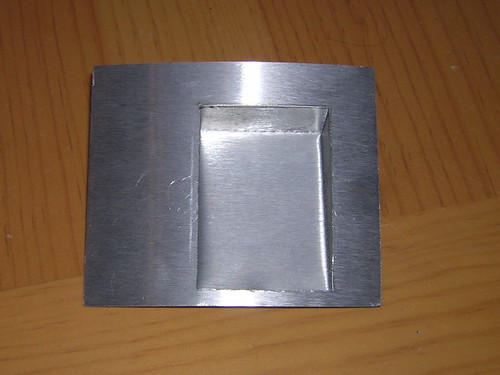
Next, I used the vise to fold the two coin returns that I cut out yesterday. What a difference having the right tools makes! Using tin snips and a vise for the job was so much easier than using scissors and the edge of a table, and produces much better results.


This coming week I will probably keep working on the vents and coin returns, and start thinking about the booster covers,which I hope to start working on next weekend.

Saturday, April 29, 2006

Front Vent & Coin Return Work, Shoulder Struts Arrive

I took a day off from the horseshoes to work on other details today. The horseshoes are almost done, I'll probably finish them tomorrow.

In the meantime, I continued working out the mounting of the front vents to the frame. Additionally, I decided to try my hand at the coin returns again, I was never happy with my previous attempts. I cut out a couple of coin return innards, and marked up three coin return frames. Tin snips are the way to go for cutting out the thick aluminum. I still need to cut out another arrow head, and cut the frames appropriately.


Also, the aluminum shoulder struts from Michael McMaster's run arrived today. Excellent!

Friday, April 28, 2006

Slow Progress

I'm still sanding the horseshoe layers so they'll be as close to perfect as possible. One of my shim layers was better than the other, so I made a 1/4" MDF template from it and cut another 1/8" shim from that. Now I have two fairly decent shim layers.

Self portrait of me working on R2 this week:

Wednesday, April 26, 2006

Sanded Down Shim Layers

Once again I flipped the belt sander belly-up, and sanded the edges of the shim layers of the horseshoes. The shim layer is not glued to the other layers. I don't plan to glue it at all so it can be painted (silver) separately from the other layers (white). I still need to do some light sanding here and there on these shoulders to even them out. There are areas that rise and fall just a bit along the edges.
Tuesday, April 25, 2006

Sanded Putty on Outer Edges of Horseshoes

This evening I sanded down the putty from yesterday that I applied to the outer edging of the horseshoes. I made a second pass and applied trace amounts of putty where needed afterward to fill in small gaps. I'll lightly sand one more time, and then the shoulders should be ready for primer. I still need to shave 1/16" off the outer edge of each shim layer too.
Monday, April 24, 2006

Puttied Outer Horseshoe Seams

Okay, the layers are glued up, time to sand the bare MDF a bit and start applying wood putty to the outer edging to hide the seams. I'll start sanding the dried wood putty tomorrow.

I went through this with the legs for what seemed like months. I hope it goes faster this time. After all, how many more days in a row of this can you (or I) take?

Sunday, April 23, 2006

Finished Gluing Horseshoes

Now that the hydraulics and button holes are puttied, sanded and finished up, I was able to glue the layers with the holes to the layers below them without holes on both shoulder sets. I also did some very minor work on preparing for mounting the front vents to the frame.

Saturday, April 22, 2006

Puttied & Sanded Second Shoulder Holes

This afternoon I did a repeat of yesterday, and puttied and sanded the shoulder holes for the second shoulder.


Earlier in the day I dropped by Mike Senna's for a little while and went over how to go about my next task: Building the booster covers from wood. That will make the horseshoes look like childsplay...

Friday, April 21, 2006

Puttied & Sanded First Shoulder Holes

Ah yes, DAP Plastic Wood, my arch enemy from the leg build. I used this stuff again in the morning on seams of the layers for the hydraulic and button holes for one of the layered shoulders today, and in the evening sanded it down. I then made a second pass, filling in small gaps and holes. Hopefully one more light sanding and I can work on the other shoulder's holes. Fortunately there is a lot less area to cover than the legs had.

Thursday, April 20, 2006

Glued Second Horseshoe, Routed Holes

In the morning, I glued up the layers to the second horseshoe set exactly as I did with the first set yesterday.

When I got home in the evening, the glue was dry on both sets, so I was able to route out the hydraulics and button holes. Recall that I originally routed only the top layer to size, and left the others rough-cut. Now I was able to route out all the rest of the layers together, using the top layer as a template, and get a pretty good match.


The results were positive. I still need to apply some wood putty to the seams and sand them down so you won't be able to see the various layers in the holes.

Wednesday, April 19, 2006

Started Gluing Horseshoe Layers

Before I could start gluing the horseshoe layers, I needed to drill four holes through all layers, except for the top layer, to accommodate the pegs on which I planned to stack them. For the top layer, a drilled a hole half way deep from the back, so as not to mar the outer surface.


With that done, I could start stacking layers and gluing them. I left the shim layer out of the stack, since I want it to remain separately paintable (it is silver, the rest are white). Plus, I haven't sanded the shim layer's outer edges down to size yet.


I want to apply wood putty to the button and hydraulic holes and sand them before all the layers are glued together. So, counting from the layer just above the shim as layer 1, outward to the top-most layer (layer 7), I glued layers 1 and 2 together, and layers 3 through 7 together. I'll glue these two sets together once I'm done working on the holes.

I clamped everything down, using the rectangle cutout of my skirt to evenly apply pressure across the surface.

Tuesday, April 18, 2006

Made Horseshoe Alignment Jig

I made the world's ugliest jig today to align the horseshoe layers, for when I glue them up. Obviously I want them aligned as much as possible, so I took some old scrap from my temporary feet, screwed down some more scrap wood as a frame around the horseshoes (screws coming up from the bottom into the frame siding), and voila, an ugly horseshoe frame. The horseshoes do fit in nice and snug, so this should do the job.

I'm going to use the drill press to drill four mounting holes through the stack of horseshoe layers, and then put 1/8" diameter vertical pegs into the bottom of the jig and stack the layers, with the pegs securing them in place. Then I can glue various layers without worrying about them sliding around when I clamp them.

Monday, April 17, 2006

Recut Horseshoe

One of the horseshoe layers that I made yesterday had a small break in it from pounding on it too hard with the jigsaw, so I cut a replacement this evening. I also bought some goodies at Home Depot and Lowe's tonight for aligning the layers for glue-up.

Sunday, April 16, 2006

Finished Cutting Horseshoe Layers

Another busy day. First, I rough-cut eight more horseshoe layers.


After routing the horseshoes down to size with my MDF templates, I rough-cut the holes for the shoulder hydraulics and buttons. This was a pain, as there's not much room to work the jigsaw.


Then I used the router to route the holes in the top layer (only) to size. The reason I only routed the top layer holes to size and left the other four layers below it rough-cut is that I'm going to glue them together first. Then I'll route the five layers glued together, using the top layer as the template. Routing each layer individually would run the risk of a mismatch from layer to layer.


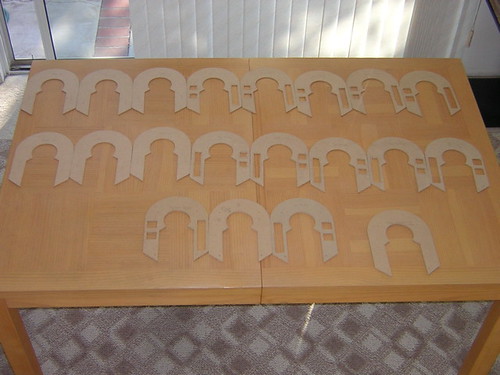
It was a busy weekend, 20 layers cut in total. Four of the cutouts are templates. Two templates are for the big layer, and are mirror images of each other to allow for buttons and hydraulics to be symmetrical on both legs. One template is for the small layer, and the fourth template is for the shim layer, which I don't think I'm going to end up using. I'm not sure yet exactly how I'm going to finish the shim layer, I may end up hand-sanding the edge of the bottom-most small layer.


Next up, gluing some of the layers together.