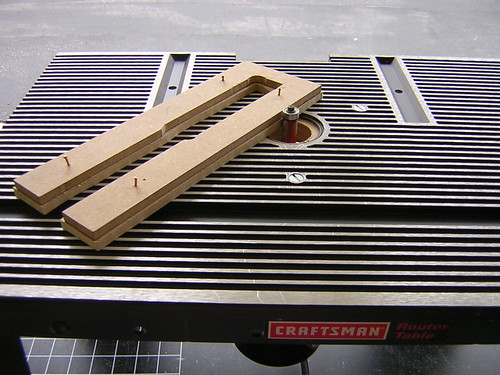
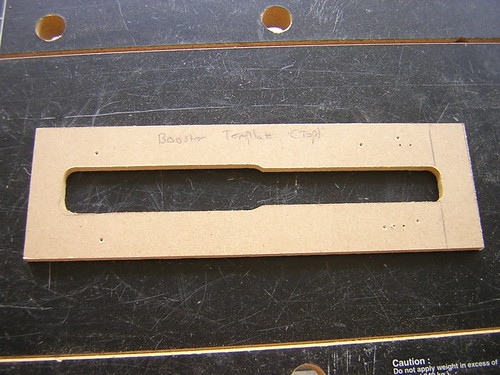
First, I cloned an MDF template for the bottom portion of the booster covers that Mike Senna graciously let me borrow.

Mike suggested that I might want to close the "tuning fork" at the bottom, so the two ends would stay separated from each other by a constant distance while woodworking. So I took the cloned Senna template and made another clone, this time with the bottom ends still connected. This way the two "legs" won't have a tendency to bow as I work with the template and its resultant cuts. Later I can chop off the bottom and open up the tuning fork on the final pieces.

I rough-cut four booster cover layers. Before routing them all down to size, I decided to do what I did with the horseshoes. That is, I'm routing one layer down to size using the MDF template, but I'm leaving the other layer rough-cut until after the two layers are glued together. Then I'll come back with the router and route the second layer down to size, using the first layer that is glued to it.
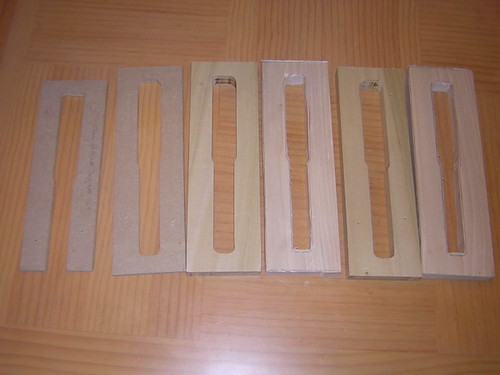
Shown here from left to right are the two templates, followed by two pairs of booster cover layers, one layer routed down to size (the darker poplar), the other rough-cut (the lighter poplar).

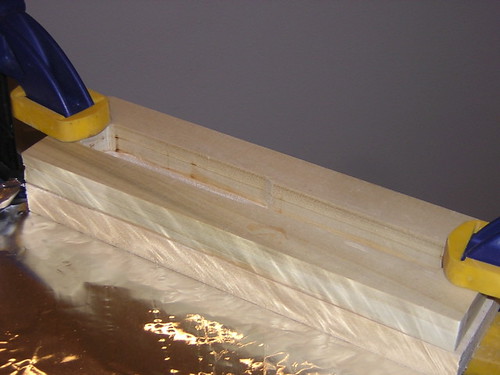
Finally, I glued the rough-cut layers to the properly-sized layers for each booster cover.

On a carry-over from yesterday, I siliconed in the left coin return on the back door, so the coin returns are done. And yes, I did the obligatory work on sanding and primer for the horseshoes.

No comments:
Post a Comment