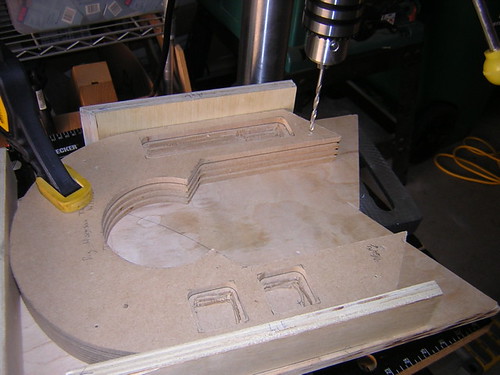
With that done, I could start stacking layers and gluing them. I left the shim layer out of the stack, since I want it to remain separately paintable (it is silver, the rest are white). Plus, I haven't sanded the shim layer's outer edges down to size yet.
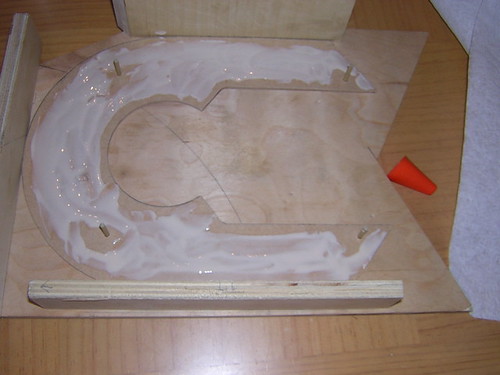
I want to apply wood putty to the button and hydraulic holes and sand them before all the layers are glued together. So, counting from the layer just above the shim as layer 1, outward to the top-most layer (layer 7), I glued layers 1 and 2 together, and layers 3 through 7 together. I'll glue these two sets together once I'm done working on the holes.
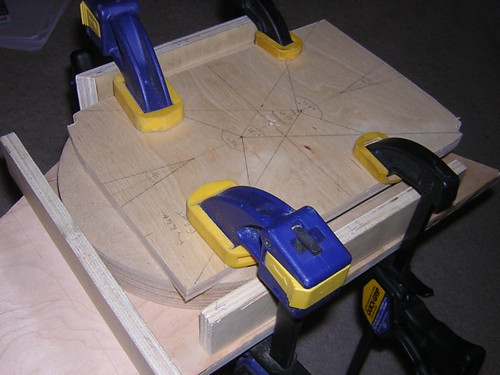
I clamped everything down, using the rectangle cutout of my skirt to evenly apply pressure across the surface.

No comments:
Post a Comment