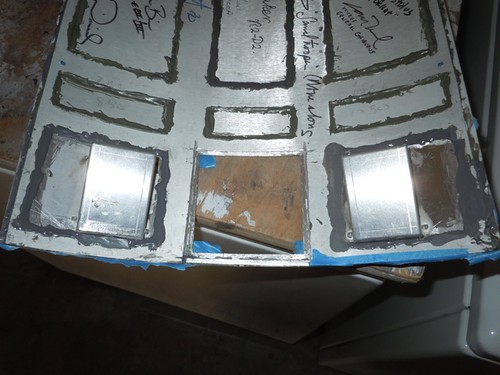
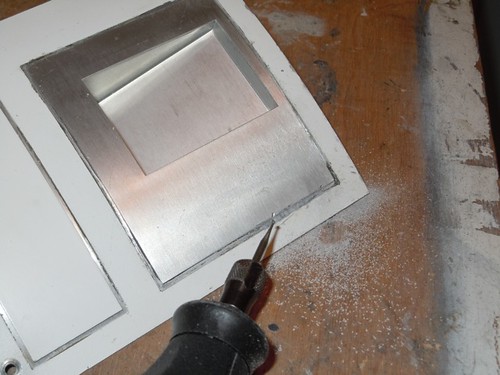
Somehow I did manage to have some JB Weld ooze through the seam on the left coin return, however. Unsightly.

I dug around in the Dremel Bag o' Tricks and found a very thin bit, suitable for removing the mess. (I scraped off the small blob that ran over onto the paint using my fingernail.) The bit worked fairly well, but I had to be extra careful with the Dremel.
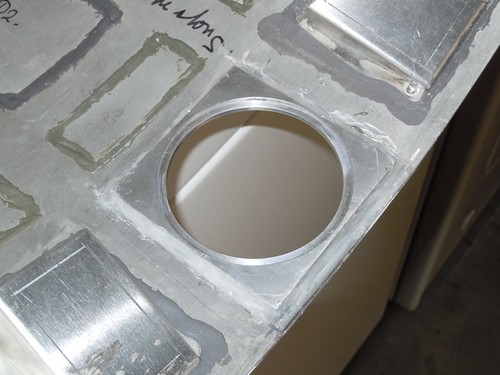
Finally, the last piece to be reattached: The frame of the rear power coupler. I'm using silicone for this one, to allow a small amount of flex as it receives the power coupler cylinder that is attached on the frame with Velcro.

All done! I'll let this cure for 24 hours, and then the restoration should be complete!
I'll fit the door back onto the droid tomorrow so we can all have a look together.

2 comments:
Great work! Good to see all's fixed and back together :)
Thanks James, I appreciate the support and encouraging words.
-Victor
Post a Comment