A few before-and-after pictures.
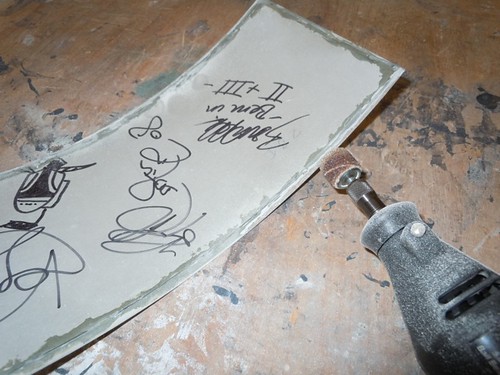
Boy, what I mess I made with the JB Weld on the rear coin returns. If it's possible to butcher JB Weld, I did it here.
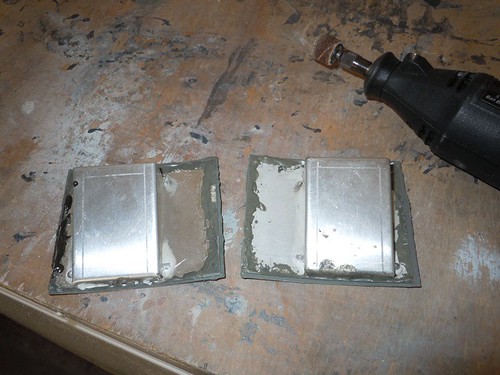
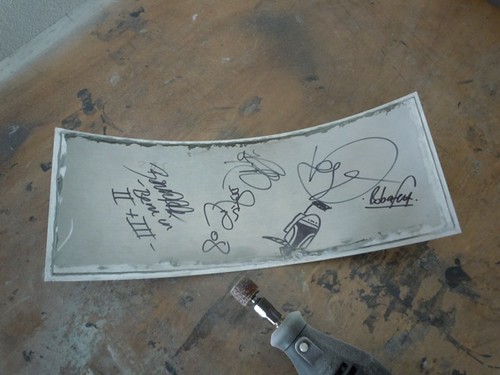
That's better.

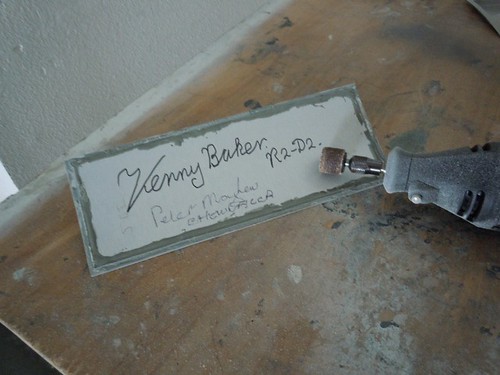
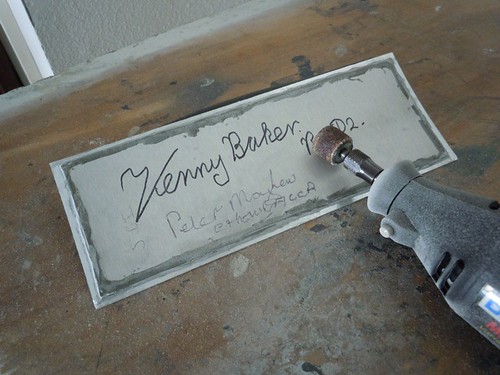
And of course, the door frame itself requires a little cleaning along some of the panel edges. You can also see that some of the panels have lifted off slightly in some areas. I pulled on them to see if they would come off, but they put up a fight, so I'll apply JB Weld to the areas that detached, and hopefully I can reform the bond.

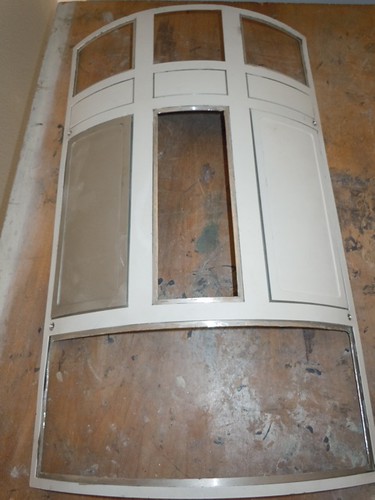
I made a light effort at cleaning up the dust and grime, but I'll come back and do a more thorough cleaning, and then work on reattaching the panels.

No comments:
Post a Comment