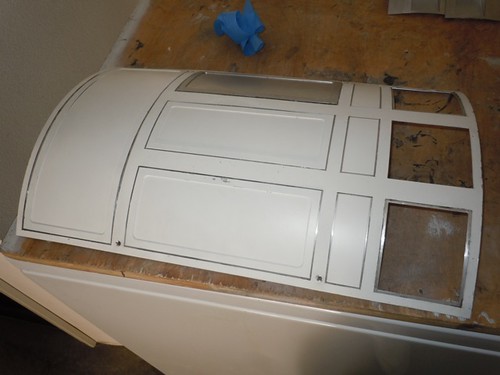
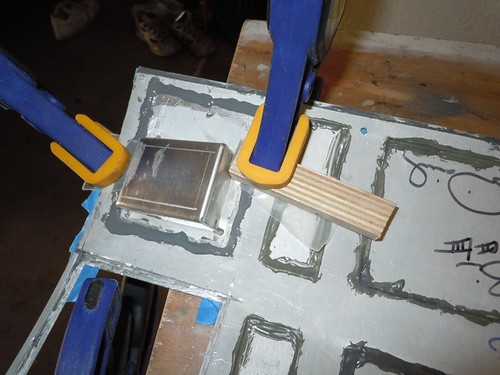
Next up, the coin returns.
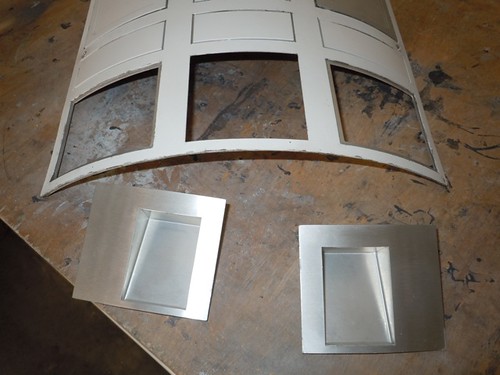
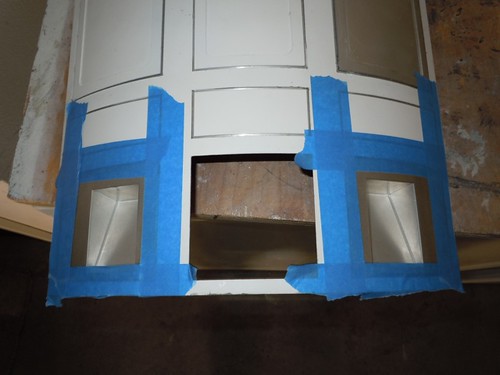
These fit pretty well into their slots on the panel. I taped them in place, in preparation for applying JB Weld on the inside surface of the door.
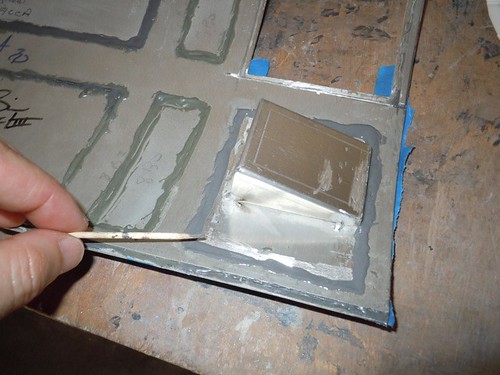
That toothpick is starting to get a bit grimy, but it still does the job of applying JB Weld. I don't think I'll use it for cleaning my teeth, however.
To ensure that the coin returns don't lift off from the skins, I decided to lay a few strips of wax paper over the JB Weld, and then use small segments of wood and clamps to keep them tight against the skins.
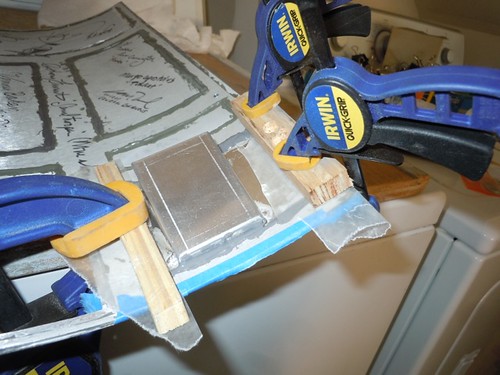
It will be interesting to see if the wax paper is easy or hard to remove from the JB Weld once it all dries, but I figure I can always tear and sand it out, if need be.
Assuming this holds well, all that will be left to do is to reattach the rear power coupler frame piece, which I plan to attach with silicone.

No comments:
Post a Comment