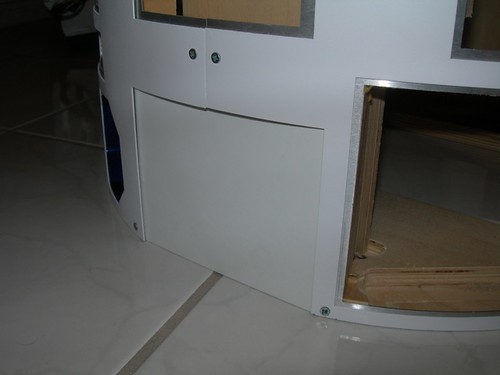
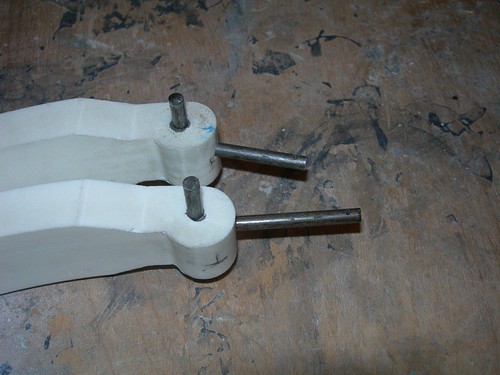
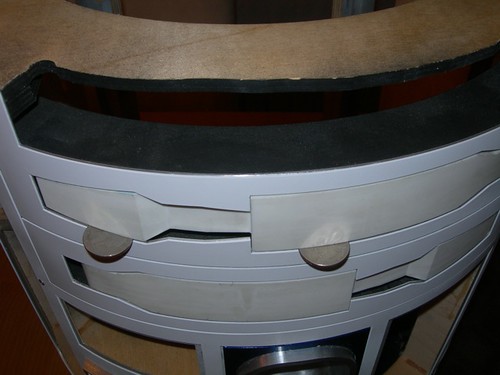
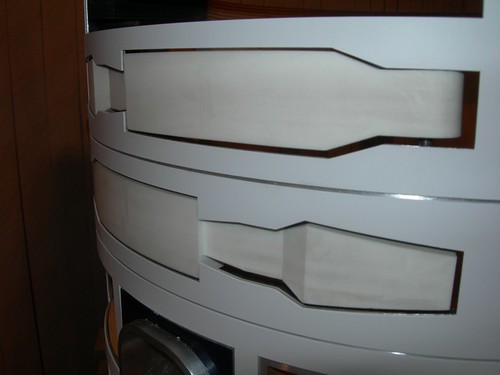
Today I mostly finished installing the utility arms.
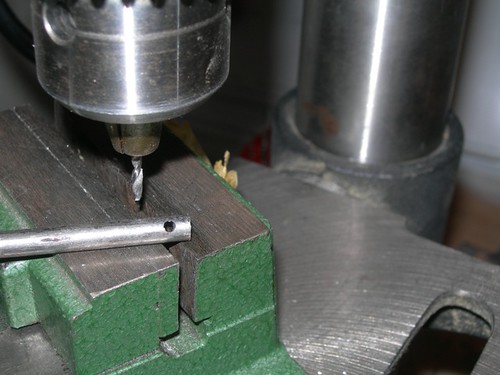
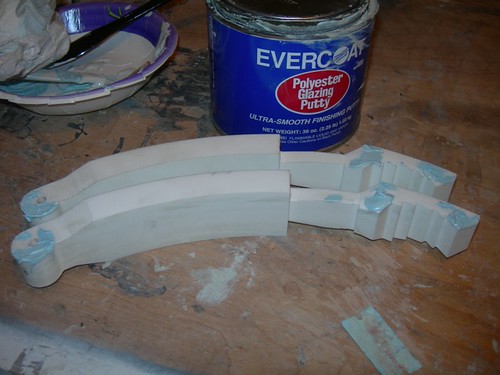
The main task remaining was to cut the 1"x1"x1/16" aluminum angle rail into segments, and then cut and drill the segments to size.
So first up, cutting four segments.
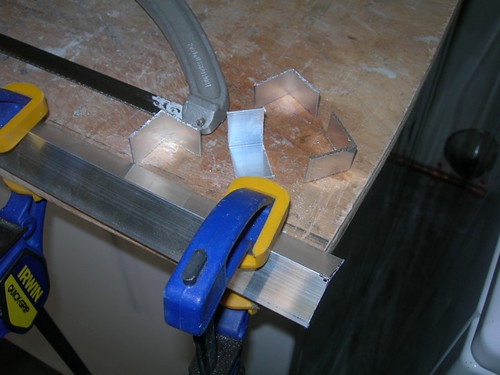
I decided to trim the overhang off, so I marked and cut the extra length from each segment.
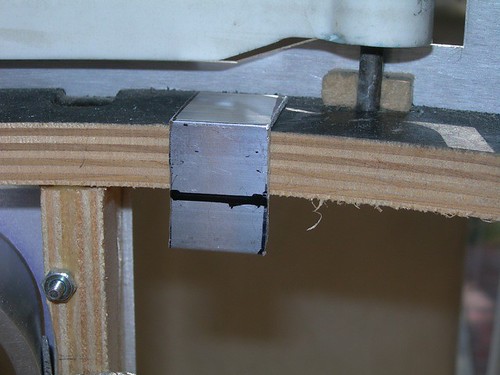

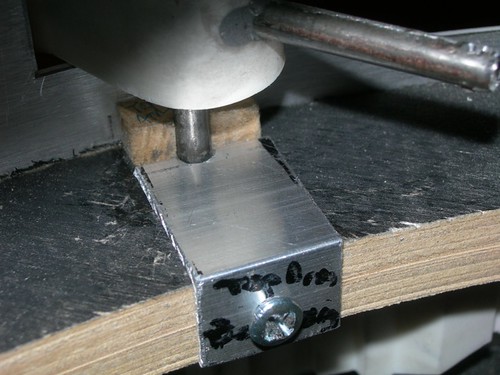
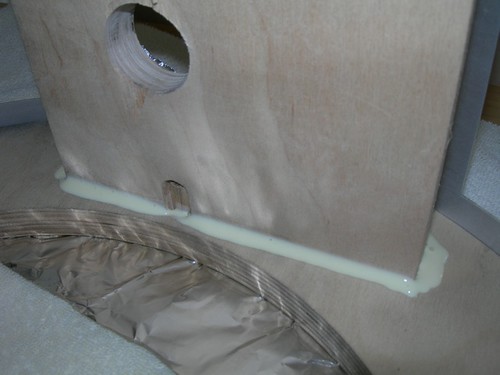
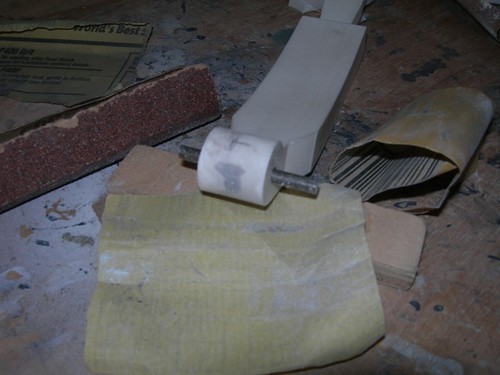
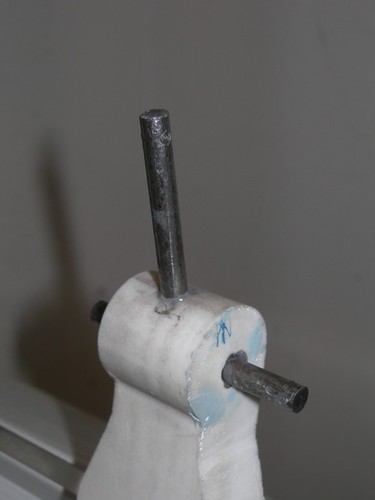
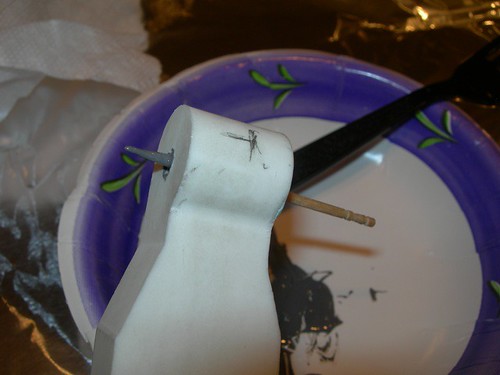
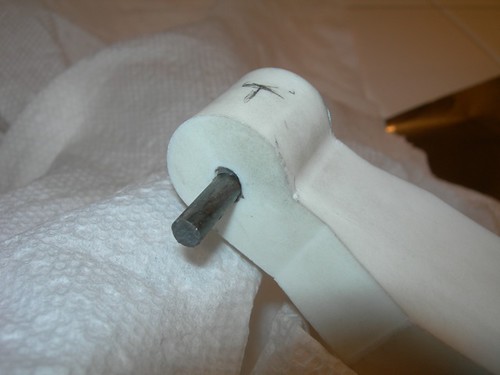
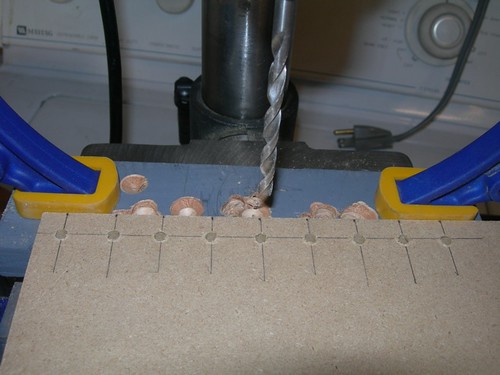
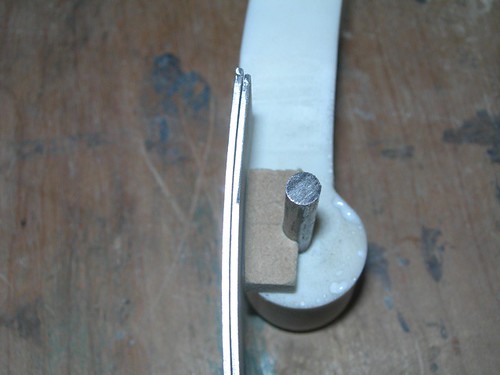
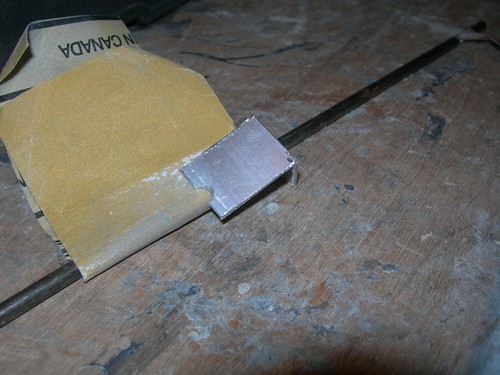
Next, it was time to drill a semicircle for the 3/16" rod. This matches the MDF holders that I glued down the last few days.
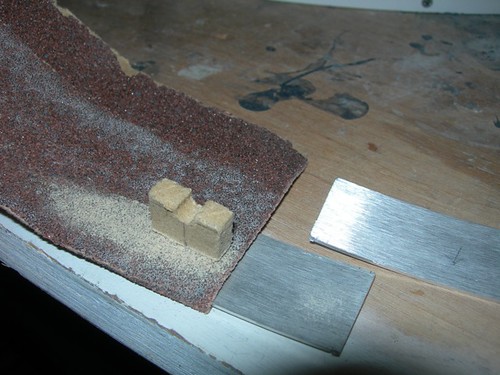
I used some 220 grit sandpaper wrapped around the rod stock to finish up the semicircle.
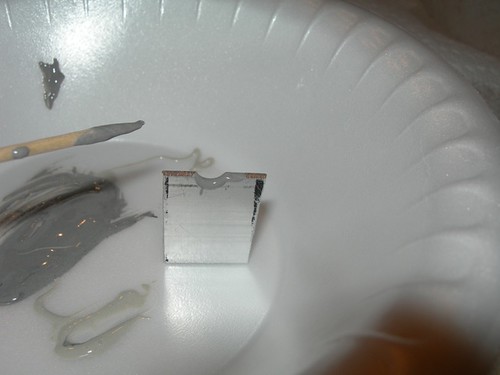
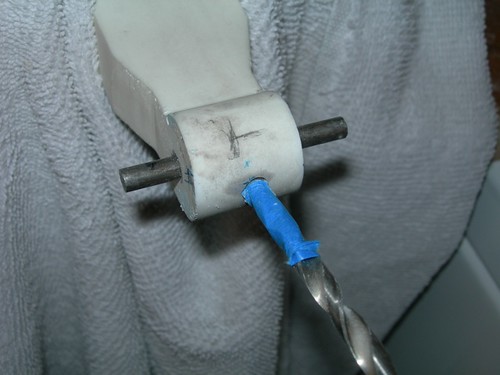
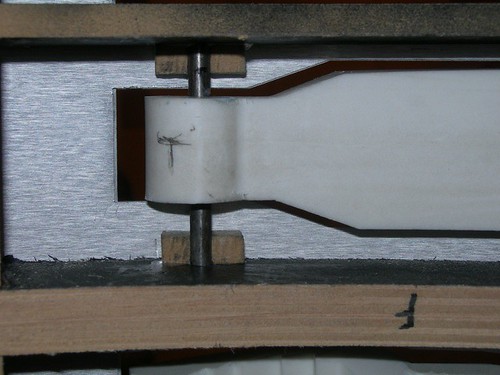
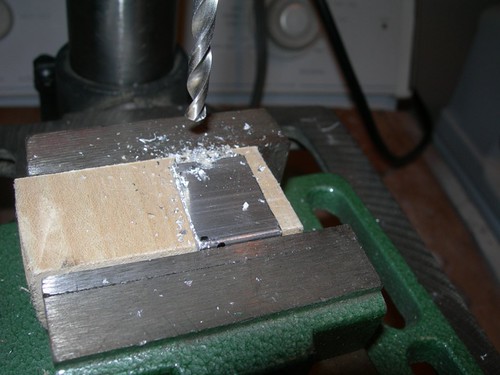
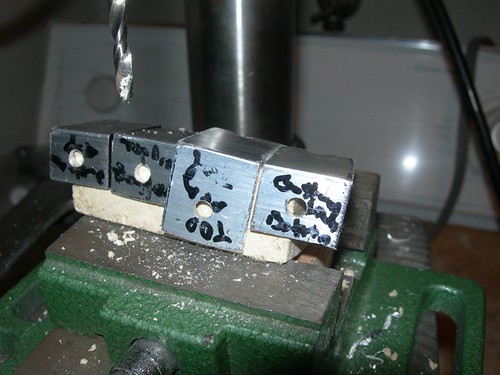
I measured and marked the locations on the segments for where the holes go to accommodate a 3/4" #6 wood screw. One of the segments is a bit taller than the others, I'll explain why in a moment.
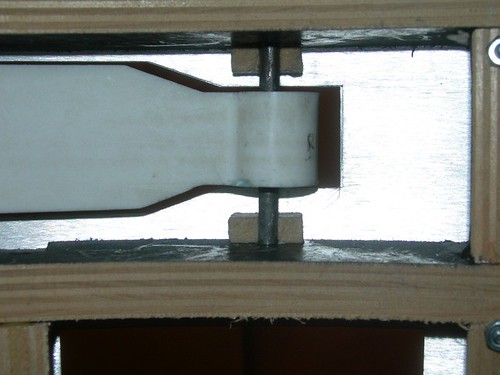
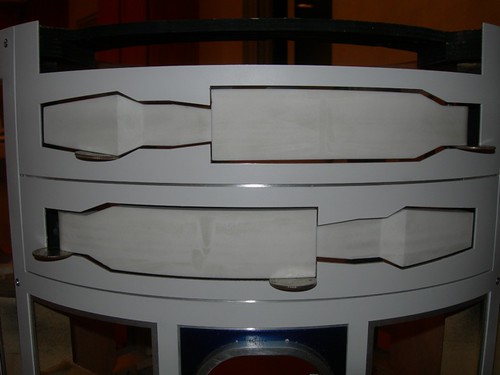
Time to install the segments. I used a 5/64" drill bit for the pilot hole for the #6 wood screw.
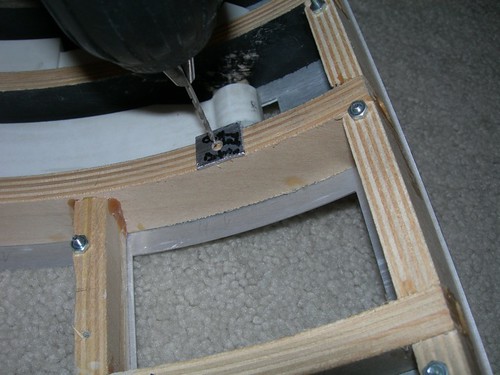
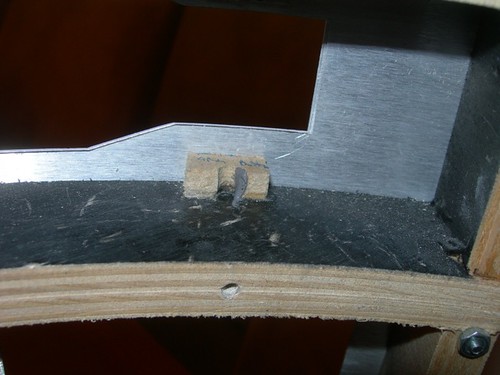
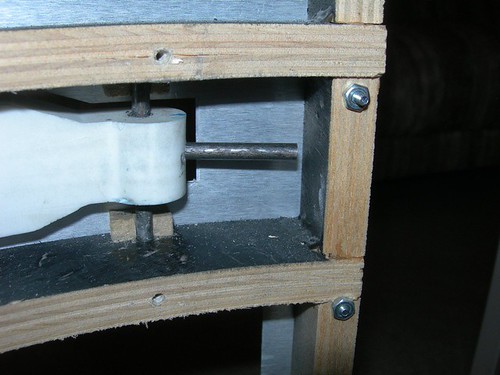
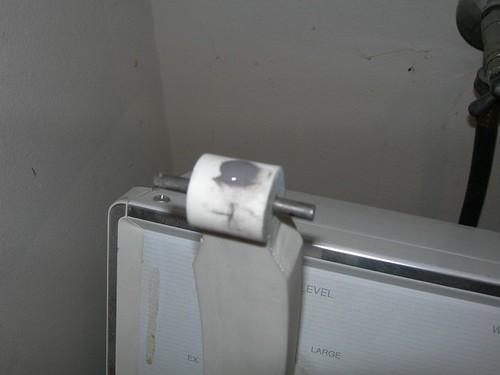
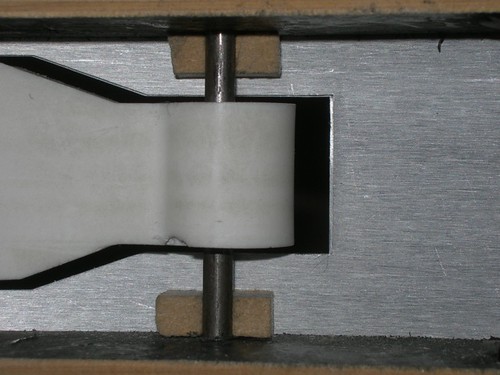
And finally, the wood screw locks down the segment around the pivot rod in the arm.
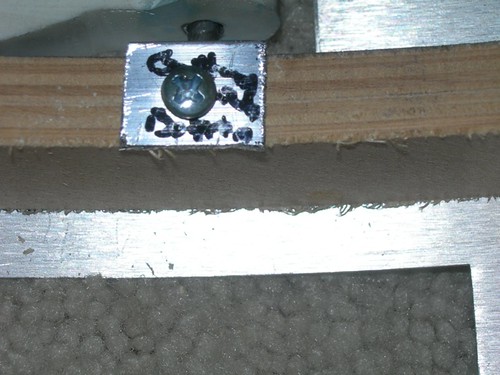
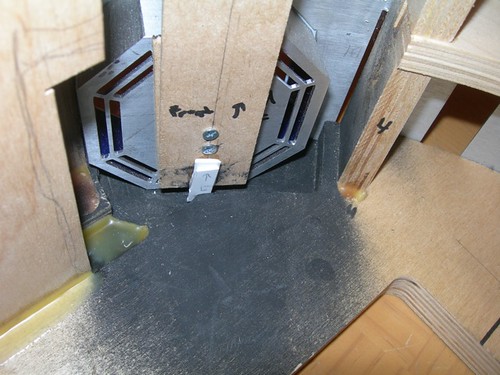
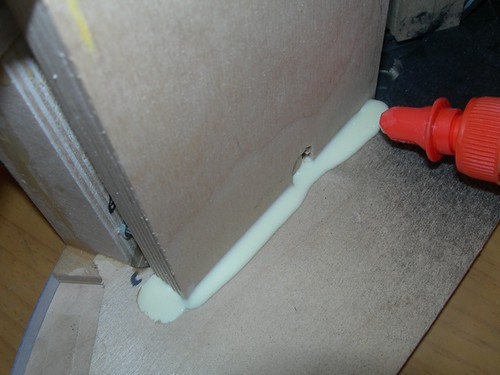
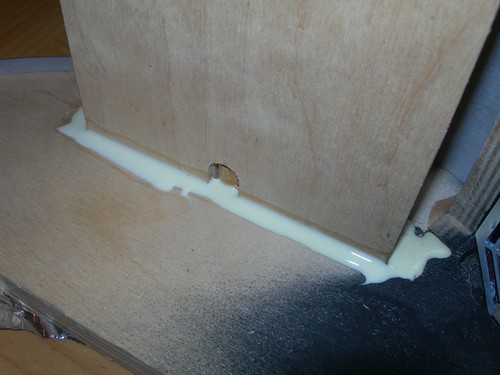
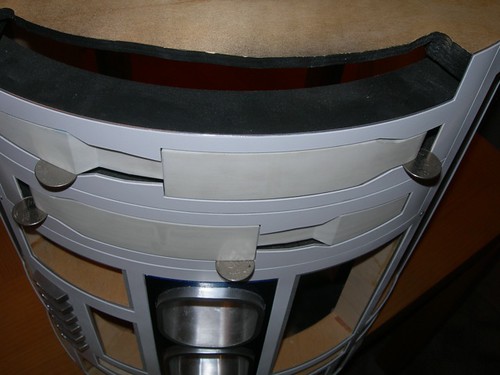
There is a 1/4" MDF rib above the top utility arm. I'm concerned about its strength when inserting a wood screw into it, so I decided to cut a small piece of 1/2" plywood and glue it down on top of this rib. I made sure that it does not interfere with the Large Data Port.
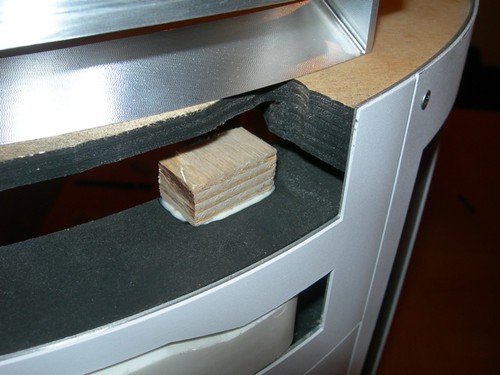
This is why one of the segments was cut taller than the others. I'm going to have the wood screw go into the 1/2" plywood once the glue has dried tomorrow, and then installation will be done. The only arm work remaining will be to drill the holes for the 3/16" rods on the pivot end of the arms that allows them to be opened and closed by a servo motor. And painting, of course.