I went to Mike's to drop off a very minor part for R2-KT, which I'll get to in a moment.
We usually use a piece of cutting board to keep the outer feet from pivoting, but for R2-KT, Mike chose to use some plywood.
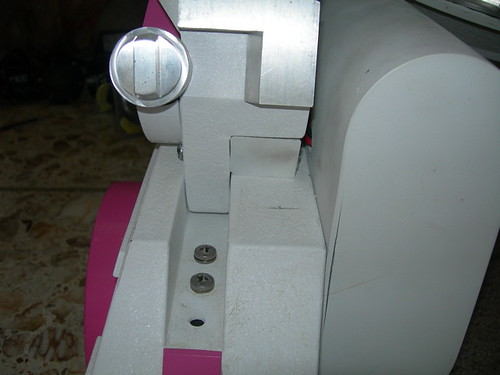
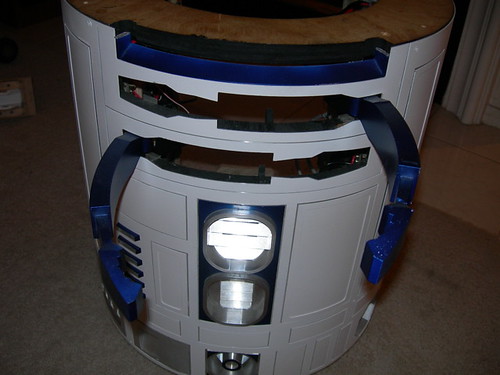
With the plywood wedges in place, and the ankles and shoulders now securely bolted down, R2-KT is much more drivable than she was before. Mike also removed the ball casters entirely from the outer feet, and moved two of them to the center foot, since they are in better shape than the original ball casters in the center foot. The vinyl lettering on the back door is in dire need of repair, however.
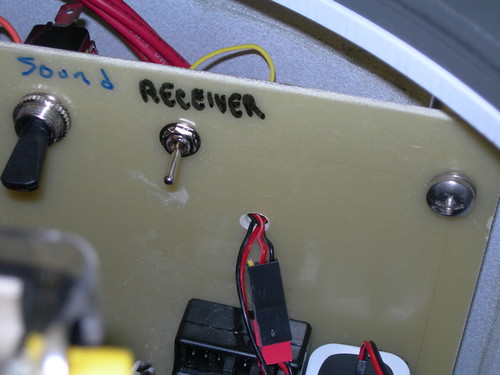
The receiver battery had no on/off switch, it was required to be manually unplugged from the receiver. I donated a 3-wire cable to allow an on/off switch in the circuit. Now R2-KT's receiver battery won't drain unexpectedly.
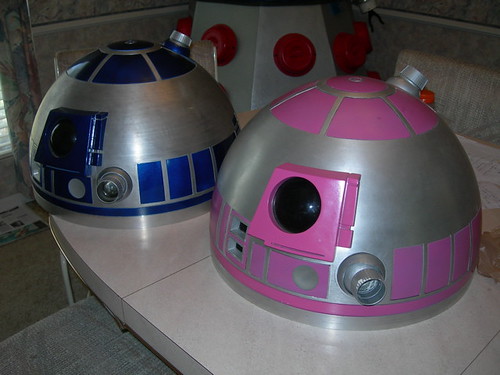
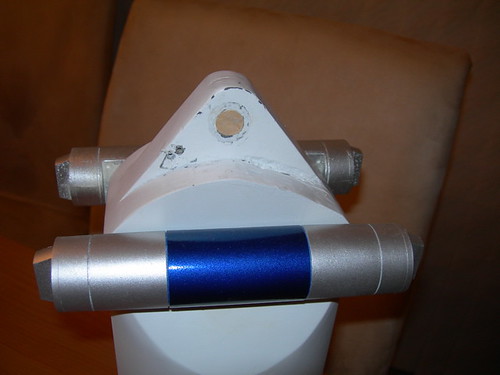
R2-KT's dome was indeed found socializing with Mike's R2-D2 dome, just as I thought.
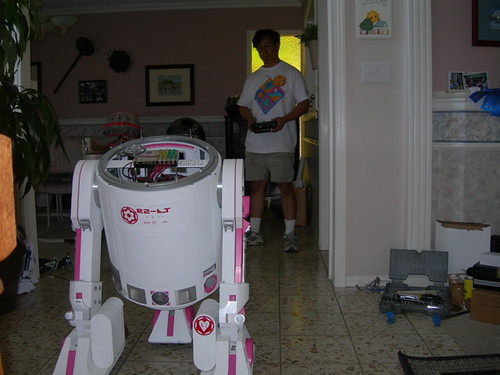
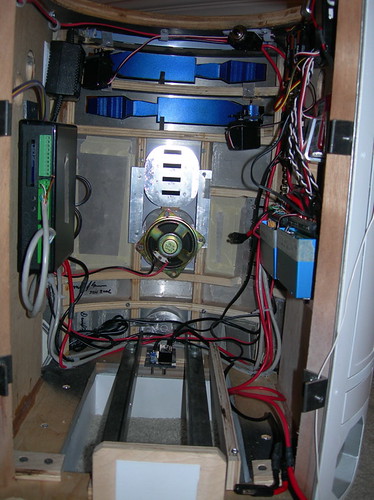
In the meantime, I just happened to bring my droid's carcass to Mike's house. While Mike was working on R2-KT, chatting on the phone and reading e-mail, I was busy getting started on making the utility arms work under remote control. Sure, I could have tried this at my house, but as usual I wanted to copy Mike's proven design. (I have no pride, I admit this readily.)
The essential ingredients are the servo motor (with hacked-up servo horn), a small MDF or plywood platform for the motor to sit on, a PVC stick, and a paper clip.

Both top and bottom arm motor assemblies are about ready to go. They just need to be mounted onto the horizontal ribs in the frame.
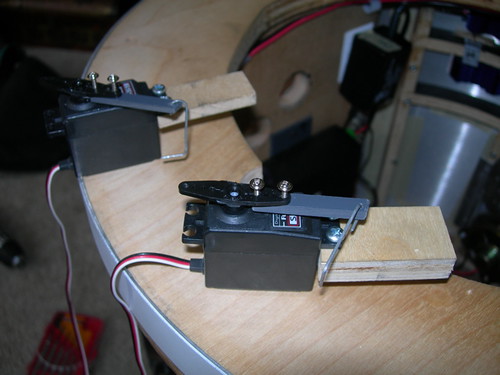
The idea when mounting the servo motor assembly is to get the servo arm and paper clip pointing in a straight line, parallel with the servo motor, when the arm is in the closed position. In this orientation, it's harder for kids (and adults) to pry open the utility arms from the outside.
It takes a little trial-and-error to get everything lined up, but with Mike's help, most adjustments were made by repositioning the servo horn on the motor, and bending the paper clip at the right point to match the hole at the end of the utility arm bar.
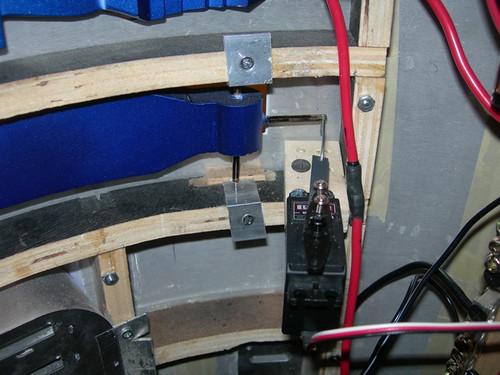
As the dial turns on the remote, the servo motor likewise turns, causing the arm to pivot open.
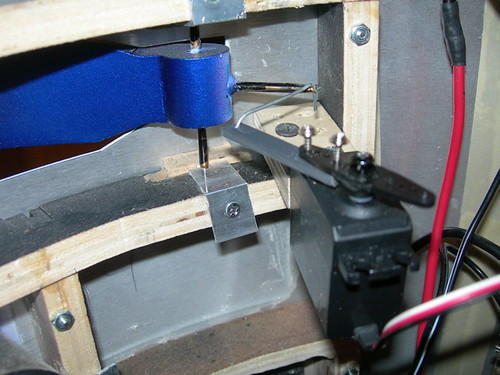
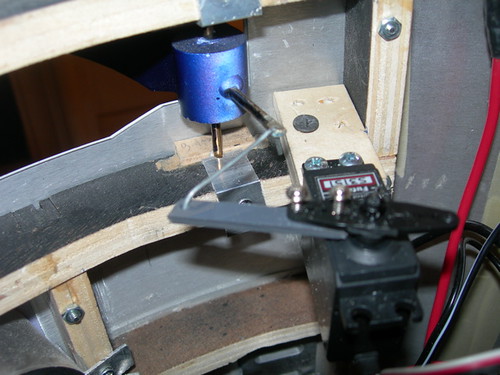
Hooray, both arms open under remote control now! I still need to paint the MDF and plywood platforms for the servo motors black, to conceal them. I also need to support the MDF platform for the top arm motor a little better, by wedging something between the servo motor and the horizontal rib from which it hangs.
In the evening, I decided to go ahead and plug the center ankle bolt hole. Like I did with the outer ankles, I will redrill the center ankle bolt hole a little closer to the tip of the ankle. This will provide a bit more clearance for the foot shell, and allow me to fix the center foot shell door holders that I had to gouge in order to slip the bolt through. I'll get to that some other time, though.
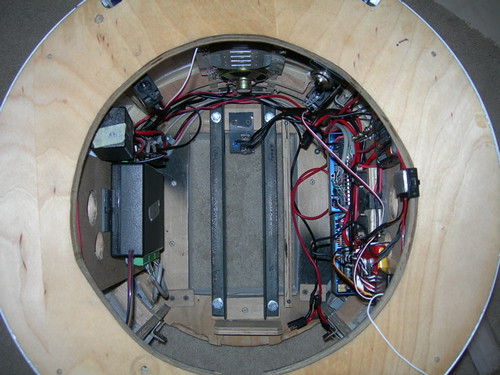
Finally, I finished cleaning up my wiring, at least to my satisfaction.
Tomorrow I hope to redrill the center ankle bolt hole, paint the utility arm servo holders black, and reattach my cylinder wedges and LDP that always seem to come off when I work on R2. Then I can start (and maybe finish) putting my droid back together.

1 comment:
Looking great Victor!!!! Very insightful about the Utility Arms. And hey, dont we all steal ideas from time to time? I know I ask alot of questions!! It keeps me from screwing up. But, its the help the other builders give that makes me appreciative. If nobody wanted to answer questions, or give advice, then building R2 wouldnt be as fun. Anyway, good to see R2KT looking new again!!
Post a Comment