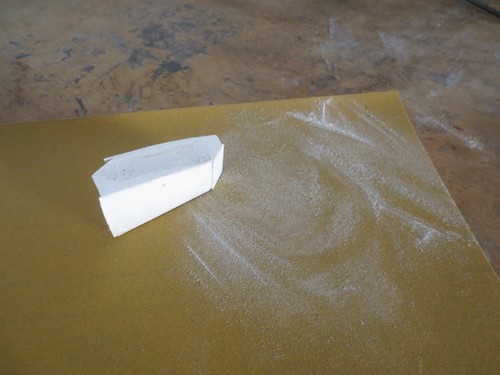
I started by using 180 grit sand paper to sand smooth the surfaces that were glued together yesterday.
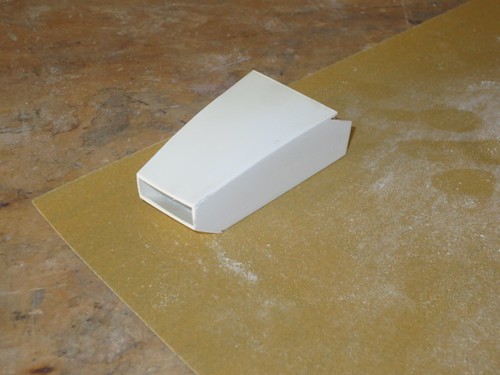
I did a test fit on the utility arm itself.
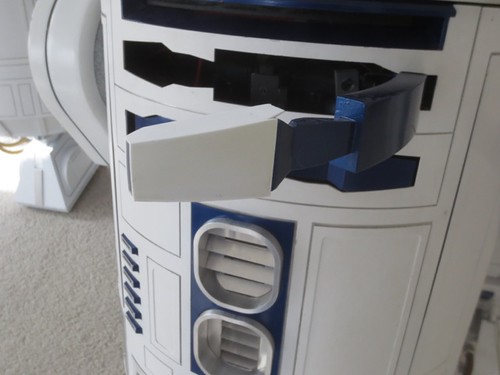
The fit is reasonably good. Not perfect, but good enough. I realize the arm won't be able to close all the way with the styrene in place, but that's part of the intent of the mystery project.
I only plan to have this cover the very end of the arm, so I will trim a bit of the excess material later. The styrene will be painted the same shade of blue, so hopefully it will all blend in reasonably well.
Finally, I glued in the tip piece, this time using CA glue.
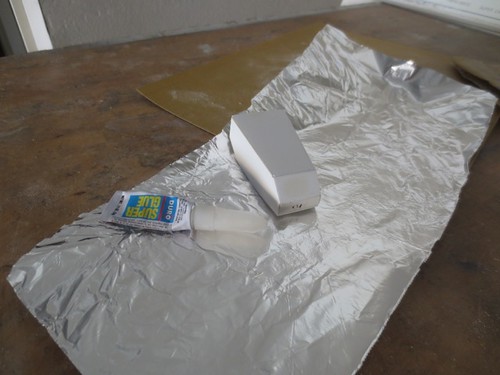
A bit more sanding, some trimming, and a little filling remain before painting.

No comments:
Post a Comment