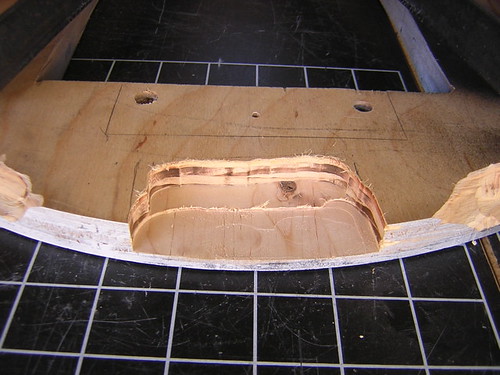
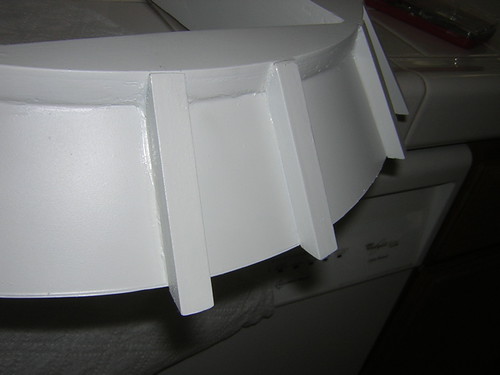
I started by using silicone to attach the left rear coin return. If this looks familiar, it's because I did the same thing earlier, only I had the pocket of the rear coin returns away from the center of the back door, when they should have been toward the center.
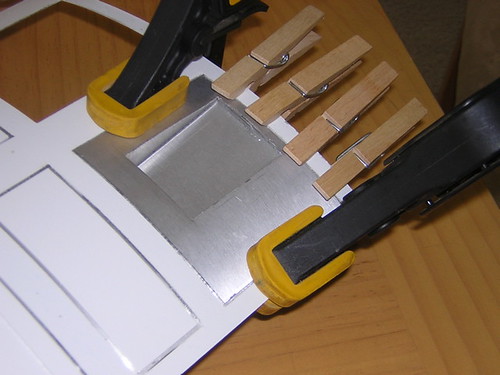
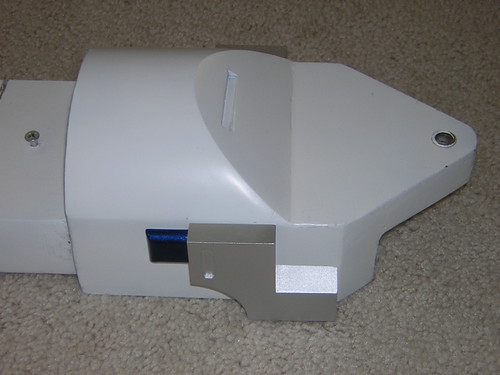
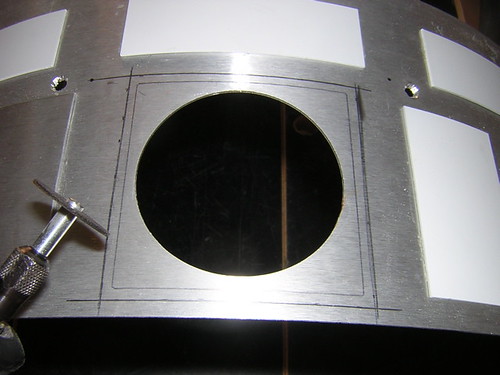
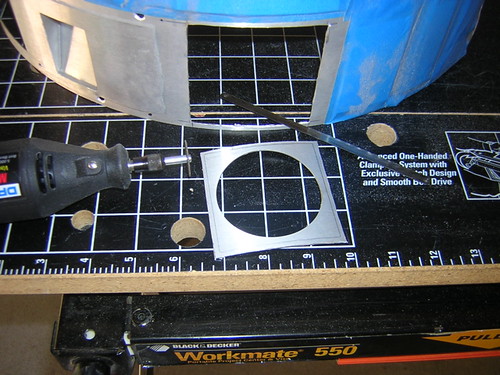
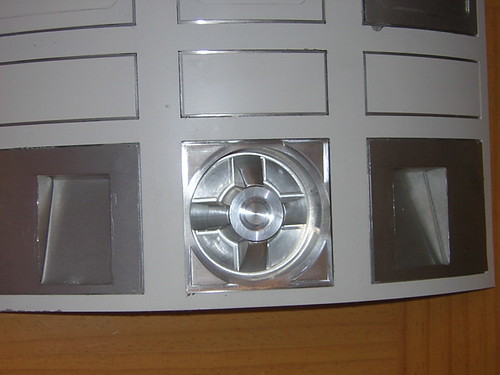
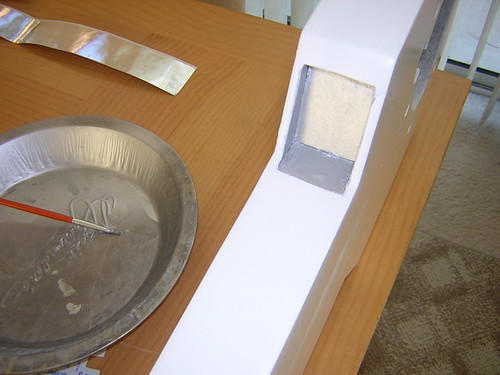
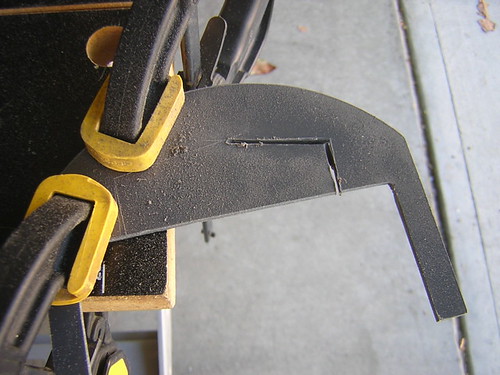
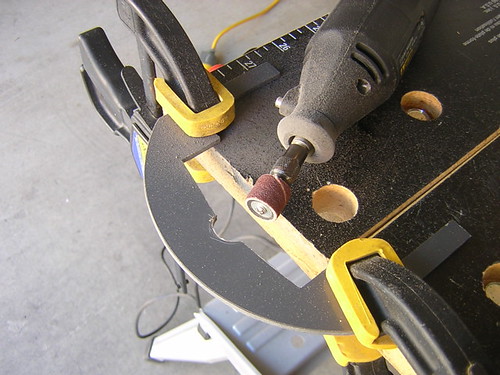
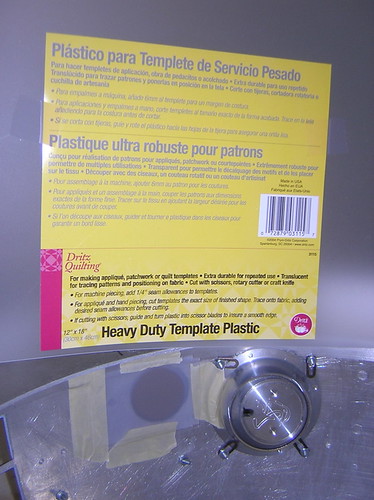
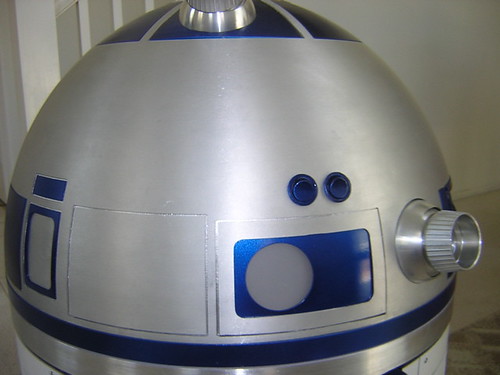
Following a tip from Doug Dixon on the board, I obtained a plastic template sheet to use as a cover for the front and rear Processor Status Indicators (PSIs). I won't know how good these work until I have the PSIs with LEDs installed, but for now they are covering up those annoying holes. I cut two layers and used masking tape to attach them to the inside of the dome.
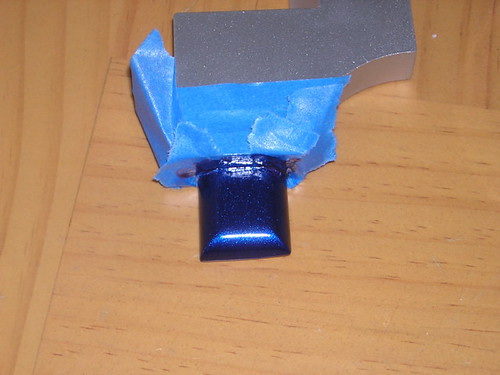
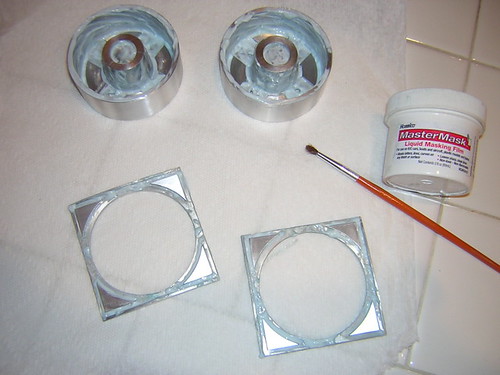
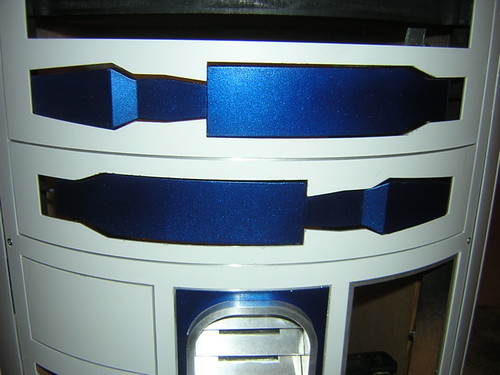
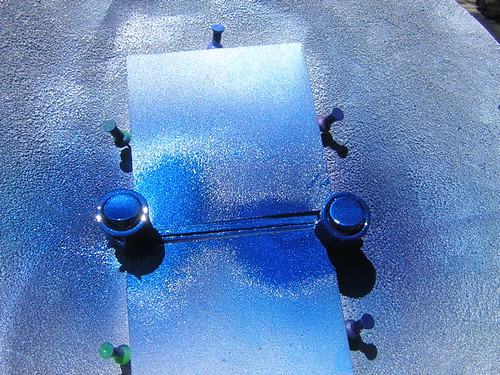
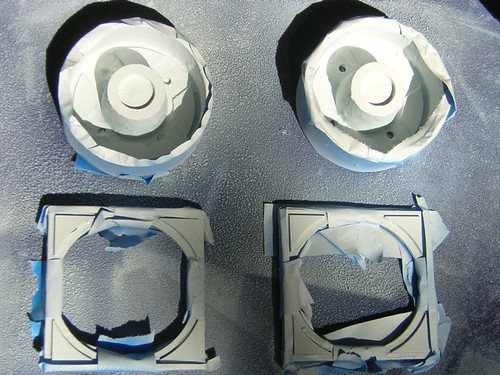
In the afternoon I applied three coats of primer to the coin returns. I'll wait 24 hours and then try painting them blue. Recall that I used the liquid latex to mask all the areas that are not to be painted. I'll have to wait until Saturday to see if that worked, when the paint should be dry enough to peel off the latex.
I finished the day by attaching the ankle details.
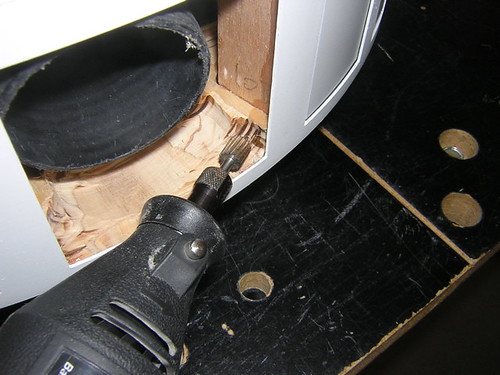
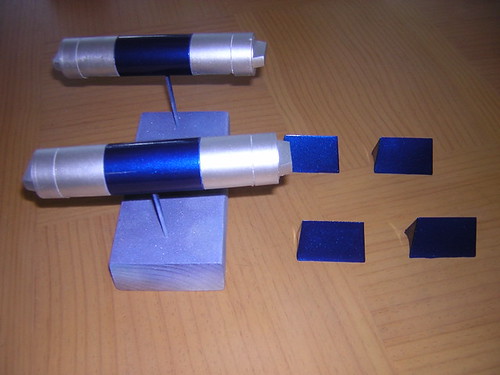
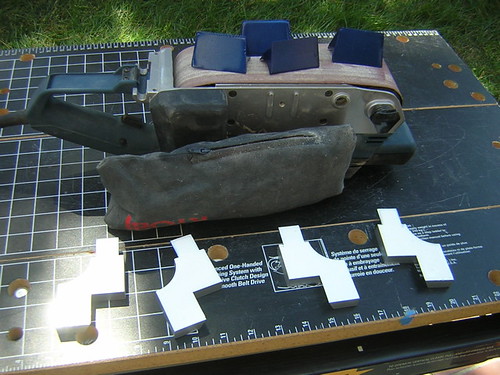
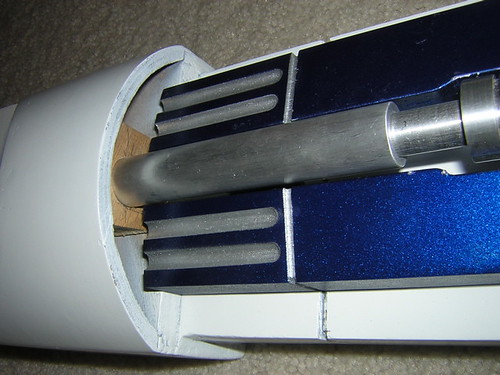
First, I traced the outline of one of the resin ankle detail pieces onto a sheet of paper, and cut it out. Then, I taped the template to the legs, and drilled through the template and into each side of each leg, about 1/4" deep. I drilled four holes per ankle detail.
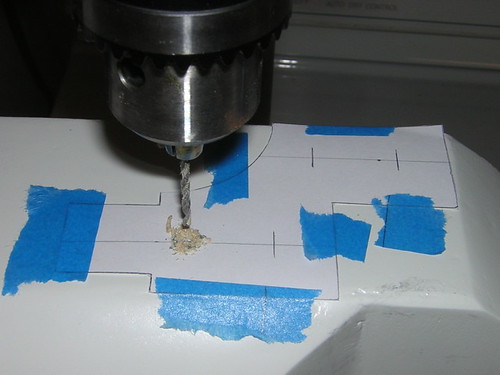
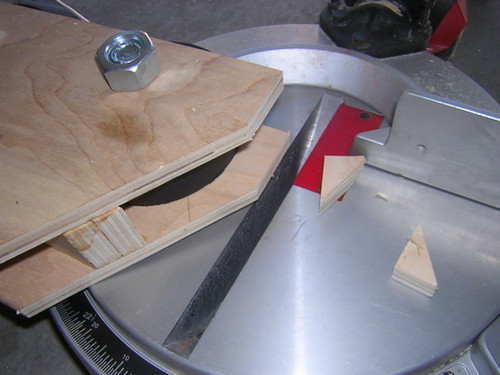
After drilling the legs, I used the same paper template and taped it to the back of the resin ankle detail pieces. I drilled through these one at a time, again about 1/4" deep. Then I used a hacksaw to cut 16 toothpicks to size. (That was fun...)
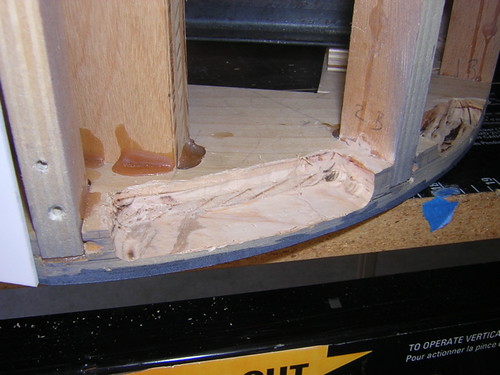
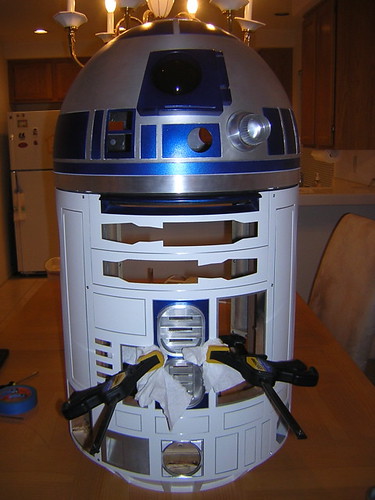
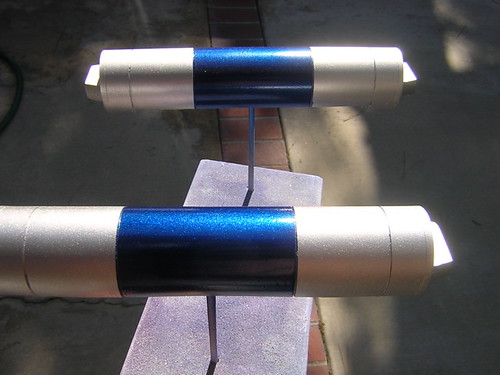
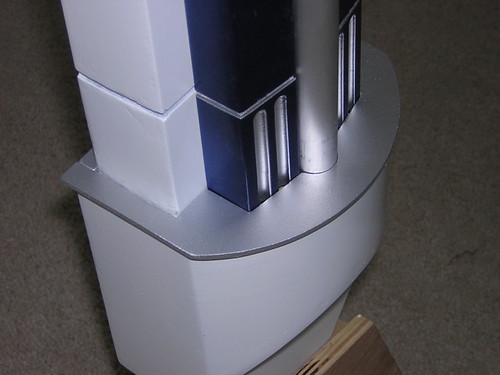
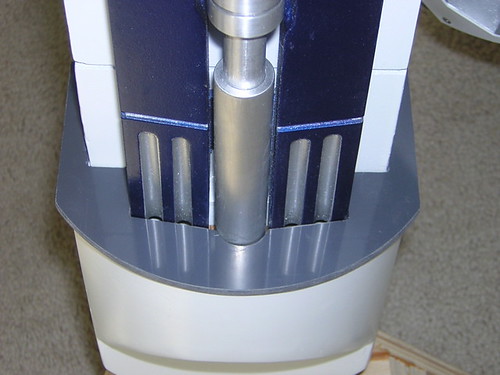
Then it was time to put it all together.
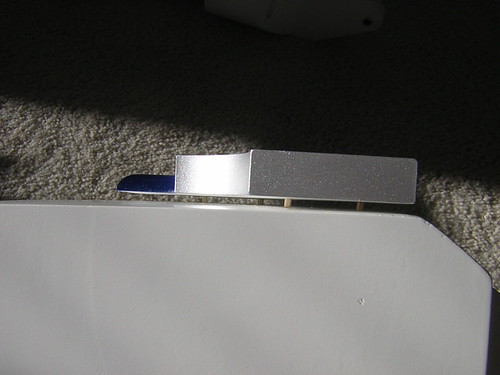
Believe it or not, this worked out very well. The ankle details fit on very tight, so tight that it will be a struggle to get them off again. Let's hope I won't have a need to take them off for a very long time.