Friday, December 23, 2005

Frame, Skin and Resin Work

Today was a fairly busy and productive day.

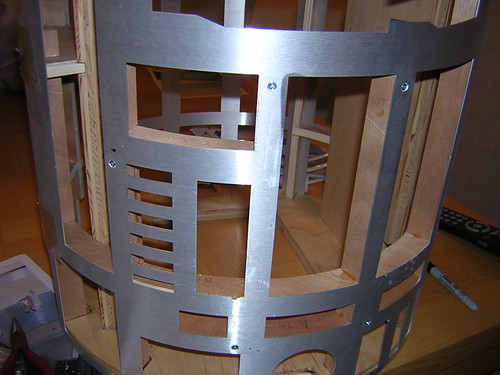
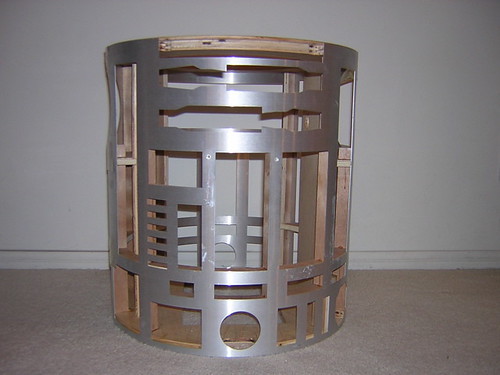
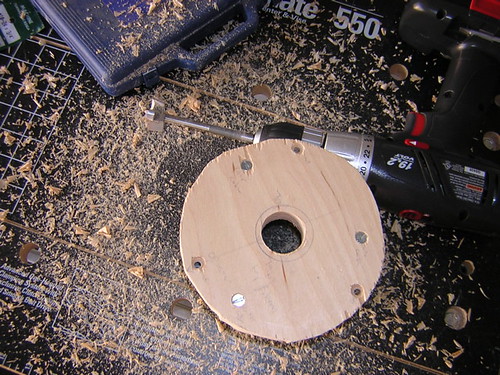
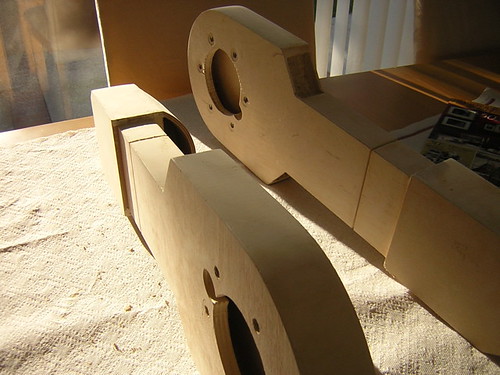
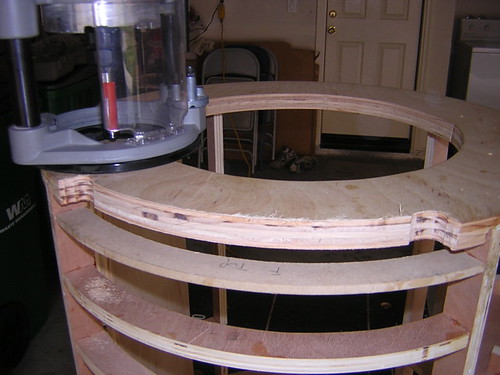
I started out by routing off the tiny amount of the top of the frame that I had left above the area of the large data port. I thought I could/should leave it there, but I was wrong, so bye-bye it went. Here's the "after" picture:


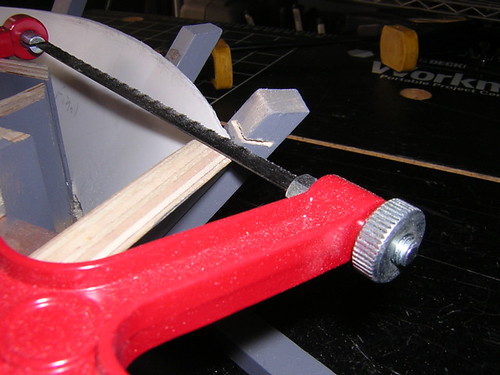
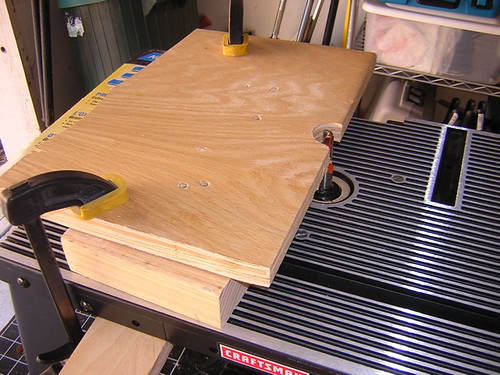
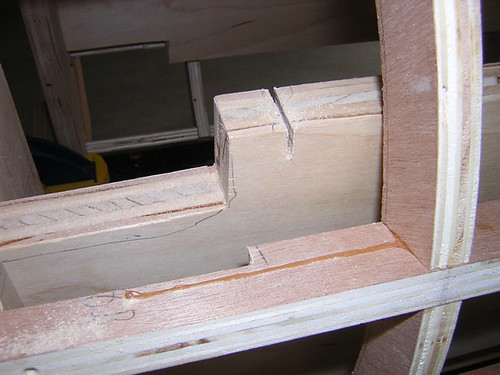
The next thing I needed to do was enlarge the slot that I cut into the bottom of the shoulder planks to make room for the octagon ports (both front and back). I didn't leave enough room, which was bad, because now the frame is all glued up, and I had to use a hacksaw blade by hand to make this cut. Very tedious.


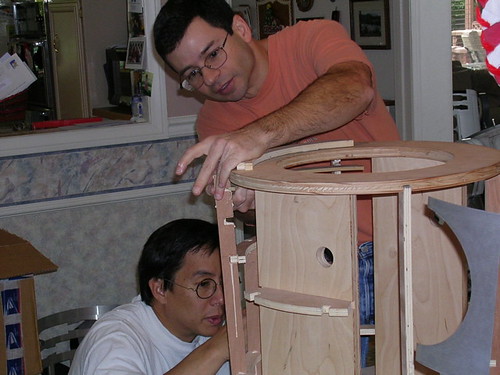
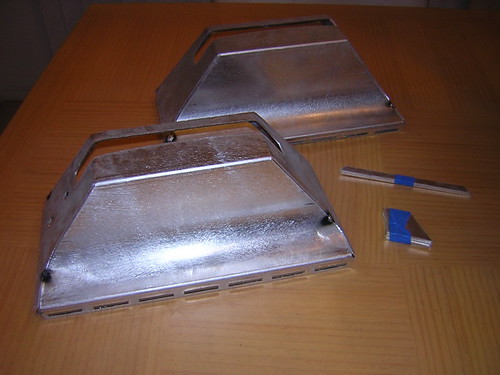
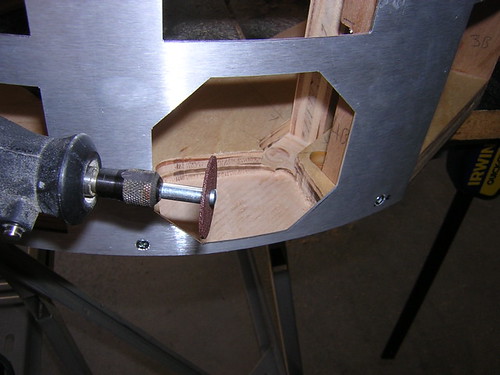
After that, on Mike Senna's advice I decided to widen the inner skins' octagon ports with a Dremel and the cutoff wheel attachment. This way, the octagon ports will sit flush against the outer skins, instead of the inner skins. You can see the "after" results in the background of one of the pictures below. Here's a "before" look:


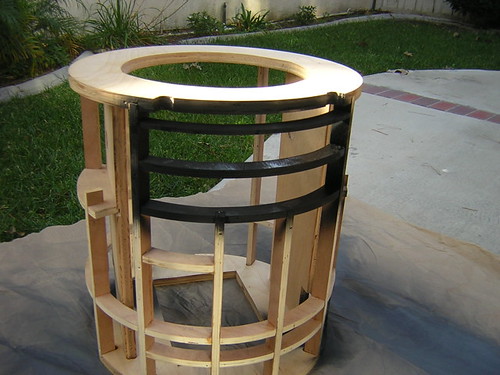
Again on Mike's advice, I painted selected areas of the frame black. These areas might be seen from the outside. For example, if/when the utility arms open, that area will be dark. If I choose to sand and cut the octagon ports so that the ribbing on the back is cut like a web with openings, the background there too will be dark.


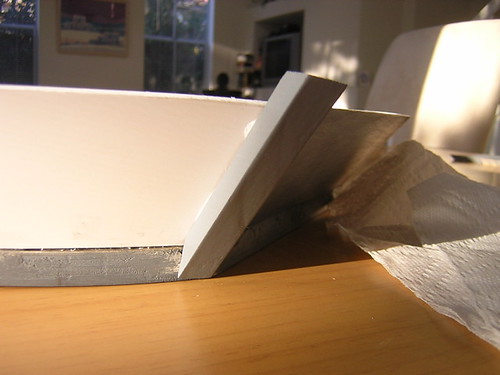
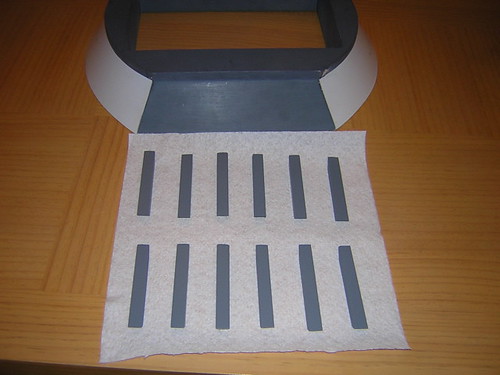
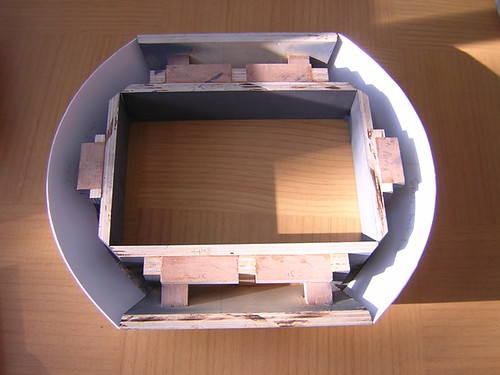
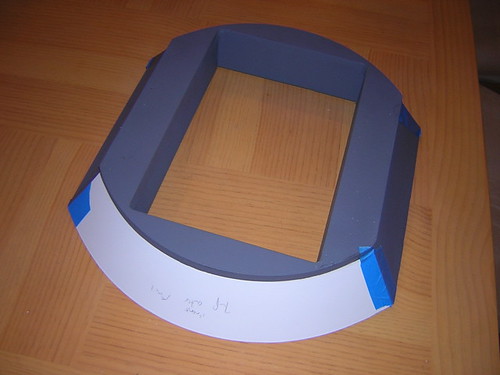
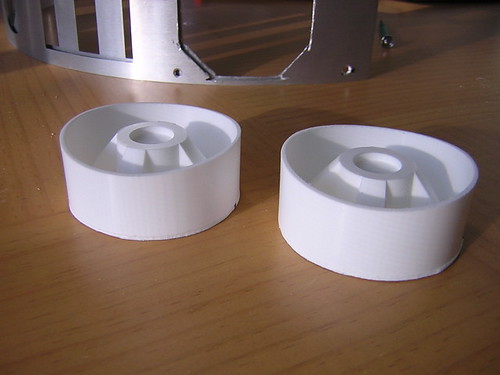
Next I sanded the resin power couplings using a piece of sandpaper face up, taped to a curved piece of one of the aluminum skin cutouts that maintains the overall radius of the skin curvature. I sanded the face of the power coupling against this curve, so that the power coupling will rest flush with the inside of the skins. Here's an "after" look:


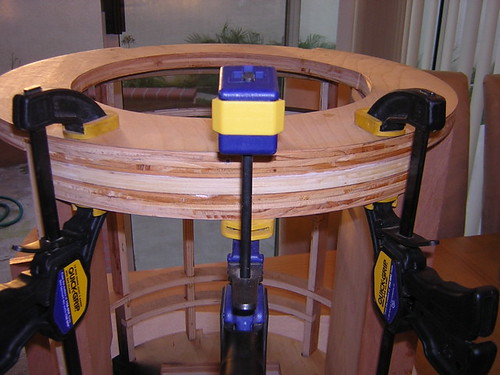
Finally, I cut out and glued together the top of the door frame for the back panel. It ended up being a little thicker than I intended, but it should be okay. I can always route it down if need be. I haven't decided if I should make side door frame strips, or just hold the door on with brackets and screws.
Wednesday, December 21, 2005

Drilled Inner Skins

I finished drilling and countersinking the inner skins tonight, for the screws that will attach them to the frame. Next up, drilling the outer skins, which will require great care, since these will show to the outside world.

Saturday, December 17, 2005

Frame Glued Up(!), Started Skin Attachment

Mike Senna was kind enough to let me come by again, so I could receive much needed guidance and assistance on the big frame glue-up, and the start of the skin attachment.

We both worked the glue bottles and got the frame glued up lickety-split. I thought this would be an iterative process, using clamps and grips to hold parts of the frame together. Instead, we just worked through the entire frame in one shot, glueing up pretty much everything except the tall wooden shoulder planks, and the pie wedges that help hold them in place. (The shoulder planks will be glued after the shoulder hole has been cut, the pie wedges won't even be glued at all, believe it or not.)

After gluing, we used some of that really strong tape with the threads in it, and stuck it at the top-, middle-, and bottom-side areas of the skins on each side, and stretched the skins as tight as possible around the frame. We pretty much got a perfect fit, and we let the glue set for a couple of hours.


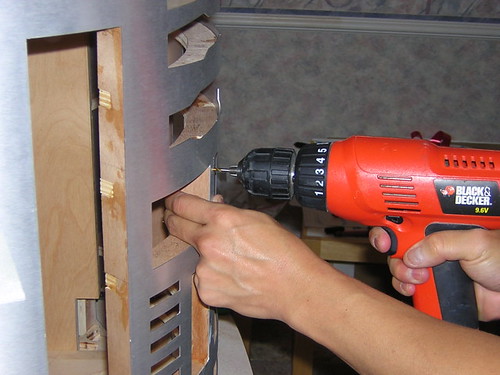
Next, we ensured the alignment of the skins to the frame was as good as possible, and then Mike showed me how to drill and countersink the holes for the screws that attach the skins. Only two holes on the front inner skin so far, but that's enough to get me started.


If that wasn't enough good R2 news for the day, Dave Everett's center internal vents arrived today too.

I'm on vacation until the New Year, so I'd like to get the skins all attached and painted, and the legs attached as well before vacation ends. Here's hoping, anyway.

Wednesday, December 14, 2005

Filed Down Skins

One of the tedious parts of working with the aluminum skins is the filing down all the tabs that hold the various panels in place. I counted a total of 76 unique pieces in my set of aluminum skins, once all the pieces had been separated and filed smooth where needed. Still, I love the aluminum skins! They are now ready for primering and painting. (No picture, too boring.)

Monday, December 12, 2005

Finished Cutting Skins

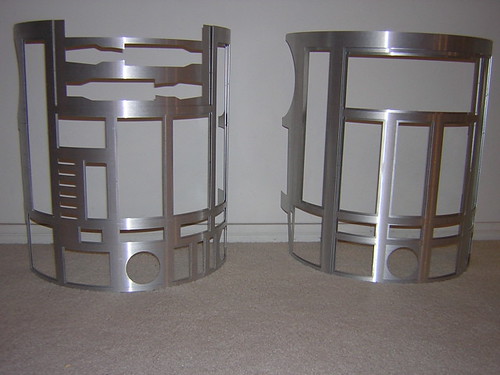
I finished cutting the skins tonight:


Earlier in the evening I picked up lots of paint and primer for the skins.

Sunday, December 11, 2005

Routed LDP Area, Sanded Resin, Started Cutting Skins

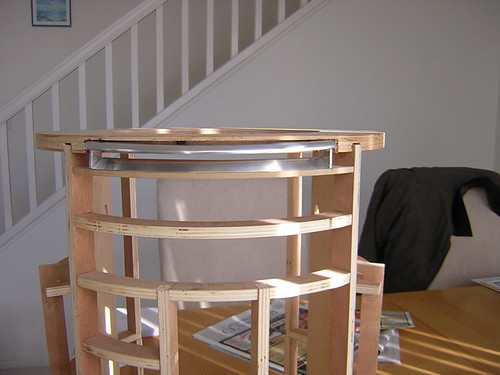
I routed out the area of the frame that contains the Large Data Port (LDP), and did a test-fit:


While I was working on the frame I also trimmed a couple of ribs and the shoulder planks (no pictures posted for this), to better accommodate the octagon ports.

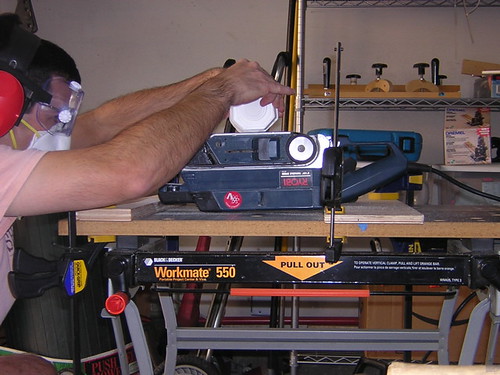
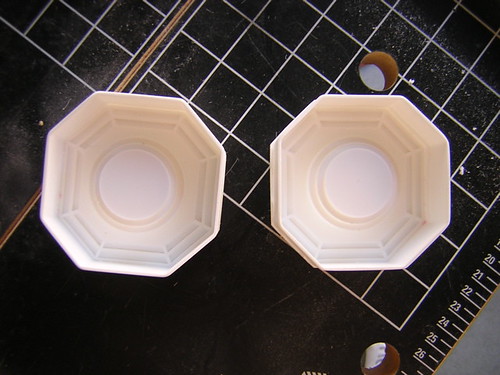
Speaking of the octagon ports, I flipped the belt sander upside-down, secured it, and went to work sanding away. I figured resin dust is probably not a good thing to breath, so I wore a mask along with the goggles and ear protection. I sanded them down to the point that there was only about 1/16" extra overhang. I may hand-sand the rest, or I may leave them as-is. I haven't decided. See More Resin Parts for a "before" look.


Finally, I started cutting out parts of the aluminum skins with a hacksaw blade. Still much more to do, I've only gotten started.

Saturday, December 10, 2005

Finished Main Skirt Build, Routed Frame

I finally finished the main skirt work. All that remains is a bit of filling in of small gaps here and there, and painting the thing.

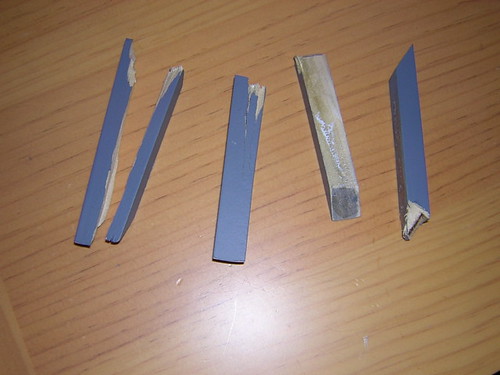
This would be a pretty misleading weblog if I just showed the stuff that went right, because lots of things go wrong (seemingly more often than not). Remember those wooden dowels I used for the ribs? Well, routing them down with the router table didn't always go so well. These ribs below were literally ripped from the skirt as I tried to route them:


So I remade a few ribs, and for those that were already glued on, I cut them down with a hacksaw (which lead to sloppy results). The ribs that came off were remade and cut to size before gluing.


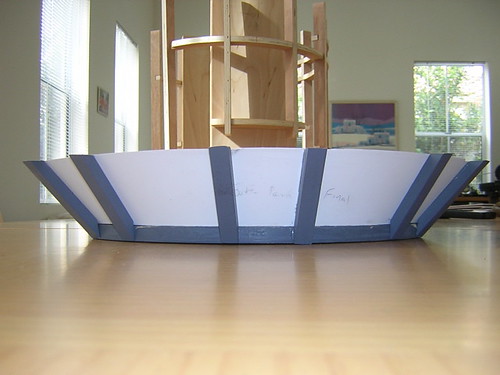
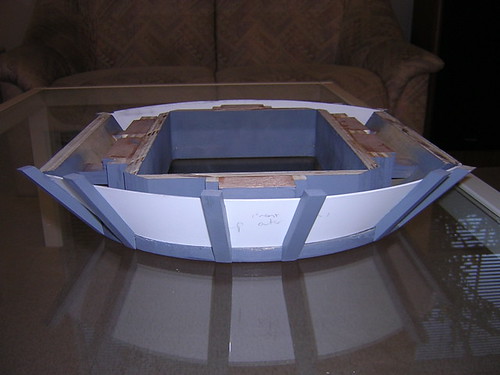
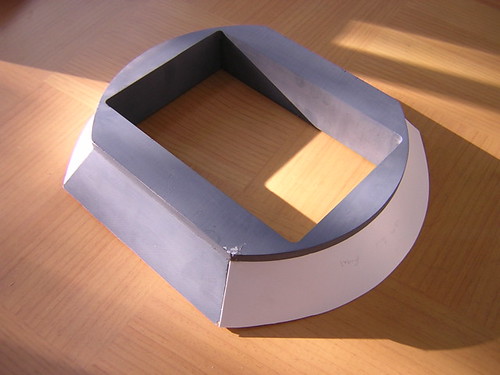
Here's how the skirt turned out. I may one day redo the styrene and the ribs, but for now, this will do. (That's my upside-down frame in the background, for reasons that are about to become clear.)


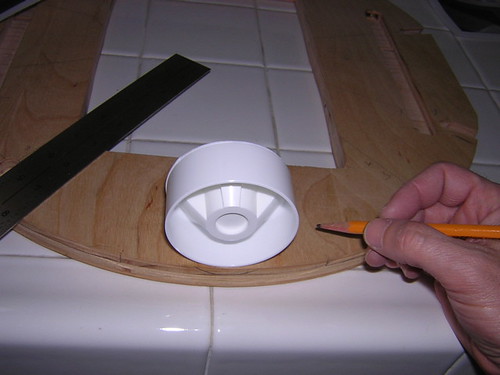
Next I returned to my long-neglected frame. Now that I have the resin power couplings and octagon ports, I am able to mark up areas of the frame that need to be routed out to accommodate these parts. So I turned the frame upside-down and pulled off the still-loose base plate and started marking away:


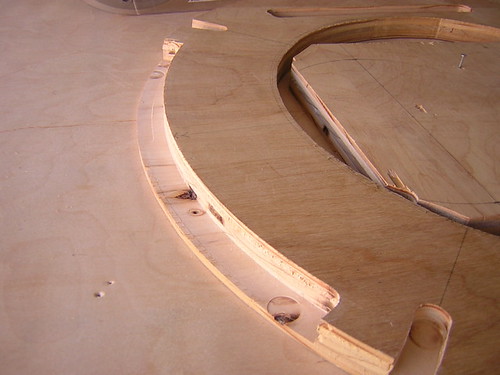
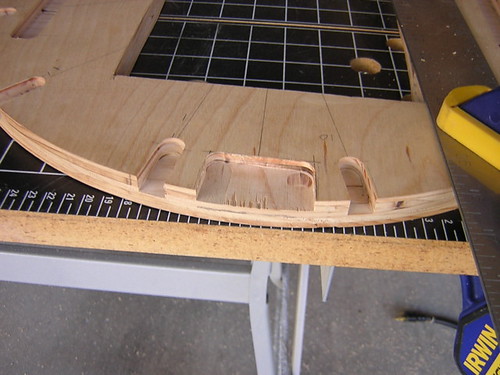
Then I routed the marked areas. Below is the area for the center-front power-coupling:


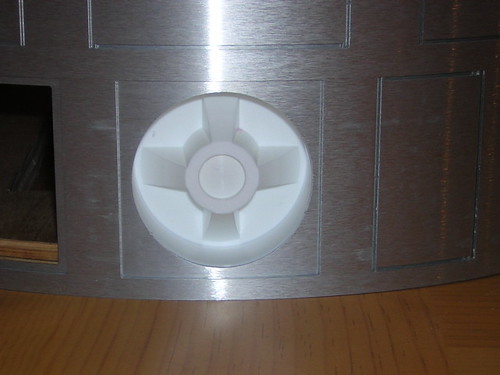
I did several test fits of the resin parts as I went, adjusting the depth of the router bit and area being routed as necessary. Here's the final fitting:

Sunday, December 04, 2005

Started Gluing Skirt Ribs

I started gluing the skirt ribs onto the curved styrene part of the skirt today. I also tried routing the ribs down to size (on the other side of the skirt in the photo below), but I ended up mangling a few of the ribs due to poor feeding into the router, and the fact I didn't let the glue dry long enough. So I'll let these dry for a day (or a week, or whenever I have enough daylight to use the router again) and try again.

Saturday, December 03, 2005

Finished Prepping Router Table, Glued First Skirt Rib

Between applying coats of primer to the legs, I finished my router adapter plate for the router table, and set up the router table to be able to trim the overhang of the skirt ribs:


Next I glued the first skirt rib for a test run of a trim with the router, which I will do tomorrow. The idea is to turn the skirt upside down, and let the spinning router bit trim the overhang of the rib, flush with the top of the upside down skirt (technique courtesy of Mike Senna).

Friday, December 02, 2005

Feet Arrive

The budget feet I purchased from Anna arrived today (box 1 of 2 so far):

Thursday, December 01, 2005

More Resin Parts

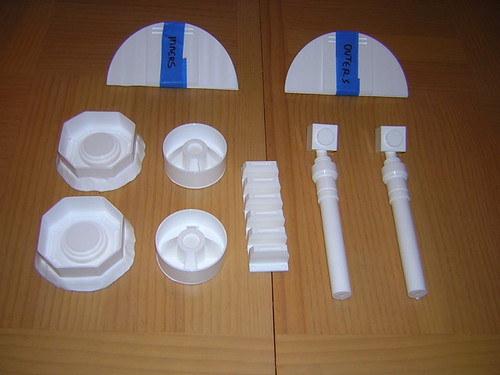
Another outstanding batch of resin parts arrived from Keith today. The order was comprised of pairs of octagon ports, power couplings, inner & outer half moons, leg struts, and a coin slot strip. Thanks again, Keith!

Sunday, November 27, 2005

Skirt Ribs - Third Try's the Charm

Let's see... First I tried using 1/4" MDF strips 1/2" wide for skirt ribs, but they ended up being too short. Then I tried 3/8" square dowels, but they ended up being too tall and narrow. What to try next?

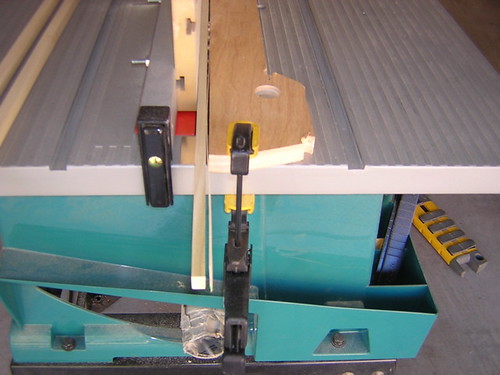
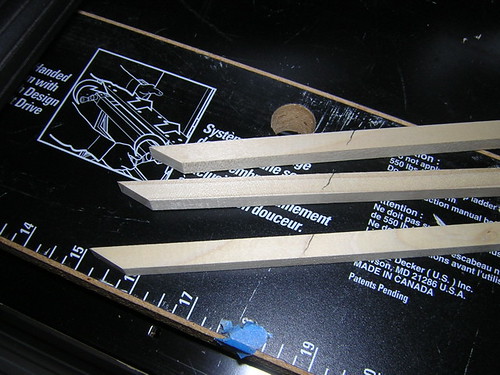
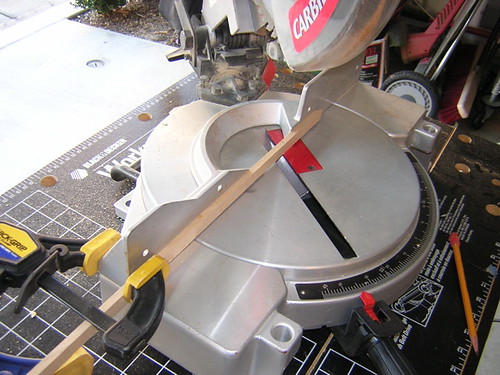
I took 1/2" square dowels and trimmed them in one of the dimensions to a little less than 3/8", leaving them 1/2" wide in the other dimension, as the blueprints suggest. First I had to trim the dowels (carefully and safely) using the table saw:


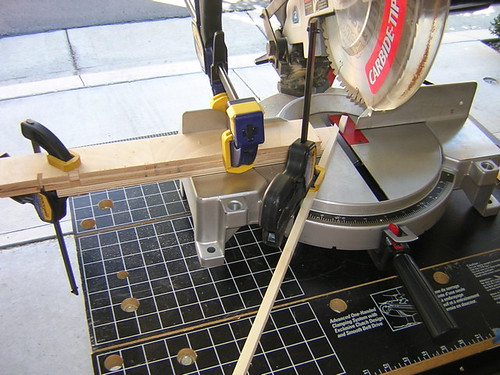
Next I cut the steep angle that rests up against the bottom of the skirt:


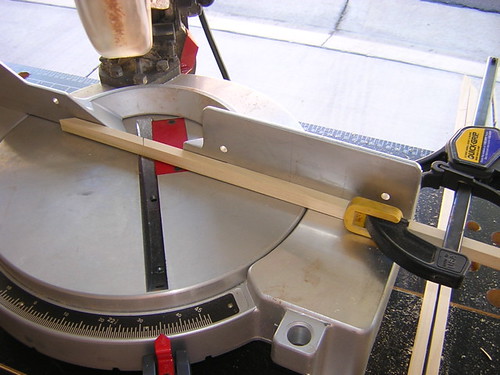
Then I cut the other angle that runs parallel with the top of the skirt. This will be cut flush with the top of the skirt later using the router to shave off the part that rides above the top of the skirt:


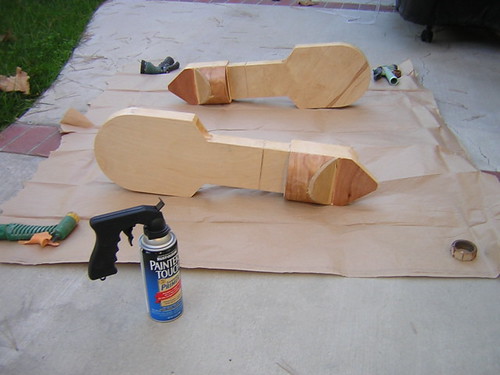
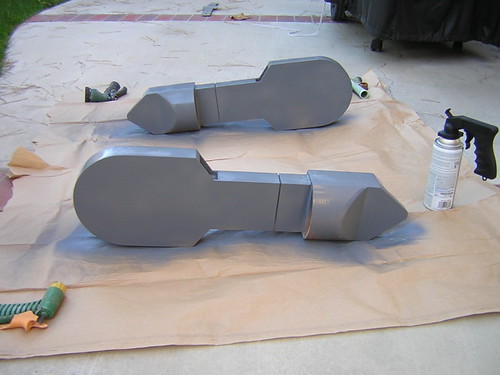
Finally I primered them, along with the legs that I had been sanding and primering throughout the weekend:


I just need to glue the ribs on and route them down to size. May need to sand the inboard parts of the ribs to make them fit the skirt snugly in places too.

Saturday, November 26, 2005

More Primering and Sanding, Recut Skirt Ribs

Just like puttying and sanding, the primering and sanding will go on indefinitely. Still trying to get the legs ~100% smooth. I also tried recutting the skirt ribs, with trials using 1/2" square and 3/8" square dowels to see if they would align with the skirt base better. The 1/2" dowel was much too large, the 3/8" dowel was just a touch too tall, but 1/8" too narrow to spec. I may try cutting some of the 1/2" dowels down to just under 3/8" in one of the dimensions to see if I can get it just right.

Tuesday, November 22, 2005

Started Primering Legs

Wow. After all these months of staring at wooden legs, I finally started applying primer to them. As odd as it seems, I consider this quite a milestone. Here's the before/after:


Michael McMaster's excellent C3 DVD set also arrived today. :)

Saturday, November 19, 2005

More Primer, Wood Hardener, Skirt Work, etc.

More primer on center leg. Applied Minwax wood hardener to left and right legs, thus declaring the base form of the legs COMPLETE. Filed styrene on skirt to be more level and more aligned with the wooden siding. Drilled holes for router table adapter I'm building.

Thursday, November 17, 2005

Primered Skirt Ribs & Other Detailed Work

This morning I put a coat of primer on the skirt ribs, and a second pass on the center leg. Got home, sanded down the primer with 400 grit sand paper, and did another round of primer. Finished marking up base plate of frame where routing needs to take place to make room for various details (power couplings, octagon ports, coin returns, pocket vents).

I ran a test of the Minwax wood hardener on a piece of scrap with Plastic Wood coated on one edge (similar to the legs) and it seemed to work, so I think I will try the wood hardener on the edges of the legs with Plastic Wood as well as the sides. I do want to make sure the wood hardener handles a coat of primer well first, though.

Let's see, what else? Well, I need to file the styrene on the skirt, as I did my first setting of the frame on the skirt, and it was evident that the top of the styrene was hitting the bottom of the frame too high in places. Who knows, I may even redo the styrene if I'm too unhappy with it, but let's see how the filing goes first.

Sunday, November 13, 2005

Sanded/Puttied Legs, Cut Skirt Ribs

The end is near for the sanding and puttying of the legs. They are just about done (really). Here's a so-so look:


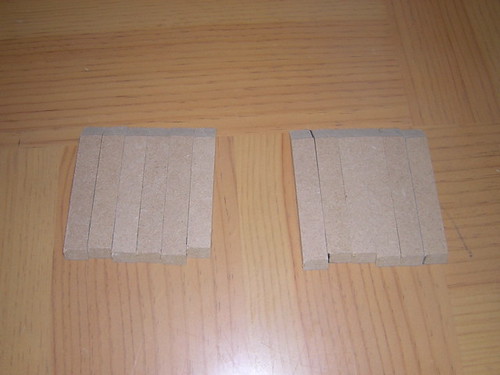
Next I cut the ribs for the skirt:


Saturday, November 12, 2005

Sanded Legs, Glued Styrene on Skirt

I spent the morning sanding the legs where I added lots o' Plastic Wood wood filler. Legs may be done with puttying and sanding real soon.

Spent the afternoon working on the skirt, mainly gluing the styrene onto the wooden skirt (primered in gray). Here are a couple of views, upside-down and right-side up. (Yeah, a little bit of newspaper stuck to the glue in one corner, I'll sand that out.)


Monday, November 07, 2005

Finished Cutting Styrene for Skirt

I finished cutting the curved styrene parts of the skirt tonight. As you may have guessed, it isn't easy to get these perfect, and mine are still not 100% perfect, but I think they'll do.

Right now they're taped on. I still need to glue them in, and cut and glue the ribs that go on the styrene.

Reorganized Web Page

Okay, even I thought the web page was getting out of hand. So rather than show every post in history, I've changed the front page to only show the last 30 posts. All posts are still available by clicking on the various monthly archive links on the right.