This would be a pretty misleading weblog if I just showed the stuff that went right, because lots of things go wrong (seemingly more often than not). Remember those wooden dowels I used for the ribs? Well, routing them down with the router table didn't always go so well. These ribs below were literally ripped from the skirt as I tried to route them:
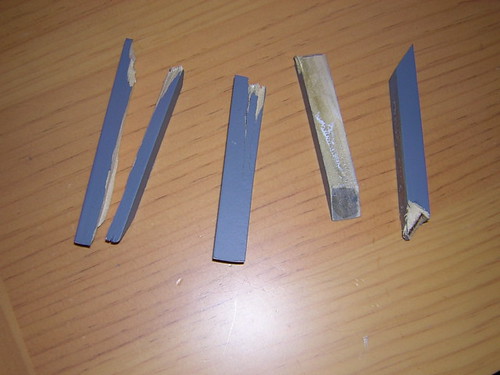
So I remade a few ribs, and for those that were already glued on, I cut them down with a hacksaw (which lead to sloppy results). The ribs that came off were remade and cut to size before gluing.
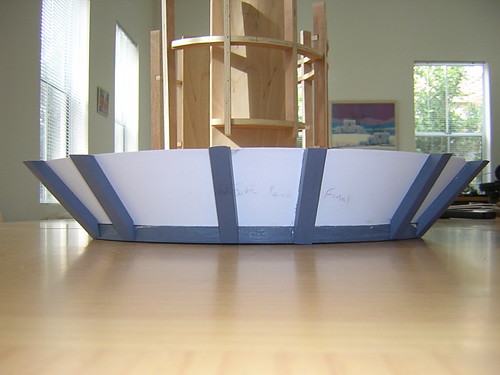
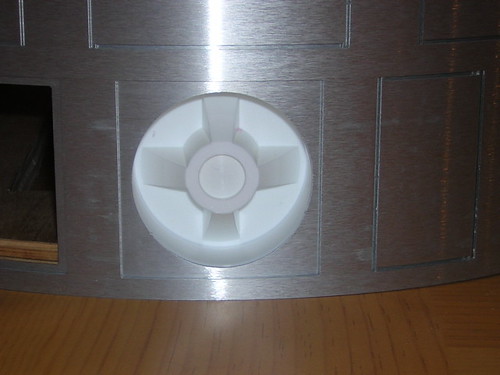
Here's how the skirt turned out. I may one day redo the styrene and the ribs, but for now, this will do. (That's my upside-down frame in the background, for reasons that are about to become clear.)
Next I returned to my long-neglected frame. Now that I have the resin power couplings and octagon ports, I am able to mark up areas of the frame that need to be routed out to accommodate these parts. So I turned the frame upside-down and pulled off the still-loose base plate and started marking away:

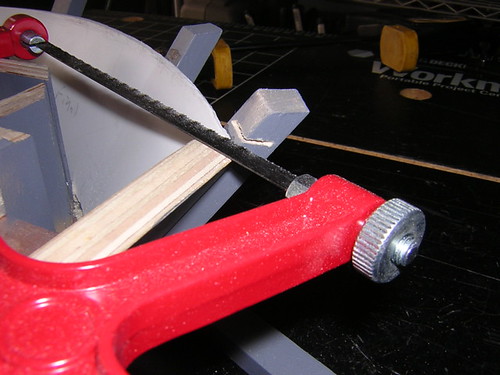
Then I routed the marked areas. Below is the area for the center-front power-coupling:
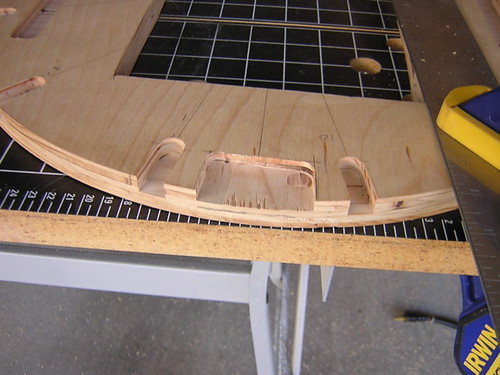
I did several test fits of the resin parts as I went, adjusting the depth of the router bit and area being routed as necessary. Here's the final fitting:

No comments:
Post a Comment