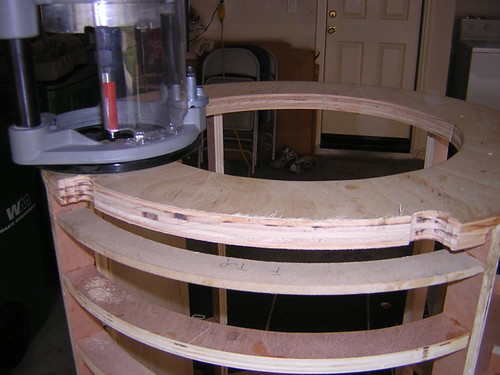
I started out by routing off the tiny amount of the top of the frame that I had left above the area of the large data port. I thought I could/should leave it there, but I was wrong, so bye-bye it went. Here's the "after" picture:
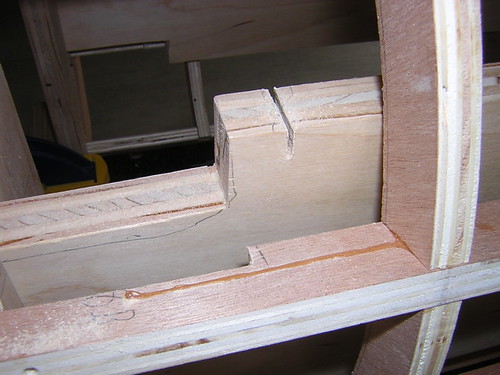
The next thing I needed to do was enlarge the slot that I cut into the bottom of the shoulder planks to make room for the octagon ports (both front and back). I didn't leave enough room, which was bad, because now the frame is all glued up, and I had to use a hacksaw blade by hand to make this cut. Very tedious.
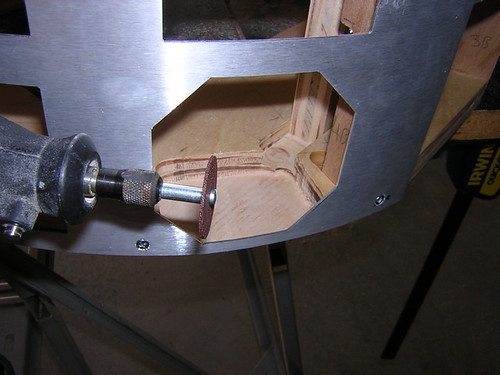
After that, on Mike Senna's advice I decided to widen the inner skins' octagon ports with a Dremel and the cutoff wheel attachment. This way, the octagon ports will sit flush against the outer skins, instead of the inner skins. You can see the "after" results in the background of one of the pictures below. Here's a "before" look:
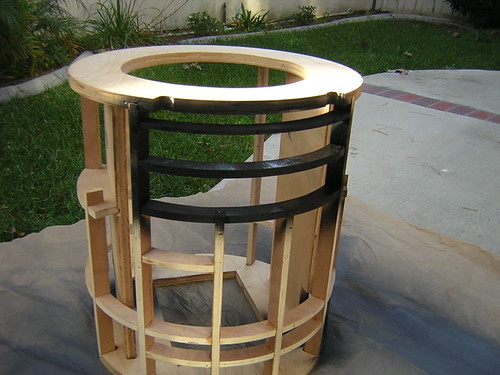
Again on Mike's advice, I painted selected areas of the frame black. These areas might be seen from the outside. For example, if/when the utility arms open, that area will be dark. If I choose to sand and cut the octagon ports so that the ribbing on the back is cut like a web with openings, the background there too will be dark.
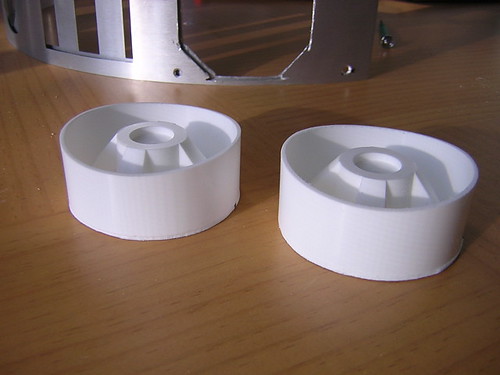
Next I sanded the resin power couplings using a piece of sandpaper face up, taped to a curved piece of one of the aluminum skin cutouts that maintains the overall radius of the skin curvature. I sanded the face of the power coupling against this curve, so that the power coupling will rest flush with the inside of the skins. Here's an "after" look:
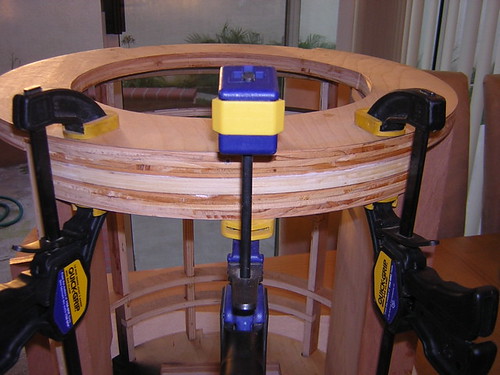
Finally, I cut out and glued together the top of the door frame for the back panel. It ended up being a little thicker than I intended, but it should be okay. I can always route it down if need be. I haven't decided if I should make side door frame strips, or just hold the door on with brackets and screws.

No comments:
Post a Comment