Today R2 paid his quarterly visit to Childrens Hospital Orange County.
As usual, we visited every floor (six in all), and stopped by the Play Rooms on each floor.
One of the transplant patients that we visited last quarter is still there, and he had the picture he took with R2 on our last visit posted on his door.
We visited many patients, and as always, the staff was equally amused.
Another good visit, and we'll be back in the fall, possibly sooner.
Tonight R2 participated in his fourth consecutive Star Wars Night at Dodger Stadium. This evening's appearance was to help promote the Course of the Force charity light saber relay, benefitting Make A Wish.
First things first. I did remember to use all four bungee cords to strap R2 down in the Droidmobile.
Here'a video preview of our main event on the field before the game. R2 on the video board!
Tonight's visit was much like last year's. I arrived early and was allowed to park as close as possible to the stadium, for droid unload.
The characters changed in the Jackie Robinson room, not far from the Press Box, and in the same area as the luxury suites.
As was the case last year, some of us went straight to the field, while others visited Autograph Alley and joined the field group later. Luckily, R2 was with the group going down to the field. We made our way through the now-familiar corridors, labyrinths and passageways.
Back into that elevator that gets me from below ground to the field level!
While the visiting Cincinnati Reds were taking batting practice, R2 and the other characters visited with fans on the field level.
I had a chance to chat with Jim Campanis. Jim's dad Al actually traded Jim to the Royals years ago!
Ben Platt used to operate a roving robot at Dodger Stadium, and writes for their website. He had some funny stories to tell about how he would remotely provide his synthesized voice live to the robot so it could interact with fans.
Dodgers photographer John SooHoo and I had another nice chat. He's such a friendly guy. (And tall.)
Local Fox Sports broadcaster Jaime Maggio asked for a picture with R2 and stormtroopers that she Tweeted.
As seen in the video above, a little before the game started, the characters gathered behind home plate, where they were announced on the PA system and shown on the video board. (Including a close shot of R2's torso, before they zoomed out to show all the characters.) We joined Chris Hardwick of Nerdist.com, who did the "It's Time for Dodger Baseball!" announcement and threw out the first pitch.
Just before the game was to start, it was time to hurry up and get off the field, and hop on the mini-elevator. Complete with video.
Like last year, the other characters headed for the right field pavilion, while R2 headed back to the car, since he doesn't handle the stairs over there. As usual, he can't make it to the car without a few dozen more stops for pictures.
I took in the rest of the game at the Stadium Club. Fried chicken!
R2's record of 3-0 was snapped, as the Dodgers lost 8-3. Hopefully R2 can return next year and improve his record.
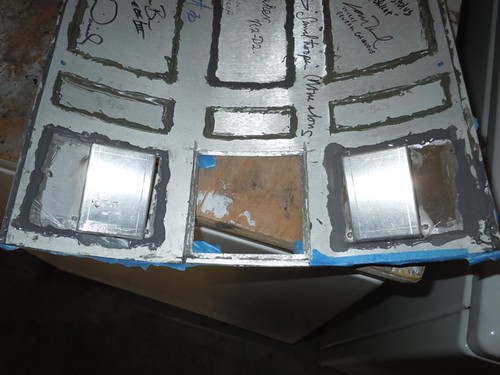
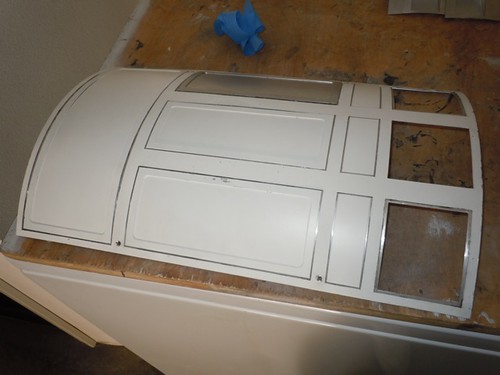
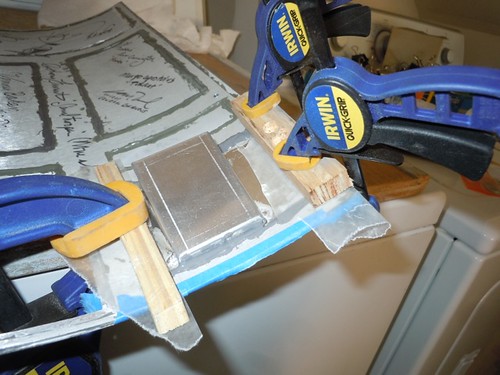
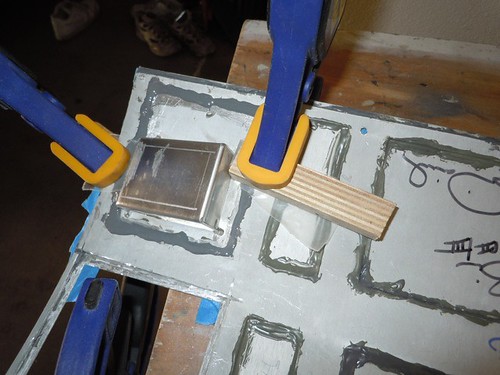
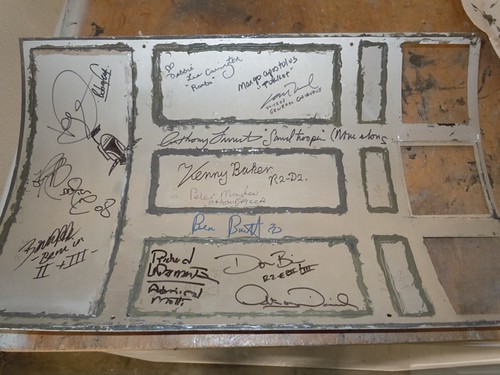
Time to check on yesterday's work of restoring the coin slots to their natural habitat. The wax paper that I used to keep the clamps and wooden segments away from the JB Weld peeled right of without a problem, so that was a success.
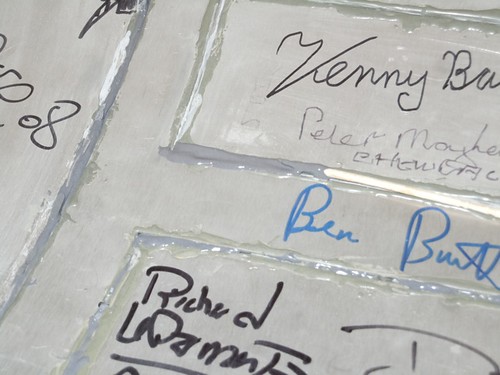
Somehow I did manage to have some JB Weld ooze through the seam on the left coin return, however. Unsightly.
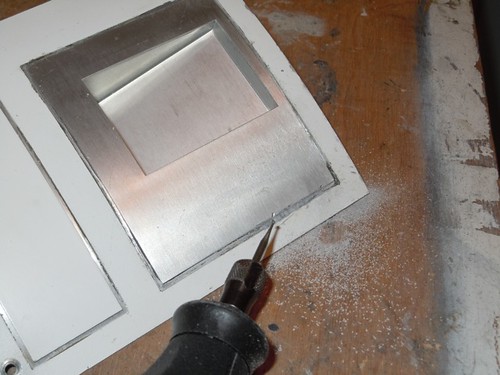
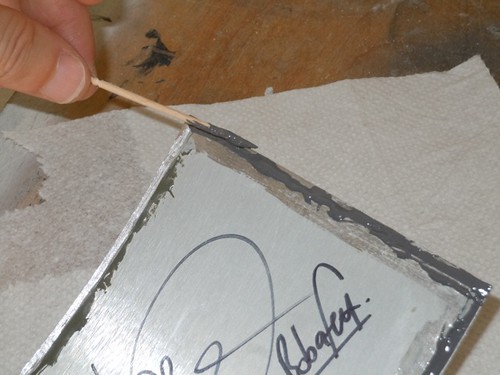
I dug around in the Dremel Bag o' Tricks and found a very thin bit, suitable for removing the mess. (I scraped off the small blob that ran over onto the paint using my fingernail.) The bit worked fairly well, but I had to be extra careful with the Dremel.
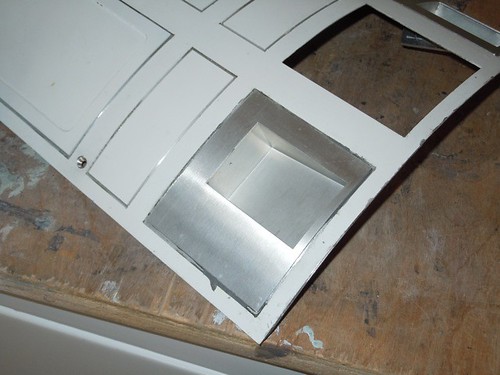
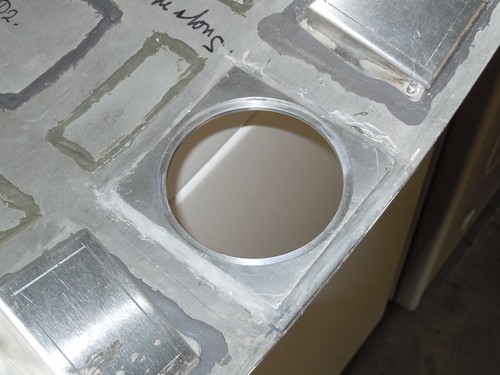
Finally, the last piece to be reattached: The frame of the rear power coupler. I'm using silicone for this one, to allow a small amount of flex as it receives the power coupler cylinder that is attached on the frame with Velcro.
All done! I'll let this cure for 24 hours, and then the restoration should be complete!
I'll fit the door back onto the droid tomorrow so we can all have a look together.
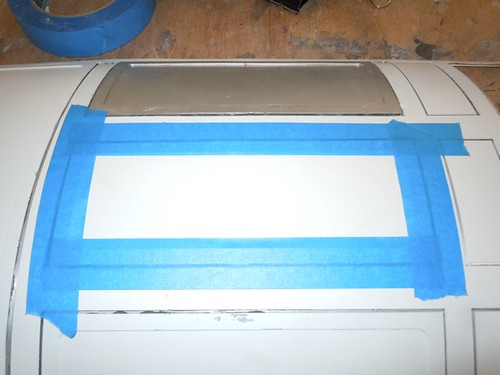
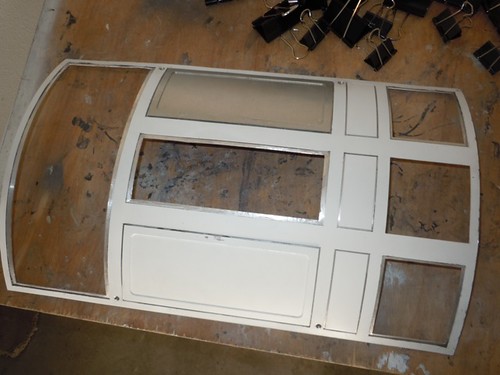
Getting closer to the end of the back door repair. First item of business: Removing the blue tape that was holding the center panel in place from last night's JB Welding session. The panel is staying put.
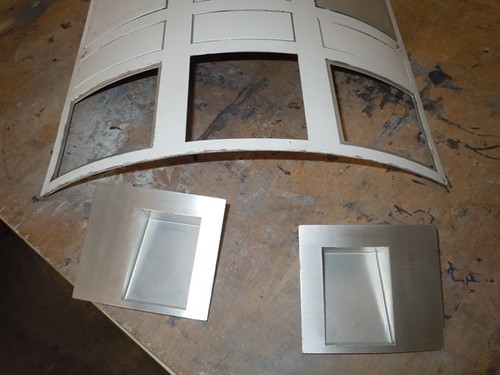
Next up, the coin returns.
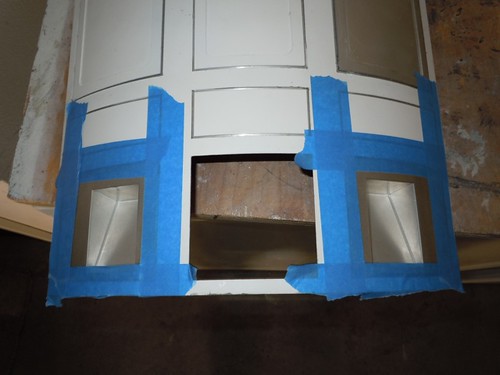
These fit pretty well into their slots on the panel. I taped them in place, in preparation for applying JB Weld on the inside surface of the door.
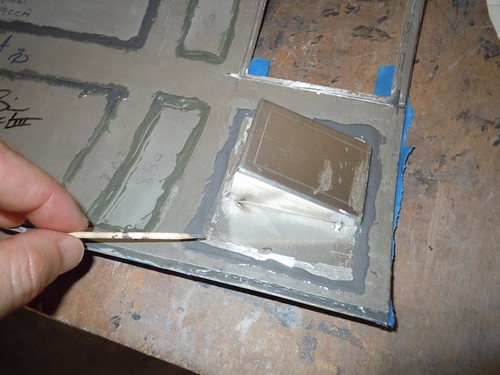
That toothpick is starting to get a bit grimy, but it still does the job of applying JB Weld. I don't think I'll use it for cleaning my teeth, however.
To ensure that the coin returns don't lift off from the skins, I decided to lay a few strips of wax paper over the JB Weld, and then use small segments of wood and clamps to keep them tight against the skins.
It will be interesting to see if the wax paper is easy or hard to remove from the JB Weld once it all dries, but I figure I can always tear and sand it out, if need be.
Assuming this holds well, all that will be left to do is to reattach the rear power coupler frame piece, which I plan to attach with silicone.
I removed the clips and tape from last night's session of re-bonding the large panel toward the top of the door. It's now secured nice and tight.
Because this panel has a lot to do with the curve of the door and the fit on the frame, I decided to do a test-fit of the door at this point. The screw holes on the bottom of the door still match up well with those on the brackets that are attached to the frame. The upper holes aren't dead-on, but they are close enough that the door still attaches okay. In fact, in some ways even better, as the door used to bow a bit away from the body. That no longer is the case.
Back to work. The next panel to attach is the panel that goes right in the middle of the door. Fortunately, it lays on the door well, so I taped in place, not that I had much of a choice.
Once again, I applied JB Weld with a toothpick, this time along the seam on the inside of the door.
A little while later, and I had finished applying the JB Weld. It's starting to look like a door again!
I'll let this dry overnight, and I hope to attach both coin returns tomorrow, and maybe even the power coupler frame.
Tonight I continued work on repairing the back door.
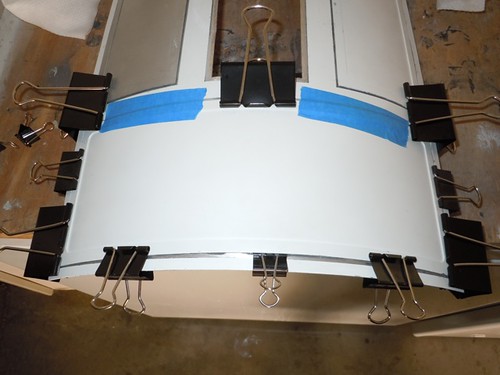
I removed the clips that were holding the two panels down toward the center of the door. They seem to be on there okay now.
Next up, the large panel that goes toward the top of the door.
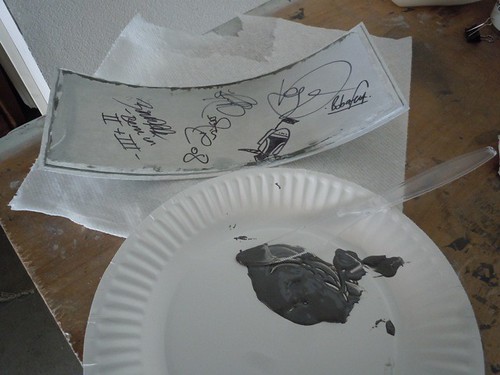
I whipped up another batch of JB Weld and applied it with a toothpick around the edges of the panel. For those that wish to emulate this technique, the toothpick is from Lucille's BBQ. (I'm kidding about emulating, but the toothpick really is from Lucille's.)
A short while later, I had the perimeter covered. Ideally, I would have kept the JB Weld away from the very edge of the panel to prevent it from oozing into the panel seam with the skin, but I didn't always manage that.
I clipped and taped the panel down onto the door, and afterward used a toothpick to scoop out some of the JB Weld that did end up oozing into the seam.
I'll let this dry overnight, and then work on the middle panel.