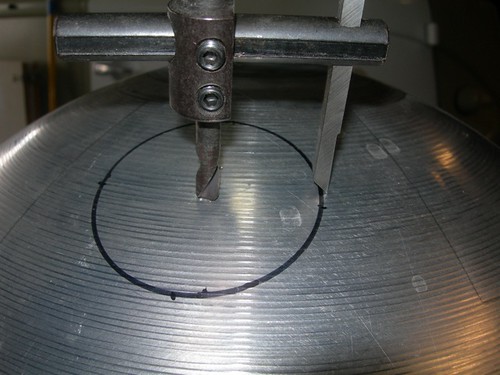
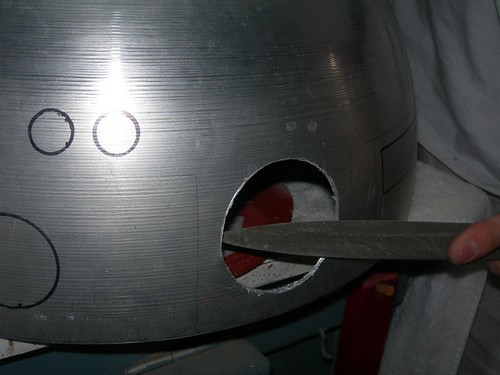
Previously I had implemented the shotgun approach, where a hand drill is used to drill many small holes around the circumference of the circles. Not looking forward to going through that again, I decided to use Matthew's approach with the circle cutter (fondly known as the "widow maker"). Since Matthew had the experience and expertise with this tool, I had asked if I could come over for his guidance in using it.
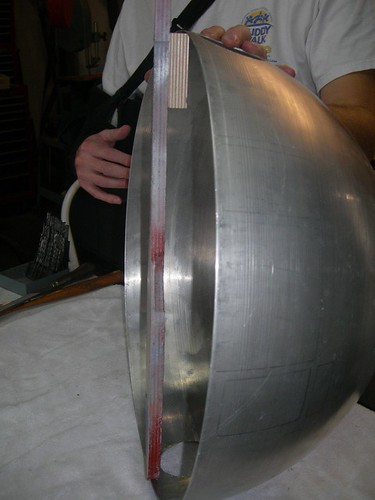
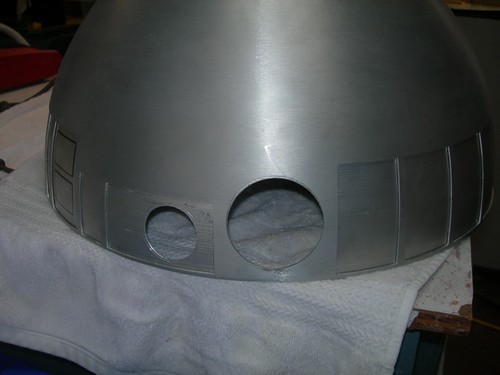
Way back on October 2, 2007 I had marked up the inner dome for the holes for the PSIs, Logics, HPs and dome bumps, so these were used as the guides on where to cut. All but one of the holes can be cut larger than the corresponding hole on the outer dome. The rear PSI has no corresponding hole on the outer dome, so it must be cut perfectly on the inner dome. More on that shortly.
The first hole to be cut was that for the top holoprojector. That went pretty well.
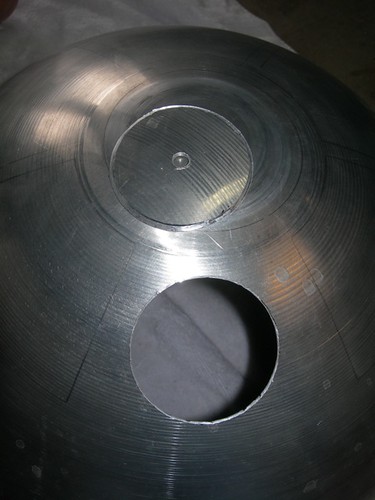
Next up, the rear holoprojector. That didn't get started off so well (but not to worry...).
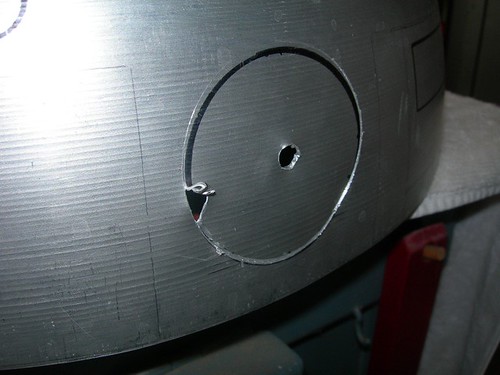
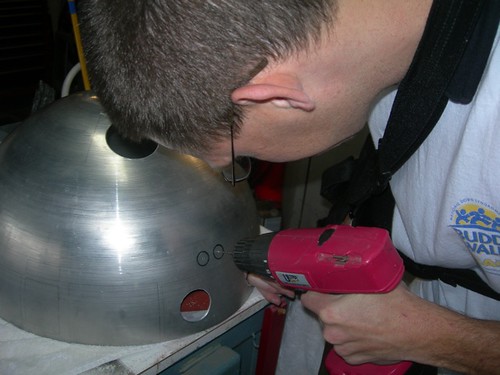
This was quite salvageable. Part of the problem is that the dome was flexing as I applied pressure while drilling. Matthew, who recently underwent shoulder surgery (and is still more useful with one bad arm than I am with two good arms), rigged up a holder to keep the dome taut.
When the dome is "stretched" over this jig, it is less prone to flexing inward as I drilled.
With everything level again, we cleaned up the mess and finished drilling the hole, successfully. A half-round file helps with the burs.
The hole for the front holoprojector was also drilled out successfully, as was the hole for the front PSI that followed.
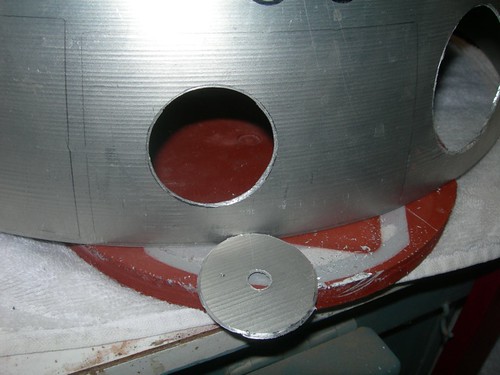
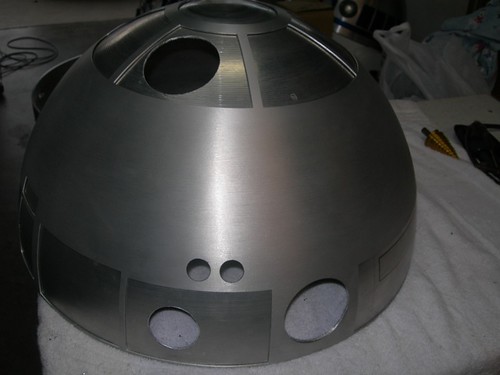
Next, the "perfect circle" that is required for the rear PSI. Unlike all the other holes on the inner dome, there is no panel on the outer dome that overlays this hole. Thus, it must be cut as close to perfect as possible.
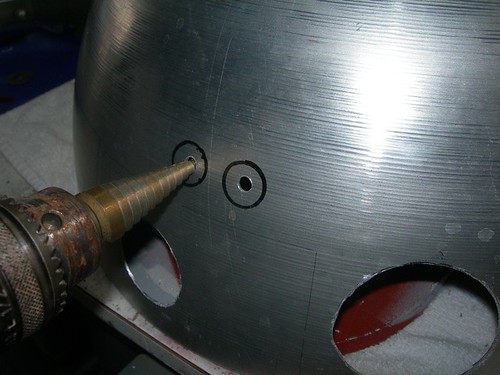
As with the other holes, we marked the centerpoint with a pen mark, followed by a tap or two with a punch to help prevent the drill bit from wandering. Then, we used a small drill bit for a pilot hole.
A slightly larger pilot hole followed, and then the circle cutter is used for the hole itself. I intentionally cut this hole just slightly smaller than specified, so that I can wrap sand paper around the top of a bottle and finish the circle to be as round as possible later.
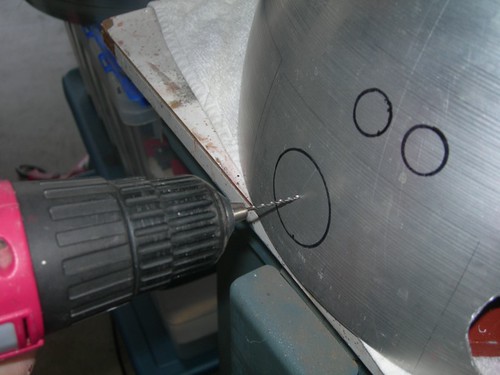
Even with his good arm out of order, Matthew couldn't resist doing a little building, as he drilled the pilot holes for the dome bumps. Matthew has superhuman abilities to mark the center of a circle without measuring.
After a larger pilot hold had been drilled, a step bit is used to drill the holes for the dome bumps. The holes on the outer dome are pre-cut to 3/4" diameter, I'm drilling the holes on the inner dome to be 7/8" diameter, the maximum step on this step bit.
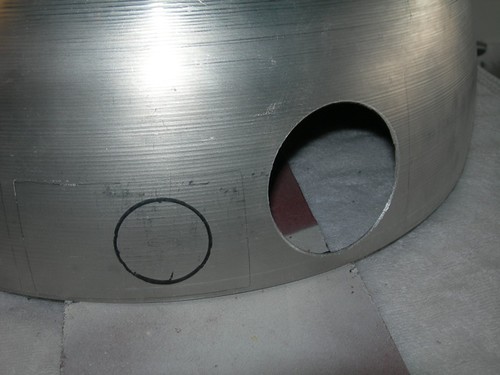
Done drilling, for now, at least. The holes for the dome bumps are a little cross-eyed, but it doesn't matter, as they are covered by the outer dome.
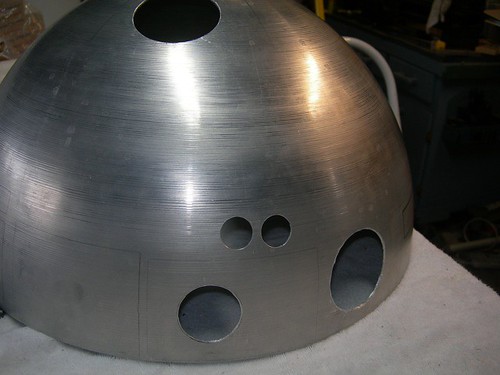
A test fit with the outer dome shows that I may have to slightly widen some of the holes here or there, but overall I'm very happy with how these turned out.
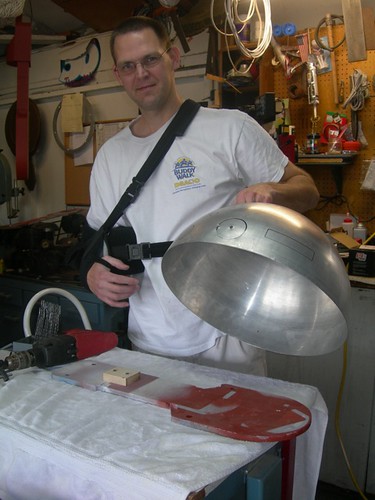
Thank you Matthew for all your help!

No comments:
Post a Comment