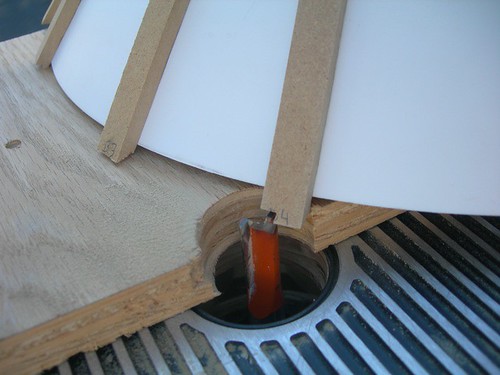
The ribs intentionally overhang the styrene by a little bit, so that I can use the router to trim them flush. (The R2LA IV DVD also shows this method in action.)

To demonstrate how this works, I stopped the router midway through rib #4 to show how the rib is fed into the bit. Disregard the fact that the skirt is tilted off the wooden board slightly. When the work is fed into the router bit, the skirt is flat against the wooden board.

This technique works great for ribs made of MDF, but prior experience with droid #1 indicates that this method should not be done with fibrous wood (e.g. square wooden dowels), as the bit tends to rip the dowels apart (not good).
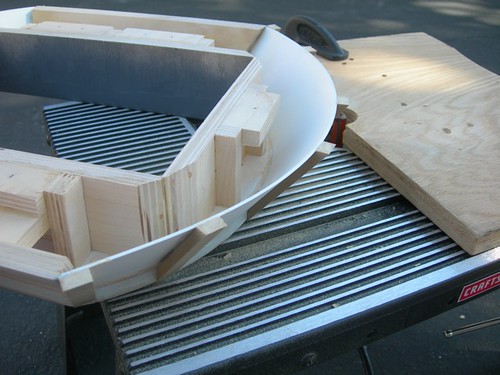
Six flush cuts. So far so good.

I had waited to glue down the ribs for the front of the skirt so that a) they wouldn't cause problems as I routed down the back ribs by hitting the wooden board, and b) in case the router technique didn't work on the ribs for the back of the skirt, I might have decided to trim the ribs some other way before attaching them.
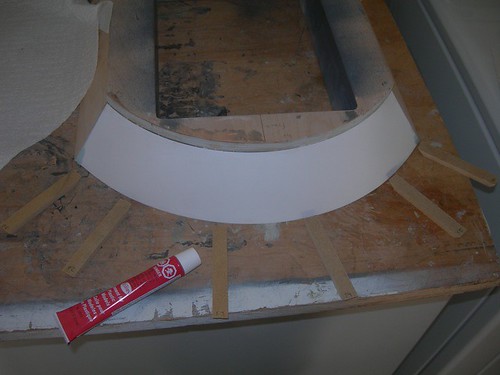
With the success trimming the other ribs, I went ahead and glued down the front ribs.

Again, the ribs are overhanging the styrene a little bit.

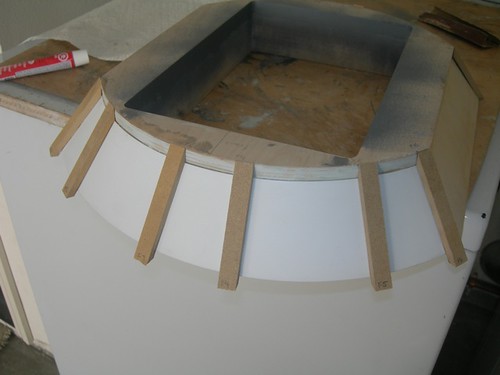
After the glue had sufficiently dried, I went back to the router, and after six more successful trims, the front ribs are also flush with the top of the skirt. I turned the skirt upside down and set it on a flat surface to check.

With the attaching and trimming of the skirt ribs done, the main build of the skirt is complete. Now I need to do some minor filling and finishing work, prior to final painting.

No comments:
Post a Comment