Friday, February 18, 2011

Diffused Front PSI

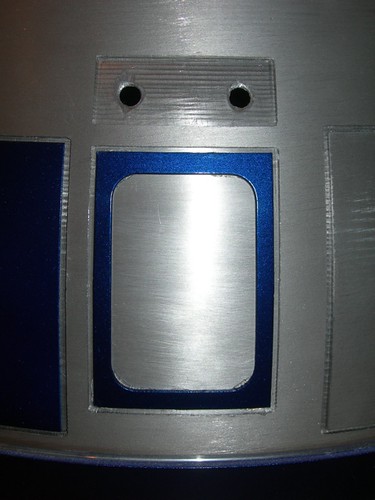
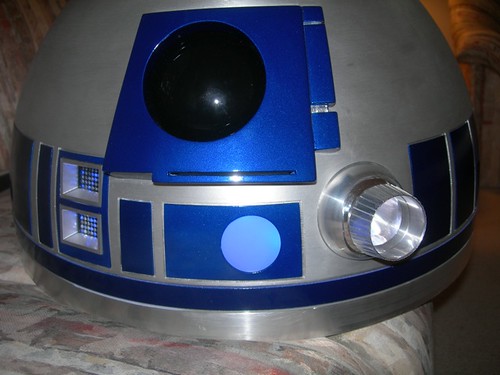
Today I worked on the hot spots for the front Processor Status Indicator.

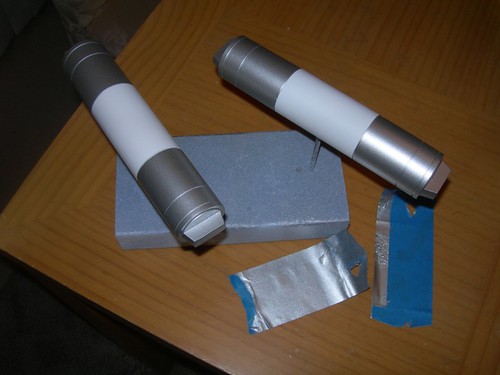
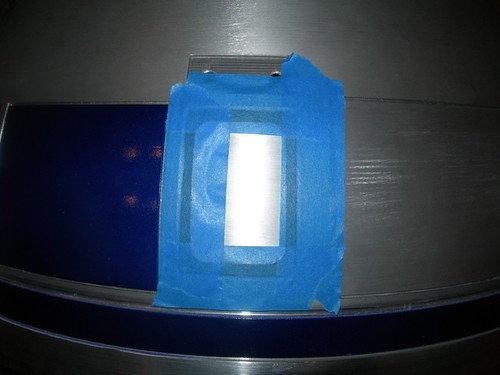
I cut a small piece of plastic and taped it in place for the front PSI housing.
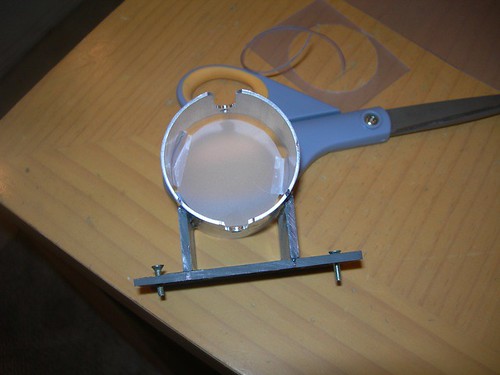


I also bent the three red LEDs and two blue LEDs at 90 degree angles, so that they can point at the shiny inside of the PSI housings, rather than straight out.
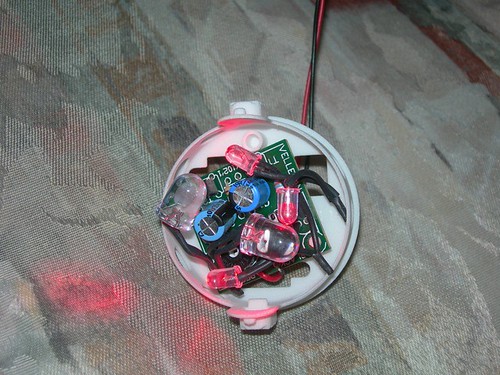


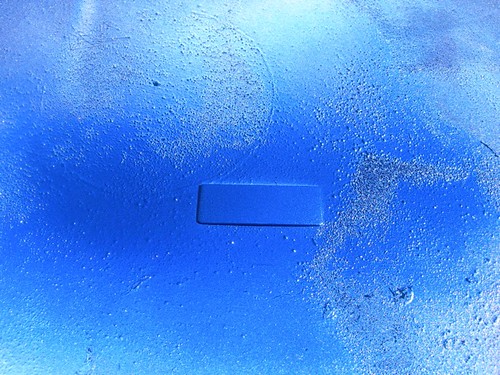
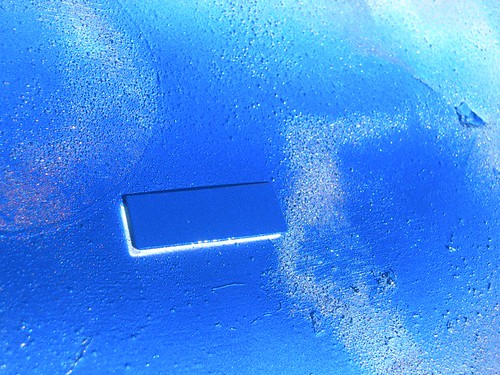
This worked well. The "warm" spots in the picture aren't visible in person. This picture was taken with the flash off.
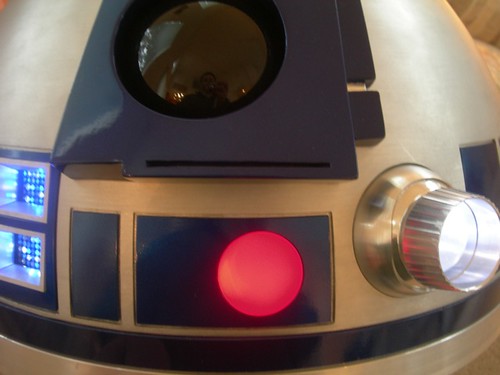


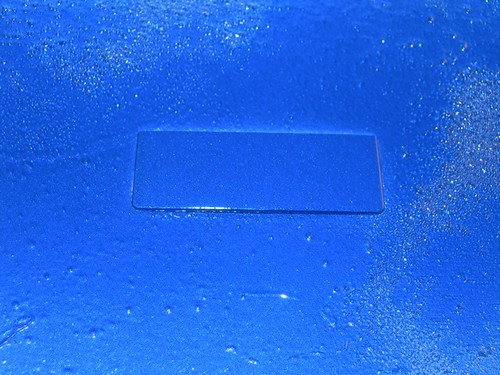
This picture was taken with the flash on.


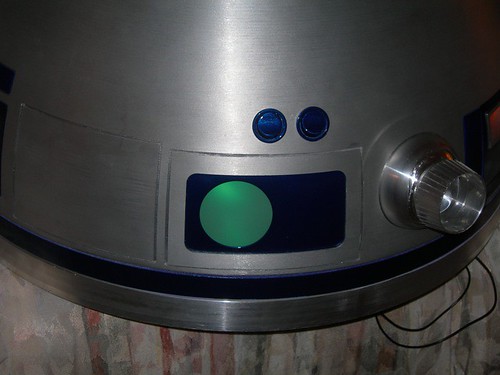
Unfortunately, the rear PSIs could use a little work. The green LED (11000 mcd, 5.0Vf, 25mA) might be serviceable with a little effort, but I think a second LED would help even out the light.


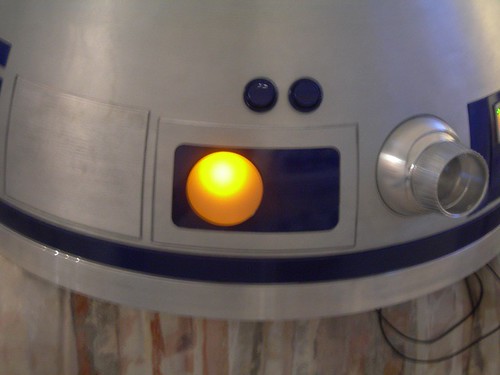
The yellow LED definitely needs help. I think I will need to swap the one I'm using for two better ones.


I had thought the rear PSI would be a slam-dunk, but it's one of those things that you don't know for sure until it's all ready to come together.

Sunday, February 13, 2011

Attached Last Dome Panel

Well, if 10 seconds of work can count as droid-building, then I guess I did a little droid building today. Very little.

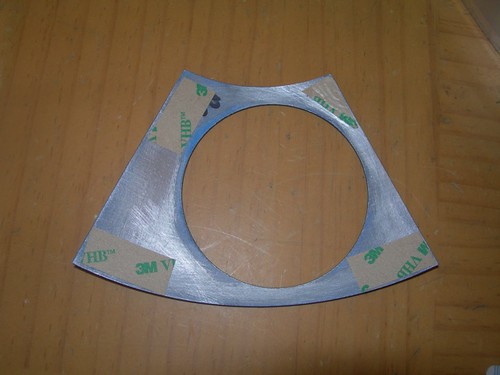
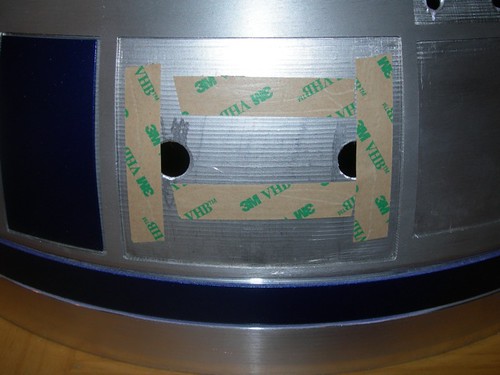
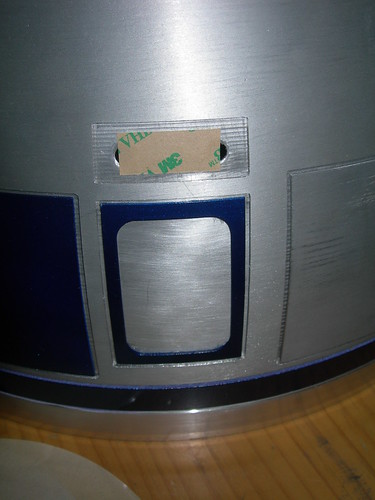
I attached the piece of VHB tape for the panel that goes above the picture frame panel.


And then I attached this last remaining panel.


I won't be able to work on the dome for a couple of days, but I still need to clean up the wiring on the inside, and fix the hot spots on both PSIs.

Saturday, February 12, 2011

Finished Painting Outer Ankle Cylinders, Repainted Last Dome Panel, Dome Work Mostly Completed

Today I did some painting and continued work on the dome.

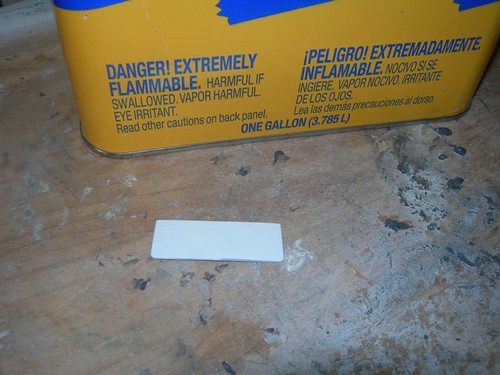
The first item of business was to remove with acetone the paint on the small panel that goes above the picture frame panel.


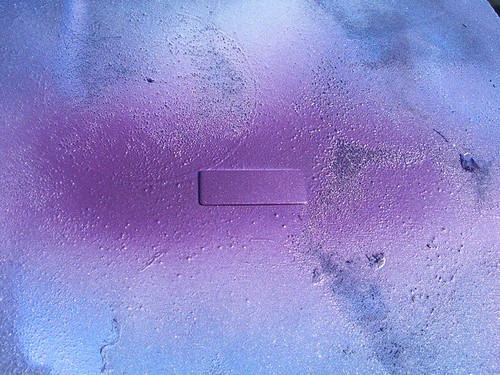
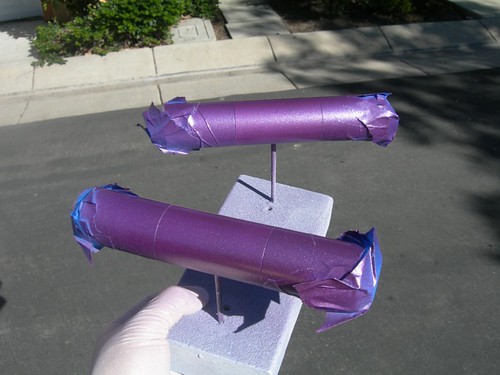
After adding a little more white primer to what was left, I started the painting process for both this panel and the blue portion of the outer ankle cylinders.

As always, purple first.


Followed by blue.


Followed by two clear coats. The good news: No dust got in the paint this time around.


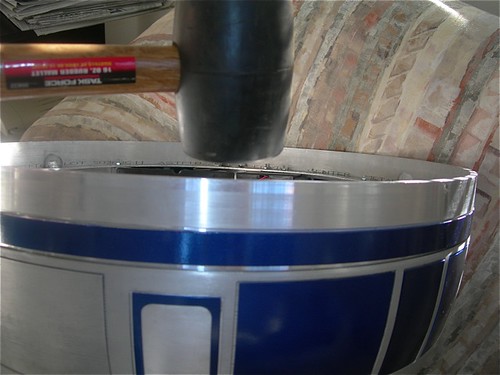
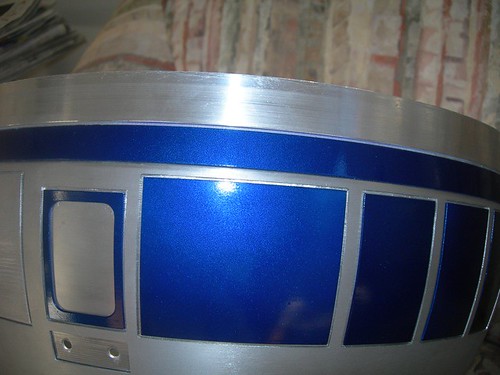
Next, I got back to work on the dome. I hadn't tightened up the fit of the dome ring against the dome. There was a bit of a gap between the blue ring on the dome ring, and the rest of the dome. A mallet helped resolve that problem nicely.


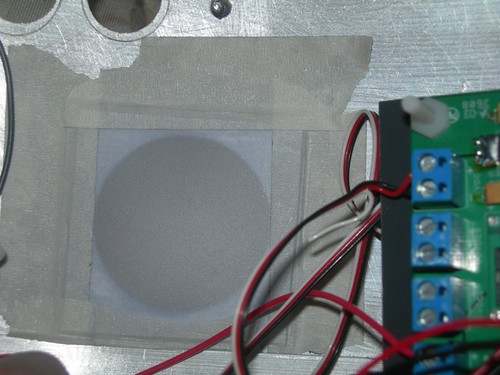
I cut the plastic sheets that I am using to diffuse the PSI lights to size, and used masking tape to attach them on the inside of the dome.


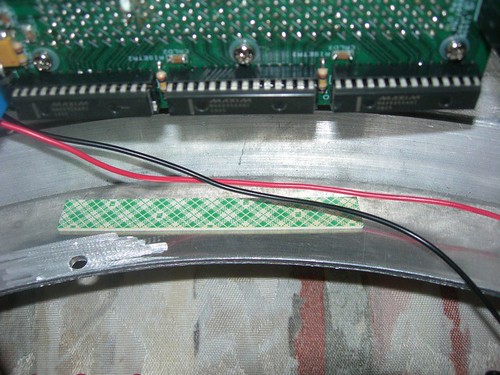
Next, I used double-sided foam tape to secure the plastic power bus bars.


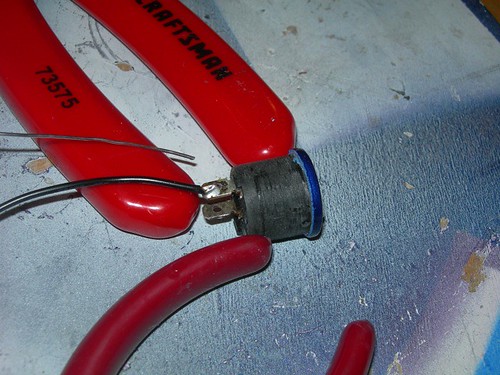
Then I soldered the wires to the switches that double as dome bumps. The left switch is used for master dome power, the right switch toggles the message that is displayed on the top front logic.


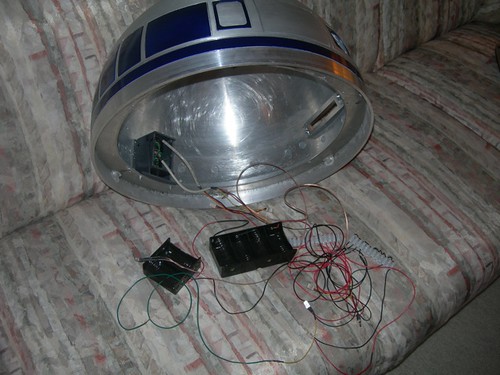
With that, I was able to plug in all my dome electronics, insert the batteries in the dome, and fire 'er up.


I have not yet worked on diffusing the hot spots on the PSIs. I hope to get to this soon.


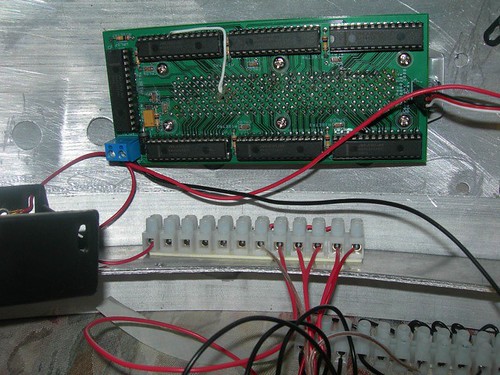
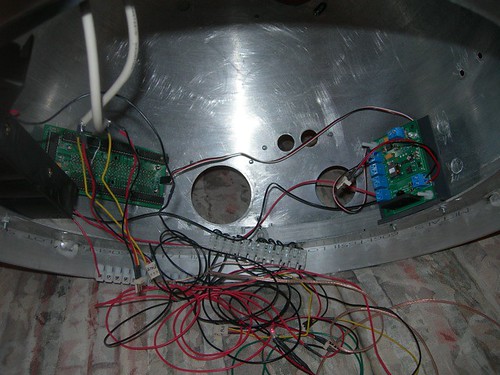
The wiring inside the dome currently is a massive mess that I need to clean up. I also still need to attach the last dome panel, once the paint is dry. And as I mentioned, I need to take care of the hot spots on the PSIs. Nevertheless, it's getting close.

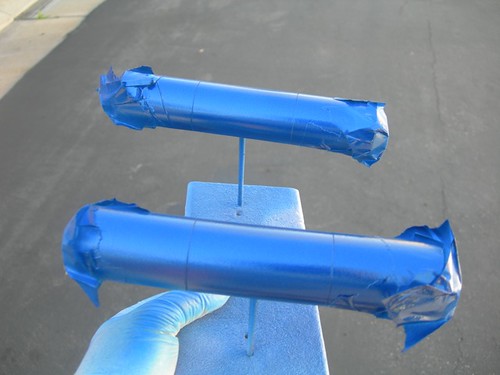
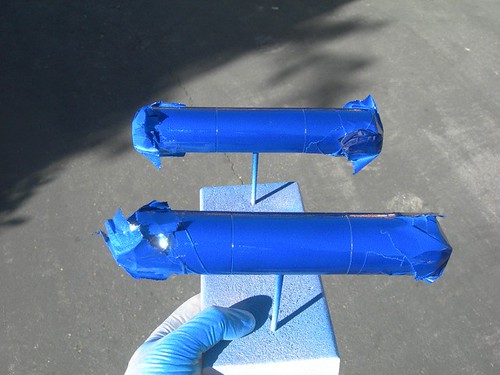
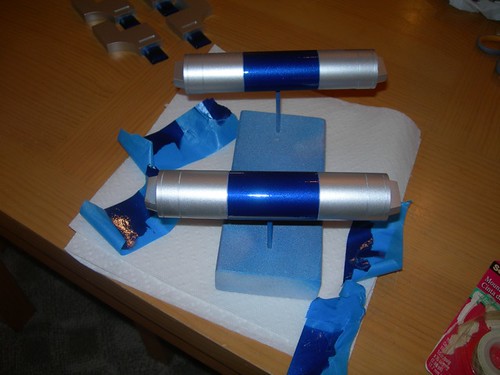
Finally, I wrapped up the day by unmasking the outer ankle cylinders. They turned out well.

Friday, February 11, 2011

Continued Dome Work, Masked Outer Ankle Cylinders for Blue Paint

Back to work on the dome.

First, I carefully removed the masking tape from the picture frame panel. I'm happy to report that the silicone cured, and it is holding this panel on nicely (so far, at least). The panel around the front logics also appears to be staying in place.


Next, I started installing the electronics. The front logics were already installed from last night's work.


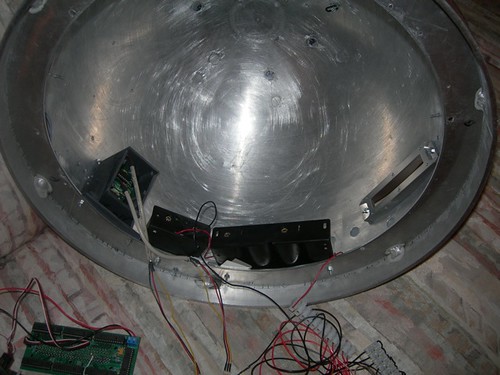
I installed the battery holders. These will hold six D-cell batteries to provide a long-lasting 9 volt power supply to the dome electronics.


I then installed my J.E.D.I. rear logics.


Next up, the holoprojectors. As with droid #1, I am using a little bit of felt to help tighten up the HPs, so they don't droop when the droid hits a bump and such.


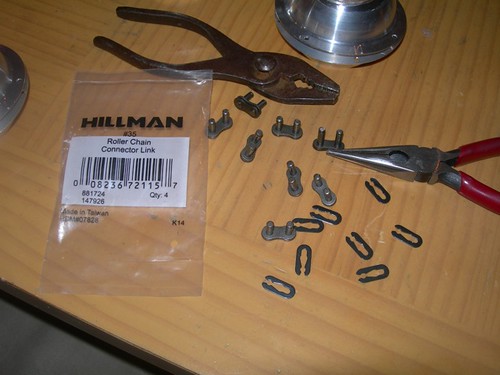
I harvested several clips from RC 25 chain links.


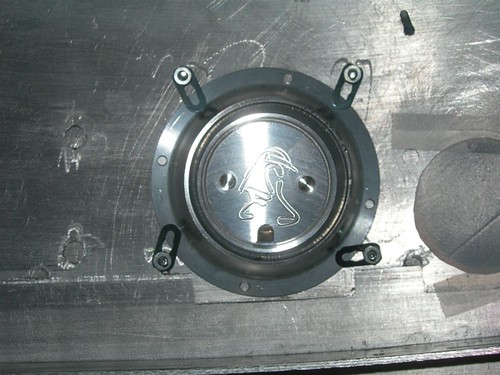
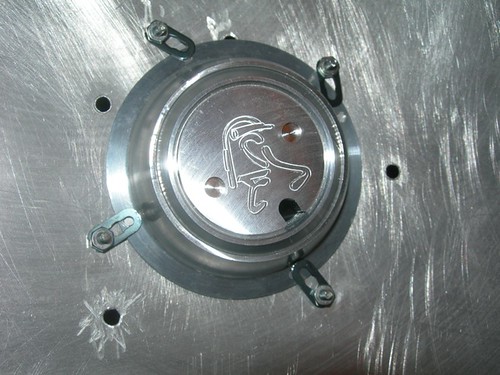
I then attached those clips to the screws that I JB Welded onto the inner dome, and used #4 nuts to lock down the HPs, with the clips from the chain links. Gotta love the R2 Builders Club logo on the back of the HPs!


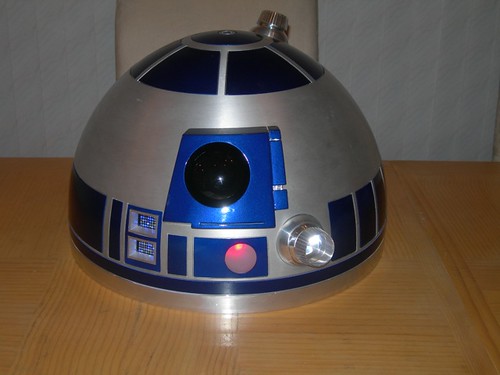
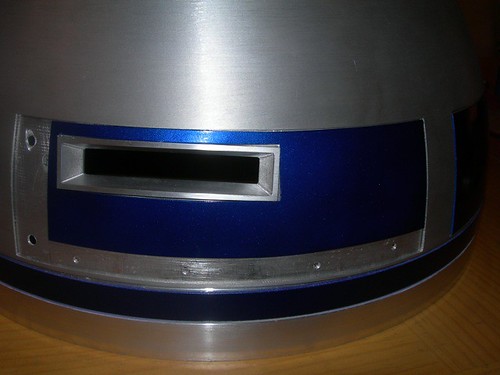
I cheated and placed a temporary piece of plastic over the hole of the front PSI, and here is the current state of the front of the dome.


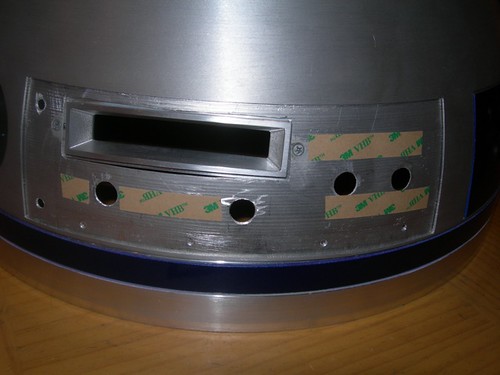
Here is the back area of the dome. Still a few holes to fill for the power buttons and rear PSI.


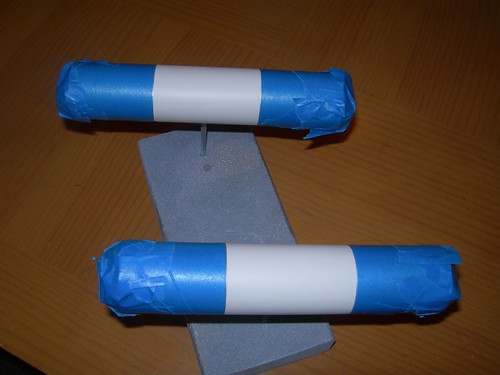
Finally, I wrapped up by masking the outer ankle cylinders for blue painting tomorrow. I will also repaint (yet again) the small panel that goes above the picture frame panel.


I still need to finish hooking up the electronics inside the dome, I hope to get to that tomorrow as well.

Thursday, February 10, 2011

Unmasked Aluminum Paint on Outer Ankle Cylinders, Attached More Dome Panels

Tonight I unmasked the aluminum portion of the paint job on the outer ankle cylinders. I hope to get to the blue this weekend.


Next, I continued attaching the dome panels. I had put off attaching the panels that have stuff going through them, like logic displays, and the panels that I plan to attach with silicone.

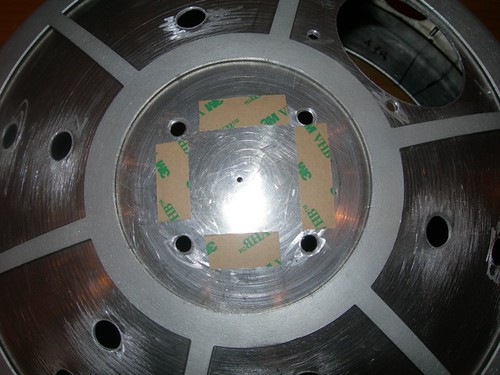
I mounted the rear logic surround to act as an alignment guide for exactly where to place the dome panel that goes around it. I then placed the VHB tape on the inner dome.


I also placed some tape near the corners and the top edge of the back of the panel.


And on it goes.


Two more panels get attached in this area; a long, thin strip at the bottom, and a side piece on the left.


Looks okay.


Next up, the pie panel that goes around the top holoprojector. As with the rear logic surround, I attached a holoprojector in place to act as a panel placement guide.


Unlike the other five dome panels, this panel has its tape placed on the back of it, rather than on the inner dome.


And on it goes as well.


Next up, the panel that goes around the front logics. I am attempting to use silicone for this one.


Hopefully the silicone will cure and all will be well. I considered taping the panel down overnight, but the logic surrounds seem to be doing a good job of keeping the panel in place.


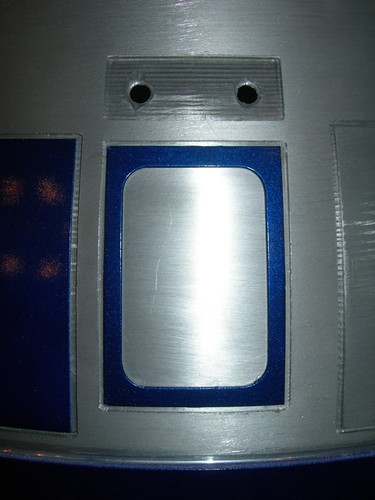
Finally, I attached the picture frame panel, also using silicone.


This panel I am taping in place, since there isn't anything to keep it anchored.


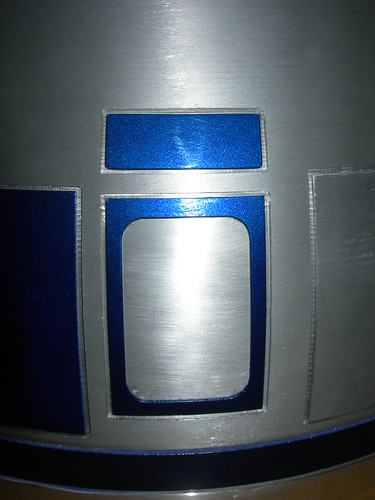
You'll notice that I haven't attached the panel that goes above the picture frame panel. I'm almost certainly going to repaint that one again. That darn spec of dust bugs me, and I figure I might as well just take care of it.

Wednesday, February 09, 2011

Started Painting Outer Ankle Cylinders, Started Attaching Dome Panels

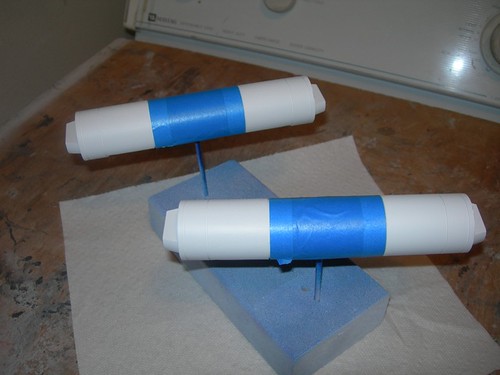
It was a busy afternoon/evening today. It started with the masking of the outer ankle cylinders for painting.


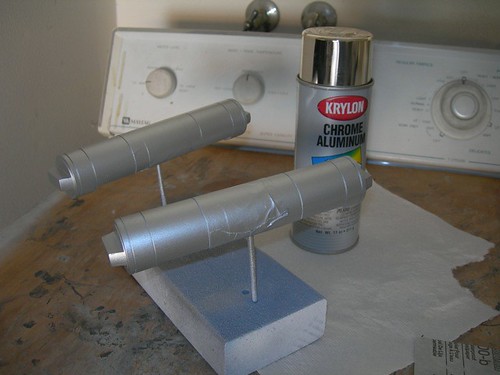
I painted the cylinders using what little Krylon Chrome Aluminum paint I had left.


I also went ahead and repainted the panel that goes above the window frame panel. Of course, a minuscule spec of white dust had to land on it toward the end. I hope I can refrain from letting that bother me, but I'm not sure.


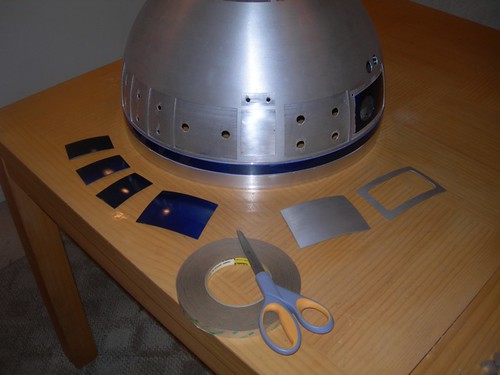
And then... it was on to attaching the dome panels. As I mentioned yesterday, I'm using the 3M Very High Bond tape once again to do the job. Tonight I only attached the easiest panels, namely those that don't have front or rear logics, or holoprojectors protruding through them. I'll get to those other panels soon.


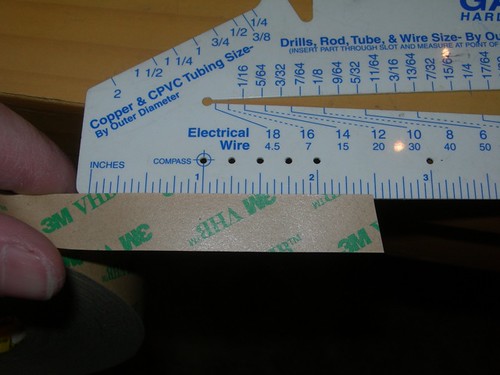
I got into a pattern of measuring the space for tape on the back of each panel, and then I'd measure and cut the tape, using the label as a guide as to where to cut. Holding the tape by the edges prevents it from sticking to fingers.


Then, one at a time, I applied the tape to the inner dome, and attached the panels.


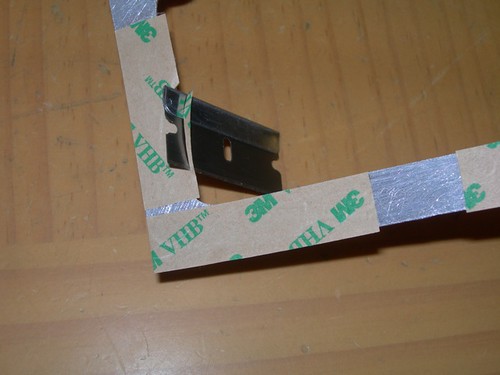
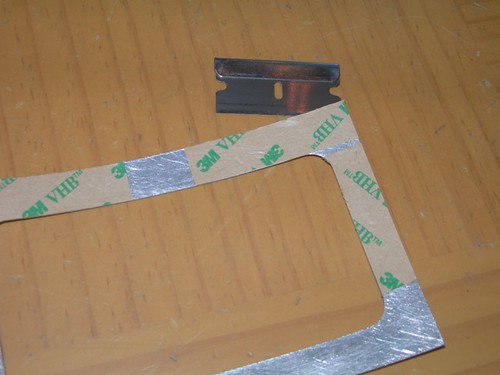
It makes more sense with some panels to attach the tape to the back of the panel itself, and trim the excess with a razor blade.


Once I was done with the side panels, I moved on to the top of the dome.


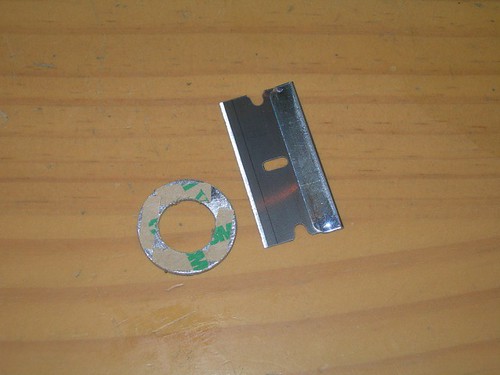
I considered using silicone for the little ring at the top, but decided to go with the VHB tape, trimmed to size.


I did use silicone to attach the small blue dot at the very top, however.
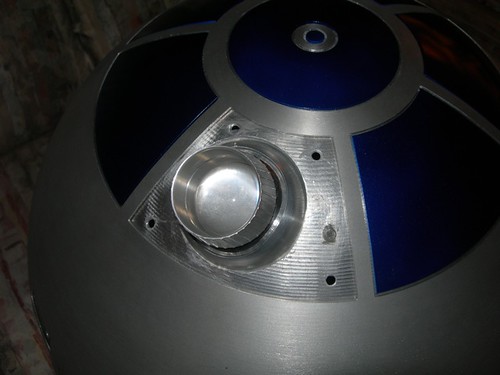


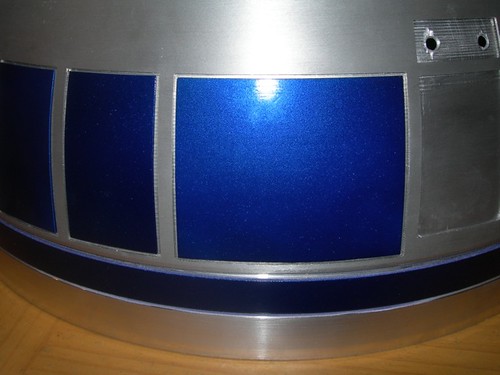
Here's how tonight's work turned out.
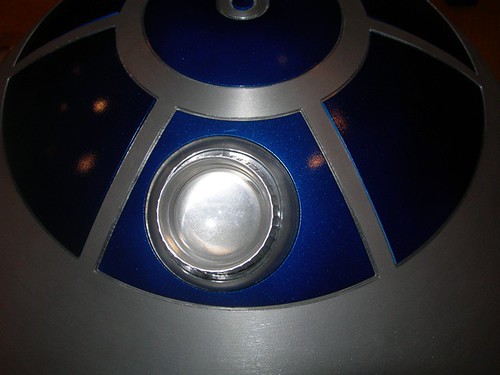


As I said, I skipped the panels for the front and rear logics, along with the top holoprojector, and the frame piece and the piece above it. Those will all be mounted soon.