It's only somewhere between 1/16" and 1/8", but the legs are far enough from the body that this would bother me if I left things this way. After all, the whole point of this effort is to get the spacing right, and I shouldn't stop now.
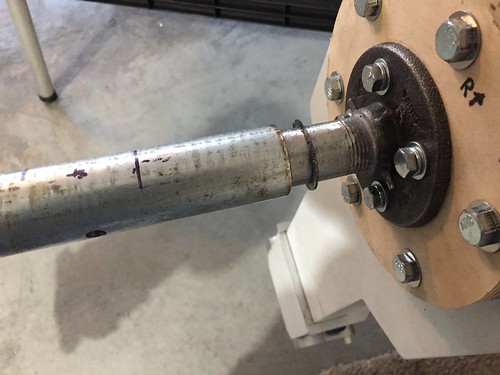
I used the angle grinder to trim a bit of material from both pipes.
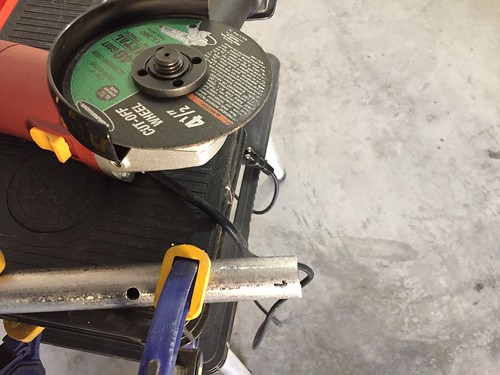
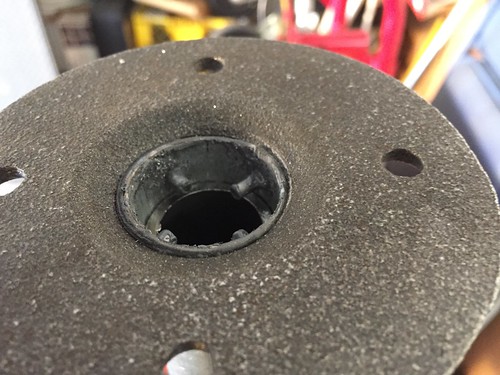
This also helps with clearance from the pins that help lock the pipe to the flange.
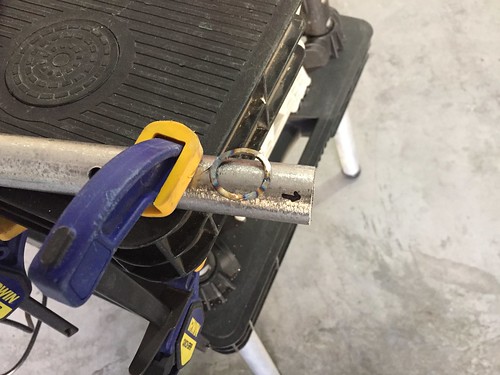
Of course, shortening the pipes also means that the holes I drilled yesterday no longer line up when the pipes are fully interlocked, so that means I have to drill new holes, which I really was hoping not to do. Oh well. Also, I wanted to trim only 2/16" off, but it looks like I trimmed more like 3/16".
That's not too big a deal, I can use the scrap to shim the pipe by about 1/16".
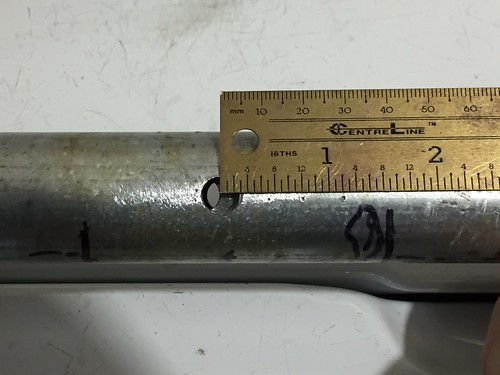
One more pre-drill measurement. Again, I'm shooting for 1/4" on each side.
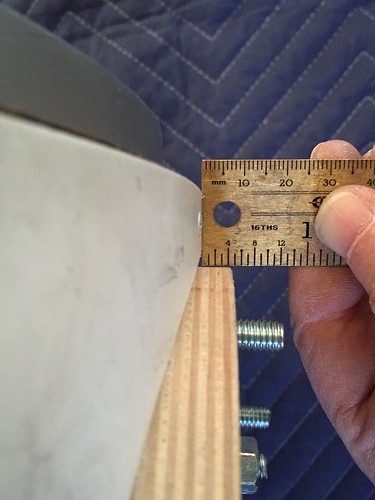
Ok, that looks good (that's what I said yesterday...). Let's drill. Again.
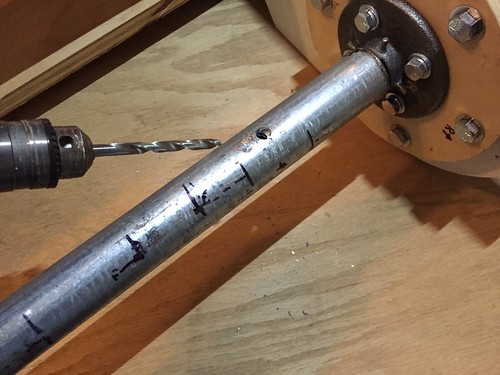
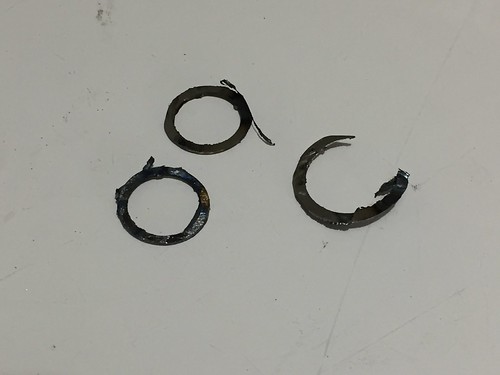
In the process of drilling 1/4" holes followed by 5/16" holes, I managed to break a 1/4" drill bit.
The shards of Narsil.
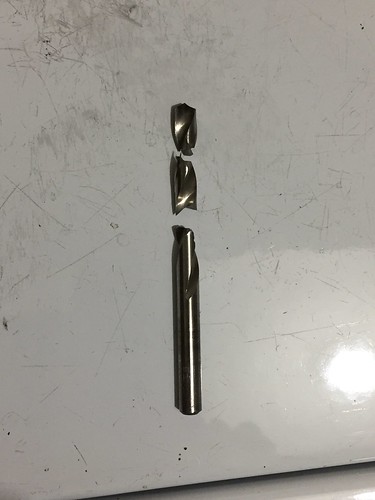
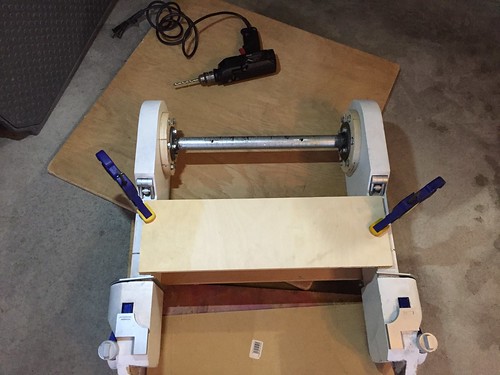
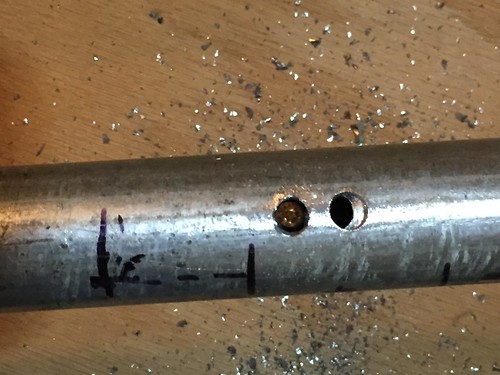
Luckily, I had another 1/4" bit, so I was able to complete the work. I drilled adjacent to the original holes.
Once I was done, I reassembled everything, and once again installed the legs on the droid. Please let this be right this time...

It looks good. I think this is it.
I still need to file the flat spot on the gas pipe where the vertical rail that helps ensure the 36° tilt comes to rest, and I need to do a minor adjustment to get the flashing on one of the shoulder discs to fit more snugly. And then, I think I'll be done. At least I hope so.

No comments:
Post a Comment