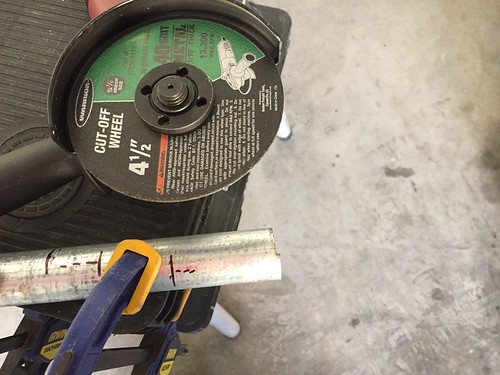
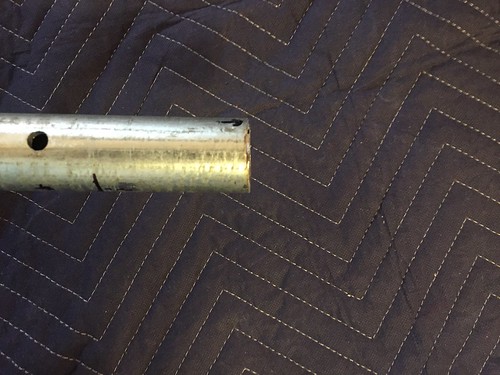
I decided to remove a bit of the ragged material from the 1" gas pipe, since it was causing the pipes to not interlock completely.
Once that was done, I reinstalled the legs in the droid body to recheck that the spacing between the legs and body are acceptable. I'm shooting for 1/4". It's hard to measure accurately, but I think this is about it.
It looks about right. Let's hope for the best and get to drilling.
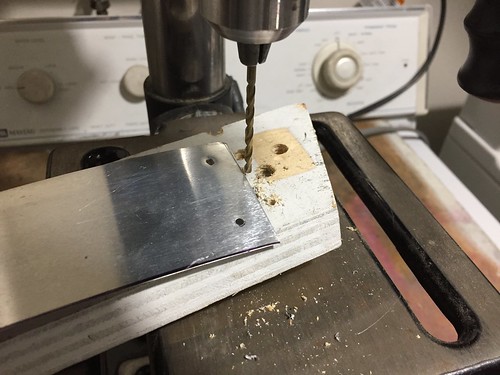
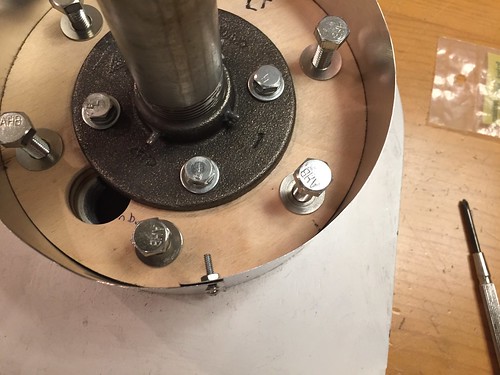
I clamped a pair of boards to the legs to keep them perfectly parallel, and prepared to drill. I am planning to use a pair of 5/16" diameter bolts to lock the pipes together. I used a 1/4" drill bit to start.
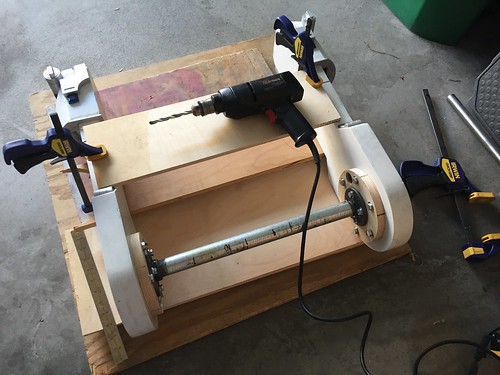
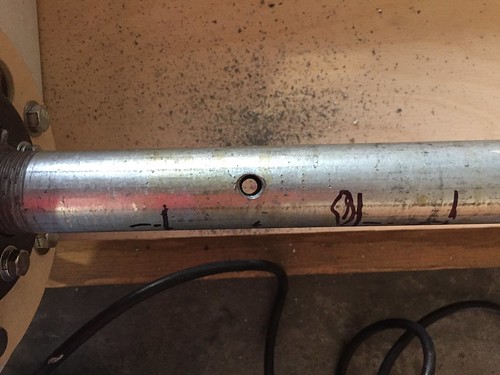
Once that was done, I came back with a 5/16" bit and widened the hole, and then ran a bolt through it, before drilling the other hole.
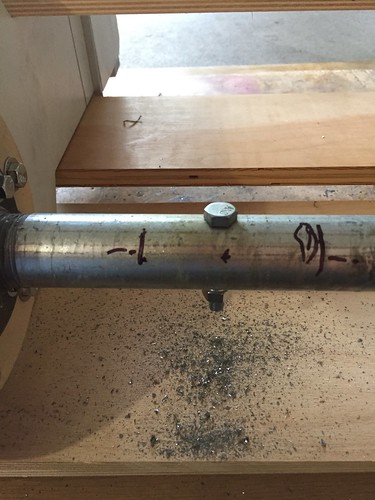
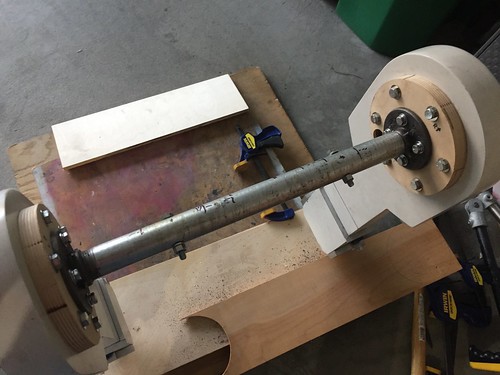
I repeated the process for the right side. Once I put the second bolt on, I tested for wiggle, and there was none. That's a relief.
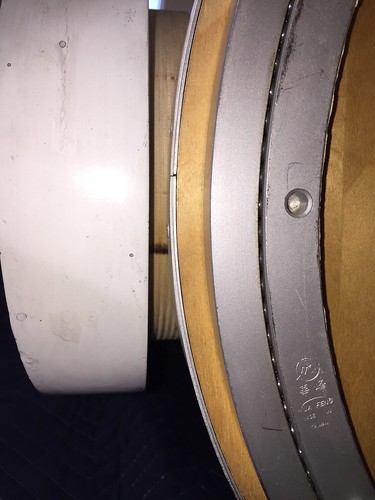
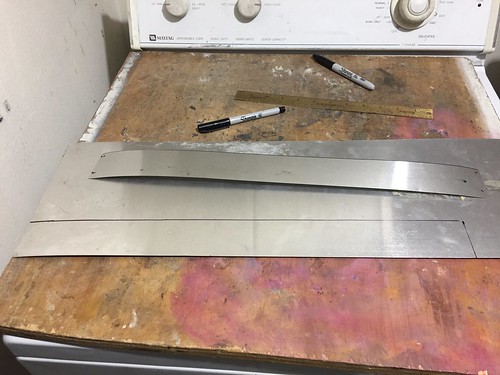
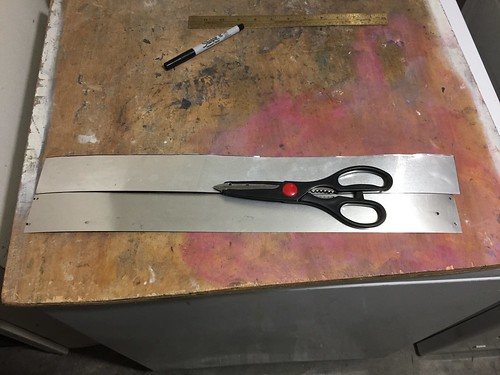
Before installing the legs back on the droid, I wanted to take care of the aluminum flashing that goes around the shoulder discs. I am able to recycle one of the pieces of flashing from the old shoulder discs, but the other disc is just a hair larger in diameter, enough that the mounting holes don't line up and I don't have enough room to drill new ones. So I laid out the old piece of flashing and traced it just a bit longer, so I could cut a new piece.
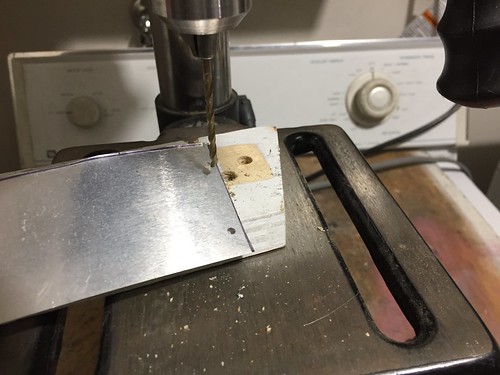
I marked where to drill one of the ends, and drilled a hole for a #4x3/4" wood screw, and for a #4x3/4" machine screw.
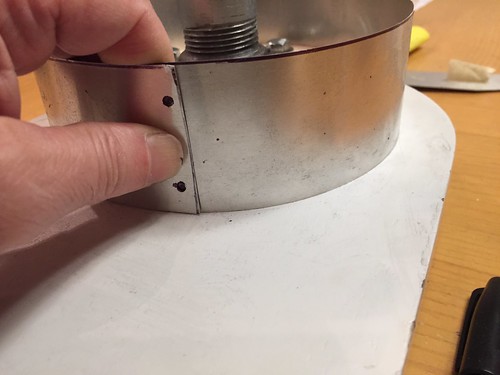
I returned to the shoulder disc, and wrapped the flashing around the disc and marked through the hole onto the overlapped flashing (and my finger nail), so I could drill the holes for where the wrap occurs.
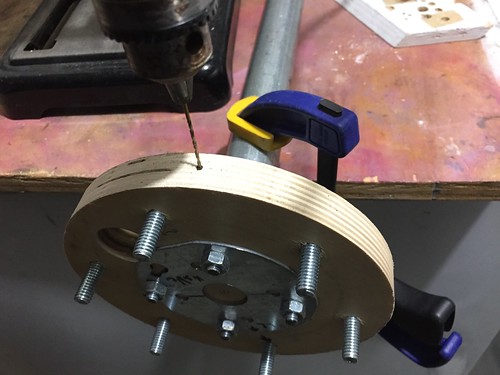
I then drilled the second set of holes.
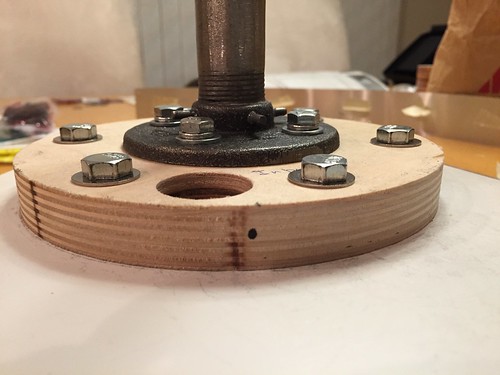
Finally, I returned once more to the shoulder disc, and used a pen to mark through the two holes onto the wood, so I could drill a pilot hole.
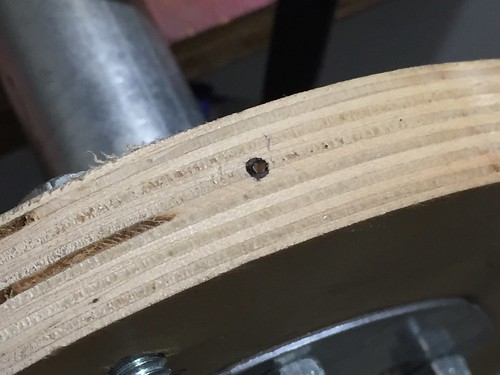
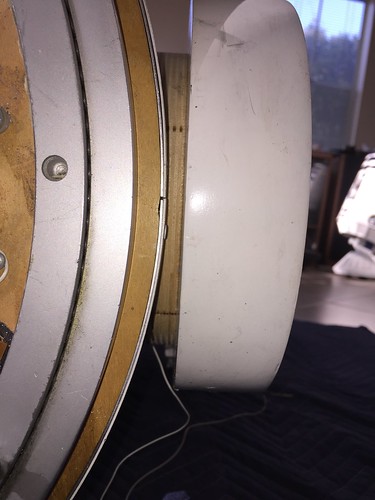
I used the same procedure to drill a pilot hole in the other shoulder disc, whose aluminum flashing already fits ok, and I installed the flashing, prior to mounting the legs to the body.

Ok, time for the moment of truth... time to install the legs on the body and see how things look.

Hmm.
They still seem just a bit too far from the body. Like maybe 1/16" or even 1/8". I measured, and it does seem like there is 1/16" or so more distance on each side that I want. Surely I can live with that, right??
I need to sleep on it.

No comments:
Post a Comment