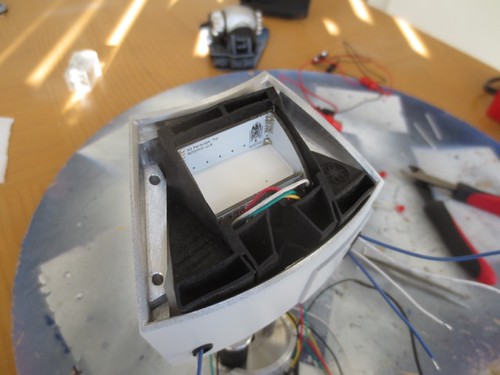
I installed the main gasket into the periscope housing, attempting to route the wires into their channels in the gasket as best I could. I used tweezers for most of this job, as we are advised not to use our "hot dog fingers."
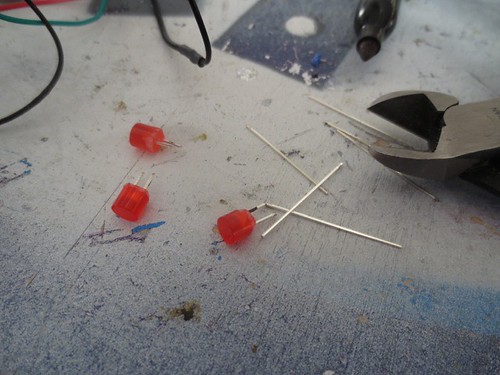
Next, I clipped and soldered the rear LEDs.

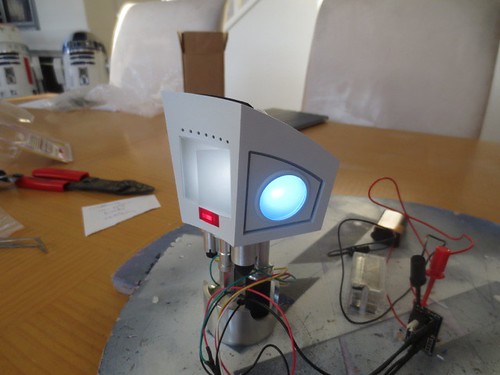
I figured it would be wise to test the rear LEDs before sliding them back into their gaskets, and fortunately they worked perfectly.
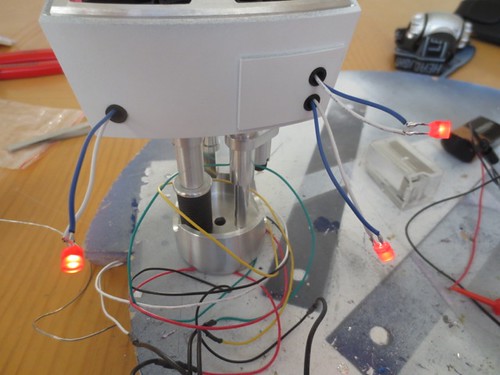
In they go, still looking good.
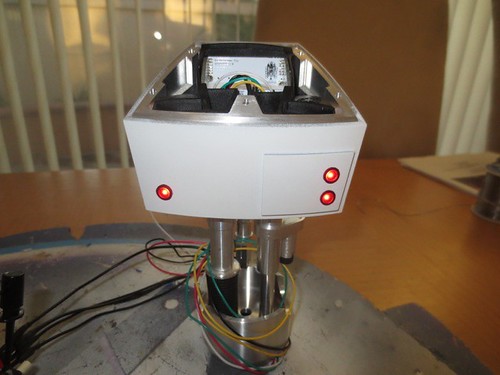
And with that, periscope assembly is done. It really is a thing of beauty, great job Michael and Doug!
If you thought the assembly went slowly, wait until you see how long I take to get it installed in the dome.

No comments:
Post a Comment