
After a few minutes I had the six wires threaded.

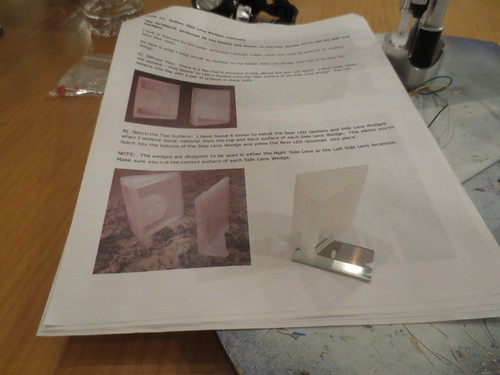
Next, the instructions suggest that portions of the side diffusion wedges get trimmed.
Done.

And with a little fussing, in they go.
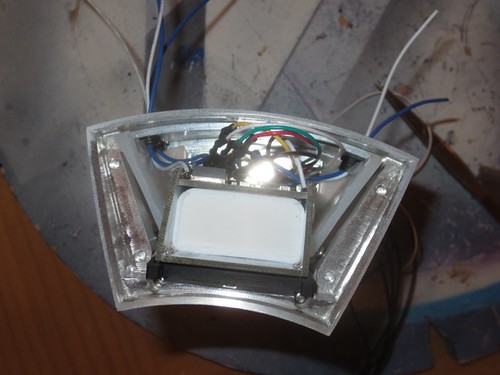
The lenses are somewhat frosted, but the side wedges have these nice diffusion circles on them.
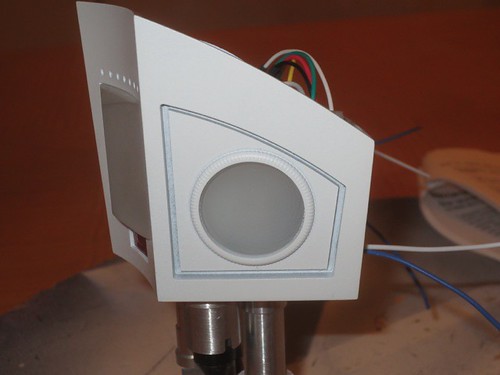
Let's see how things look.
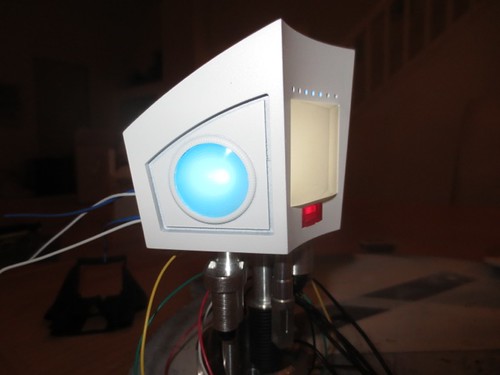
It's tough to see, but the diffusion wedges could use a little nudge toward the front of the periscope, in order for them to be perfectly centered. Thus, I'll need to trim just a bit more material on each of them so they may slide forward. And while I'm at it, it looks like solder joint for the most significant bit (the white wire) on the main board that selects the operating mode needs a touch up, as that signal is acting flaky. I'll deal with that soon.

No comments:
Post a Comment