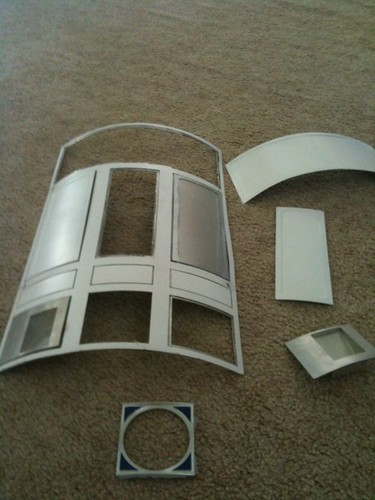
In the meantime, I started removing the rest of holographic paper on the neck ladder of the R5 dome. This was glued on.

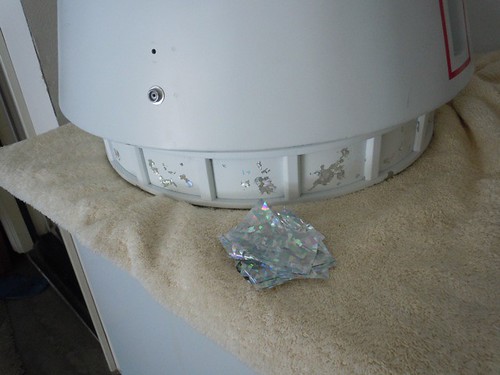
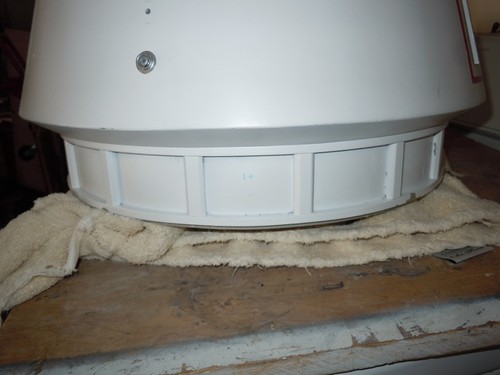
Once the main paper was removed, I removed the residue, and the neck ladder spots are reasonably clean now for the engine turned aluminum rectangles I'll be placing in there.
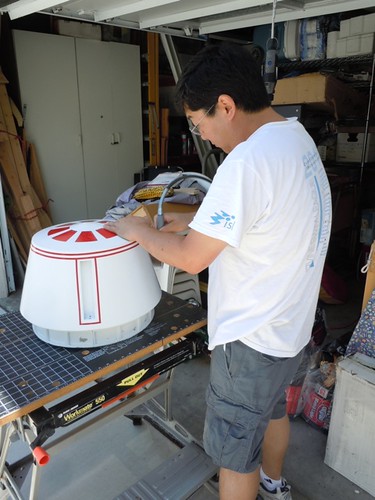
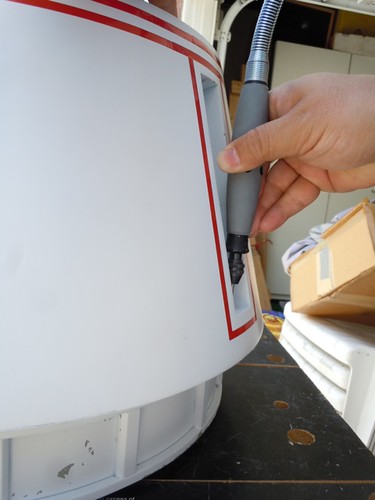
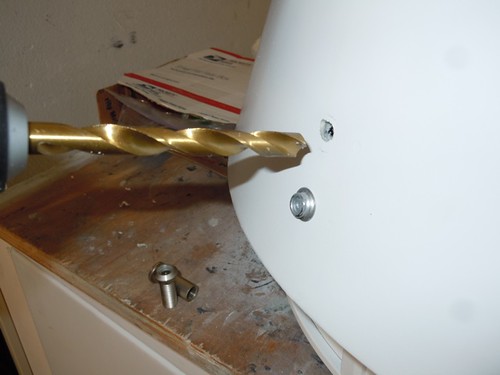
Another issue I'd been dealing with was straightening out the holes that Kelvin Dremeled out last weekend. I tried resorting to manually gouging the holes with a drill bit, but that was neither effective nor fun.
So, back it was to Kelvin's place, to Dremel out more material.
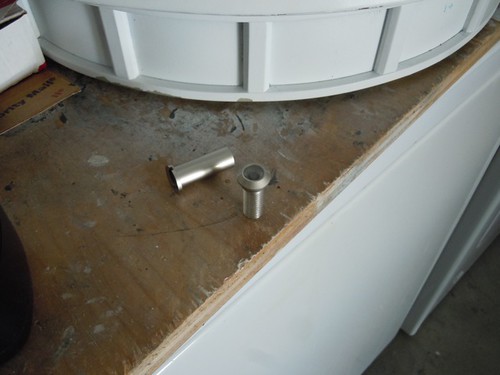
Now the screws have enough clearance to hold the dome struts in vertically. (Astute observers will recognize that Black and Decker Workmate bench from when I borrowed it from Kelvin starting in 2005!)
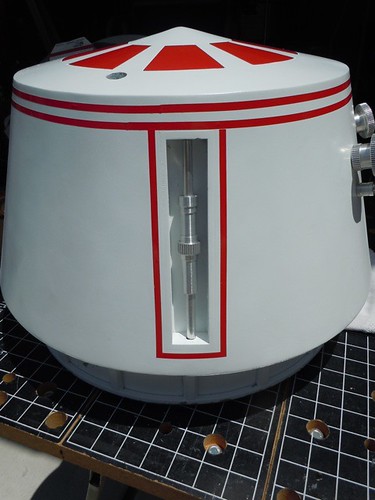
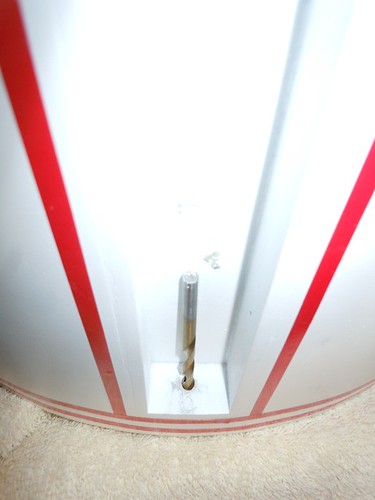
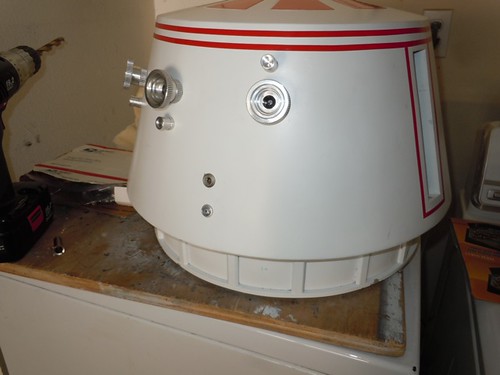
With that out of the way, there was still one dome ornament to attach. I purchased a peephole from Lowe's, and it goes above the button snap on the dome.
It's about 12mm in diameter. I drilled successively larger pilot holes until I had drilled a hole big enough to accommodate the peephole.
And in it goes. It'll get glued down later.
Finally, while I was in a drilling mood, I drilled four holes in each rectangle of the neck ladder, so that I'll be able to poke the engine turned aluminum rectangles out from behind, should I ever need to remove them after they get taped down with 3M VHB tape.

Sixty-four holes later, and I'm done.


1 comment:
Looking good. I must remember this hole tip for when I do mine.
Post a Comment