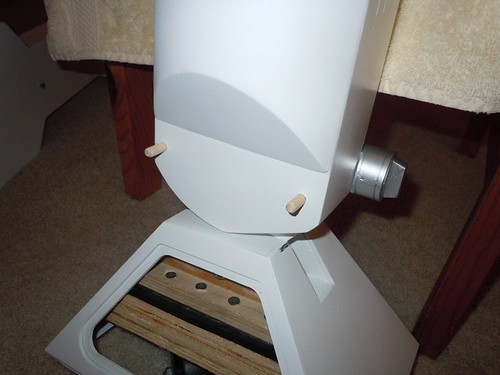
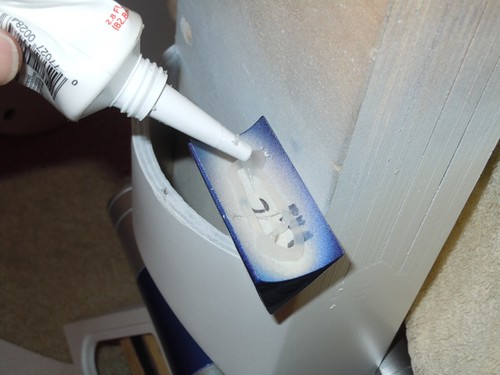
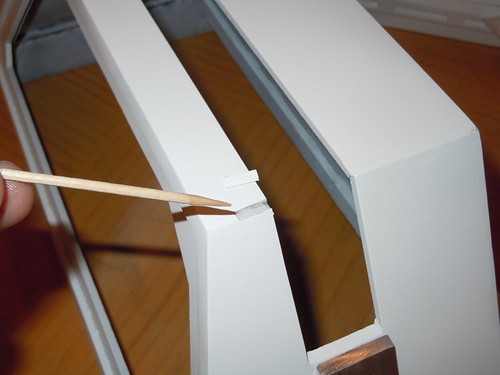
Tonight I finished installing the under shoulder details on the outer legs. I used the Household Goop product, as I did the other night, this time applying it with a toothpick, since the applicator was somewhat gummed-up.
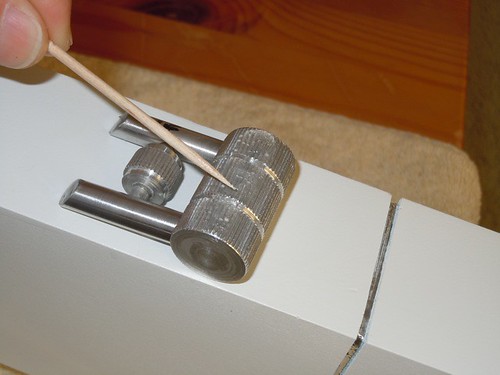
In it goes.

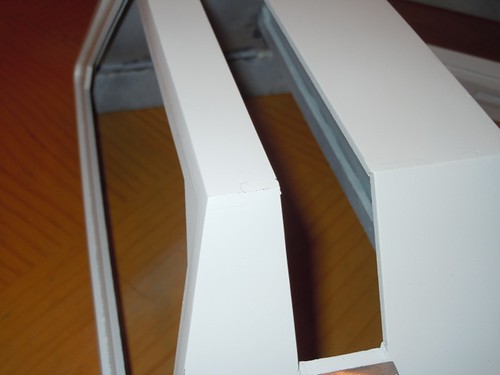
The legs on the final under shoulder detail were uneven, one was slightly longer than the other, and too long to fit in its spot on the leg.
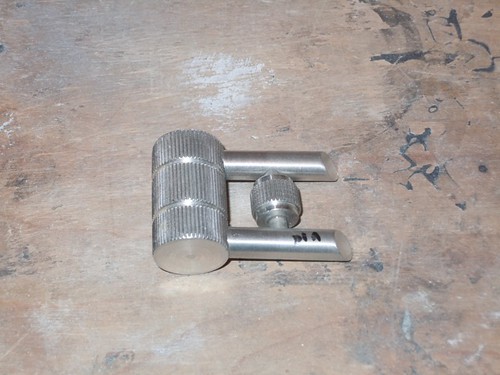
I used a file to even it out with the other leg.
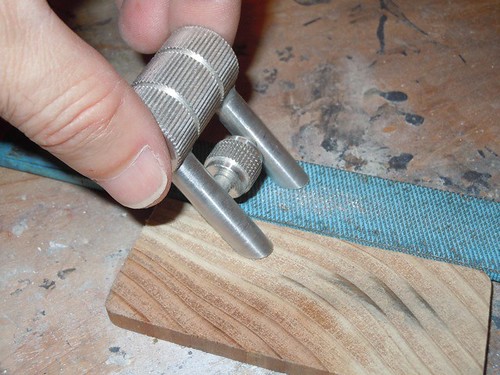
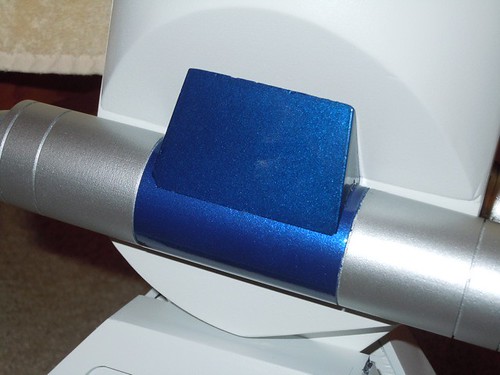
I again applied Goop to all the surfaces that make contact with the armpit area of the leg.
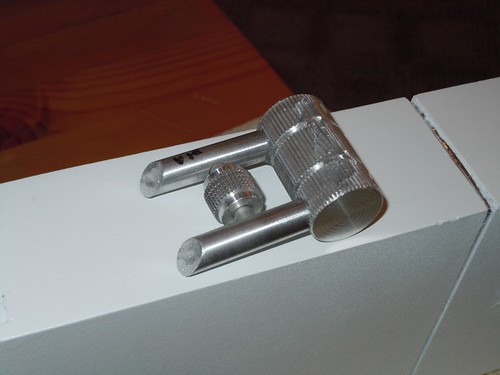
The fit looks good, these are done.
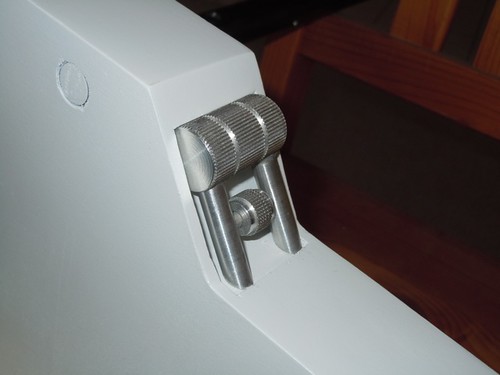
Next, I worked on installing the ankle cylinders on the center leg. I'm using 1/4" dowel segments to attach the cylinders.
I matched the holes in the backs of the cylinders to the dowels, and started pressing the cylinders in place. It's a tight squeeze, which is good. They won't fall off.
A little more pressing, and they're flush with the leg.
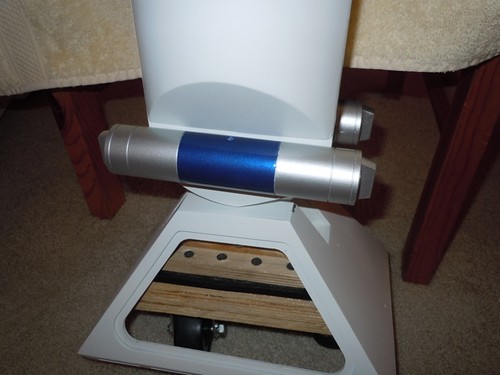
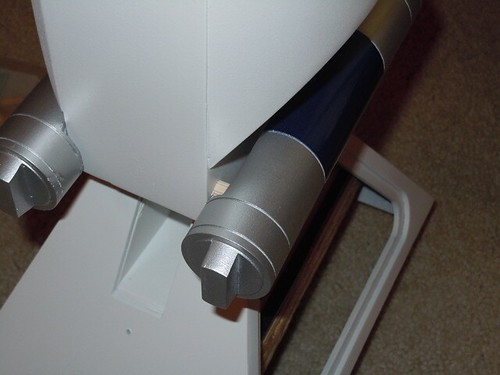
I then worked on installing the cylinder wedges on the center ankle. I again used silicone on the surface that makes contact with the cylinder.
I centered the piece and pressed it in place, and repeated the process on the other side. I'll let the silicone cure overnight.
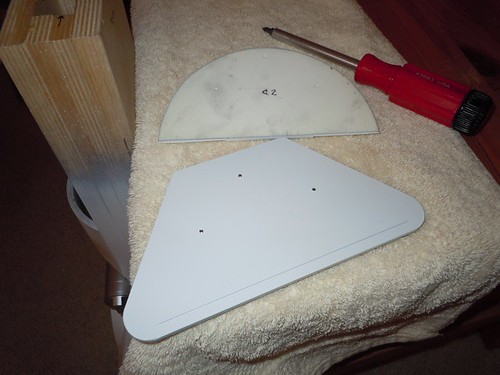
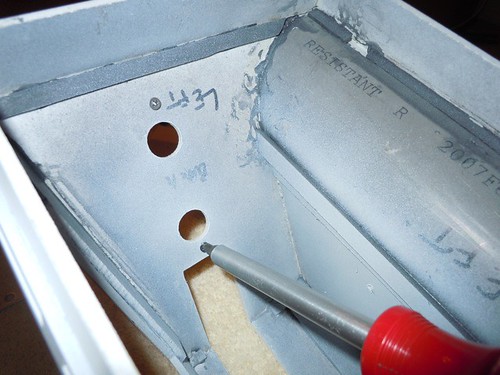
Next up, installing the resin half moons on the center foot shell doors. I'm using three #4-40 1/2" screws to hold each half moon to its door. I screwed the screws in from the back such that they were barely sticking out of the front surface of the door, so I could align the holes in the back of the half moons to the screws.
A few more twists of the screwdriver, and the half moons were holding tight to the doors.
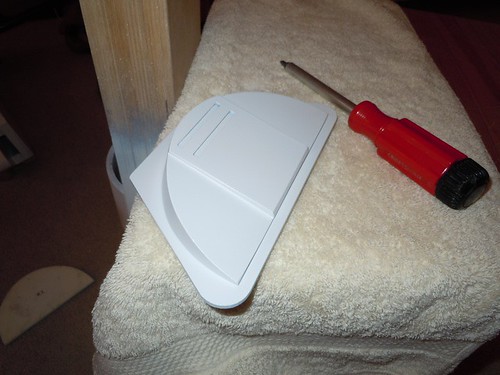
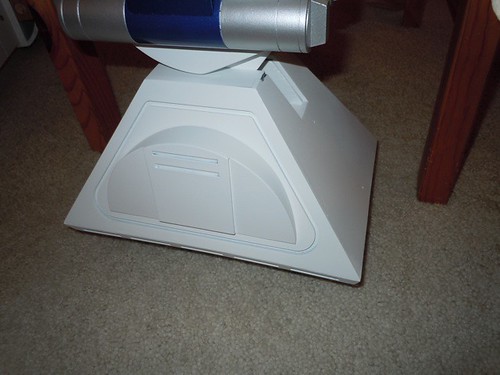
A quick test on the foot shell shows that things are looking good.
I then installed the foot strips on all three feet. Similar to the installation of the half moons, I started the process by screwing in the screws from the back side, so they just barely stuck out the front side.
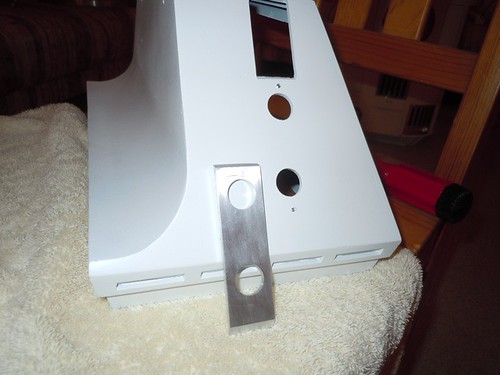
And as with the half moons, another couple of turns of the screwdriver had the foot strips holding tight as well. One thing I did differently from droid #1 is that I did not have the screw go through the foot strip, it stops short of bursting through.
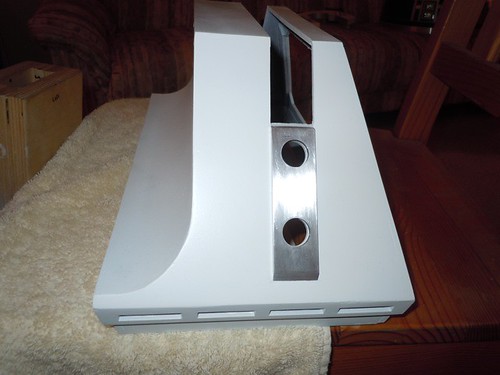
Same deal with the center foot shell.
I wrapped up by doing a little foot shell repair work on all three feet. On each shell, I had managed to crack some of the styrene filler out from the top corners. I applied some CA glue using a toothpick to the area needing repair.
I then glued down the stray piece of styrene.
I repeated the process for other two foot shells, which had the exact same problem. I may spray a mist coat of paint later, to help conceal the repair.

No comments:
Post a Comment