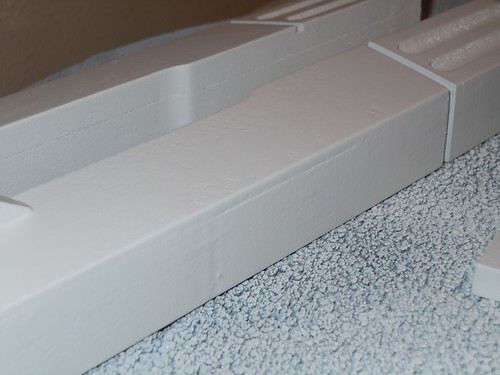
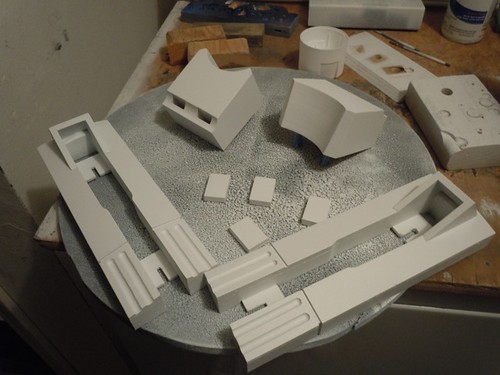
Now, let us apply primer and see the many flaws of the scratch-built wooden booster covers.

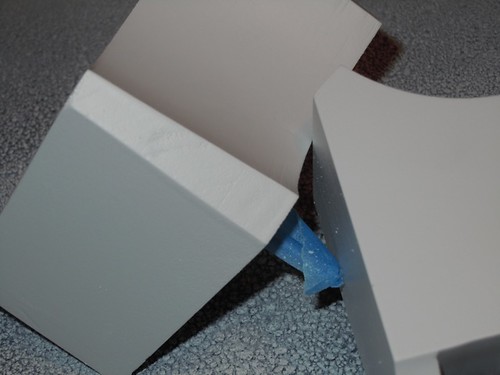
The grain and patterns in the wood help camouflage the problems, but once the solid white primer goes on, it's easy to see the seam between the two layers of poplar that I used to build the main bodies of the booster covers. There is also some slight wood grain visible on the top surface of the booster cover bodies. Sanding the primer might conceal this. If not, then I'll spread a thin layer of Evercoat on top.
I expected to see slight grooves in the curved part of the booster cover head pieces, and they were there. They were also present on the first priming of the booster covers on droid #1 as well. Primer and sanding did the trick last time, and I hope that will work again with droid #2.

There is also some wood grain visible on one of the corners of one of the head pieces. Sanding might do the trick, but I may need to apply Evercoat here too.
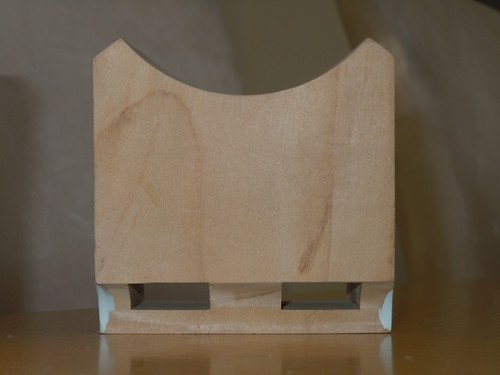
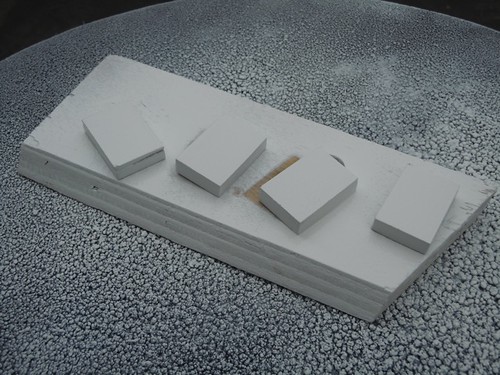
I also primed the blocks that will fill the slots in the booster cover head pieces. On droid #1, I painted these blue, but I think they should actually be aluminum colored. Still, I have to decide soon how I want them to look.
So some work remains on the booster covers before final painting, but the good news is that not much remains to do after that.

No comments:
Post a Comment