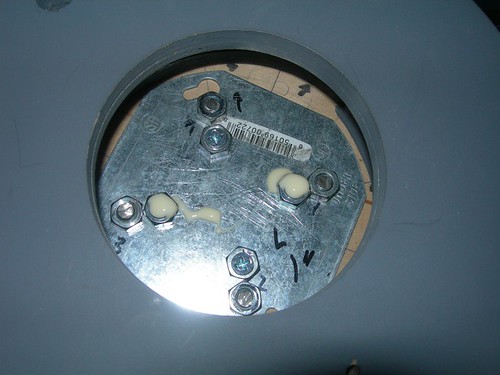
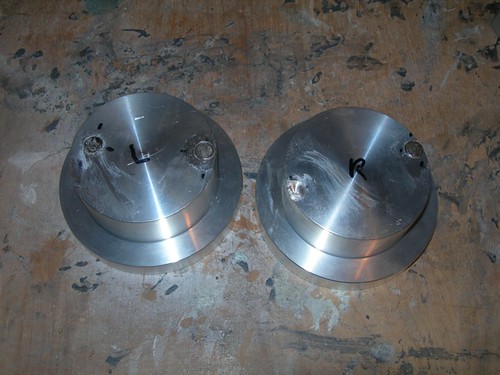
Eons ago I drilled the electrical plate on the left leg to accommodate additional screws and nuts. These are needed on the leg that uses the 1" gas pipe because the existing screws do not sit directly below the portion of the shoulder hub that goes into the leg. Tonight's challenge was to find the screws and nuts from that eon and screw them in.
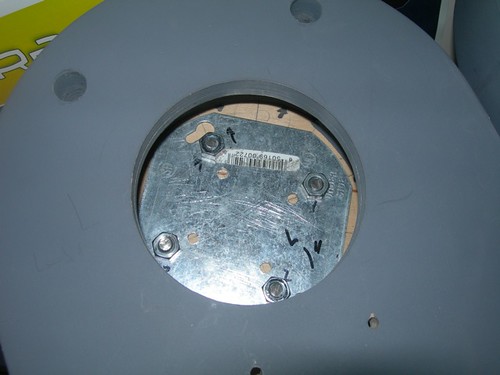
I found 'em. Eventually.
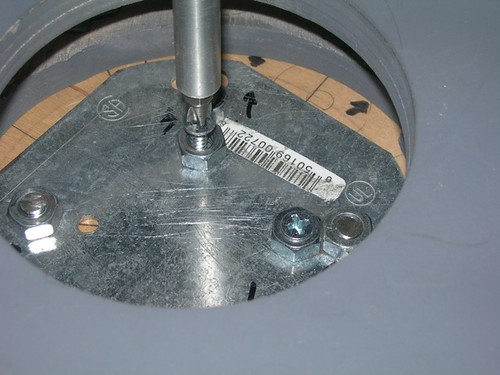
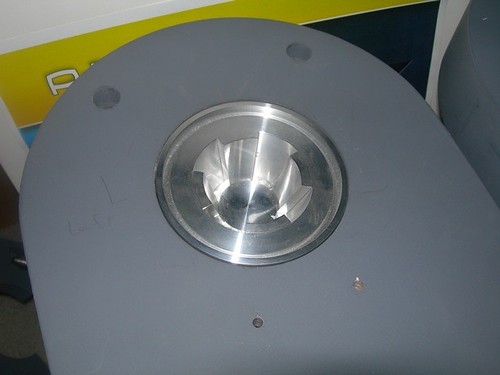
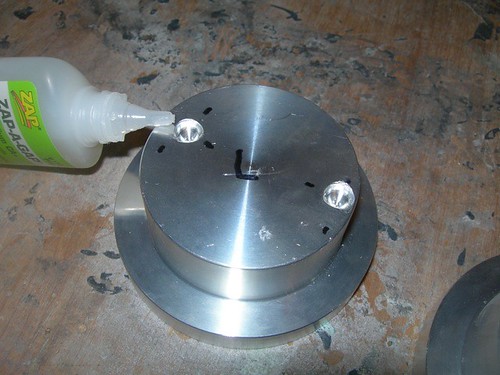
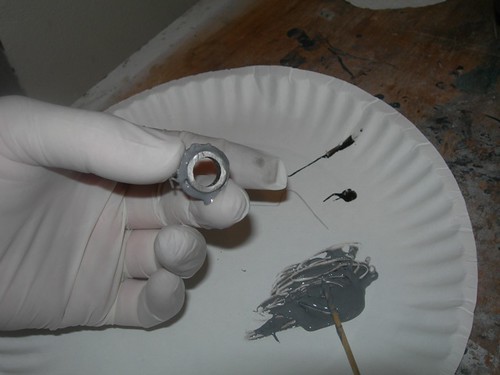
The next trick is figuring out exactly where to drill the holes in the back of the shoulder hub, so that the magnets rest directly above the screws. I came up with the ludicrous (but effective) idea of globbing glue onto the tops of the screws, so that the glue would stick to the back of the shoulder hub. I actually did this for droid #1 as well, although I didn't 'fess up to it at the time.
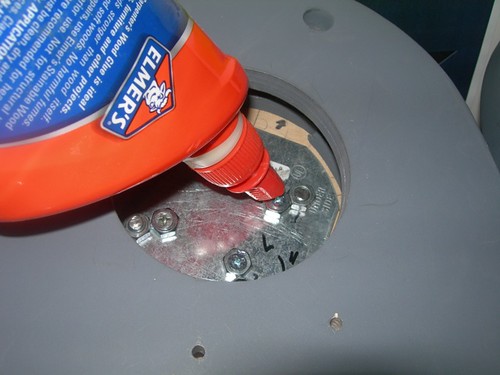
Yes, it can be a bit messy, but I had some wet paper towels at the ready to clean up the mess when I was done.
With the glue on the screw heads, I placed the hub in the hole in the leg.
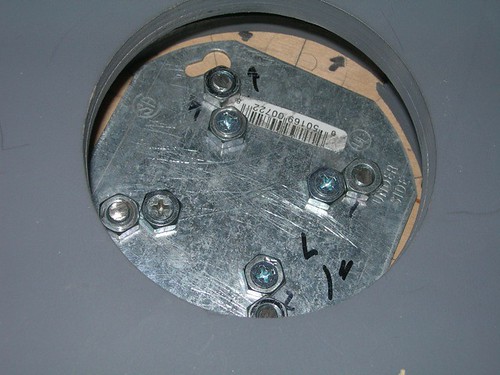
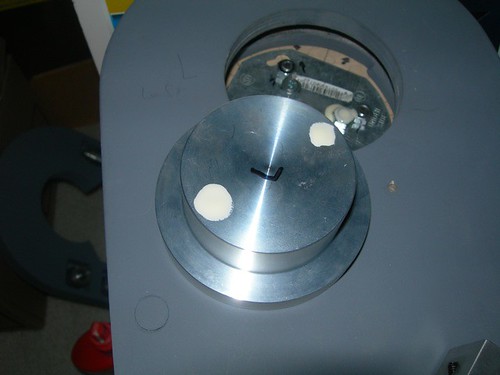
Then, I pulled the shoulder hub back out, and there were my two spots of glue.
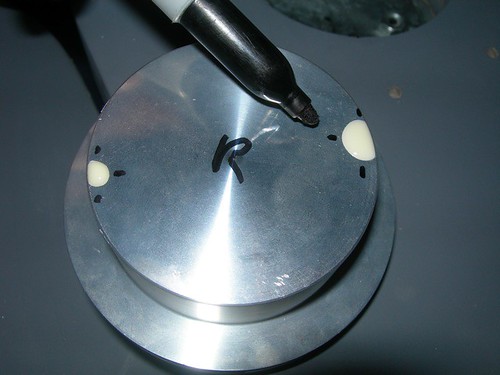
I did this for both legs. I used a pen to make alignment marks so I would know where to drill, and then I did a thorough cleaning of the glue on both the hubs and the screws.
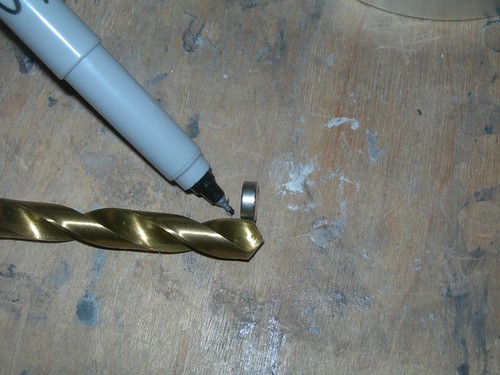
The neodymium magnets I'm using are 8mm in diameter and 3mm tall. I found a drill bit that is was just about exactly 8mm wide, and using one of the magnets, I measured and marked how far into the hub the drill bit should go.
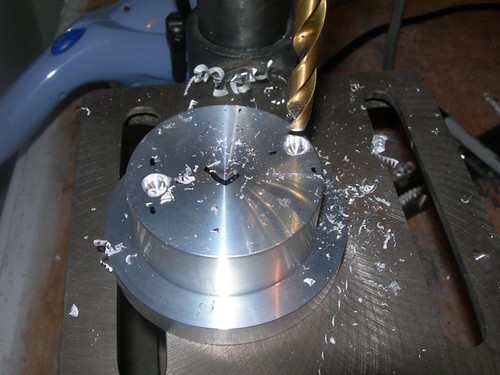
I set the drill press stop accordingly, and drilled the holes.
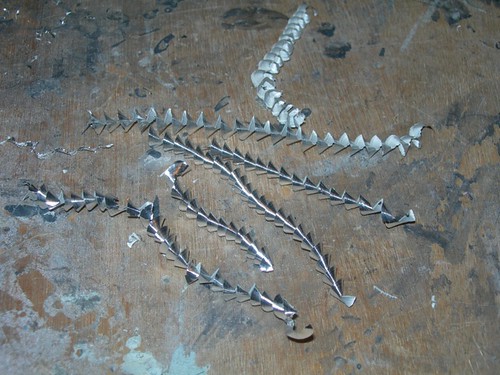
Tonight's collection of science fiction worms.
I put several drops of CA glue into the holes and glued the magnets down.
One of the holes on the right hub wasn't drill quite deep enough. I'm going to wait for the glue to dry before redrilling a little deeper. Also, this hole tears out through the side of the hub. I had this problem with droid #1 as well, and I ended up using only one magnet on that hub. We'll see if I can make it work with two magnets this time.
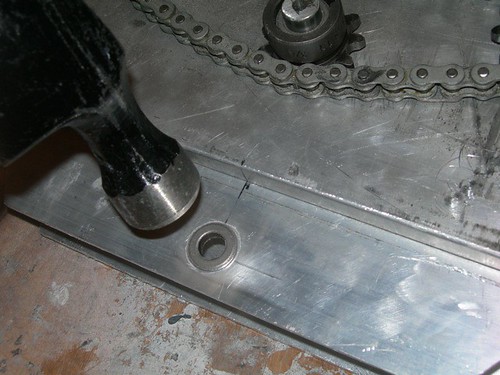
I wrapped up the night by JB Welding the bushings into the drivetrain channel. I meant to do this the other night, but simply forgot.
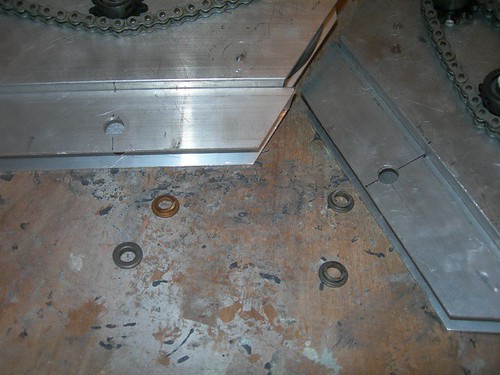
After a light sanding and cleaning of the bushings, I applied JB Weld on them with a toothpick.
I then pressed them in place, and gave them a tap or two with the hammer to make sure they were in as far as they'd go. I cleaned up the excess ooze and called it a night.

No comments:
Post a Comment