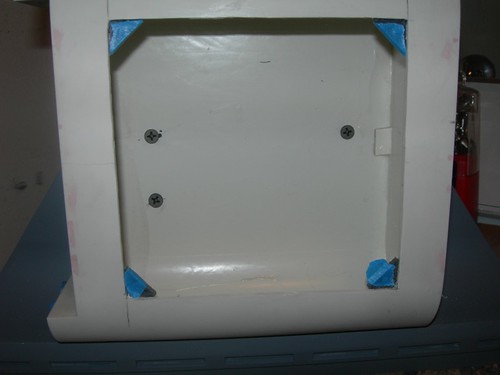
First, I measured and marked where to drill the holes. Earlier, I had marked the points to drill from the inside of the battery boxes, but I was unable to get the drill to fit into the box properly, so I measured and marked the same spots on the outside of the boxes. And then I did it again, because I forgot to account for the wall thickness as I measured from the edge of the boxes.
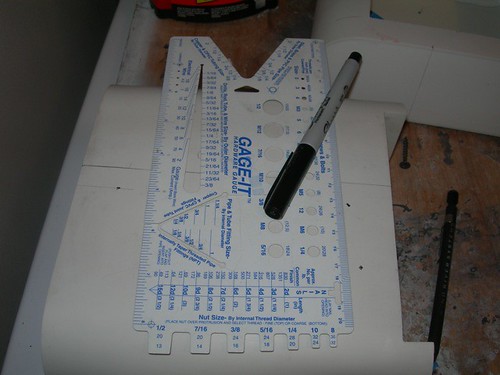
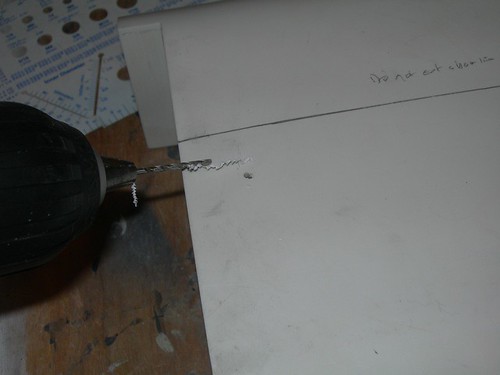
Then, I started drilling pilot holes, using a 5/64" bit for the drywall screws I'll be using to attach the boxes to the foot shells.
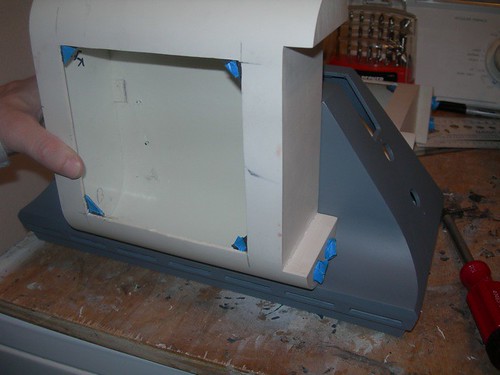
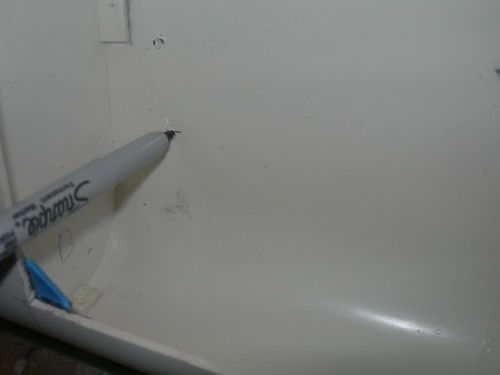
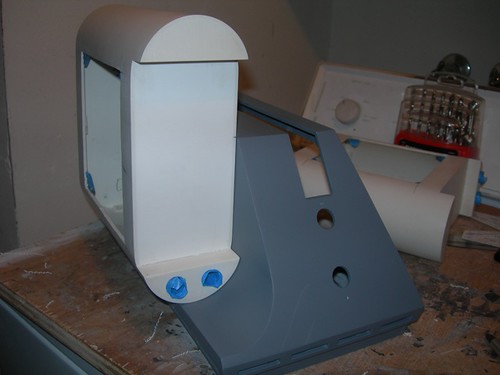
With the three holes drilled, I held the box in place against its foot shell, and used a pen to mark corresponding points on the foot shell behind the battery box.
Time to drill the boxes. As I mentioned during the finishing phase of the foot shells, I did not make any super-human efforts to get the curved area under the boxes perfect, since they will be covered.

The moment of truth, time to screw down the battery boxes and see if everything looks okay.

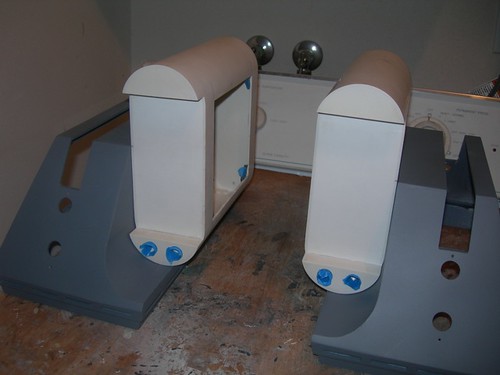
Everything looks okay, at least for the left foot. (Phew!)
Repeat for the right foot.
And the two battery boxes are attached to their respective foot shells.
At this point, there's not much left to do for the feet and battery boxes other than finish up with primer and painting. Once that's done, I can attach the harnesses to the battery boxes.

No comments:
Post a Comment