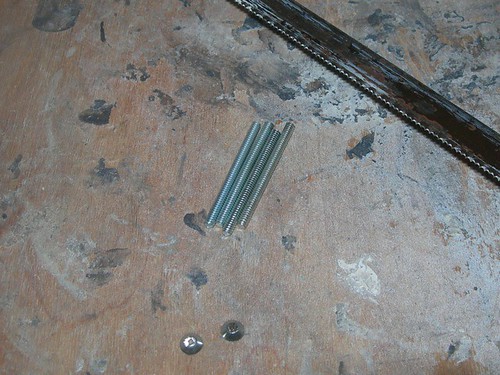
First, I cut the heads off the four 1.5" #4 screws that I'm using to mount the radar eye onto the dome.

I will glue these into the back of the resin eye soon.
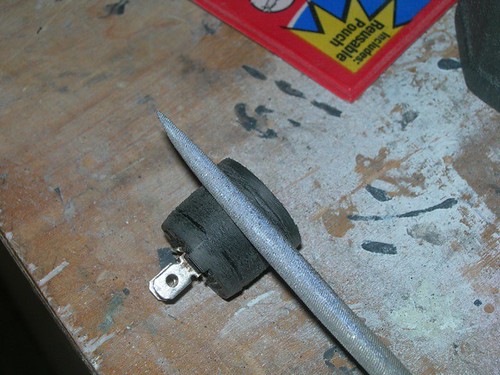
Next, I sanded the threads off the switches I'm using for the dome bumps, that double as on/off switches for the dome electronics.

I used a small file for the threads closest to the collar.
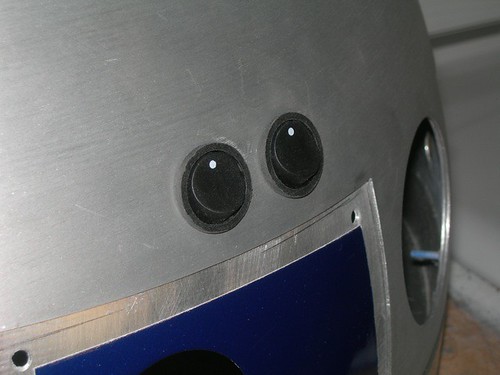
As with droid #1, the fit is nice and snug. These won't be coming out on their own, they need to be pushed out from inside. Obviously, they still need to be painted, but I wanted to finish the work on them before painting.
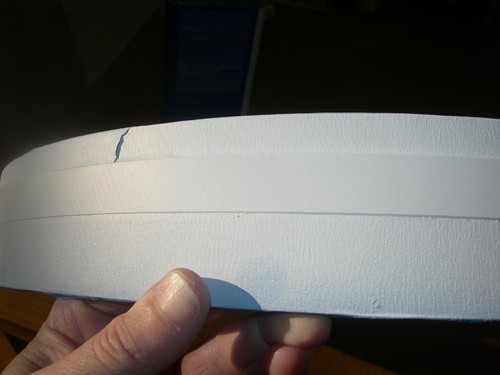
The weather was nice today, so I wanted to at least get the dome ring primed. I sanded the part of the ring that gets painted with 320 grit sand paper to remove the oxidation, and then I cleaned it up with acetone. Then, it was on to masking. Shiny!
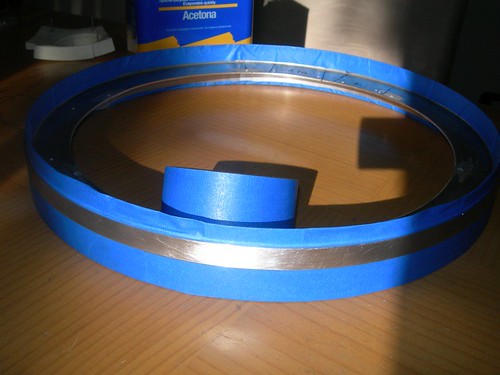
I applied four coats of Rustoleum Painter's Touch white primer. I use white primer for areas that get painted blue. I will sand this smooth with 400 grit sand paper prior to painting.
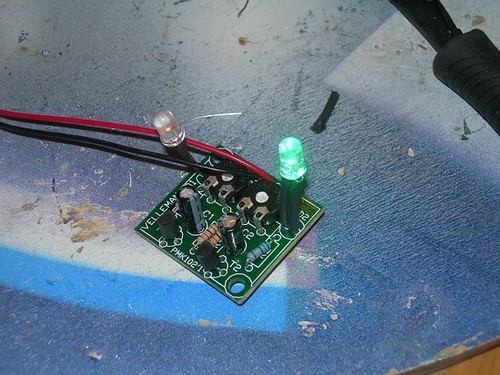
Finally, because I can't seem to go more than a few days without swapping LEDs on the PSIs, I swapped an LED on a PSI. The pictures and video I displayed the other day of the rear PSI showed the green LED on the rear PSI looking more like an aqua-blue/green. I didn't like that, so out came the LED and its resistor.

In its place I put a 5Vf, 25mA "True Green" (as the package said) LED, and along with it, a 160 Ohm resistor. This really does look like true green in person, and unless I blow something up, I'm done goofing around with the LEDs.

No comments:
Post a Comment