Just look at the screws on the left, which are partially fitted through the mounting holes, versus the ones on the right, which aren't close to hitting their mounting holes.
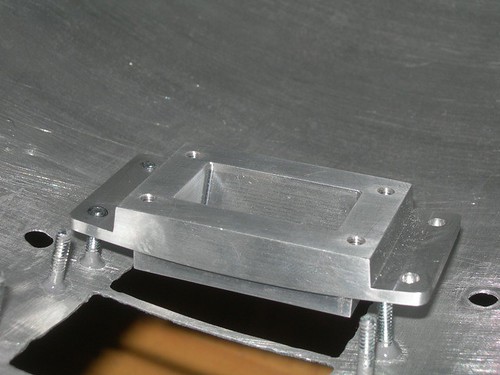
What I might have been able to do to make this work better, is to place the surrounds in the perfect spot on the inside of the dome, and use the existing mounting holes in the surrounds as a template for drilling the dome. I'm not sure this would have been feasible though, for the same reason that it's a struggle to fit the surrounds on the dome - namely, that screws that are fitted radially (rather than in parallel lines) do not align well at different distances. The longer the screws, the worse the problem, but I only used 1/2" screws, so they are pretty short.
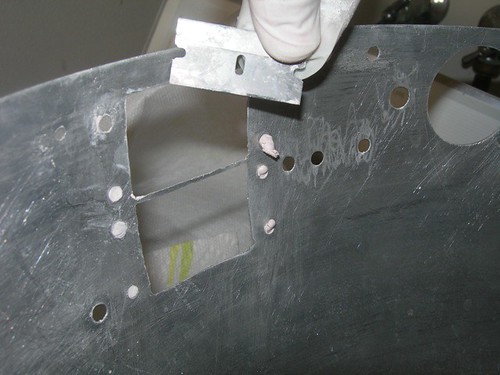
As you can probably tell, I made this attempt half-heartedly, and it was with little regret that I knocked the eight screws out. The JB Weld put up a fight, which is good.

I filled the holes with Evercoat.

As the Evercoat started to cure, I decided to save myself some sanding time, and I used a razor blade to scale away the excess on both the outside and inside of the inner dome.

A little sanding and it's smooth.
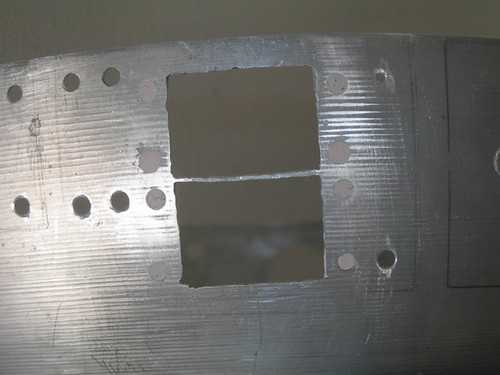

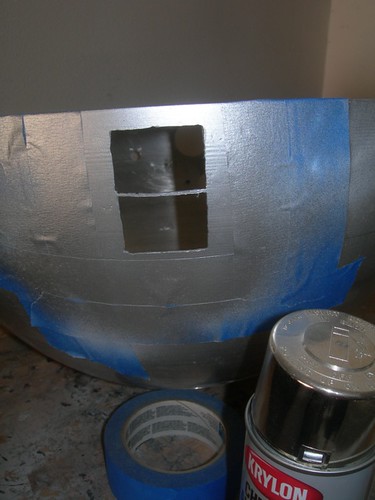
Next up, time to make it look like aluminum again. First, masking the area.

I almost decided to skip the primer since only a sliver of the painted area will show between the panel and the dome, but I figured that since I'll be removing the outer dome a few more times, I would try to make the paint stick to the dome better by using (white) primer.
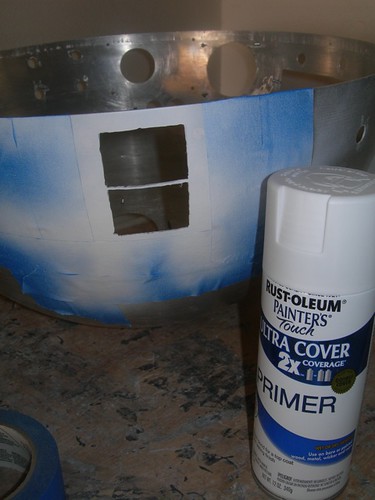
Next, I grabbed an old can of Krylon Chrome Aluminum, and painted the area.
Once it was dry, I pulled of the masking tape, put the outer dome on, and loosely fitted the panel for the front logic surrounds.
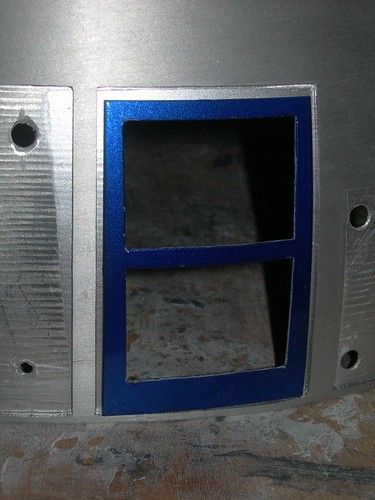
The gap looks like it's all aluminum to me! No sign of the holes for the screws, or the Evercoat that fills them.
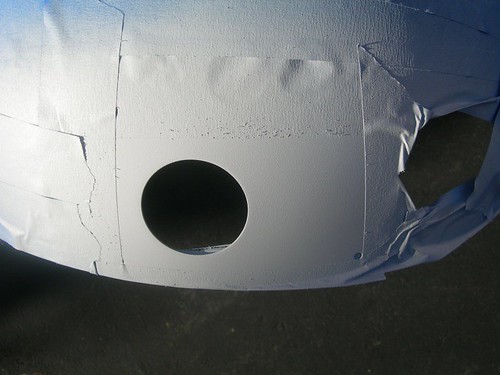
While I had the primer out, I decided now was the time to apply it on the rear PSI area of the inner dome. This is the only area of the inner dome that gets painted. (Unless you are me, and have to fill holes with Evercoat.)
I traced the outline of the panel from the outer dome that covers the rear PSI area.

Paint belongs inside the inner pencil line, and should not go outside the outer pencil line. Thus, I masked accordingly.

I cleaned up the pencil outline and gave the area one last cleaning with acetone, as I prepared to apply white primer.

Three coats later, and it's almost ready for paint. I will lightly sand this smooth with 400 grit sandpaper, and I'll probably apply one more coat of primer before painting it blue using the Krider formula.

2 comments:
Victor,
I had the same experience with the front logics and mounting.
I ended up filling the holes with JB Weld. I'll give the Krylon Chrome Alum paint a try for cover up.
I'm interested to see how you finally mount it into position.
Hi Kris,
I plan to push the logic surrounds in place from behind, which is what I did in copying Mike Senna's method for droid #1.
I made a rectangle from PVC that houses my Ben & Jason front logics, and those shove the surrounds in place from behind. I attach the box to the dome ring. When I remove the box from the dome ring, then I can take everything apart. See this page for some more info:
http://vfranco.blogspot.com/2006/11/finished-installing-front-logics.html
-Victor
Post a Comment